Floral Prom Gown


Prom gown custom made for Crystal.

Prom gown custom made for Crystal.

image


I met Crystal’s mother in the fabric store as she was asking a sales associate if she knew anyone who could sew a dress for her daughter. I was standing there as she asked the sales clerk and said, “I can!”, and that was the introduction to a wonderful and challenging journey.

Crystal shared with me what she was looking for in a prom dress, but could not find in stores or online for a reasonable cost.

This is what she showed me:

Oscar de la Renta hi/low hem Gown

Oscar de la Renta hi/low hem Gown

image

Oscar de la Renta Mitered Striped Strapless Gown

Oscar de la Renta Mitered Striped Strapless Gown

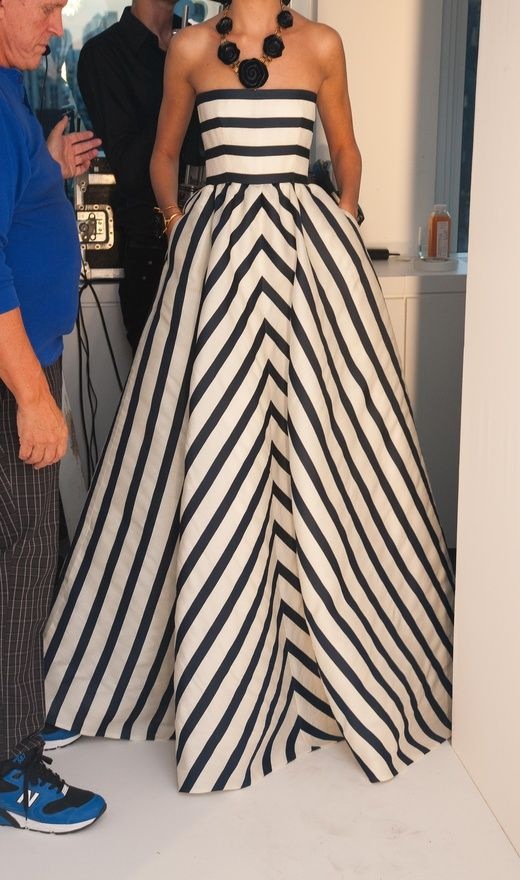
I LOVE the gowns she showed me and was immediately excited to design her a dress similar to these gowns!

Then came the hard part: finding a suitable fabric that didn’t cost a small fortune per yard to made the dress out of. We went fabric shopping a couple of times together and she came across this lovely purple tones floral printed polyester satin for $8.99 a yard (and on sale 30% off!) and it was perfect for the dress. We also found a complimentary plum-colored lining for the dress that was only $3.99 a yard (also 30% off!).

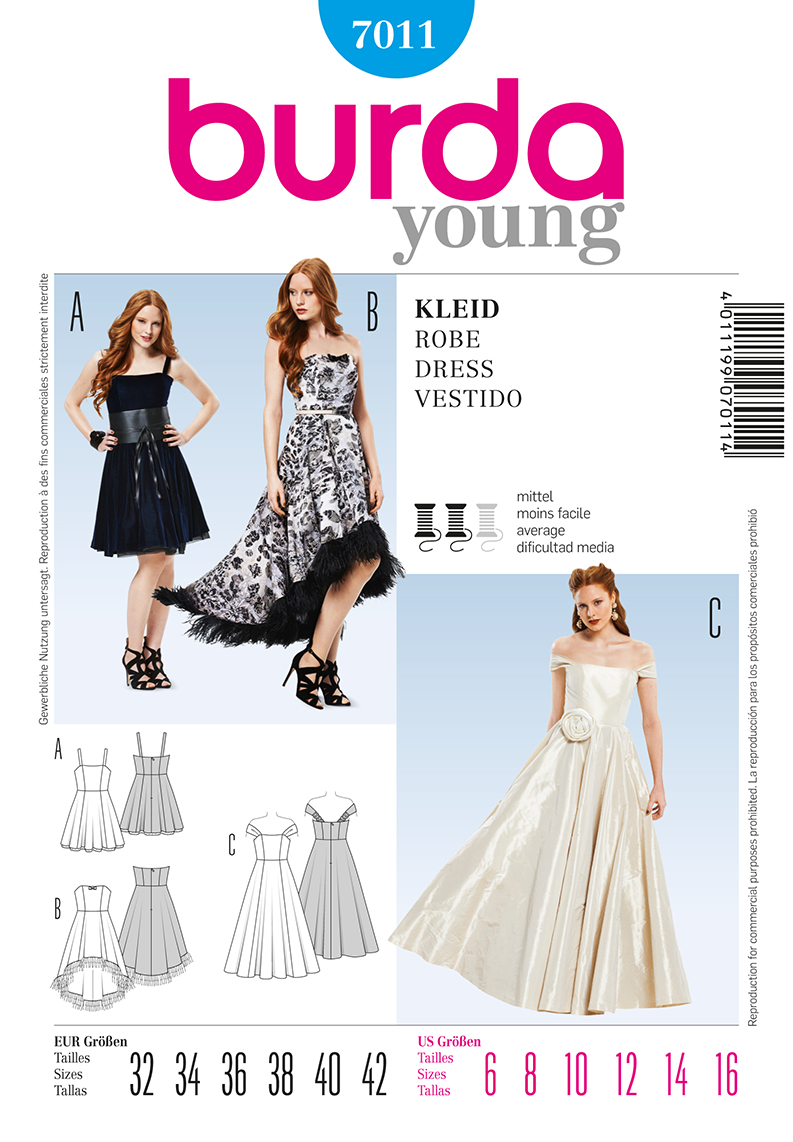
I found some commercial patterns to try to get the look she was going for including Burda 7011 as shown below. She wanted the skirt of the gown to be gathered and not flat, like the Burda pattern was like, so I drafted the skirt myself using two large rectangles 3 times wider than the waist measurement to gather into the waist. She also wanted the front of the dress hem to be higher than the back, so I carefully drew in an arc shape at the front of the dress hem and cut the shape out of the outer and lining fabric.

Burda pattern I used for the bodice.

Burda pattern I used for the bodice.

The gathering of the skirt and skirt lining proved to be one of the most challenging parts of making this dress! The fabric is heavy, slippery and frays like crazy, so I had to take my time to gather carefully and evenly all around the skirt and sew it to the bodice with precision.

Hemming the skirt was also a big challenge. At first, I wanted to make a deep, 2″ hem to give the skirt some weight and hang nicely, but as I pined and tried to sew this deep hem, it really was not working and caused major puckers and was not sitting flat against itself. So I ripped out all the stitching and just made a narrow hem at the bottom. My serger came in very handy for making this hem, and also to prevent fraying on the edges of the two fabrics.

We also decided to add a layer of tulle to the skirt to give it a little extra fullness.

Last fitting before completion

Last fitting before completion

Back of dress

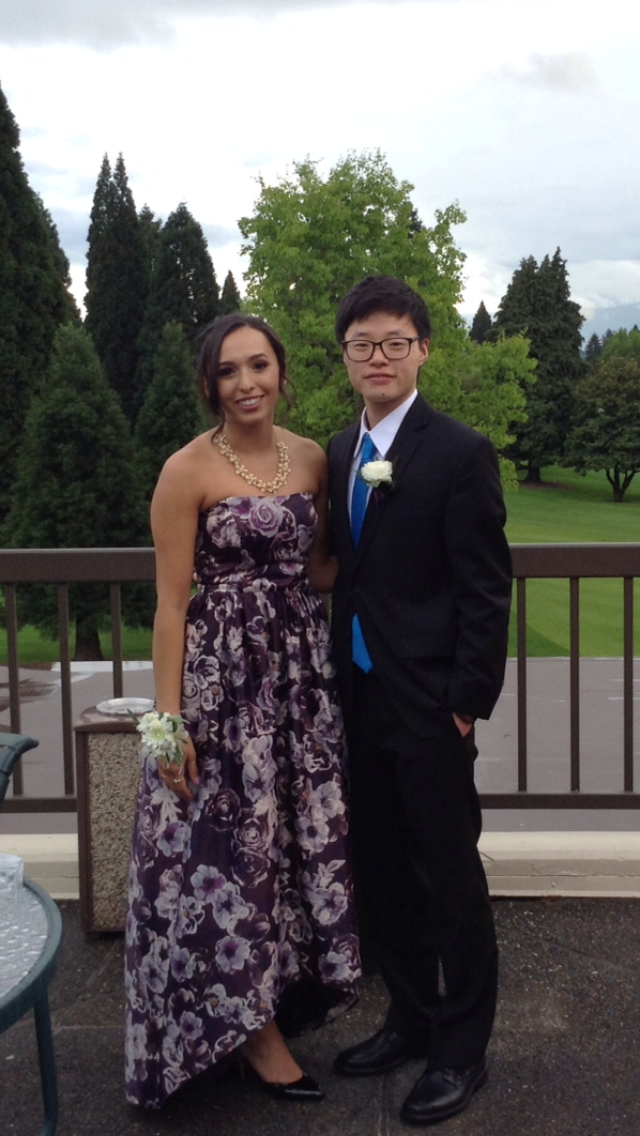
After the second fitting of the dress, which we did before I inserted the boning and installed the zipper, and we decided to add bra cups into the bodice for extra support in the dress and eliminate the need for a bra. Here is the interior of the bodice of the dress including the sewn-in bra cups,  satin hanger loops and grosgrain ribbon waist stay (a belt-like support sewn into the dress to help support the weight of the skirt and keep the dress up).

interior of the dress

interior of the dress

All in all, it was a great experience working with her and her mother to create the prom dress that she envisioned. I learned a lot along the way and hope to make more custom dresses for her and other clients in the near future.

7 thoughts on “Floral Prom Gown

  1. Hi, I read your review on PatternReview.com. It motivated me to find the pattern for my niece as the lines of the dress is what she is searching. You did a great job f making this a reality for your client. I do have one question; on the waist stay you have it on the lining but not between the layers of the garment. Is there a reason for that change due to construction or the modifications? Before I head into this, my plan is to put it on the internal lining after the boning is applied to give added structure and strength to the boning as well as take the weight of the garment. . If there is a problem with the pattern or construction that indicates the need for the waist stay internally next to the body, please let me know. ,I look forward to your advice.

    • Hi there Susan! Thank you so much for checking out my review and blog post on this dress! It’s been a long time since I made this dress, and I’ve come a long way in my sewing experience since then, but I do still make waist stays inside dresses like this with long and full skirts. I usually attach the waist stay to the interior lining, closest to the body of the wearer, to hold up the dress and support some of the weight of the skirt. I have made waist stays in many dresses now, getting the idea from seeing the insides of bridal gowns and formal dresses. I use grosgrain ribbon and a little hook & bar at the waist for the exact waist measurement of the wearer. It’s just a really nice little touch and feels a little more supportive. Good luck with your nieces dress, I’d love to see the outcome when it’s all done! -Stephanie

      • What a quick reply! I too, make waist stays for many dresses. In a couture class I took, we were instructed to put the waist stay on the the lining between the fashion fabric and lining. This is done after putting in the boning. The stay then has the added advantage to “prop” up the boning as it is pressing on the boning. It also helps create a more secure waist stay less subject to being torn or being caught by the client when putting on the garment. Buttonholes are added on either side of the zipper so the stay comes through and can be fastened. I thought there may be a construction issue where this wasn’t possible.

        You made a gorgeous dress. Keep doing what you are doing. It seems this is a personal choice on where to attach waist stays.

      • Oh wow! Thank you so much for explaining that technique for making a couture waist stay! I’ll have to try that in the next dress I make. I would love to be at that level of dressmaking someday, so every little tip and technique I learn will get me one step closer to that level.
        Where did you take this couture class may I ask?

      • Cañada College in Redwood City, CA. It was in the “Making of a Bustier” class taught by Lynda Maynard. Lots of information regarding boning placement, types of boning, waist stays, channeling types for stays, how to combine bustier with the fashion garment and many other details.

        Cañada has a full selection of courses in their Fashion Department. As a result of the pandemic, there are selected classes available as virtual classes.

Leave a Reply

Fill in your details below or click an icon to log in:

WordPress.com Logo

You are commenting using your WordPress.com account. Log Out /  Change )

Facebook photo

You are commenting using your Facebook account. Log Out /  Change )

Connecting to %s