
A dream dress that I never knew about came to life through a lovely lady who trusted me to create her bridal vision.
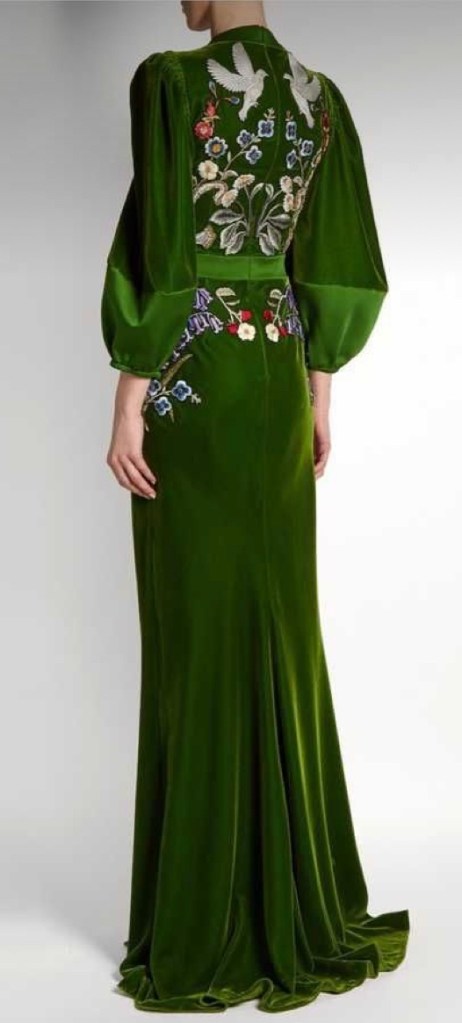
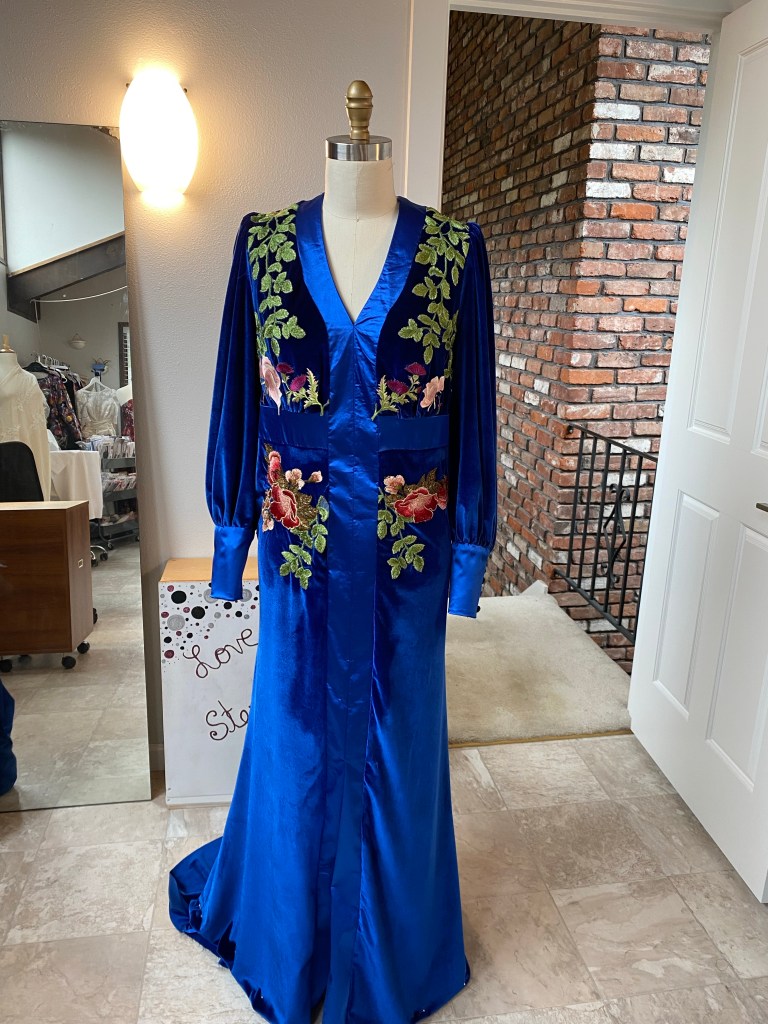
Alex contacted me through my website inquiring if I would be able to create a bespoke dress she loved for her wedding ceremony taking place in the woods by a waterfall. She wanted a gown with a renaissance feel, nothing wedding traditional, and with a romantic, unique, artistic appeal to it. When she showed me her inspiration gown, I gasped with excitement over the beautiful velvet gown with embroidered decorations on the front and back. Stunning!

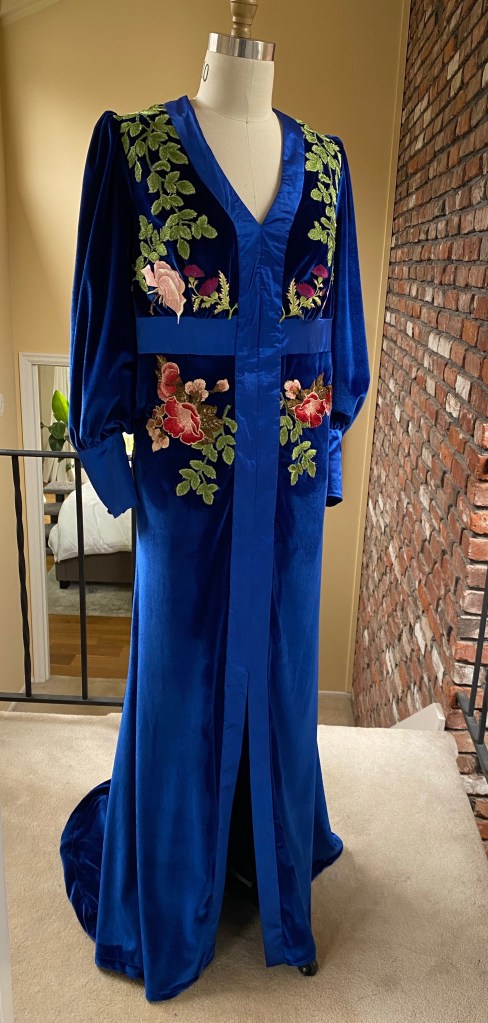
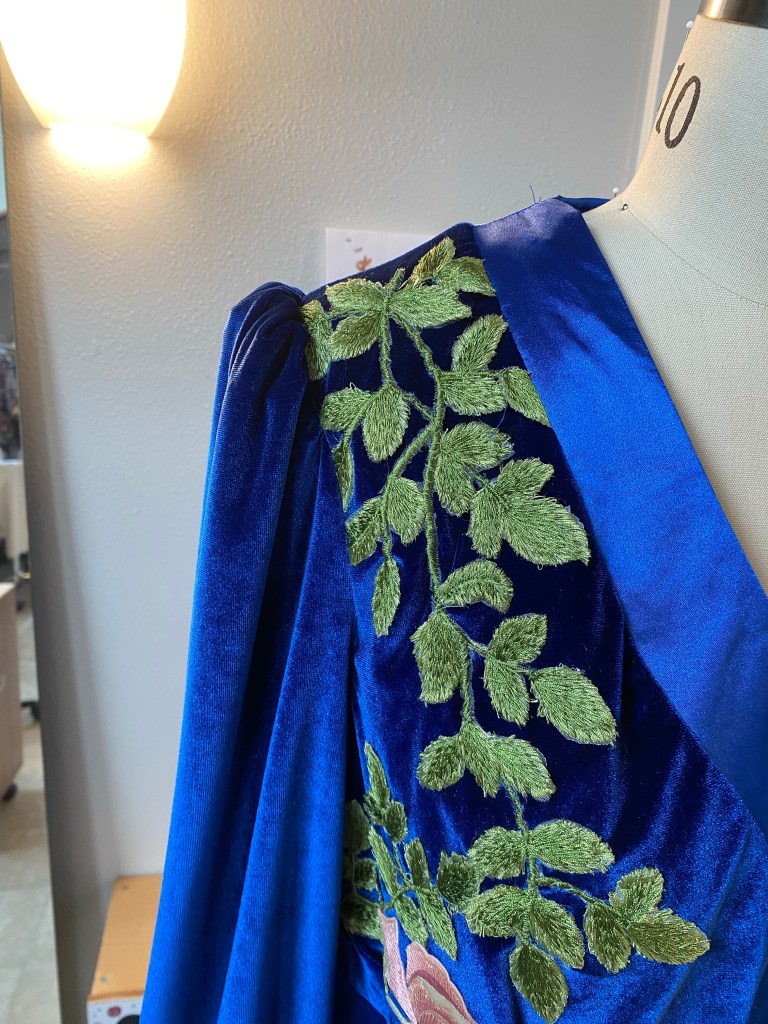
She wanted to use velvet for the main fabric, with satin accents. And of course, the appliqués all over the bodice front and back, and extending into the skirt. So not to copy the inspiration dress exactly, she chose a royal blue velvet and a coordinating blue satin for the bands, accents and lining.

We got started right away on the project, having a consultation meeting to discuss her inspirations, her wants and desires out of the dress, fabric sources and pattern ideas. We also came up with a timeline for me to work back from, and I drew up her contract, cost of the dress, and a payment schedule.
I proposed using this dress pattern McCalls 7624 because of the front band neckline was similar to her inspiration dress:
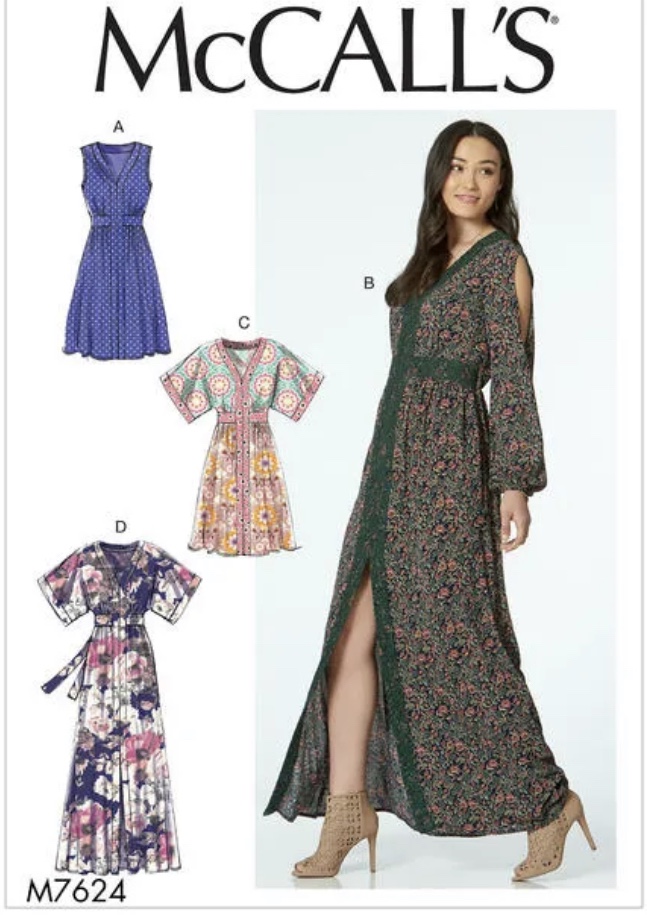
Looking at the line drawings you can see how the front and waist bands are close to one of the main features she wanted out of the dress:

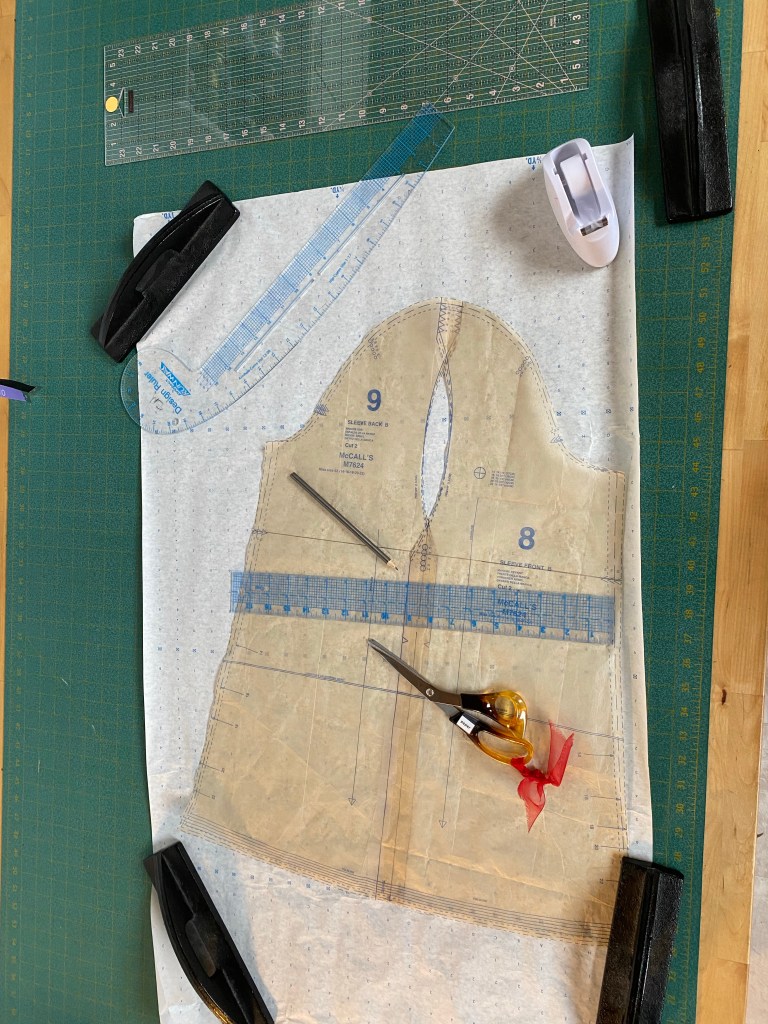
I planned to make the following changes to the pattern to better match her vision:
1. Modify the skirt to not have any waist gathers, be a longer length, and have a slight train. I actually drafted an entirely new skirt pattern from scratch to achieve this.
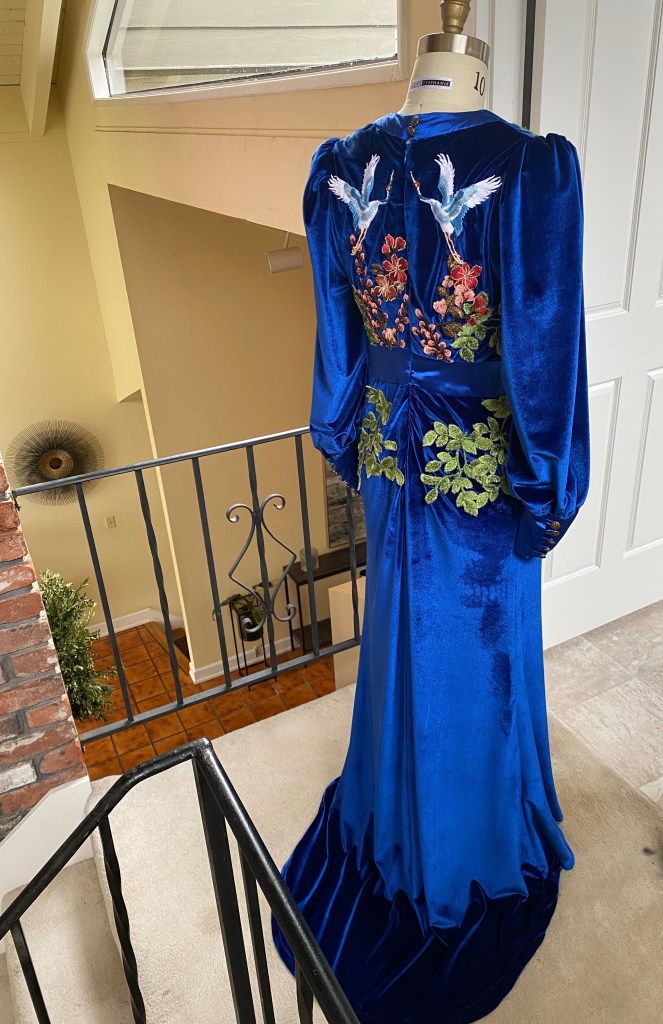
2: Modify the waist bands to also wrap around to the back of the dress
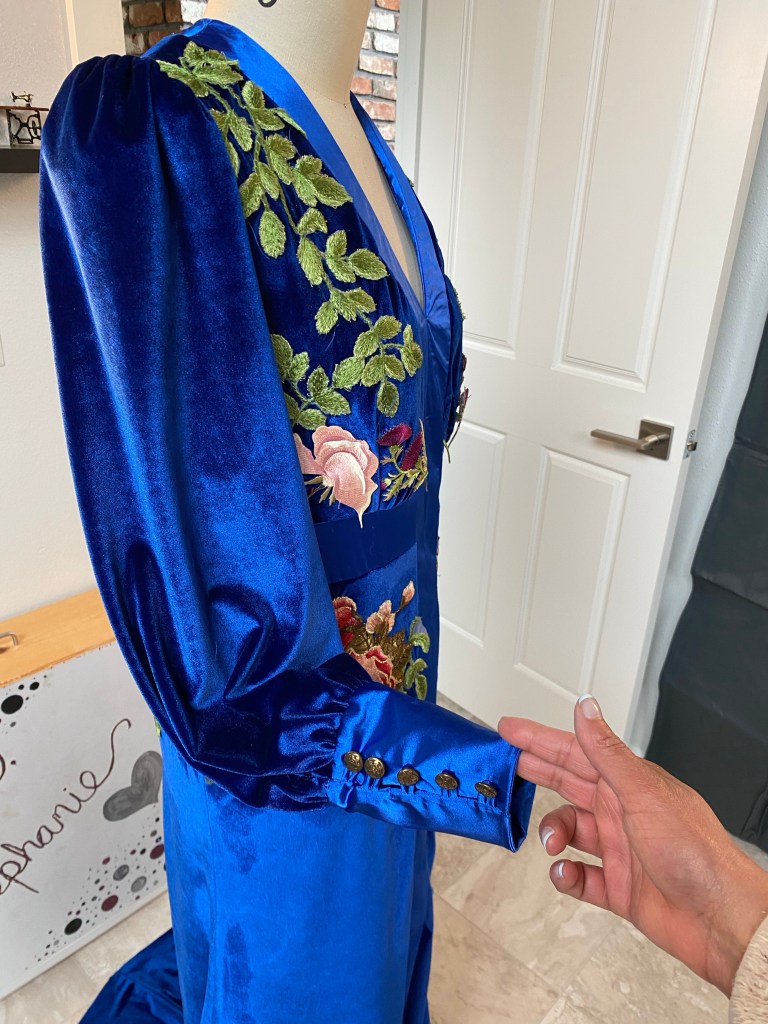
3: Modify the sleeves to not have the opening, and also be a different shape and add a cuff.
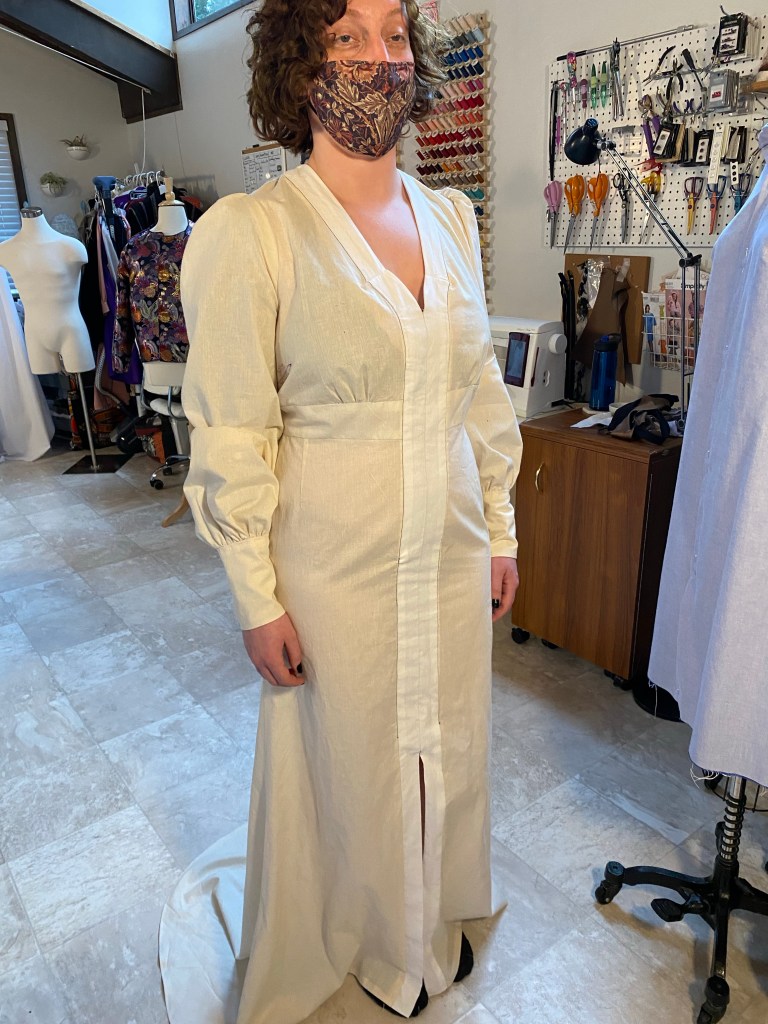
I made the changes to the pattern and made a mock up in muslin.


At the fitting, I took in here and there, but the general shape she was going for was spot on

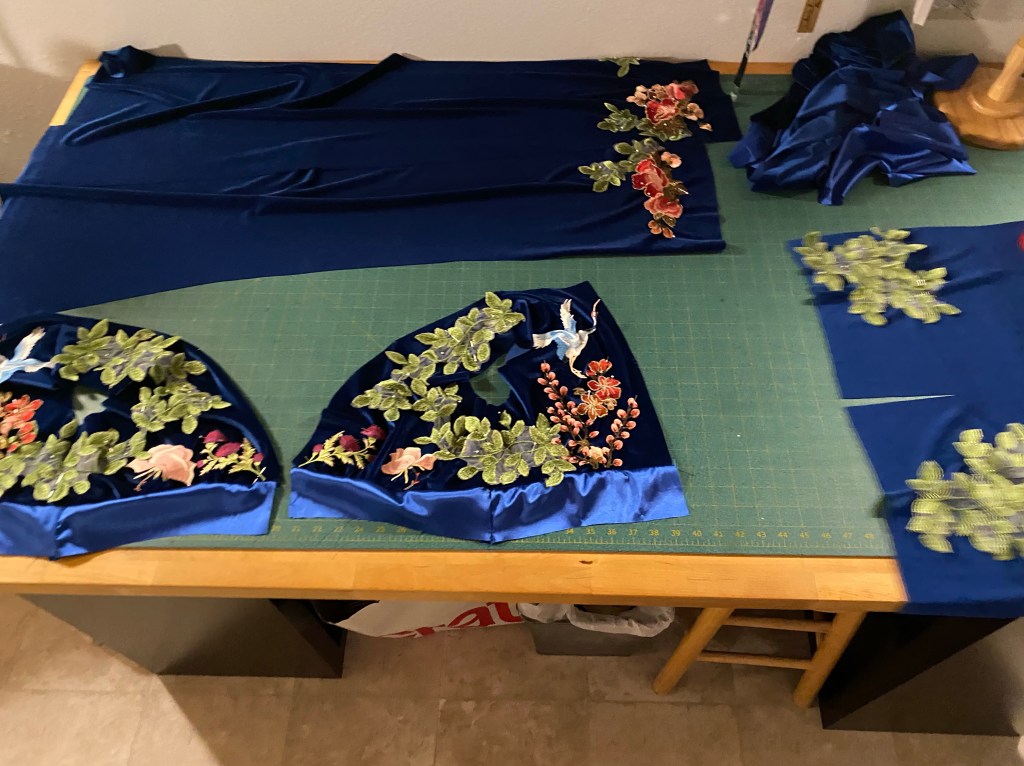
Once she received the fabric and embroidered appliqués she ordered, she brought them over and I made up the shell of the dress and basted it together for her to see it, and to have her place the appliqués where she wanted them on the dress.

She came by, and using her artistic visions and talents, placed and pinned the appliqués on the dress as she had in mind.


We decided that the cuff in satin with 5 of the vintage buttons would look best
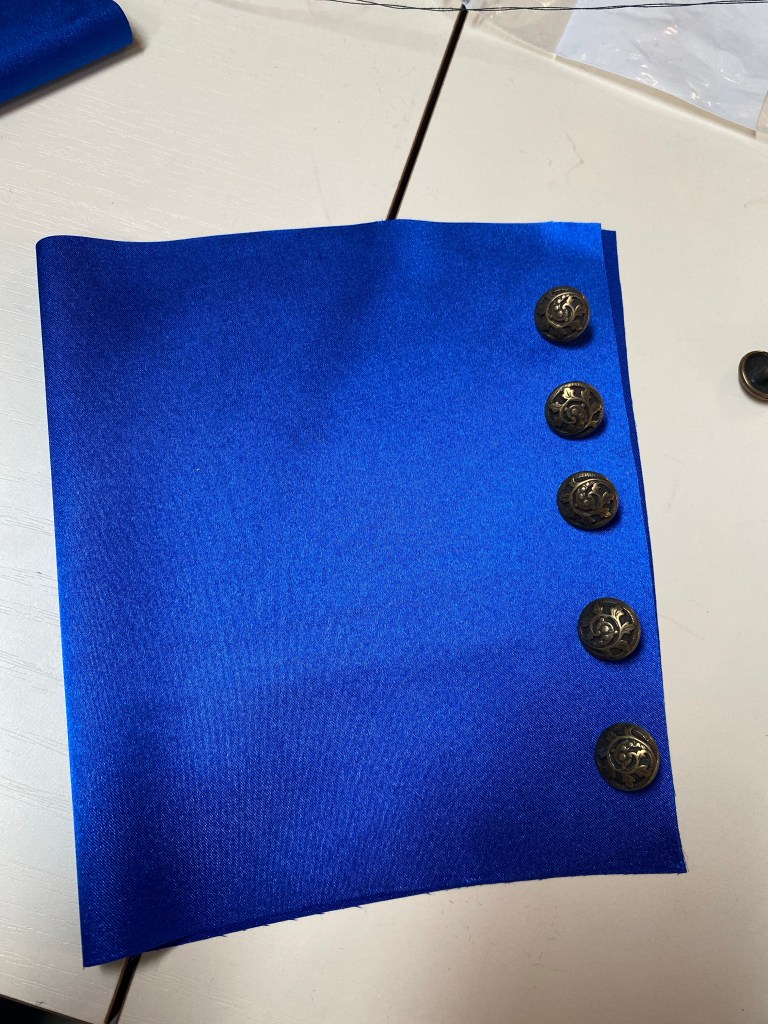
And one button for the the back neck closure (I actually used two of the buttons and made loops here).

Once all the placement was confirmed, I carefully pinned the appliqués securely to the dress pieces and removed it from the dress form.

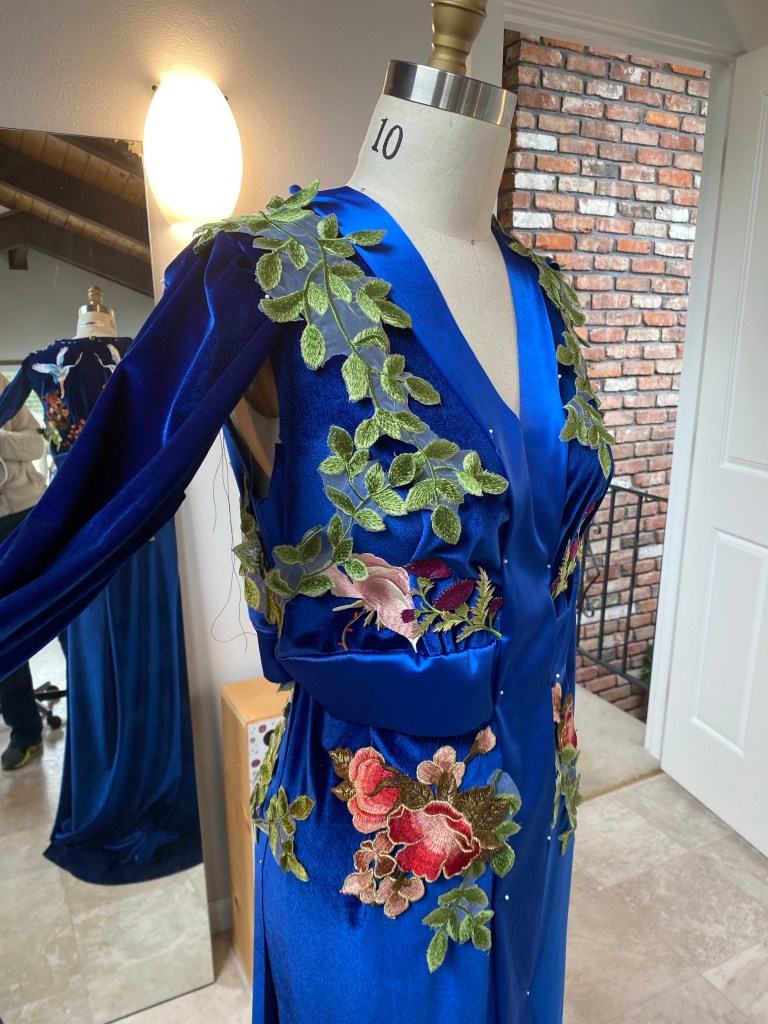
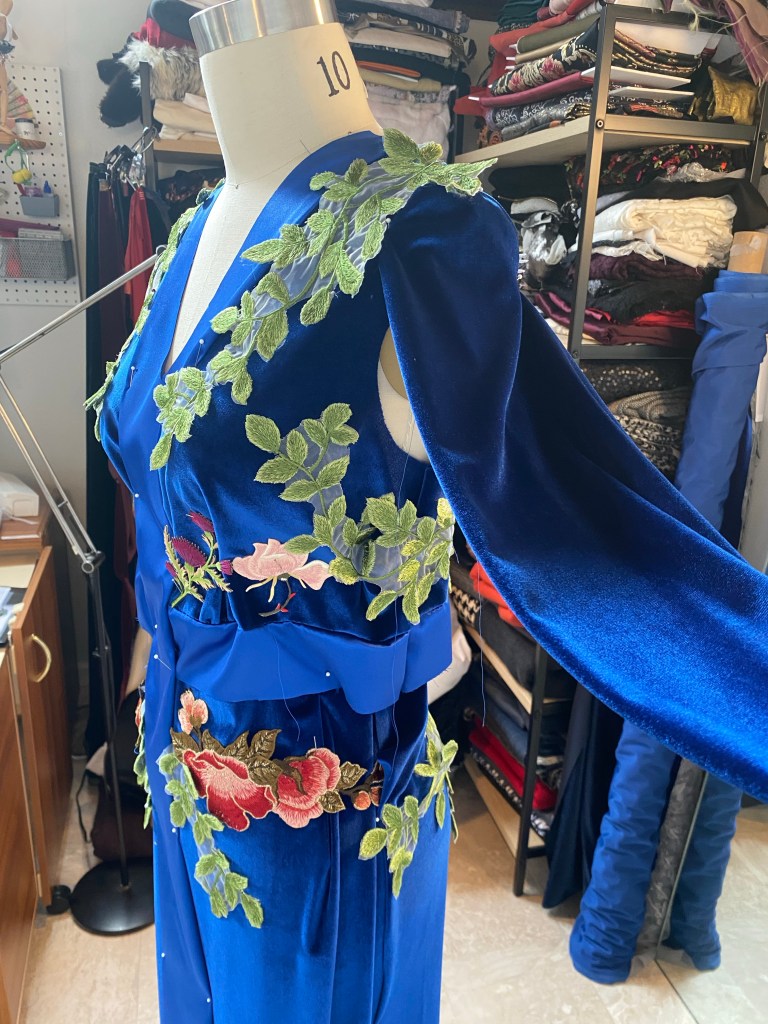
This is where the real work began. I spent literally hours, entire days, early mornings and late nights, sewing on each of the appliqués by hand. The vines took the most time as I sewed each leaf down to the velvet, then carefully trimming away the mesh backing from the appliqué.


With every step I completed, I kept the bride up to date with my progress how it was going (and also why it was taking so long!)
And on to the rest of the dress and the lining!
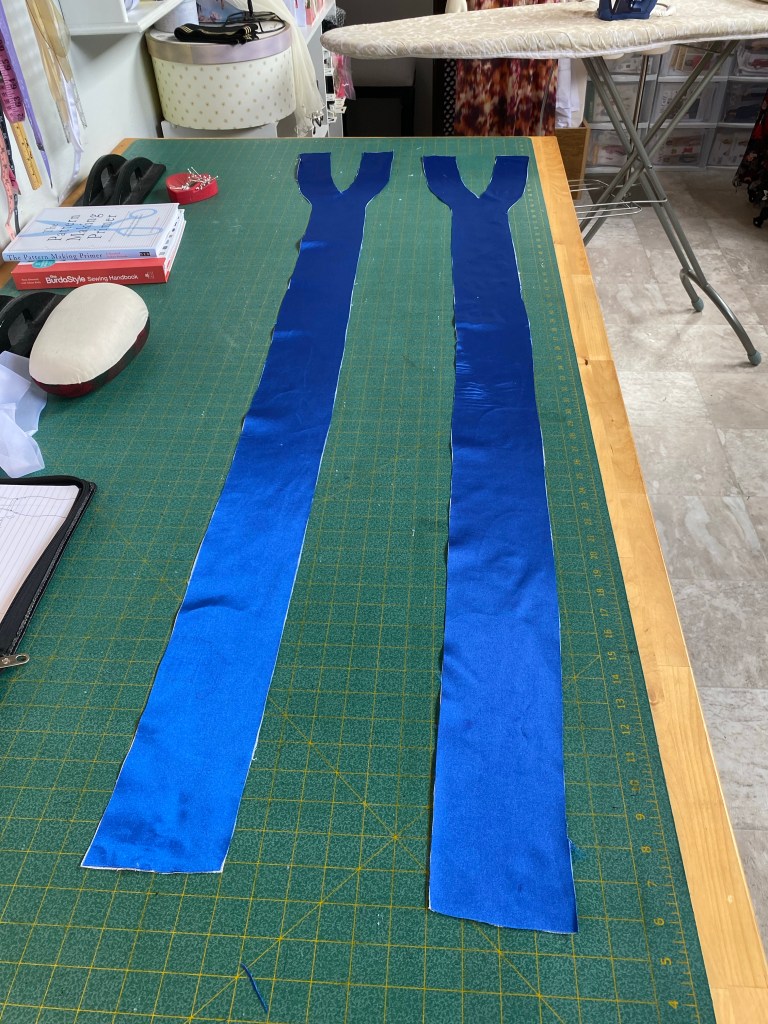

The sleeves were a big deal as we wanted a slight puff at the shoulder, a drapey lower sleeve with a dramatic cuff with buttons and loops.
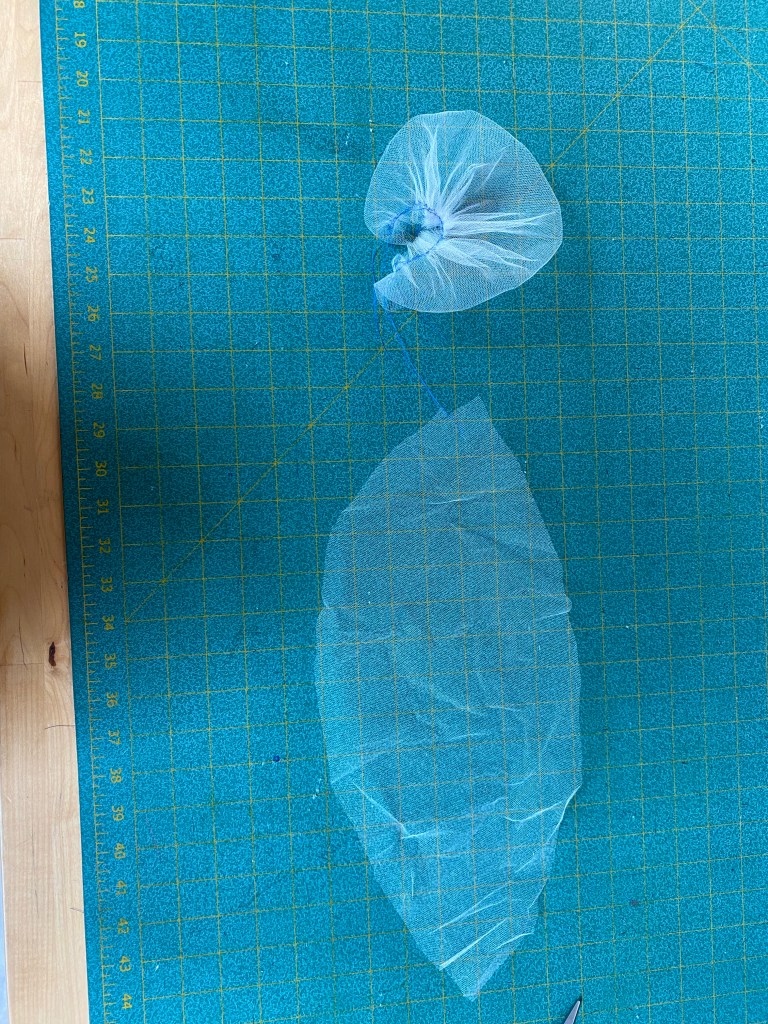
I created little “poufs” out of tulle to put into the sleeve head between the velvet and the lining. I made each pouf by cutting an oval shape out of the tulle, folded it and sewed it together to look kind of like a scrunchie or shower pouf, then sewing this to the shoulder seam on the inside of the sleeve. This trick turned out great to create the subtle lift to the shoulder


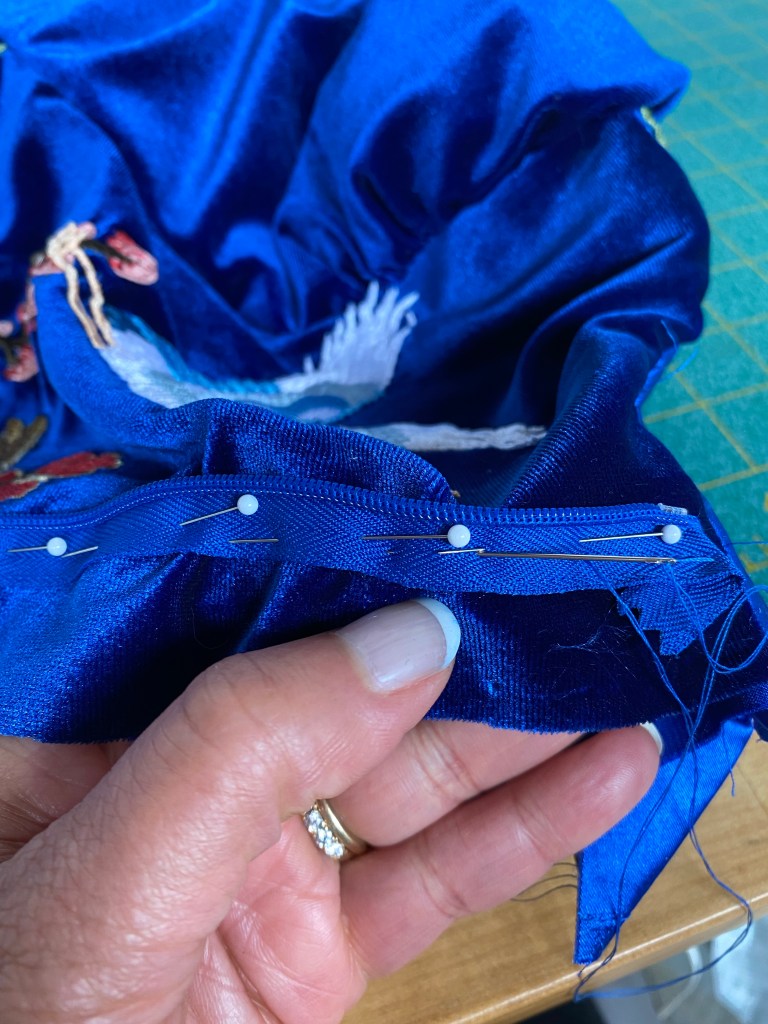
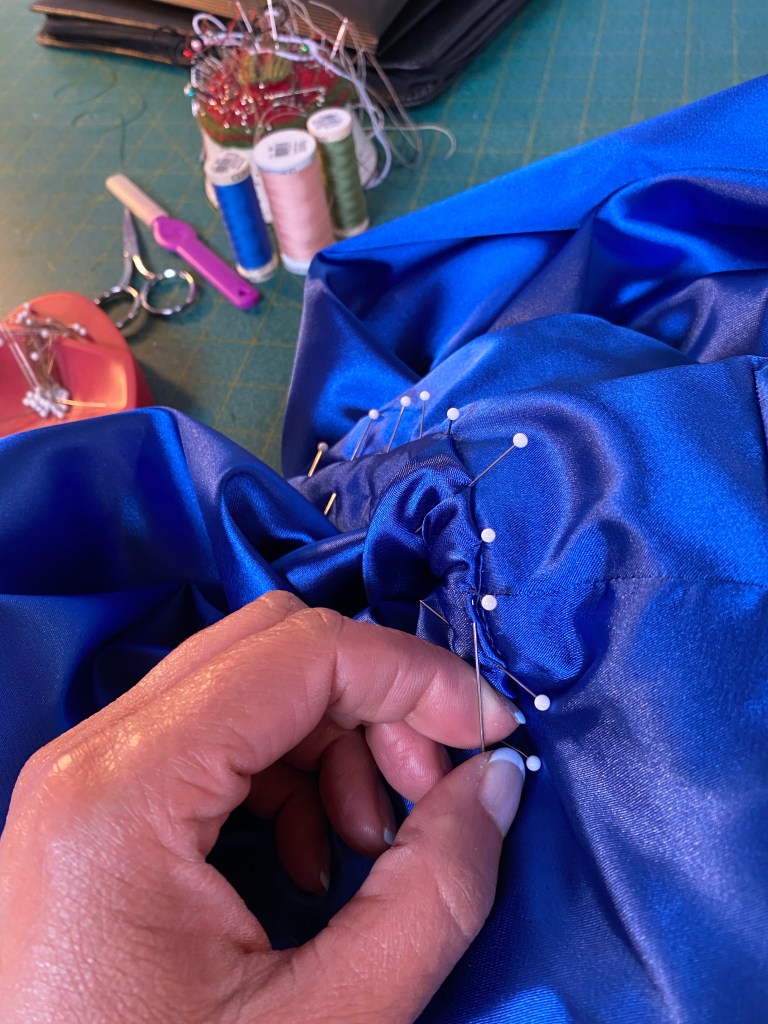
The light at the end of the tunnel was near (so was the wedding date!). The final touches included inserting the zipper, hand sewing the lining to the inside along the band, and the hem
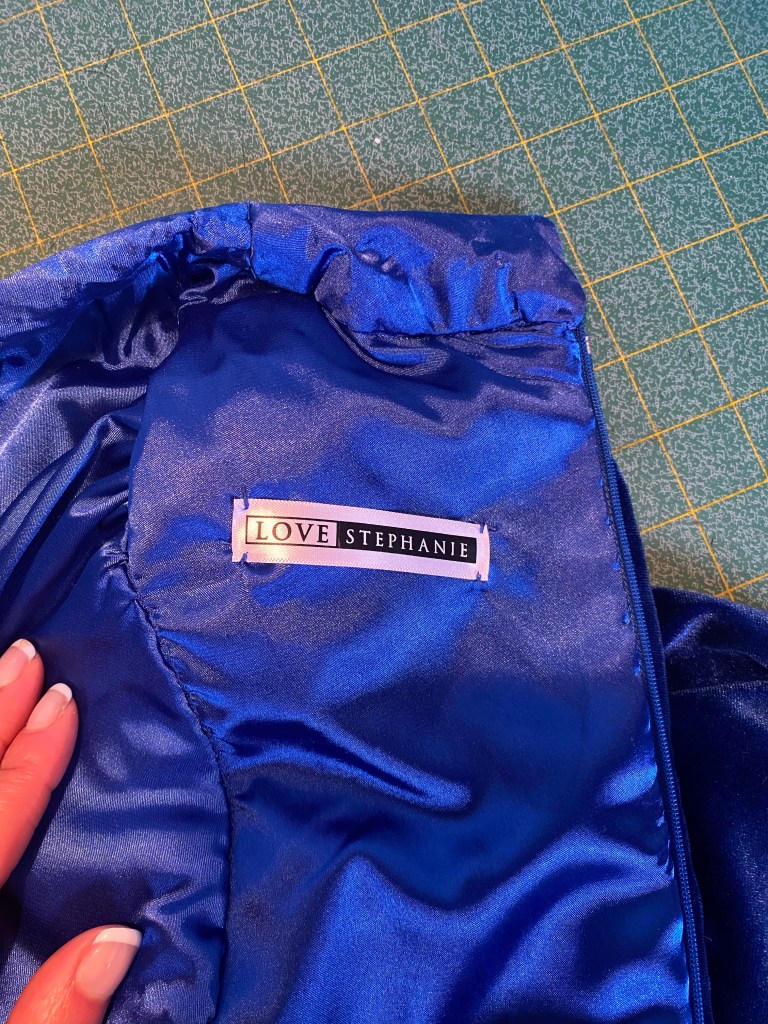
And sewing in my label of course
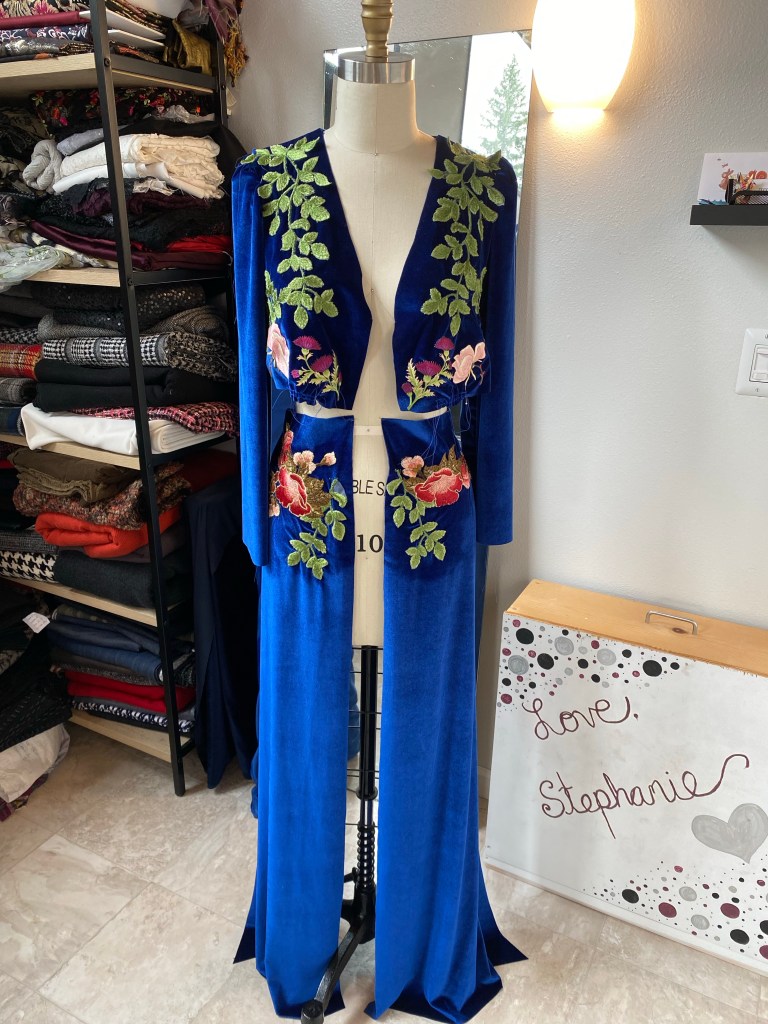
After the hem was made for both the dress and the lining, and little tacks sewn in to keep the lining in place, the dress was finally complete!
I was naturally nervous as heck when she was on her way over to pick up her finished dress. She slipped it on and it was PERFECT! Yay!


I felt such a sense of relief that she was so happy with her dress! She looks and feels beautiful in it and that was my goal all along, that is success to me!

Leave a comment