I just finished this maxi dress made from Simplicity 1355 pattern. It’s a halter style top with a drawstring tie closure and center front slit.
Brushstroke printed jersey knit maxi dress
It was fast and easy to make and is very comfortable to wear! My serger came in very handy with making some of the seams of this dress. I think I need to make about 2 more of these dresses for summer, one in black, and maybe another one in a nice solid color and/or another print. The possibilities are endless!
I used the fabric, lining, thread and zipper I won from the Mood Designer Fabric Facebook page fabric giveaway:
Mood Fabric giveaway bundle I won.
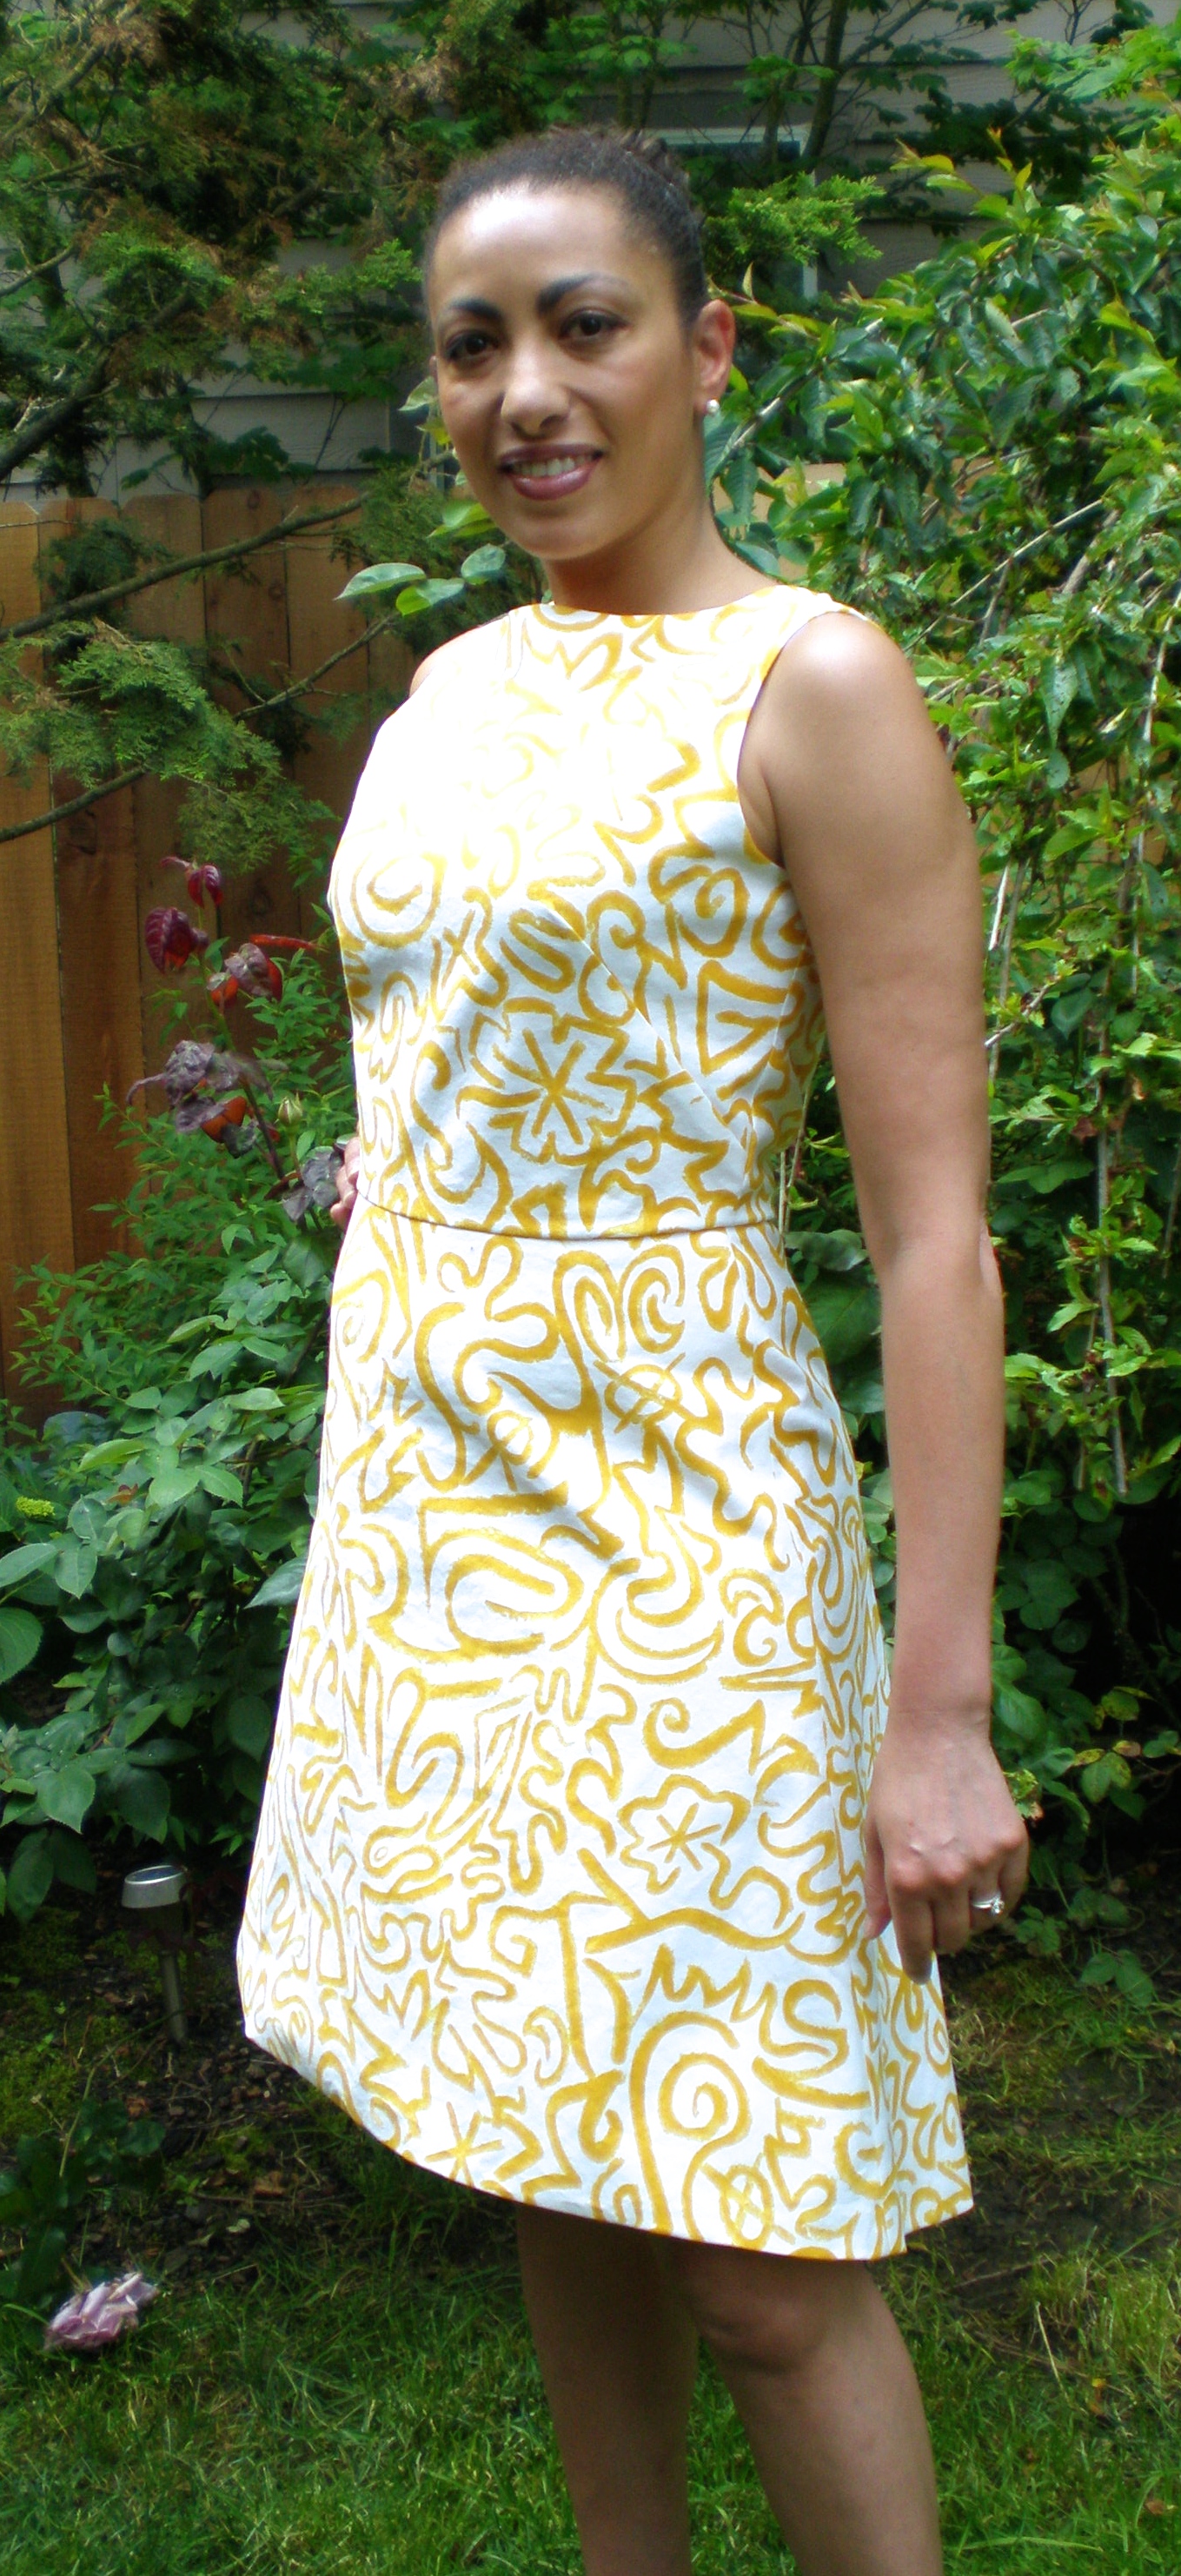
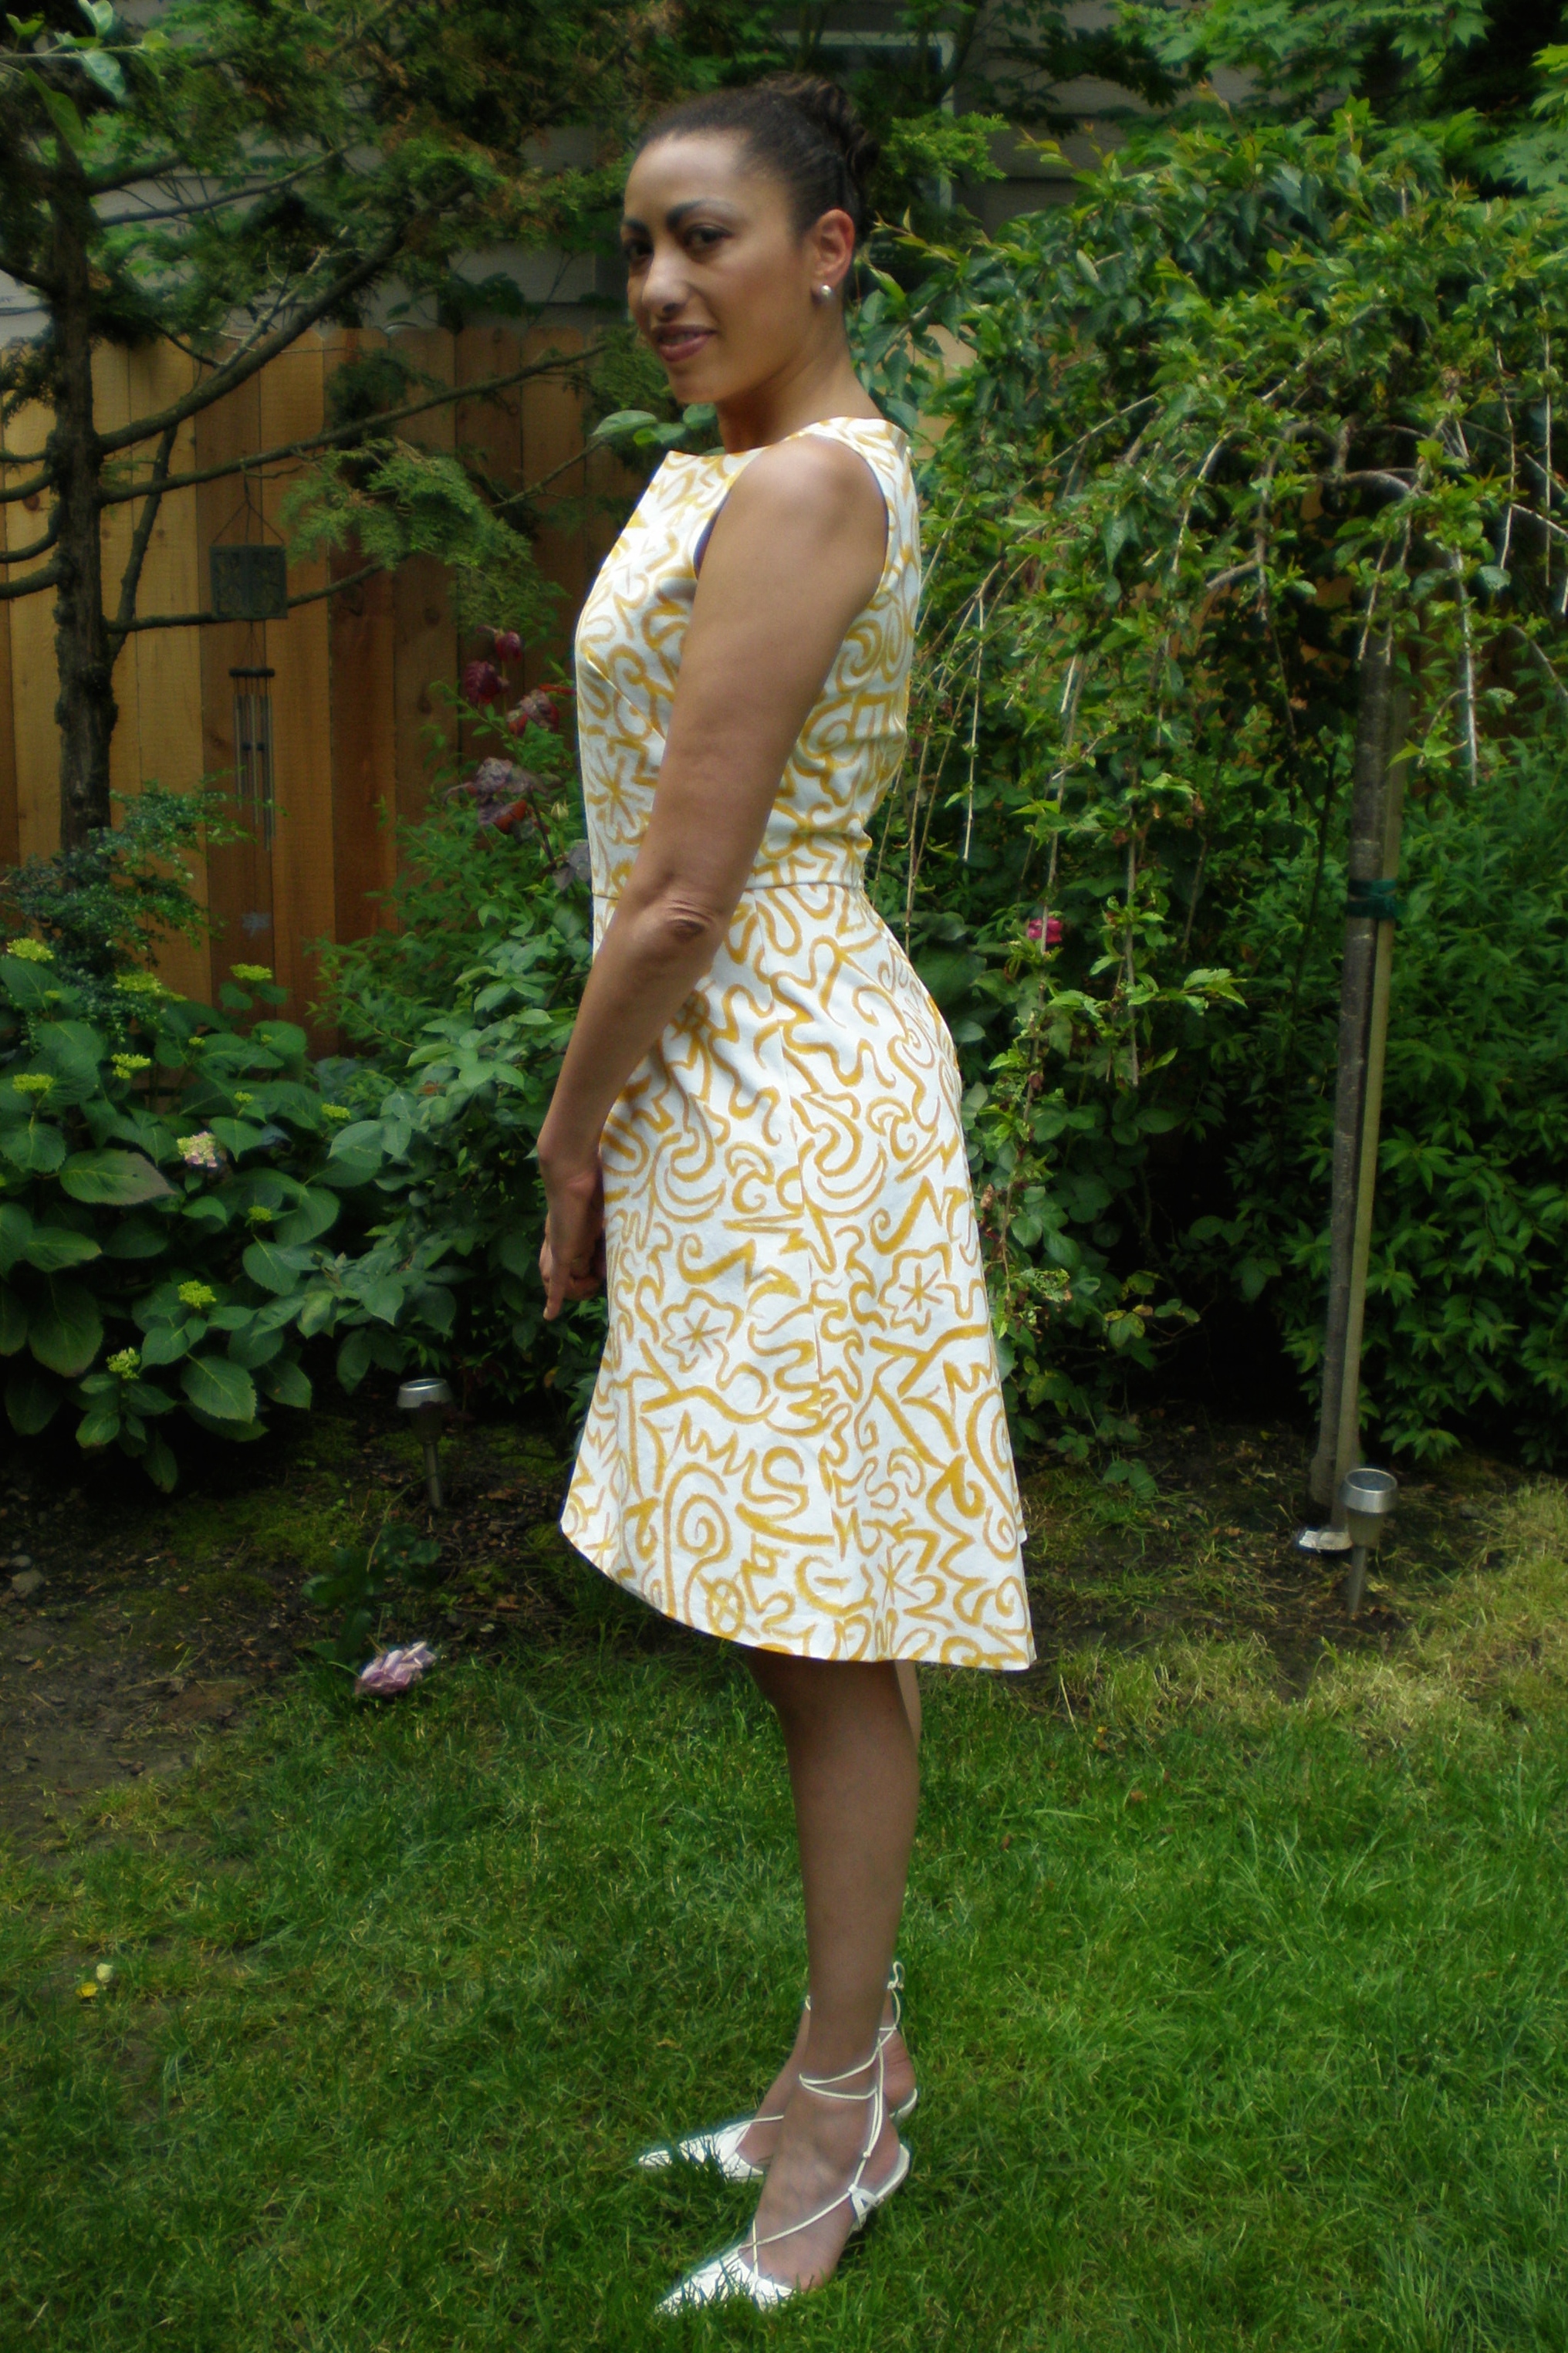
I wanted to make a cute summer dress to showcase the fun fabric with a peek of the matching lining, so I chose Butterick 6016 pattern view B:
Pattern illustration for Butterick 6016 view BLine drawings for Butterick 6016
I cut the bodice piece on the fold instead of making a center front seam so to not break up the fabric pattern. I did this for both the outer fabric as well as the lining:
The outcome of the dress is cute IMO, but not what I was hoping for. It is kind of plain and unexciting. I really should not have rushed to just enter something for this contest and cut it out in this pattern as it is really not all that special of a fun spring dress.
Honestly, I should have come up with my own design using this fun fabric and lining. I was envisioning a strapless dress with a short girlie skirt with a real Oscar de la Renta vibe to it. Argh! Oh well! I do like my dress and will wear it, but I am not 100% sold on my dress. It’s OK, but just OK, not worthy of this fabric 😦
Back of dressMy little boo Gidget Louise likes my dress
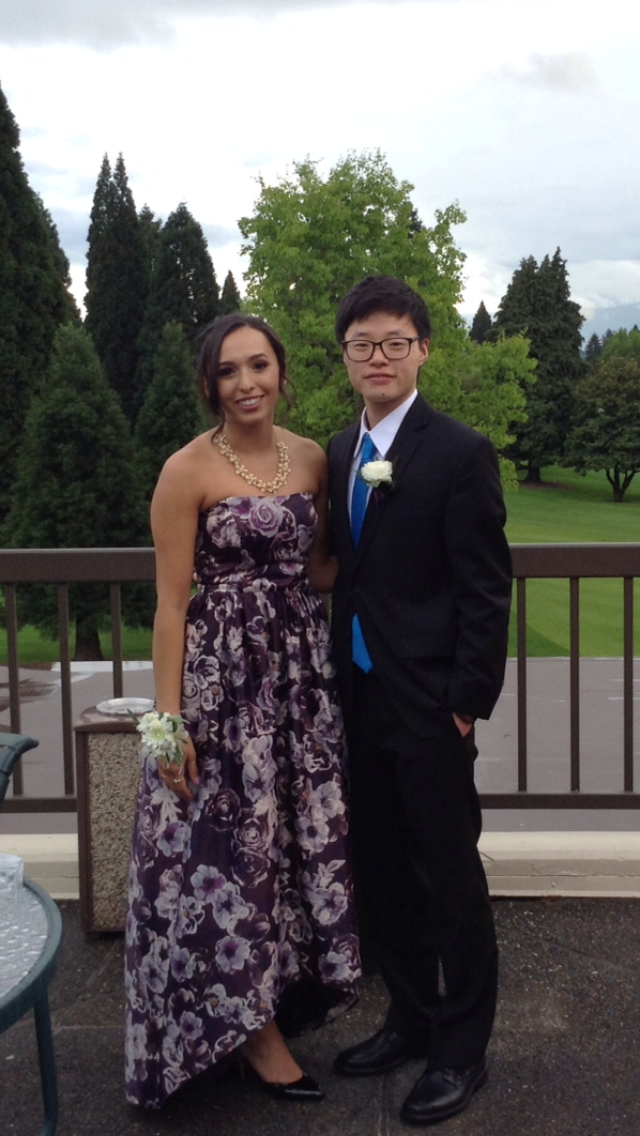
I met Crystal’s mother in the fabric store as she was asking a sales associate if she knew anyone who could sew a dress for her daughter. I was standing there as she asked the sales clerk and said, “I can!”, and that was the introduction to a wonderful and challenging journey.
Crystal shared with me what she was looking for in a prom dress, but could not find in stores or online for a reasonable cost.
This is what she showed me:
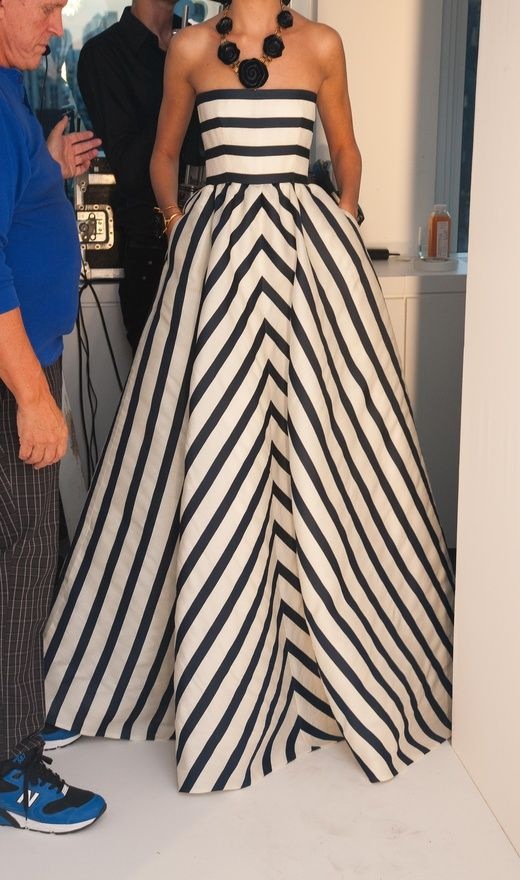
Oscar de la Renta hi/low hem Gown
Oscar de la Renta Mitered Striped Strapless Gown
I LOVE the gowns she showed me and was immediately excited to design her a dress similar to these gowns!
Then came the hard part: finding a suitable fabric that didn’t cost a small fortune per yard to made the dress out of. We went fabric shopping a couple of times together and she came across this lovely purple tones floral printed polyester satin for $8.99 a yard (and on sale 30% off!) and it was perfect for the dress. We also found a complimentary plum-colored lining for the dress that was only $3.99 a yard (also 30% off!).
I found some commercial patterns to try to get the look she was going for including Burda 7011 as shown below. She wanted the skirt of the gown to be gathered and not flat, like the Burda pattern was like, so I drafted the skirt myself using two large rectangles 3 times wider than the waist measurement to gather into the waist. She also wanted the front of the dress hem to be higher than the back, so I carefully drew in an arc shape at the front of the dress hem and cut the shape out of the outer and lining fabric.
Burda pattern I used for the bodice.
The gathering of the skirt and skirt lining proved to be one of the most challenging parts of making this dress! The fabric is heavy, slippery and frays like crazy, so I had to take my time to gather carefully and evenly all around the skirt and sew it to the bodice with precision.
Hemming the skirt was also a big challenge. At first, I wanted to make a deep, 2″ hem to give the skirt some weight and hang nicely, but as I pined and tried to sew this deep hem, it really was not working and caused major puckers and was not sitting flat against itself. So I ripped out all the stitching and just made a narrow hem at the bottom. My serger came in very handy for making this hem, and also to prevent fraying on the edges of the two fabrics.
We also decided to add a layer of tulle to the skirt to give it a little extra fullness.
Last fitting before completion
After the second fitting of the dress, which we did before I inserted the boning and installed the zipper, and we decided to add bra cups into the bodice for extra support in the dress and eliminate the need for a bra. Here is the interior of the bodice of the dress including the sewn-in bra cups, satin hanger loops and grosgrain ribbon waist stay (a belt-like support sewn into the dress to help support the weight of the skirt and keep the dress up).
interior of the dress
All in all, it was a great experience working with her and her mother to create the prom dress that she envisioned. I learned a lot along the way and hope to make more custom dresses for her and other clients in the near future.
I started to make this jacket from New Look 6035 pattern (part of a coordinates pattern) at the end of last summer. I got pretty far with it, but something or other distracted me and I put it aside. Well, I just picked it up last week and decided to finish it. I am trying really hard to finish projects that I have started before I move on to the next best thing that I just have to have. There are just so many things I want to sew!
This jacket is a simple design as it is unlined with princess seams and patch pockets, so I upped the construction factor by making Hong Kong finished seams for most of the seams. I used some leftover printed silk to make the bias strips for the seam bindings. This took about 6 times longer for each interior seam and the sleeve seams as the seams are sewn, then each seam allowance is bound by sewing a bias strip of the silk to both sides of the seam allowance. Lots of work, but it looks great on the inside.
Interior Hong Kong finished seam binding in progressGlimpse of interior of jacket over silk dress that I used the scraps from to make bias binding.
I am really happy with my newly completed (or should I say finally completed!) jacket.
interior of jacket
You will be seeing me in this jacket a lot!Back view of jacket
I have enough of the same fabric left to make a pant or a skirt (or even a little sheath dress!), so at some point, after I have gotten through my long, long list of sewing projects I want to accomplish, I will make a piece to make this into a nice linen suit. Exciting!
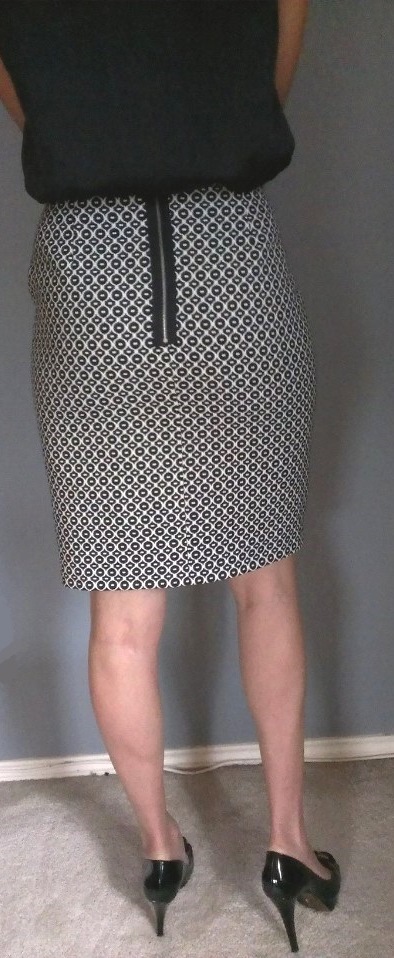
Pencil skirt made with geometric jaquard cotton fabric from Mood
Hi there!
I whipped up this nice pencil skirt on Sunday evening using Simplicity 1465 pattern in a great Italian cotton geometric print from Mood Fabrics online.
Black and white geometric cotton jaquard fabric
I swapped the invisible zipper for an exposed metal zipper for fun and to give the skirt a little edge.
Exposed metal zipper on back of pencil skirtSimplicity pattern 1465 for skirt in cotton and Simplicity pattern 1661 for the top in silk charmeuse
This skirt was a snap to sew up and took about 2 hours. It is unlined, and I figured this fabric didn’t really require a lining, and saves time sewing. A lining could easily be added to this pattern, using the skirt pattern pieces and the facing pattern pieces and doing a little pattern drafting from there.
My new Babylock serger was a big help with the seam finishes to finish the interior seam allowances and prevent fraying. I wanted to bind the seam edges and make a Hong-Kong finish, but I didn’t have any bias binding on hand and was not about to run out to the fabric store for the second time in one day, so I just serged the edges instead.
Here are some inspiration images I have for my pencil skirt:
Graphic pencil skirt on Victoria BeckhamTweed pencil skirt with leather.
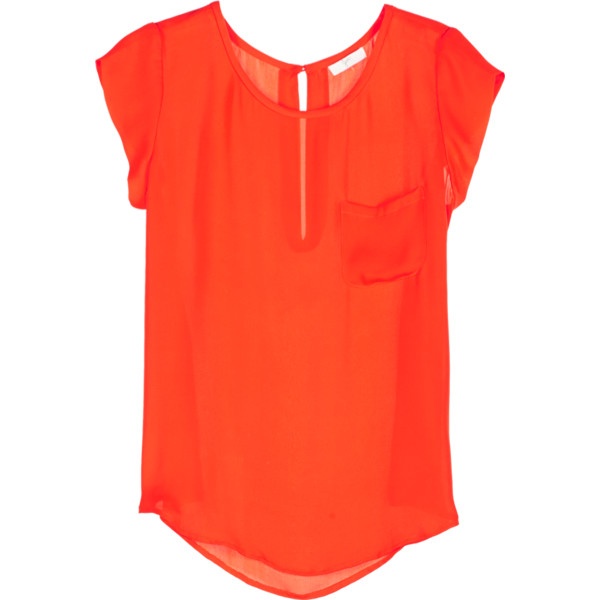
I made this top from Vogue 8907 view C in an orange stretch silk charmeuse. I love the asymetric hem of this top that gives it a little edge and reminds me of BCBG styles.
front view of topside view of topback view of top
The only changes I made to this pattern was to make French seams for the side and shoulder seams, and skip the neck and armhole facings and make self bias binding instead.
This was a pretty easy top to sew, but I was not thinking and did not measure the pattern before cutting and cut a small which is too small for me, so it is going to a good friend who is skinny, fit and adorable (don’t hate!) and I know she likes this kind of style.
I plan to make this pattern again for myself in a size or two larger as I think it is fun without being too edgy, plus I have some great BCBG shoes that would look really cool with this top!
A couple of style inspiration photos from BCBG:
style inspiration for the top in orange BCBG “Hadli” jumpsuit $248Style inspiration in black BCBG “Kenda” top $158
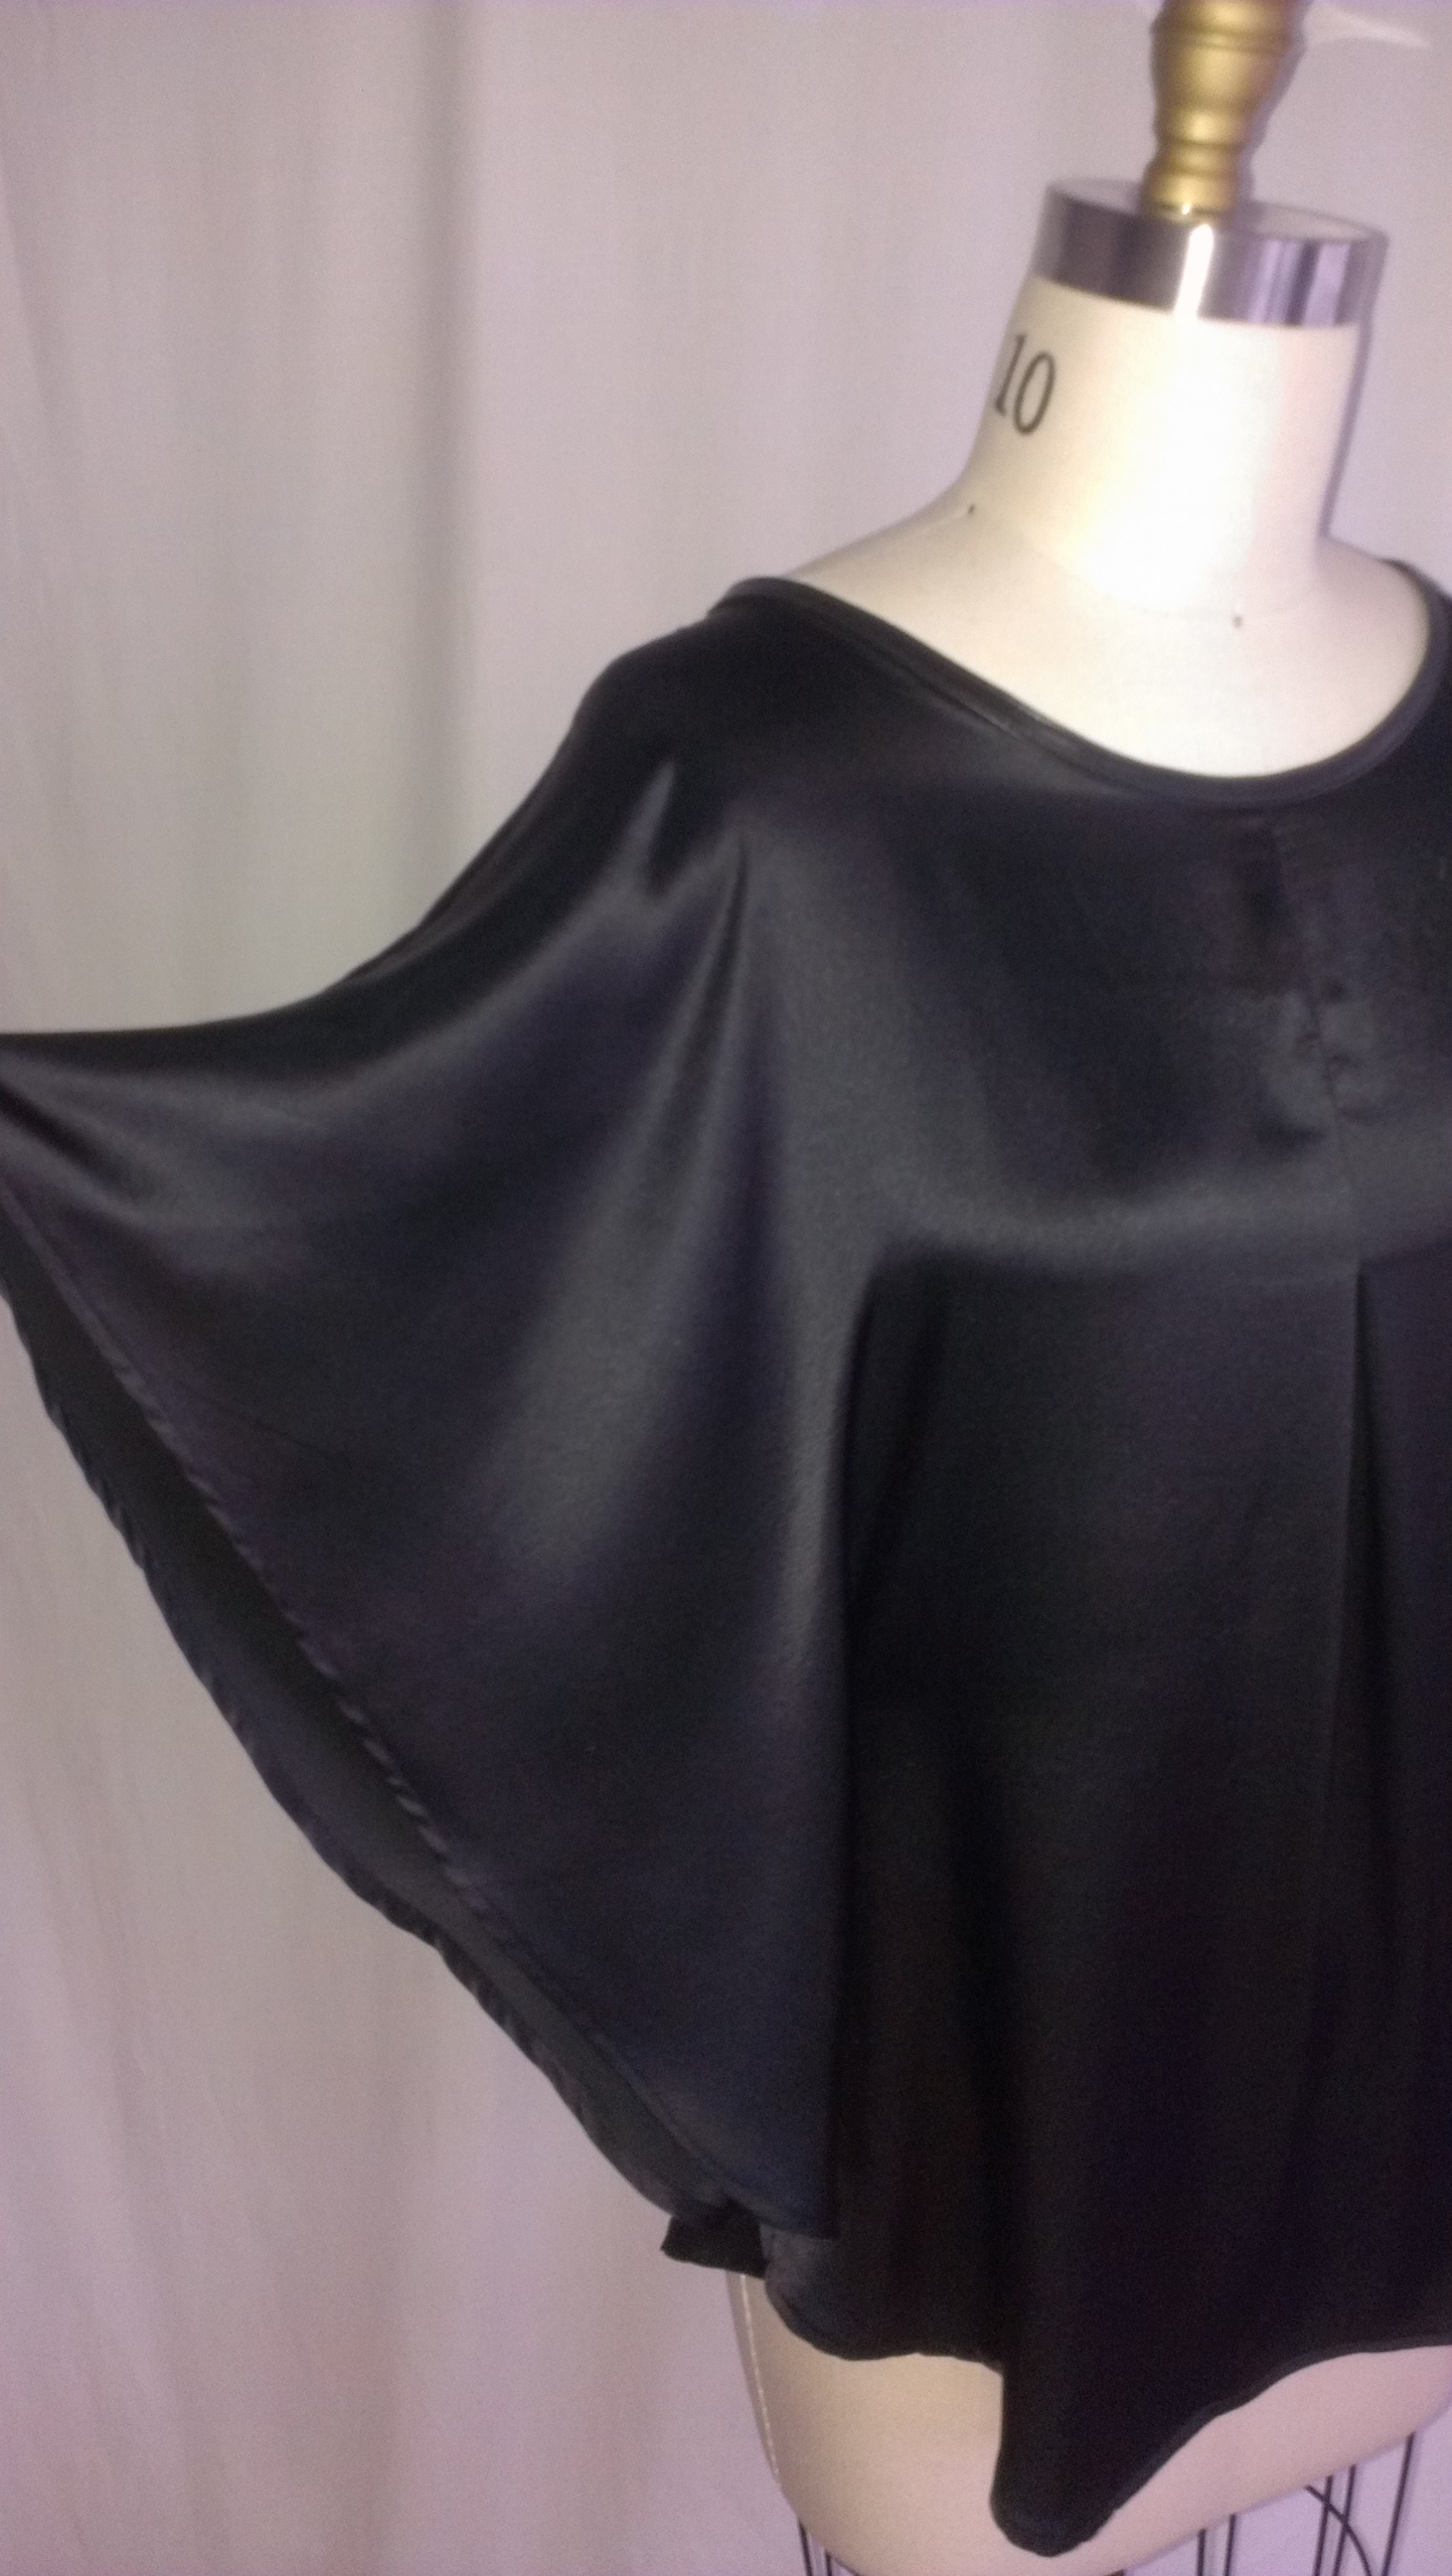
I made this kimono top from McCall’s 6510 sewing pattern as I wanted an easy, yet chic, silk top to wear. I thought it would be cool to add a little leather to the neckline and used some of the lambskin binding I have on hand.
It was a fairly easy and fast pattern to sew, just two semi-circle pattern pieces of the front and back and the neck binding. The challenging aspect of this top was handling the slippery silk charmeuse. The aggravation was worth it in the end as I really like this top. Here are a couple of photos in the process of sewing:
Using paper clips to hold the leather trim in place as I sew Top stitching the leather trim on to the neckline
I like the finished product quite well and hope to make more of these tops. I think solid or printed materials, and a variety of fabrications, would work well for this top. Even lengthening it into a little dress would work as well. I’m thinking if enough people like it and want one of their own to put one or two (or more!) up for sale.
Batwing/Kimono style topLooks great with a nice necklaceBack view of topDetail of leather neck binding“wing” sleeve of batwing top.
And. of course, I have an inspiration photo. This one I found on Polyvore from Givenchy selling for over $1,300! Wow, that is pricey!
Givenchy silk kimono top with leather trim selling for $1,321
Think I did OK copying it, or at least getting the general style idea?
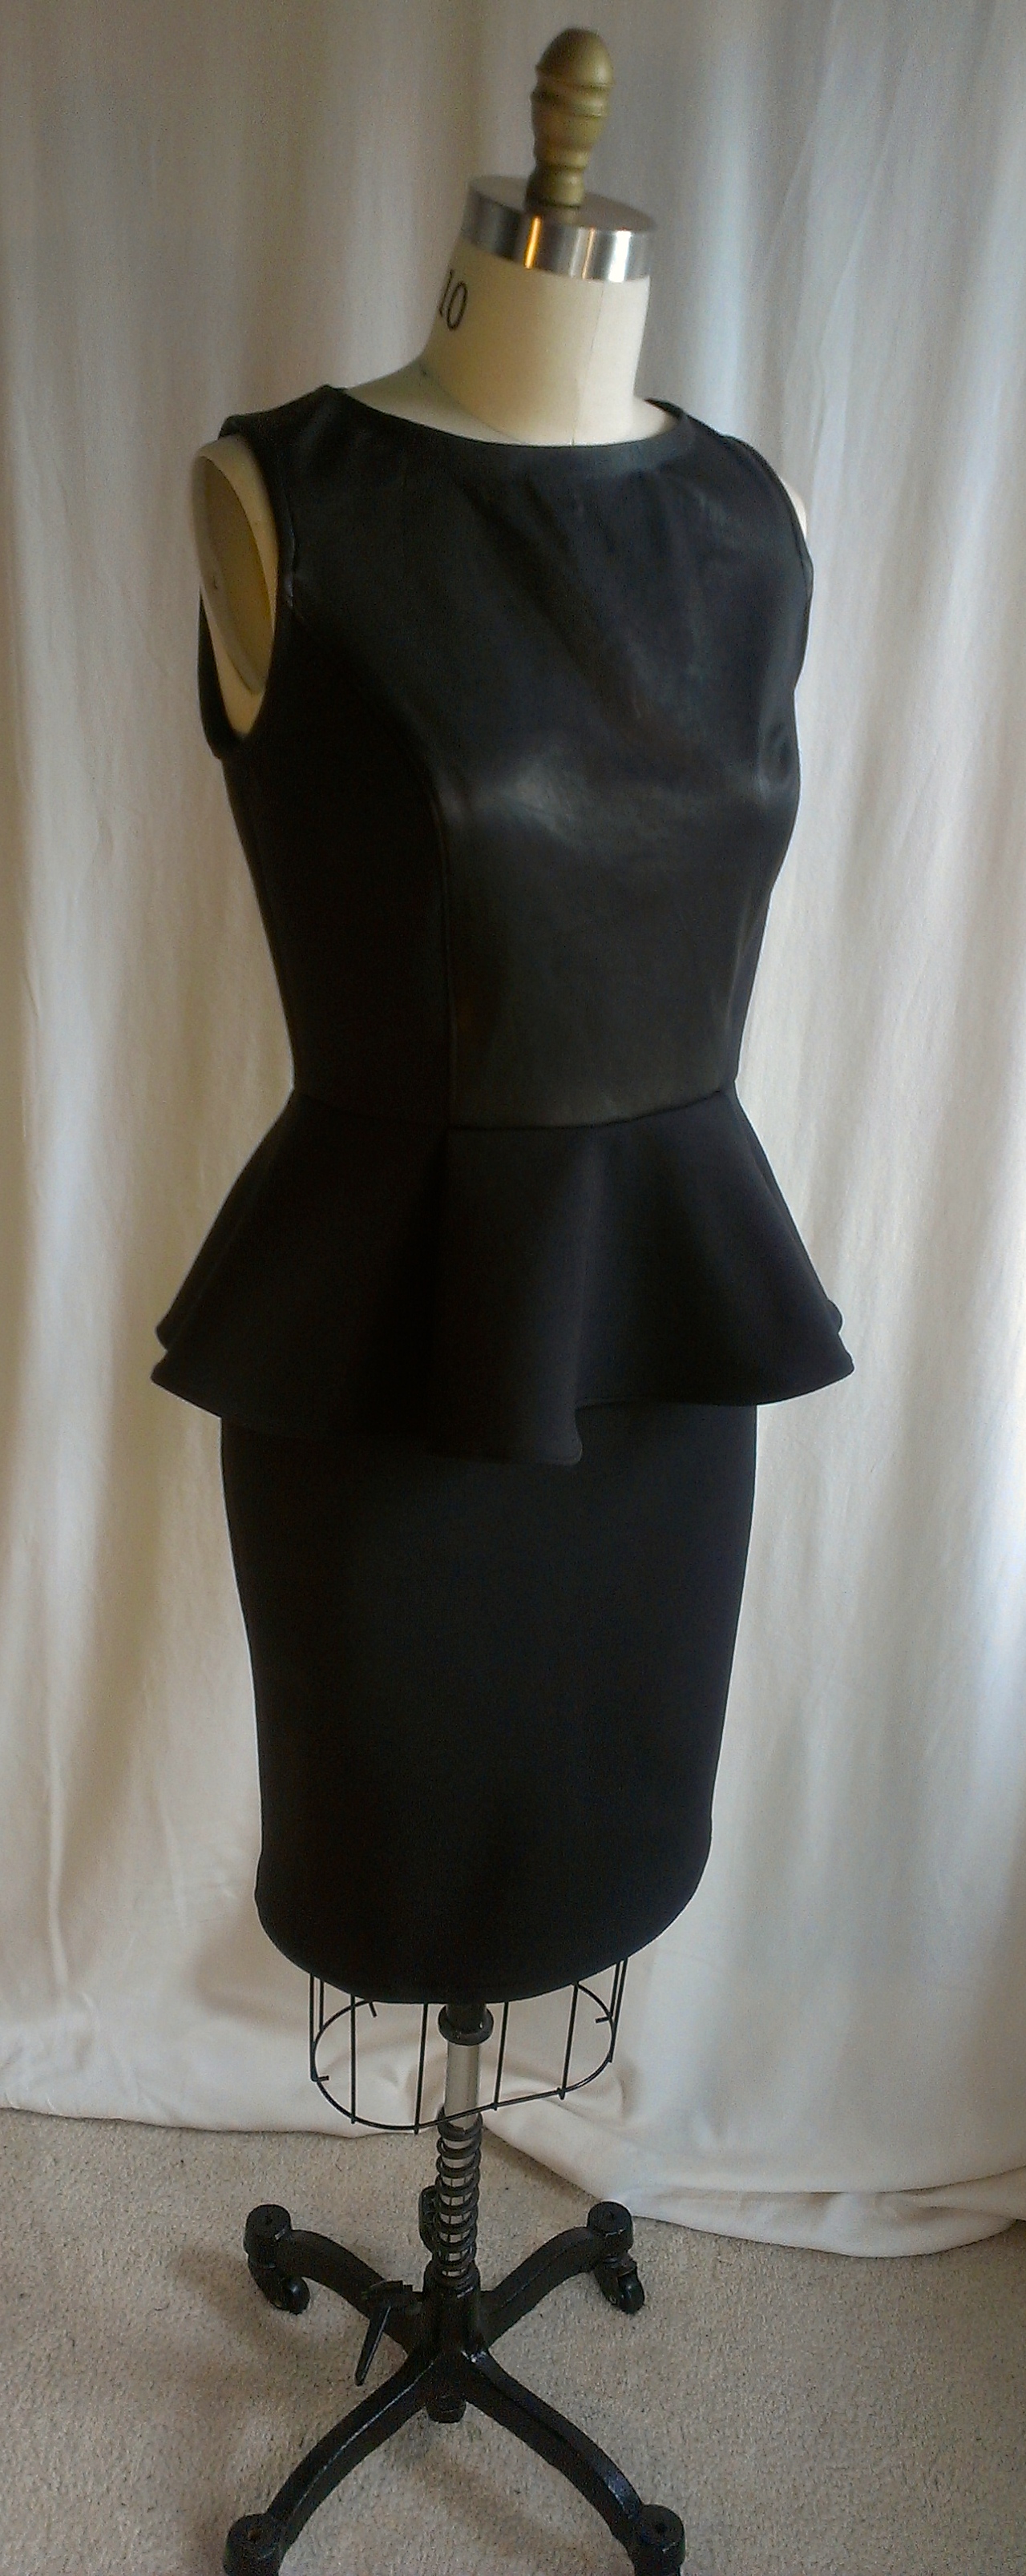
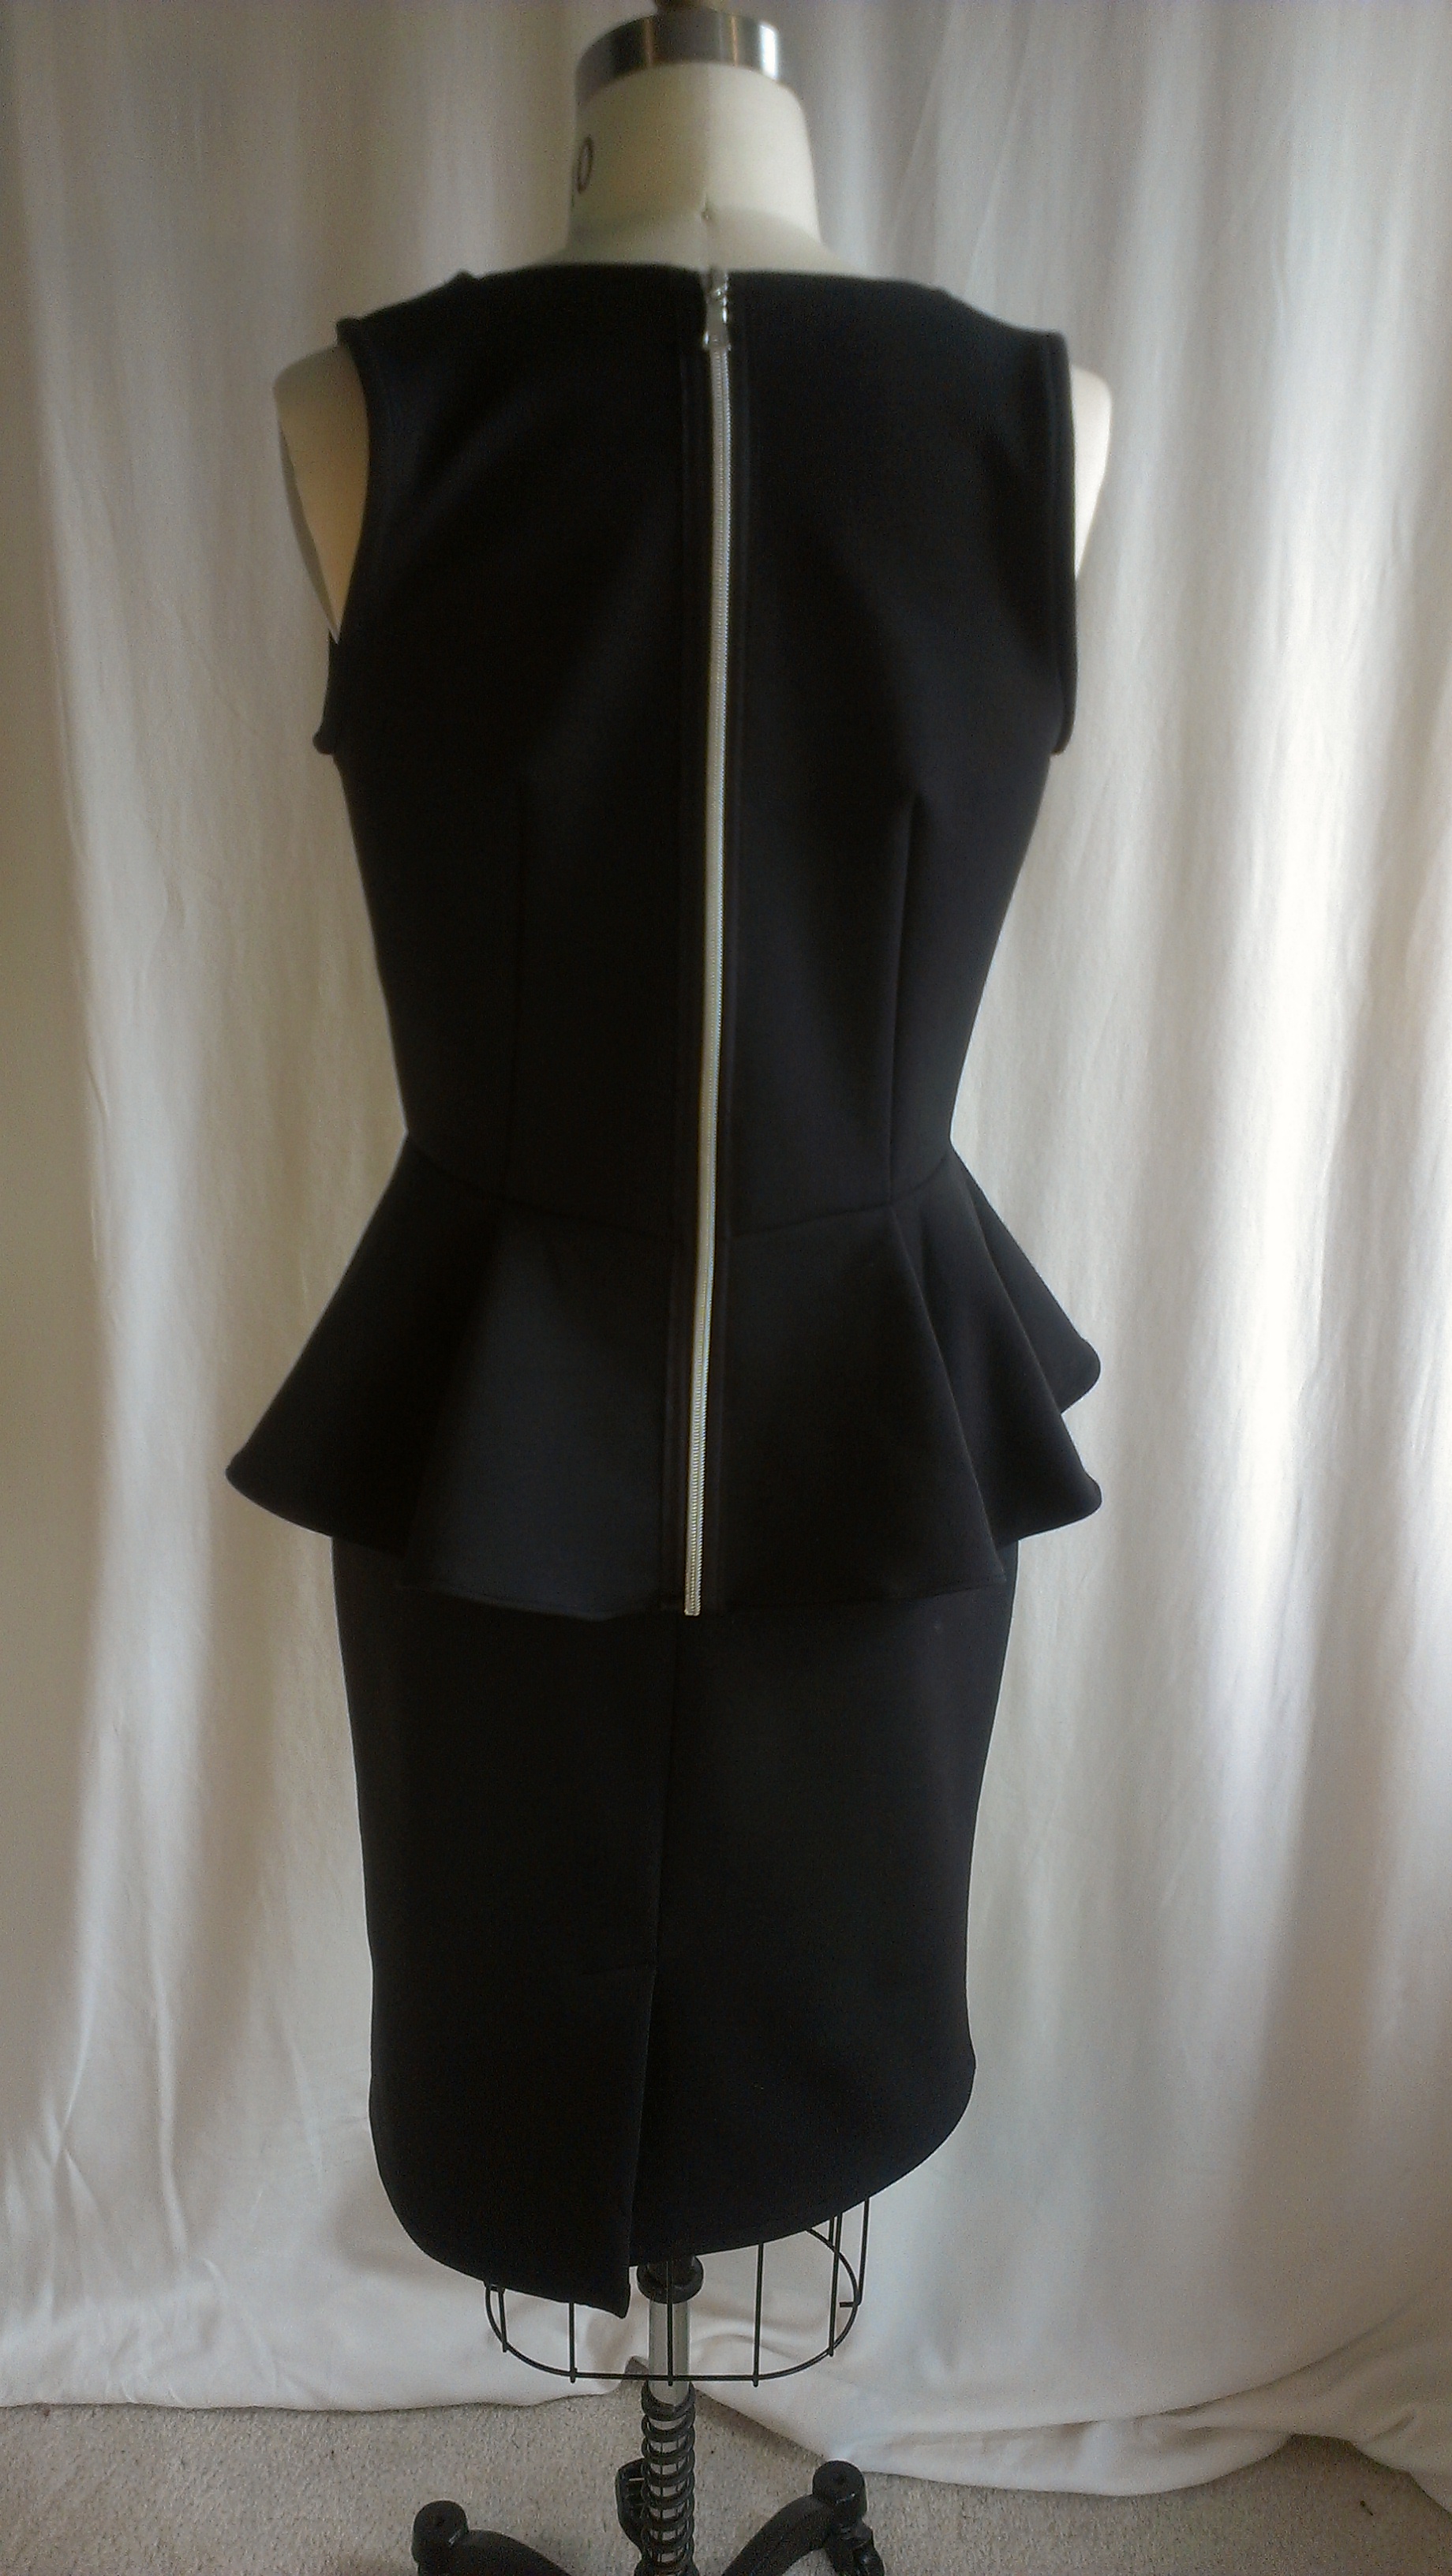
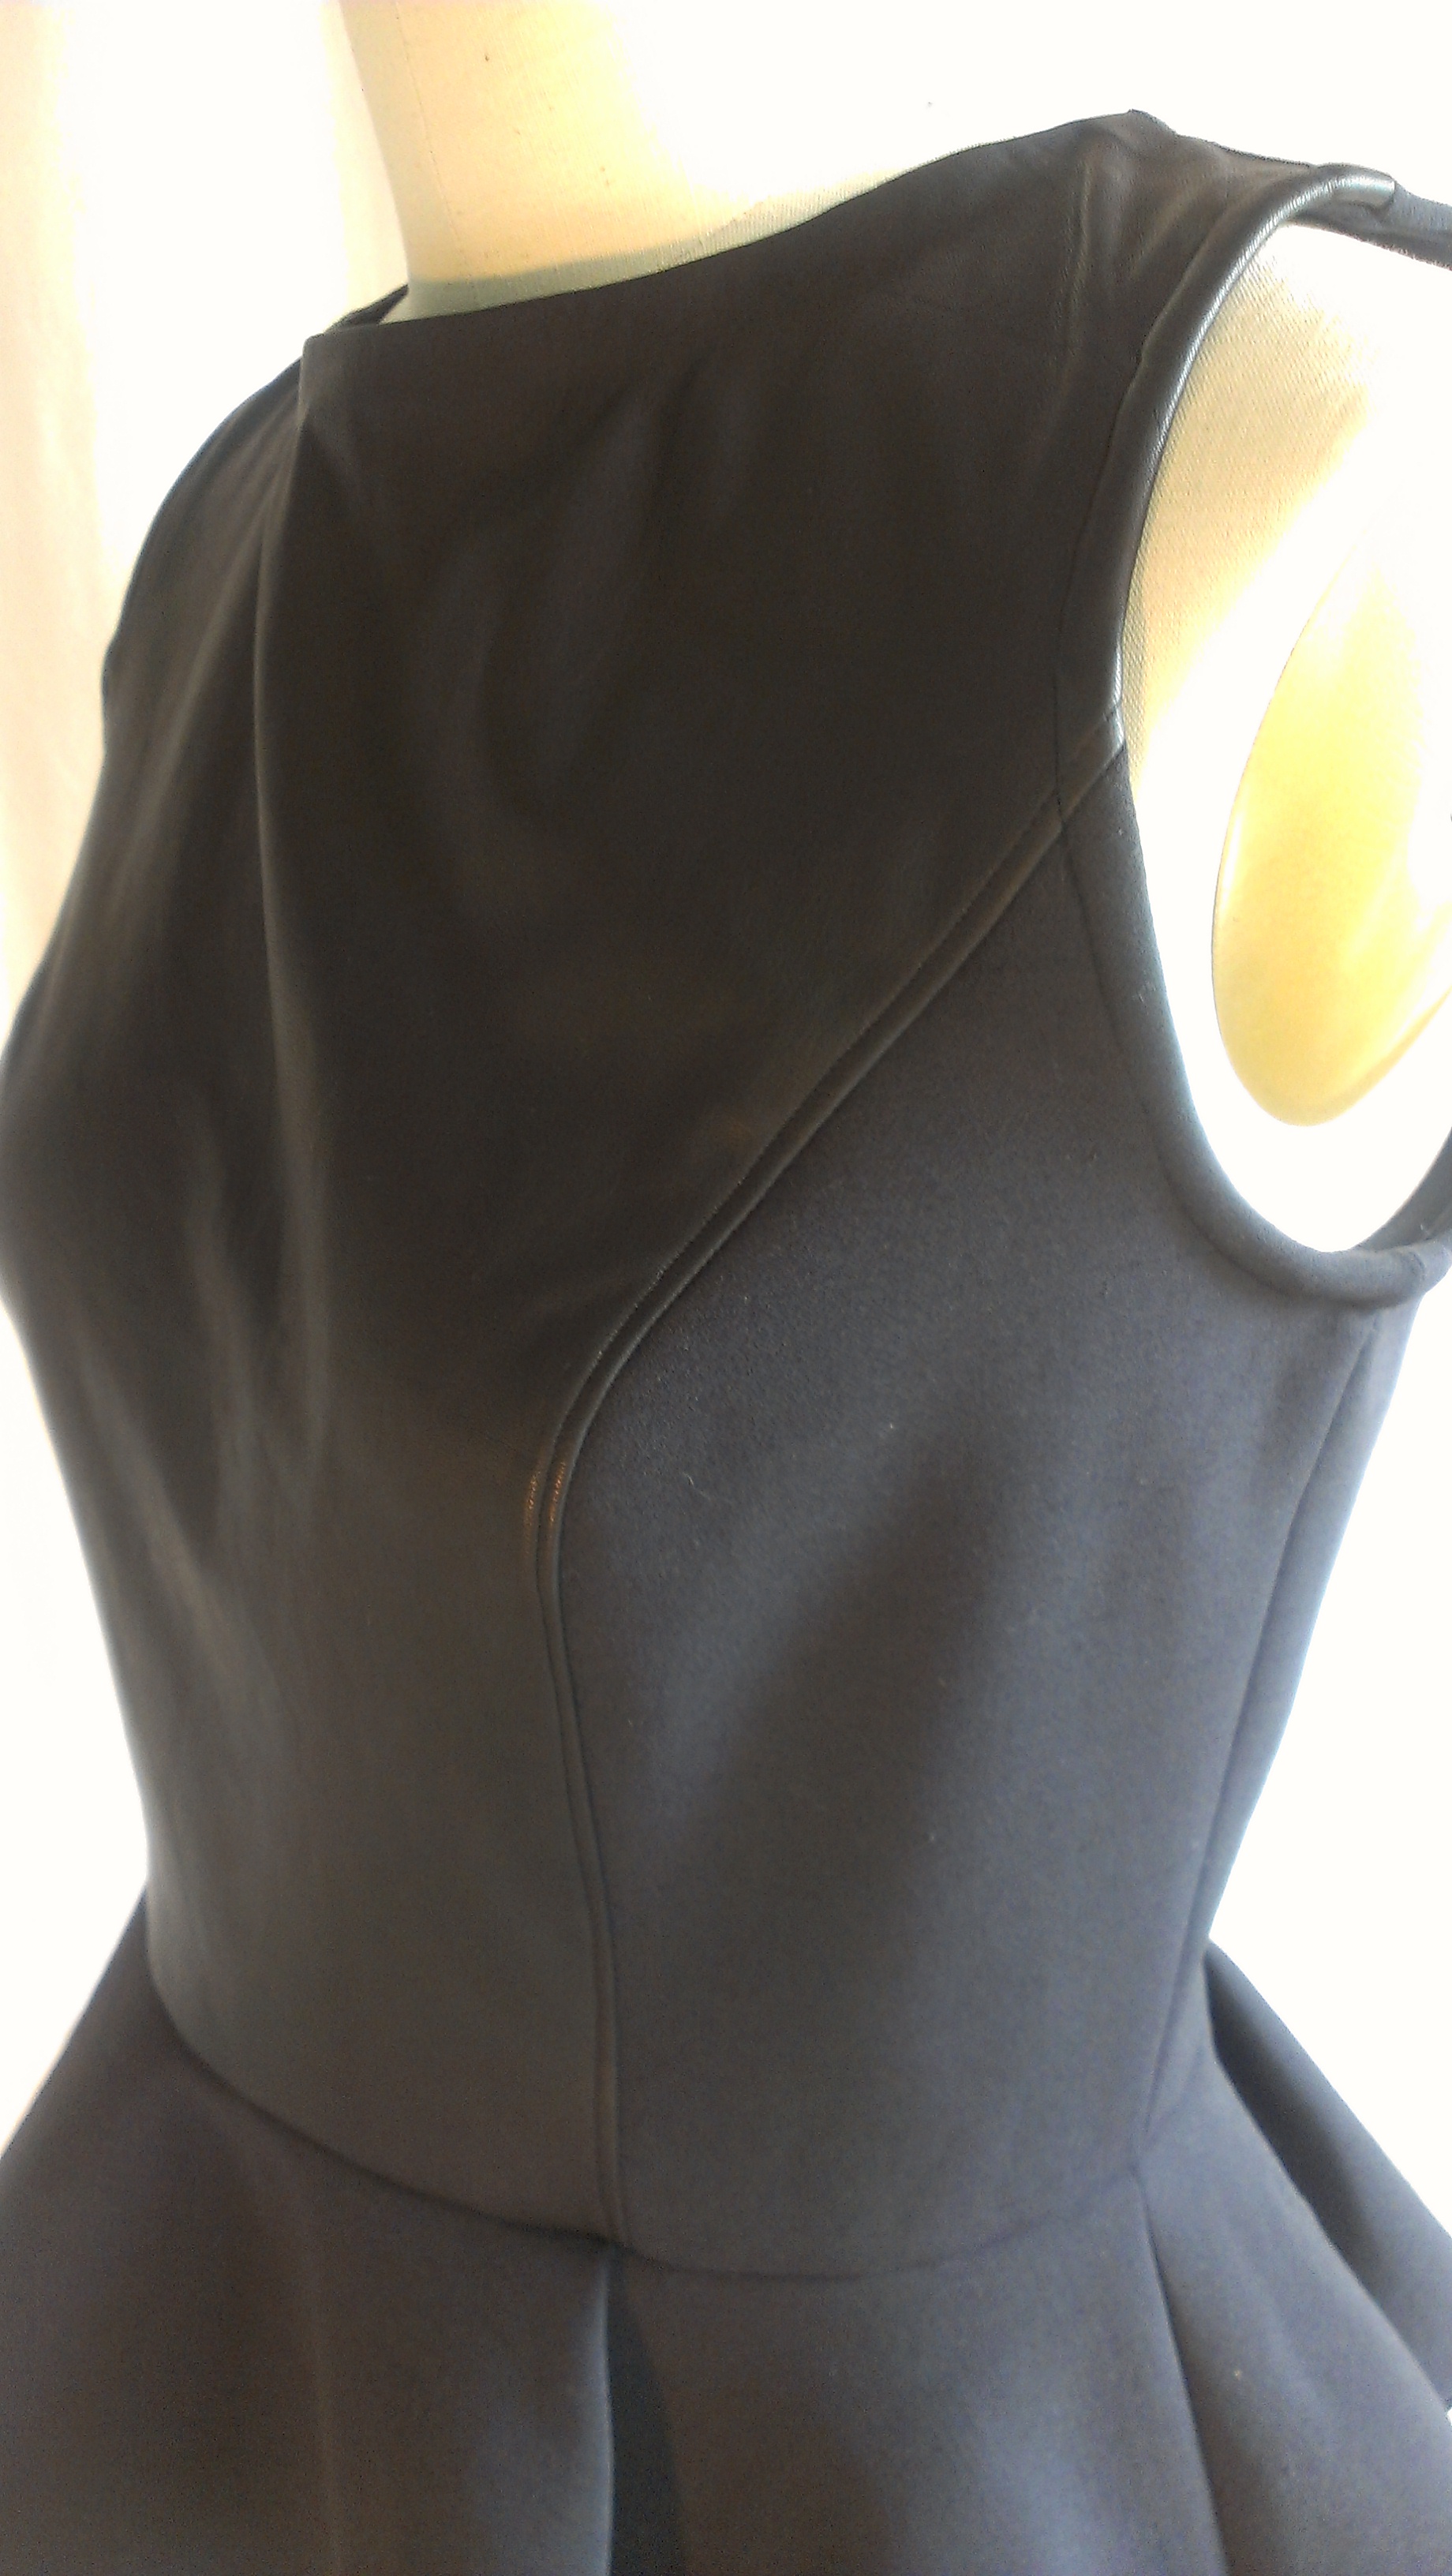
I made this top and skirt yesterday to wear as an usher at Fashion Week fashion show next weekend. I had some leather in my stash I got at Tandy Leather in Portland and used a mystery thick ponte knit (I think this was actually a neoprene fabric) I bought over a year ago at Mill End for the rest of the top and matching pencil skirt. I used New Look pattern 6130 for the outfit.
I may be a little late to the peplum party, but I have found some similar dresses online at high end retailers such as these pricey ones:
\ faux leather bodice peplum dress $595Raoul $395
I can’t wait to wear this to the fashion event!
Update: Here I am wearing my outfit at a fashion show in October 2014. I got tons of compliments on this dress, and was asked if I have a line of clothing! I think I’d better get on that request and start designing for real!
Posing with some of my fashion friends at the 2014 FashioNXT fashion show in Portland Oregon
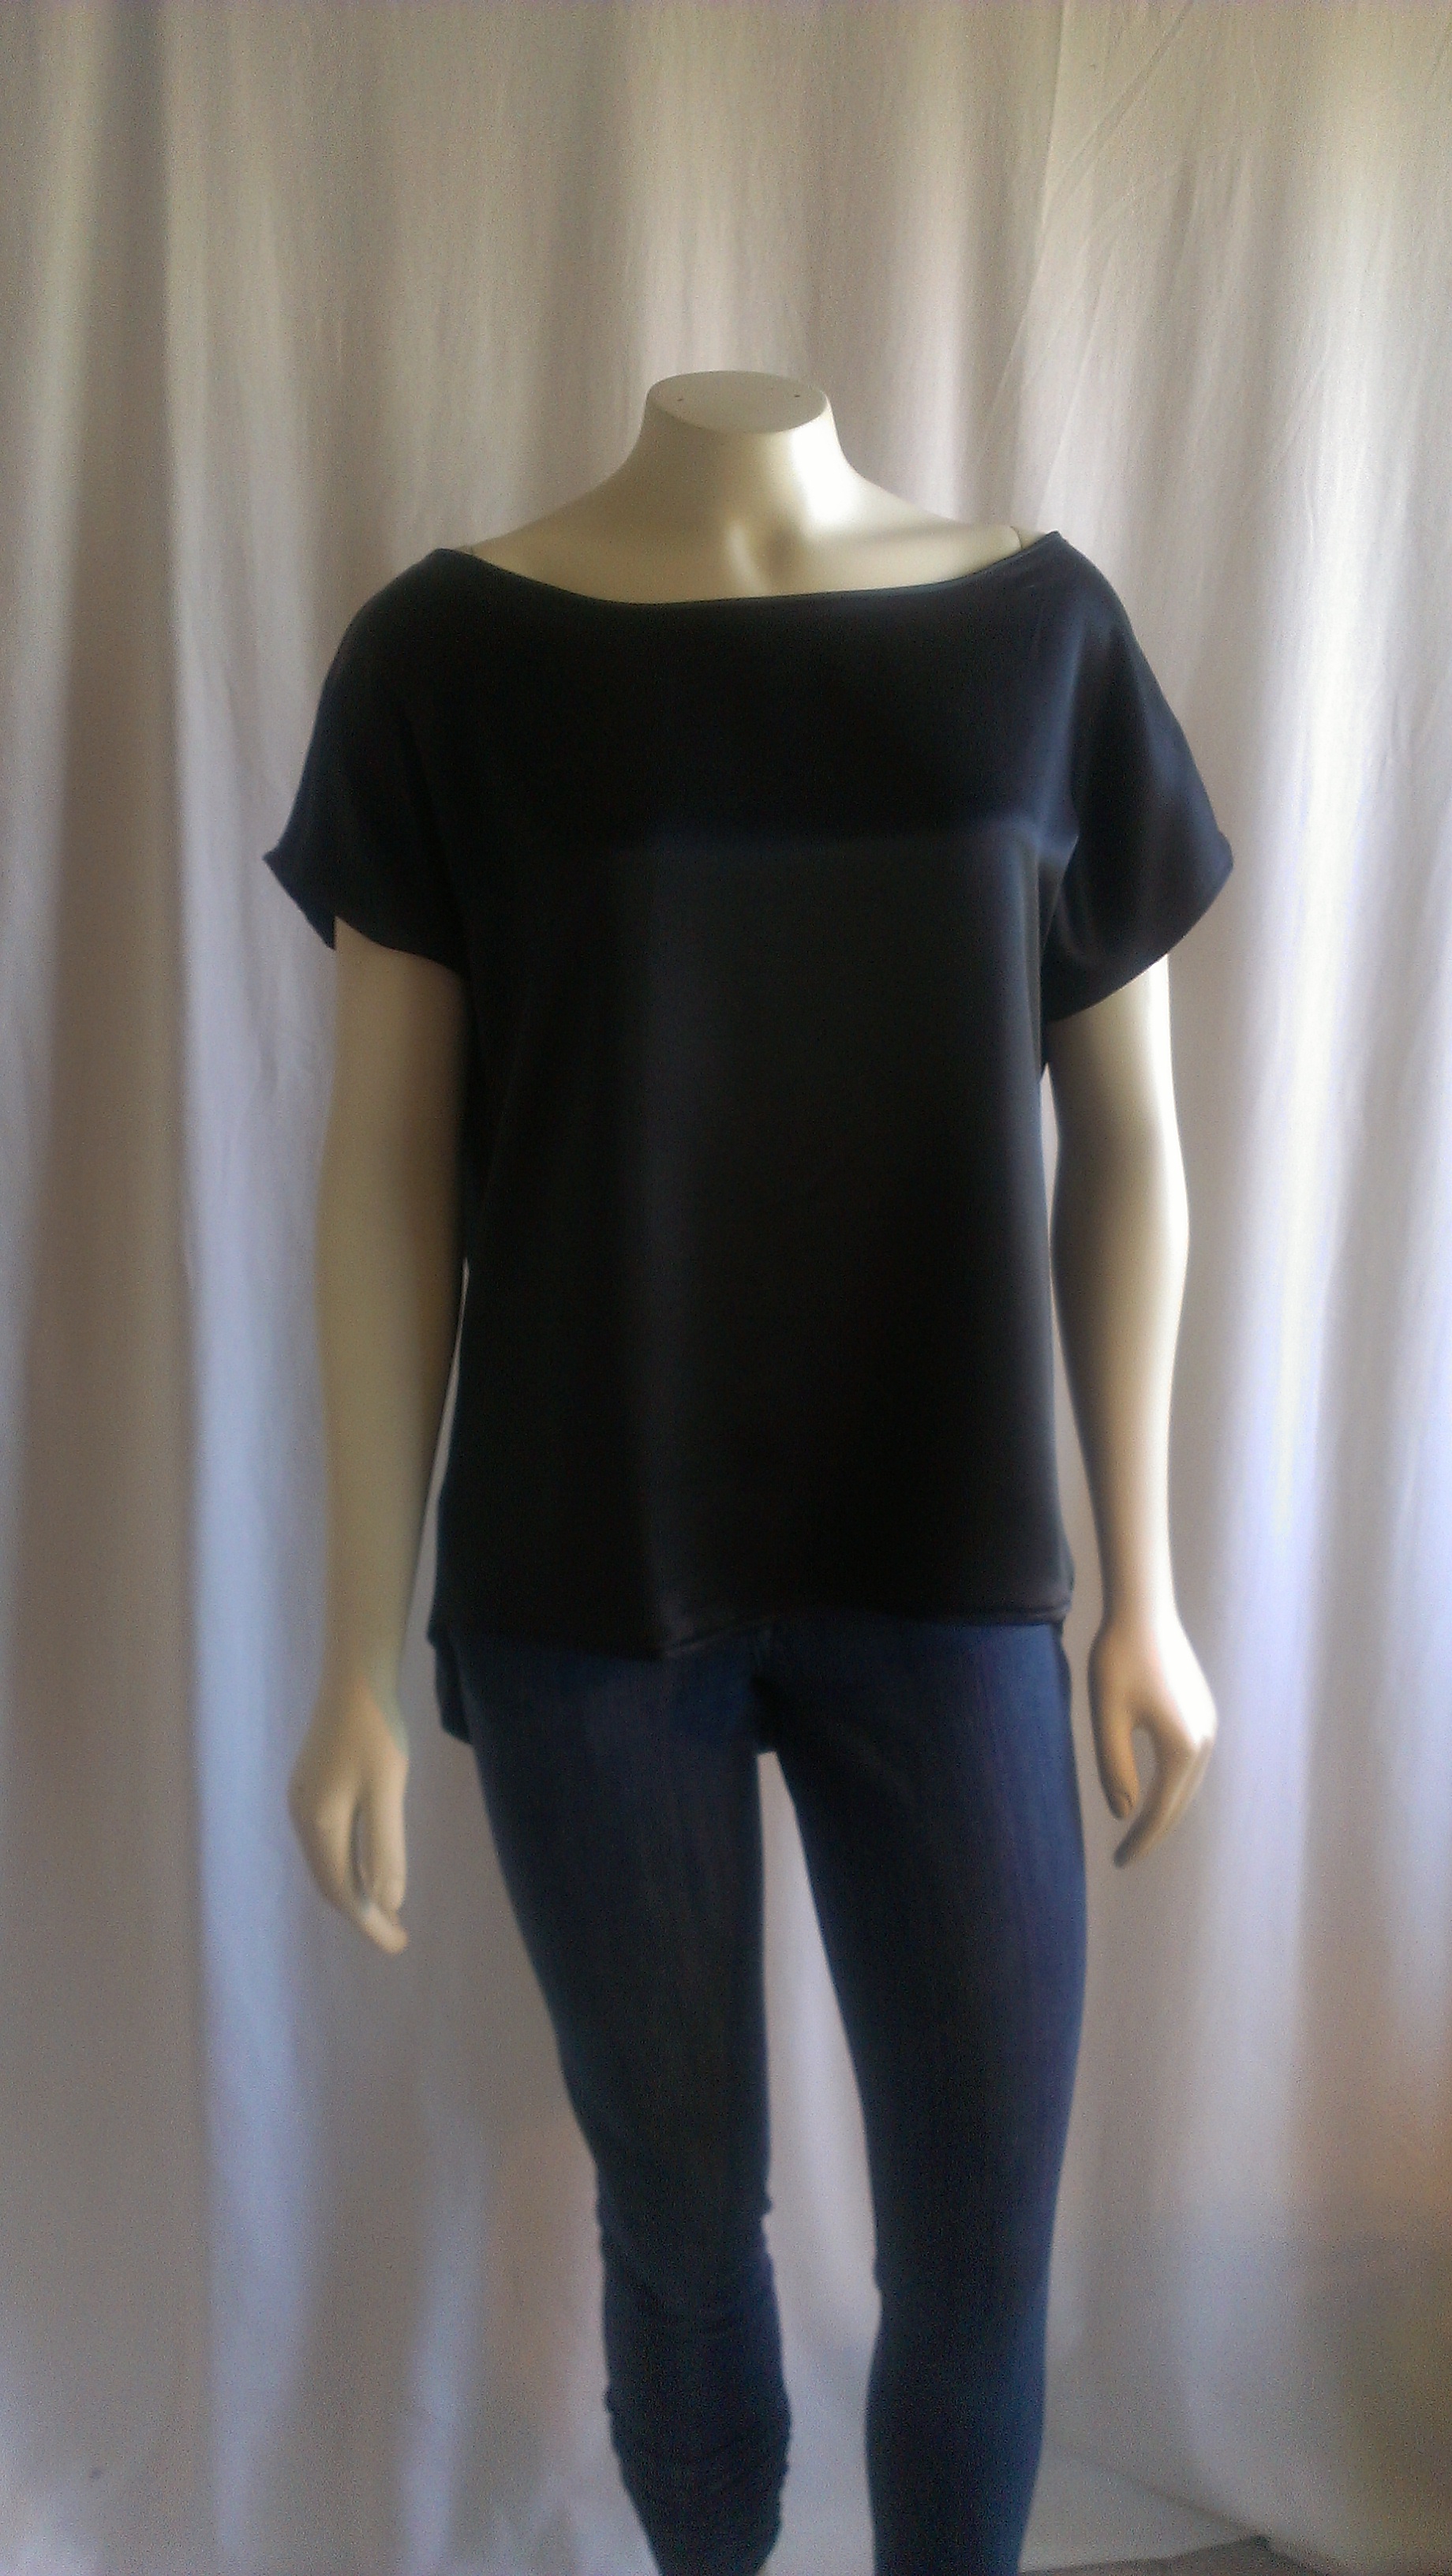
Dipped back hem of topSide view of topSilk charmeuse t-shirt top
I made this top in about 2 1/2 hours based on New Look 6217 pattern view B. I lowered and shaped the back pattern piece to make a lower, dipped hem that I am so fond of lately. I also cut the back piece on the fold of the fabric to eliminate the center back seam. French seams were done for the side and shoulder seams. It doesn’t get much easier than this to make a quick luxe t-shirt top!
I used a lovely silk charmeuse in black purchased at Mill End Store in Milwaukie, Oregon (one of my favorite fabric stores in Portland) as they were running a 20% off silk sale.
I have been wanting a simple black silk tee shirt for some time now and am happy that I finally made one. I am sure I will wear this top often as it can be worn casually or dressed up.
I pinned some tops on Pinterest as inspiration:
Joie “Rancher” silk top $158 on PolyvoreTraci French top in Triacetate polyester blend $95
Go Me! I made this top costing about $40 in gorgeous silk. Boom.
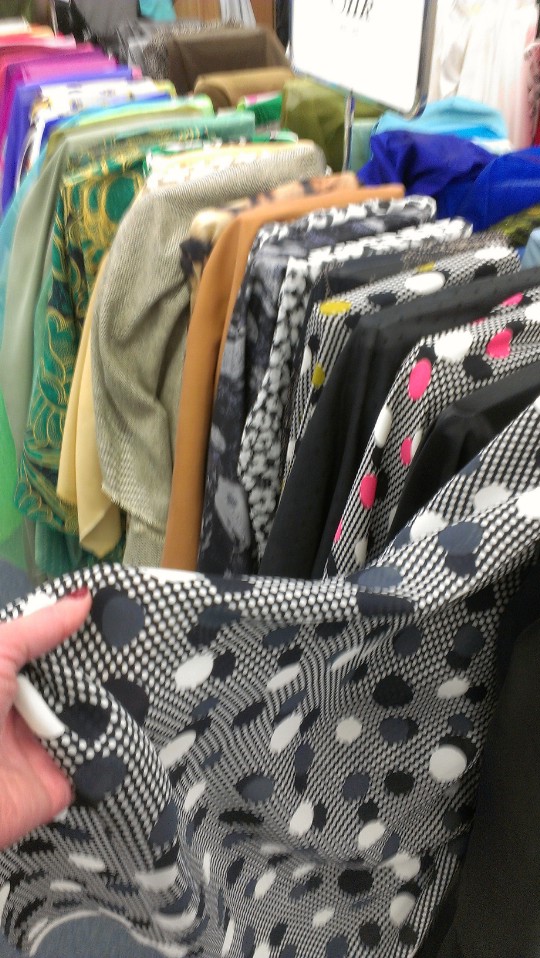
I saw this lovely silk georgette black, white and grey polka dot fabric at Fabric Depot and have been thinking about it for several weeks:
Silk georgette polka dot material by Milly
Last weekend as I was fabric shopping (a usual thing on weekends!), I saw it again and had a coupon, so figured I’d grab two yards and put my mind at ease in fear that it would all be sold out and gone forever! I brought it home and gently pre-washed it and discovered that the fabric is from the design house Milly by the printing on the selvedge of the fabric. Woo hoo! Love designer fabric!
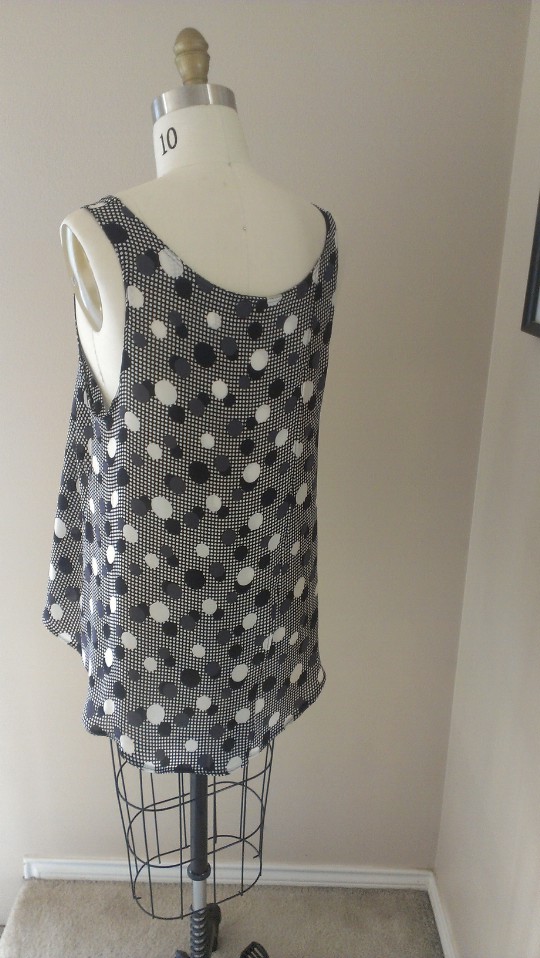
So, between major sewing projects, I wanted a quick fix sewing project to make and wear for the nice weather to come. I cut out and sewed this top in a total of about 3 hours, including taking time to change the pattern back peice to a curved side hem as opposed to the short, then angular long hi/lo hem. I used my fashion curved ruler to draw in this new curve before cutting the pattern out of the tissue. Sorry, I don’t have a photo of the pattern changes made. Maybe I can manage to take some next time I take out this pattern to sew.
Simplicity 1589 pattern envelope
I am quite pleased with my new top and wore it to work Monday and received several compliments on it! It is very comfortable and I like the hi/low hem and flyaway open split to the back side of the top. One word of caution, this top has very low armholes and the flyaway feature of the back leaves the fit of the top quite loose and open, so a tank or tube top underneath is needed for coverage. Great top though and so fast and easy to make! I look forward to wearing this top in the summer with cute white capri pants or shorts 🙂
Front of top on meBack of top on meBack of top on dress formside of top on dress formFront of top on dress formopen fly away back of top
I think I may need to run back to the fabric store and snatch up more of this lovely fabric! As you can see from the photo above, they also have a pink and a green version of this fabric that I also like. Oh boy!