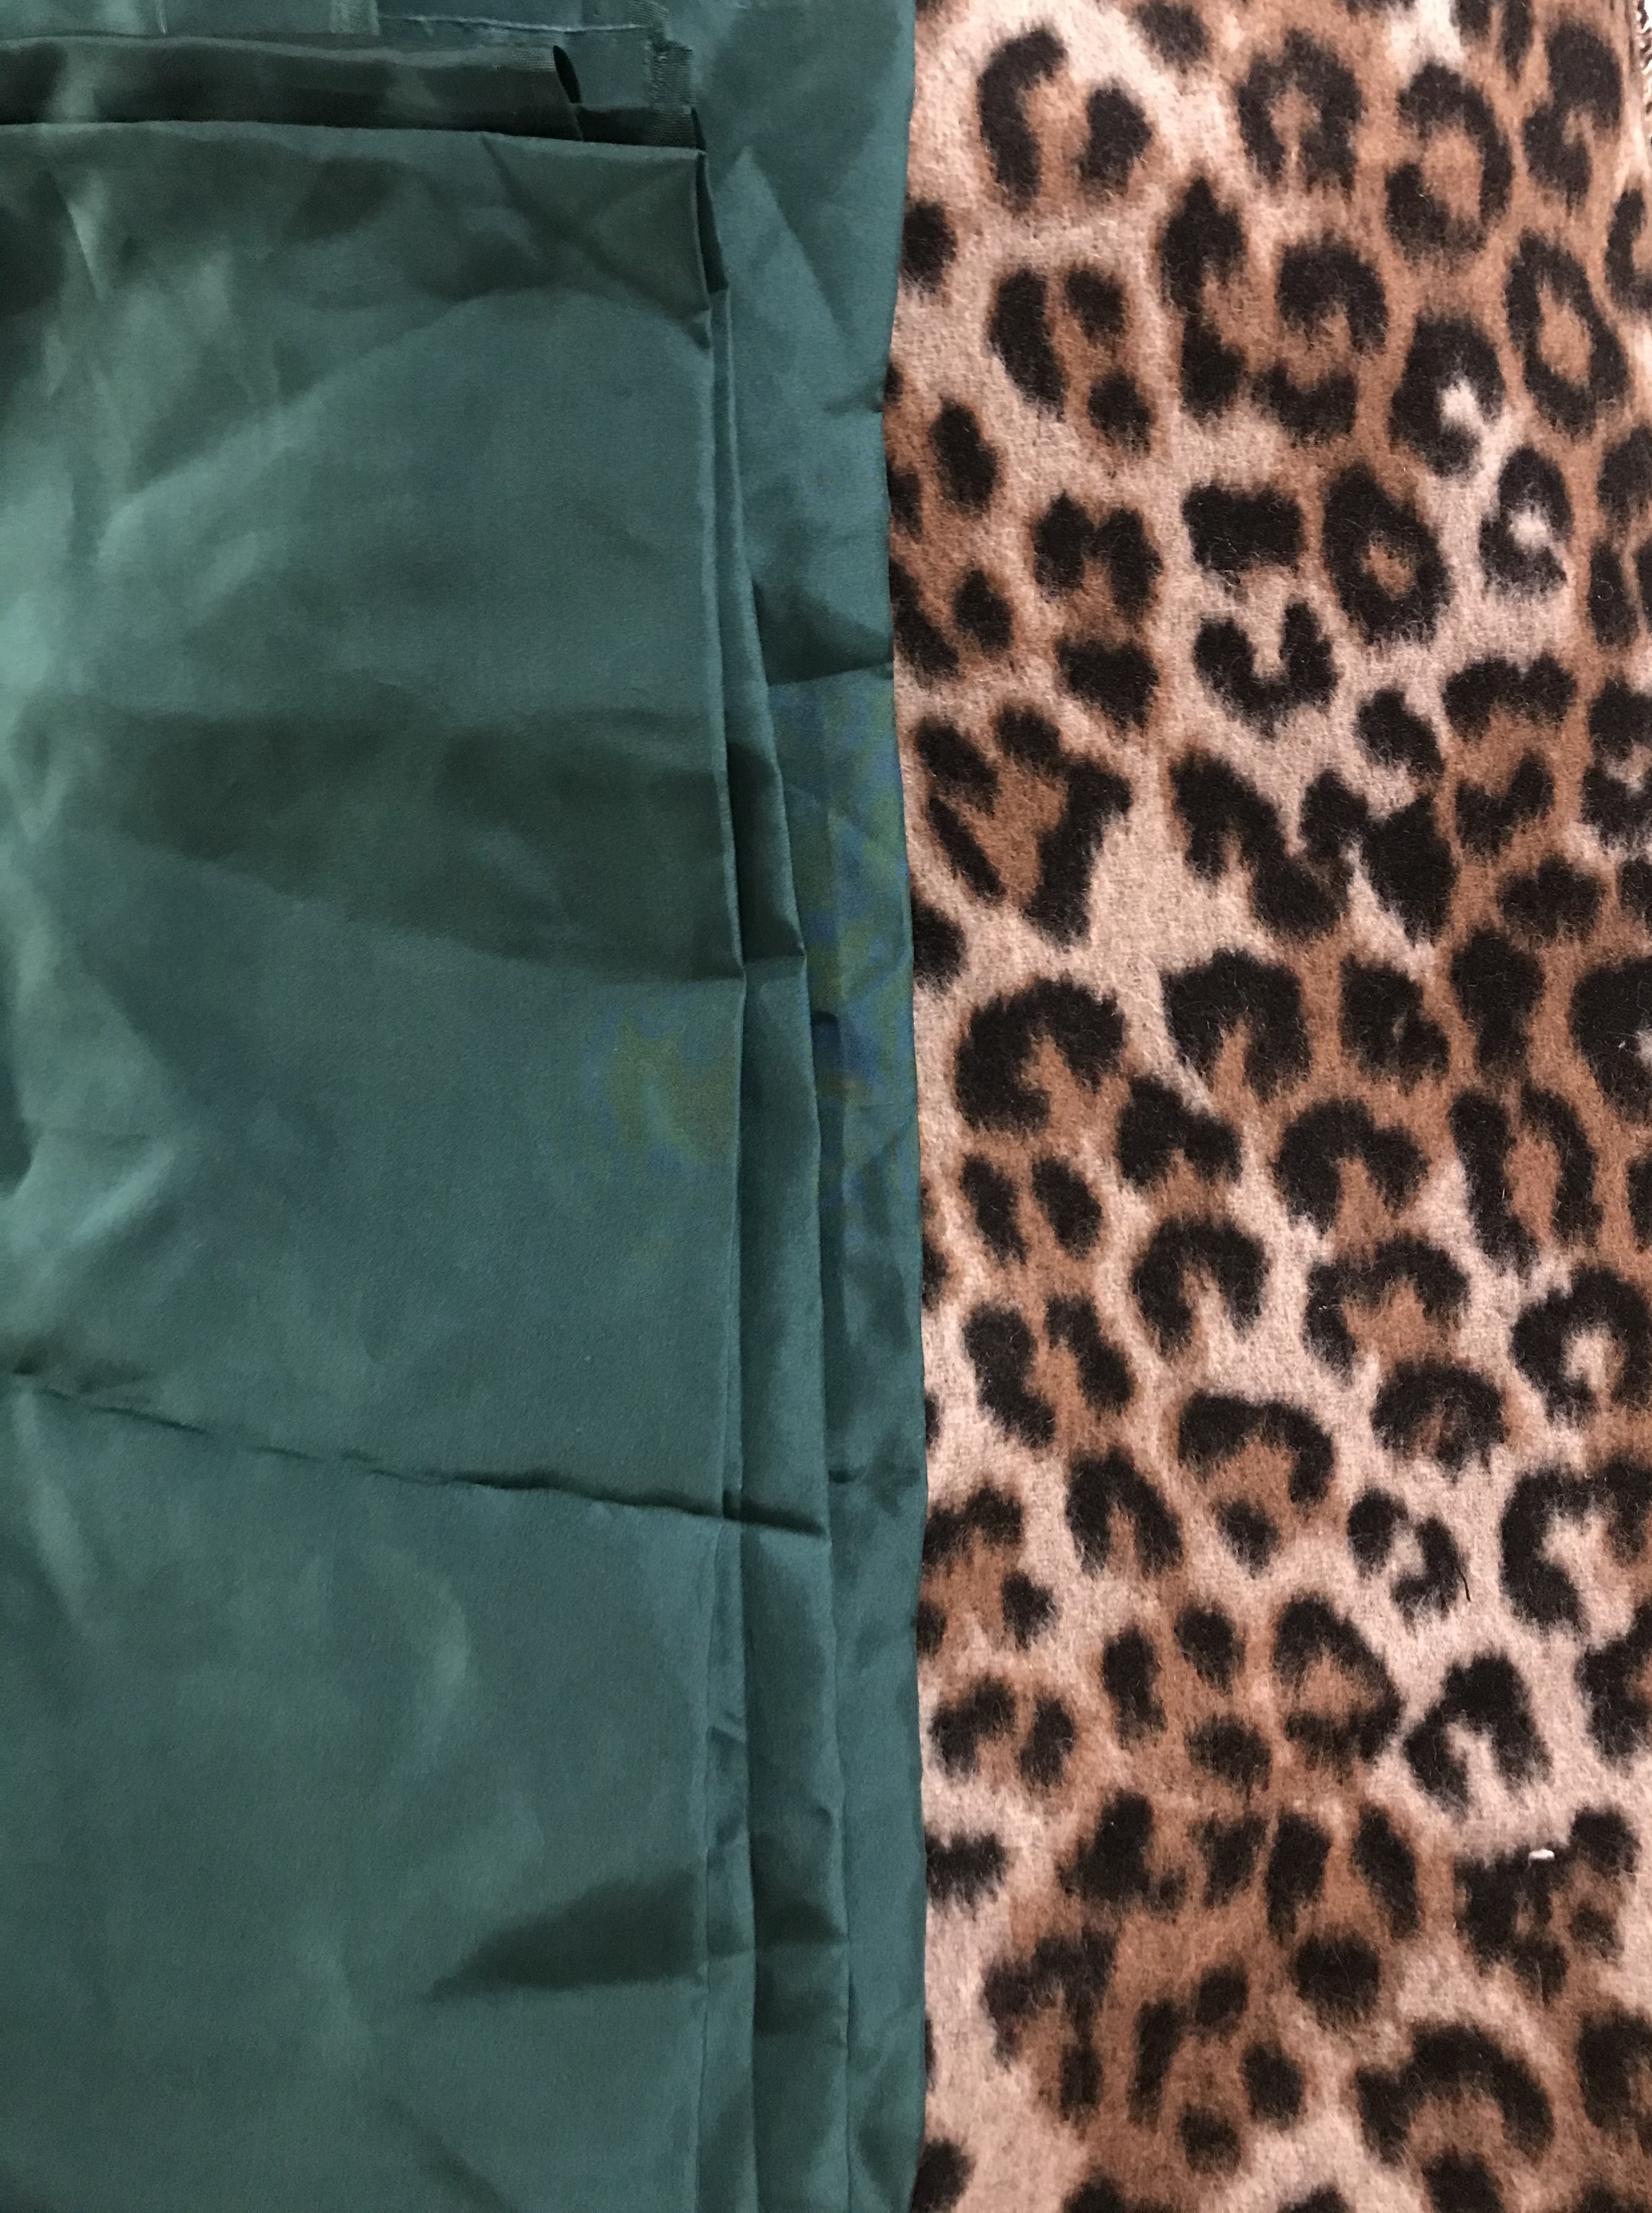
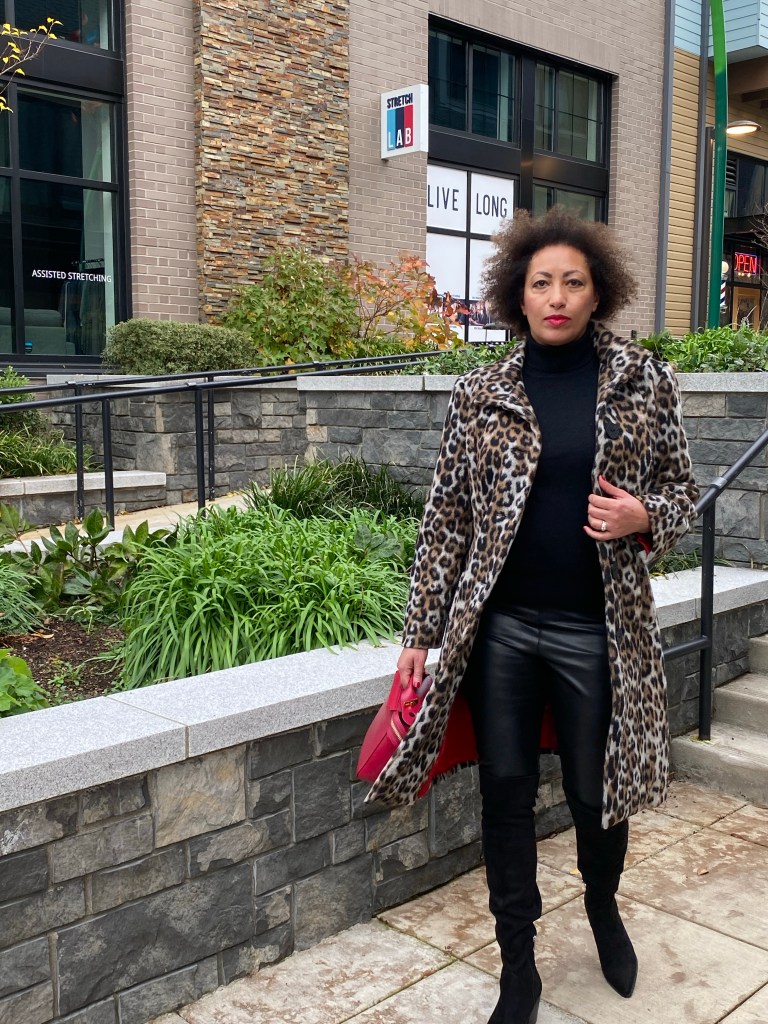
I had Dior in mind as I made this coat, with the yummy brushed wool fabric, the sumptuous silk satin lining, and the classic, tailored details, all brought me back to an era of glamor and sophistication of the 1940’s and ‘50’s.
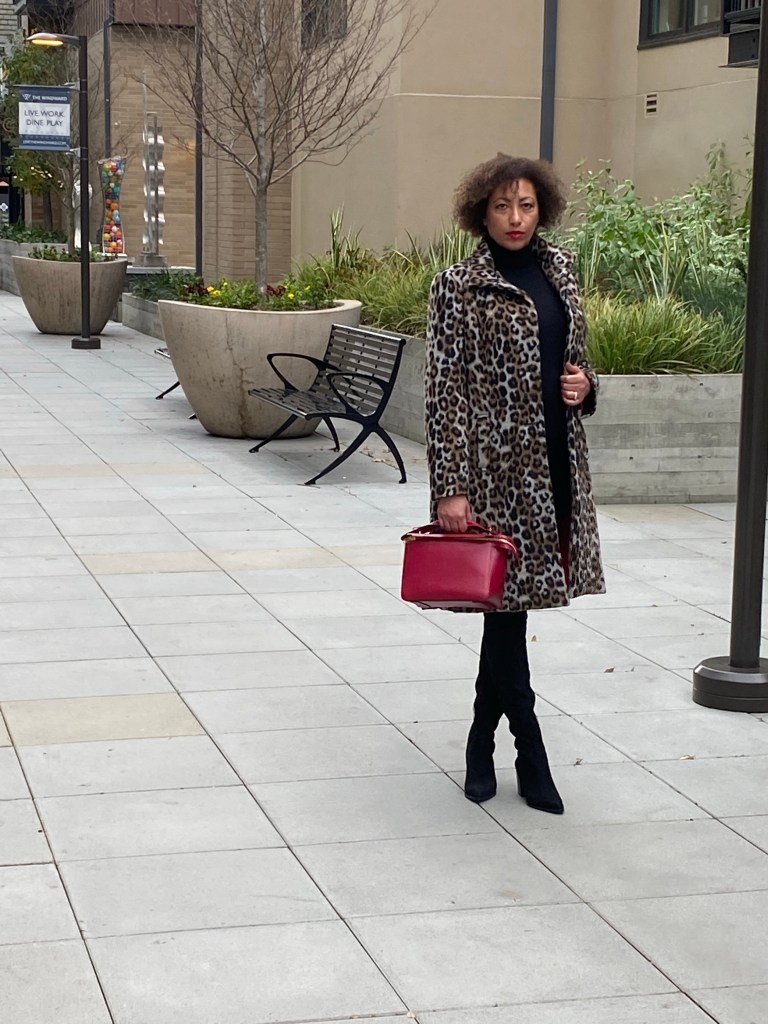
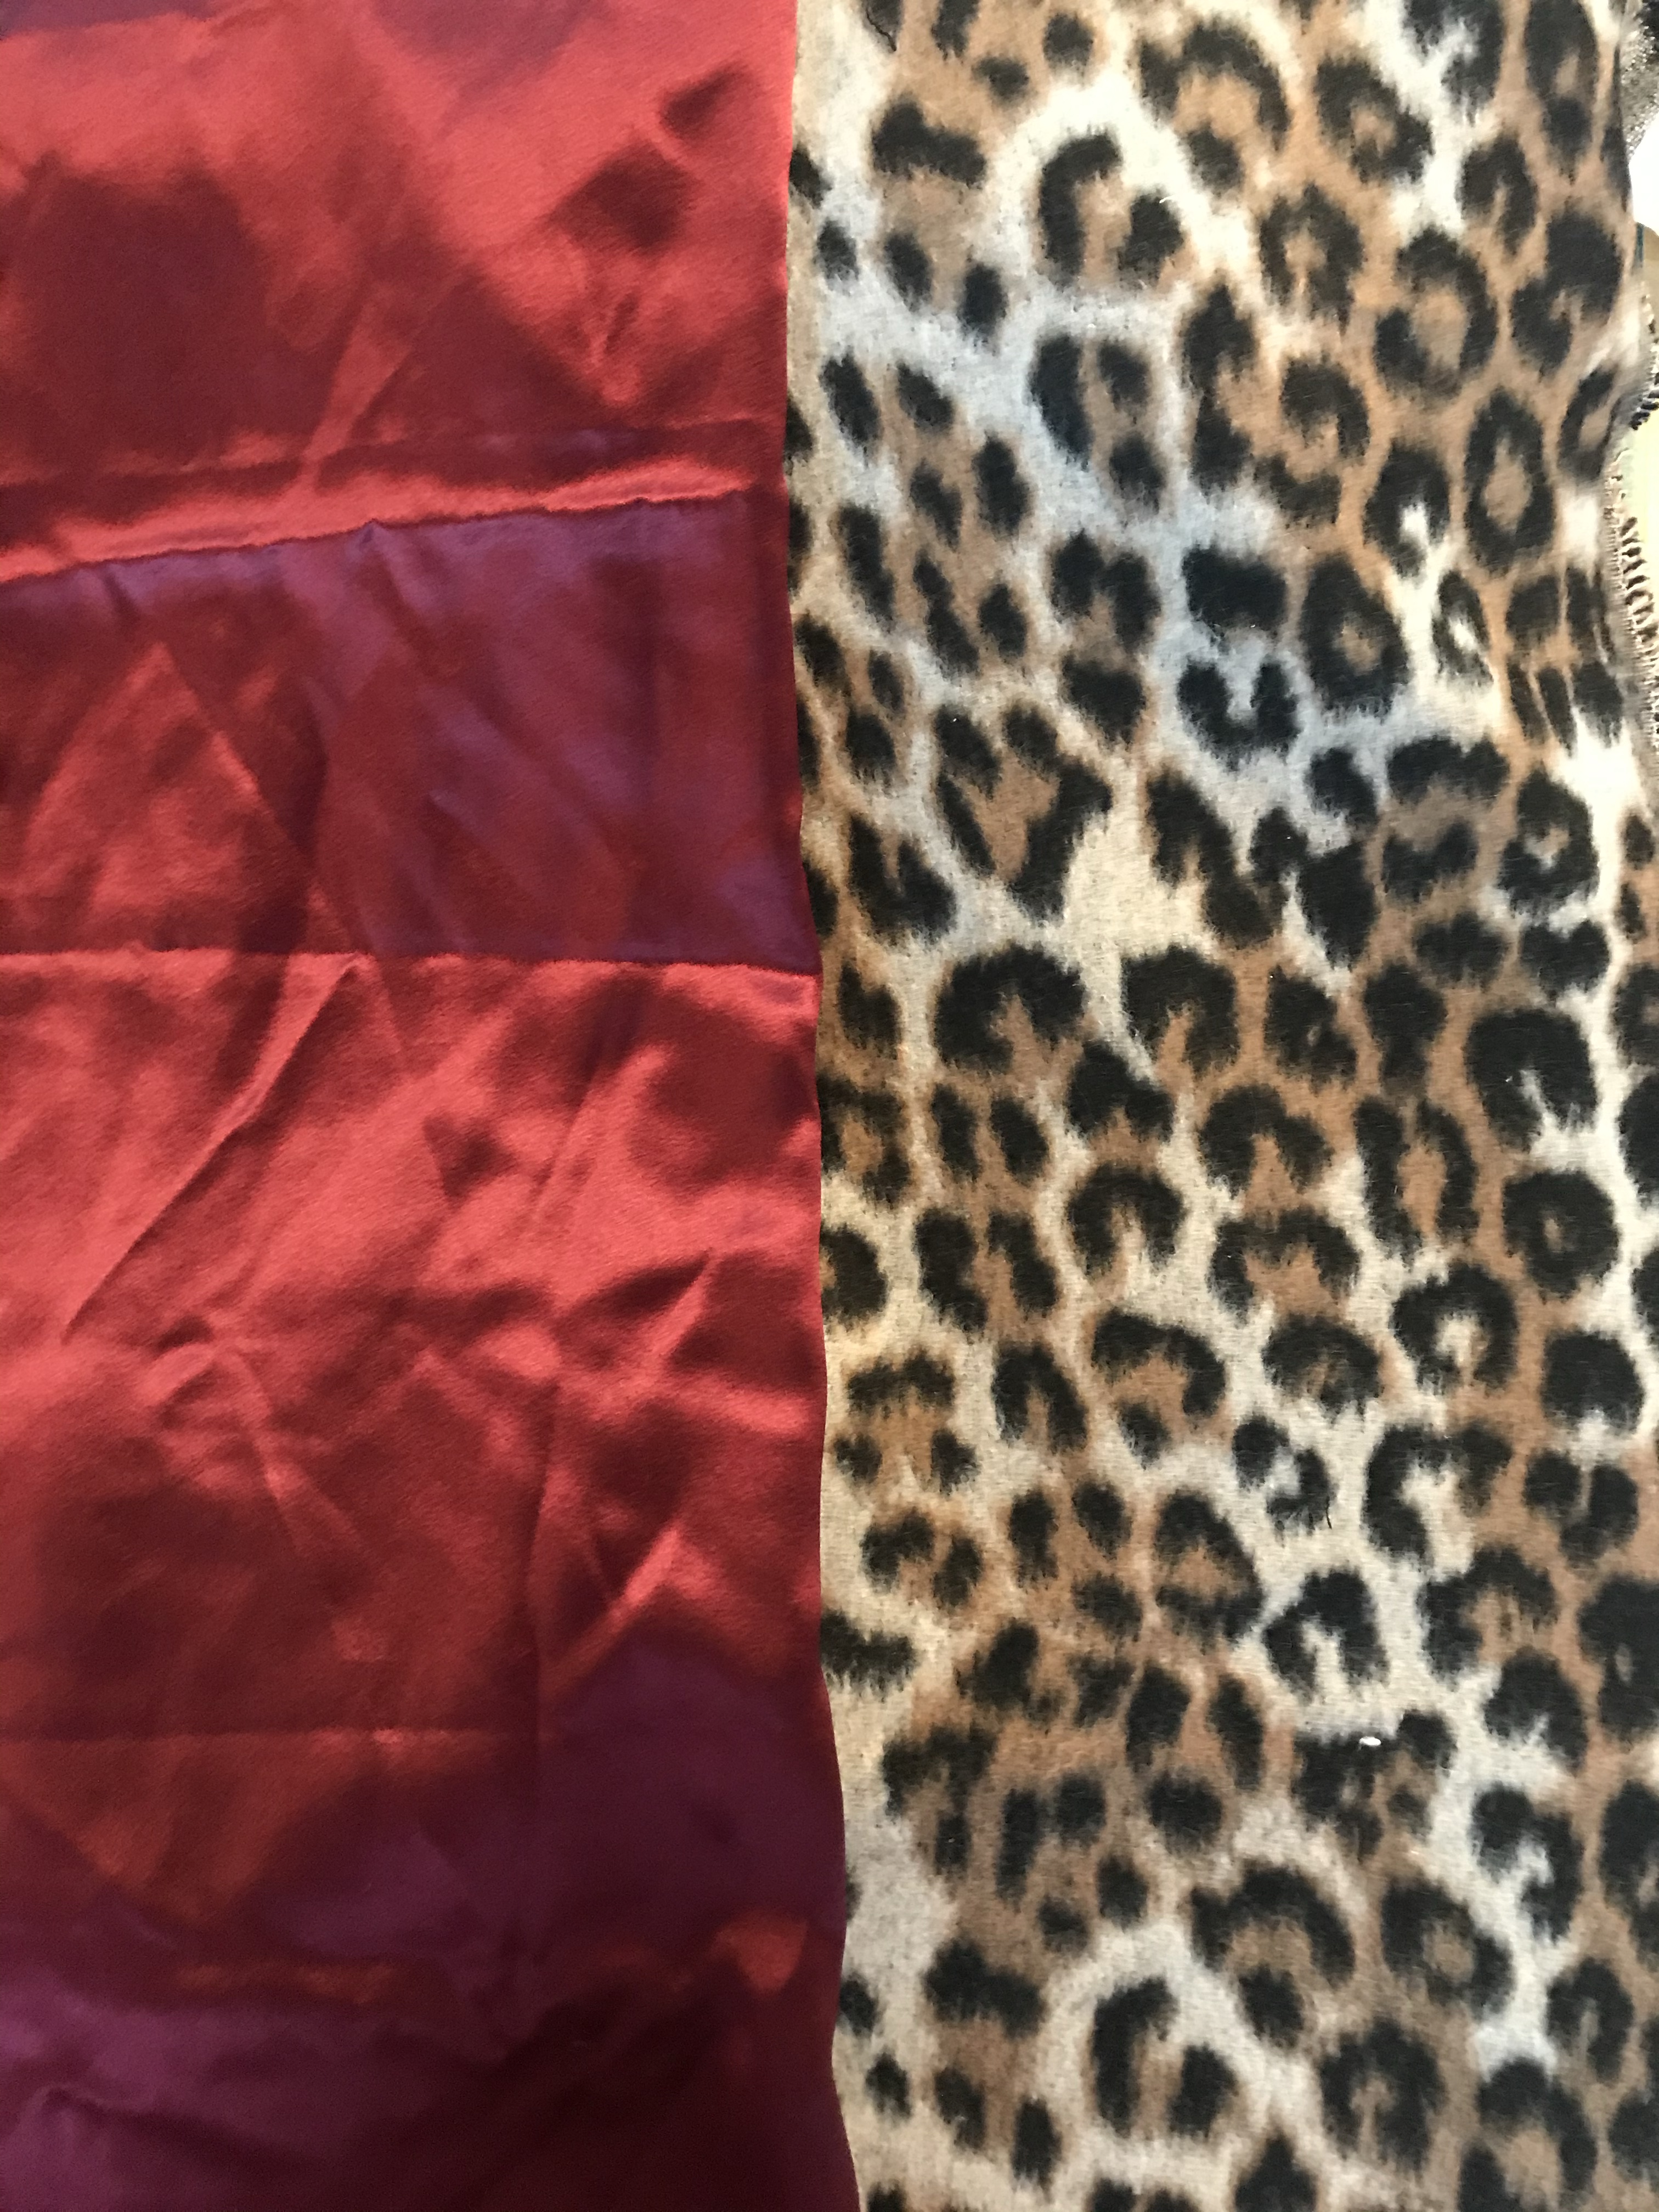
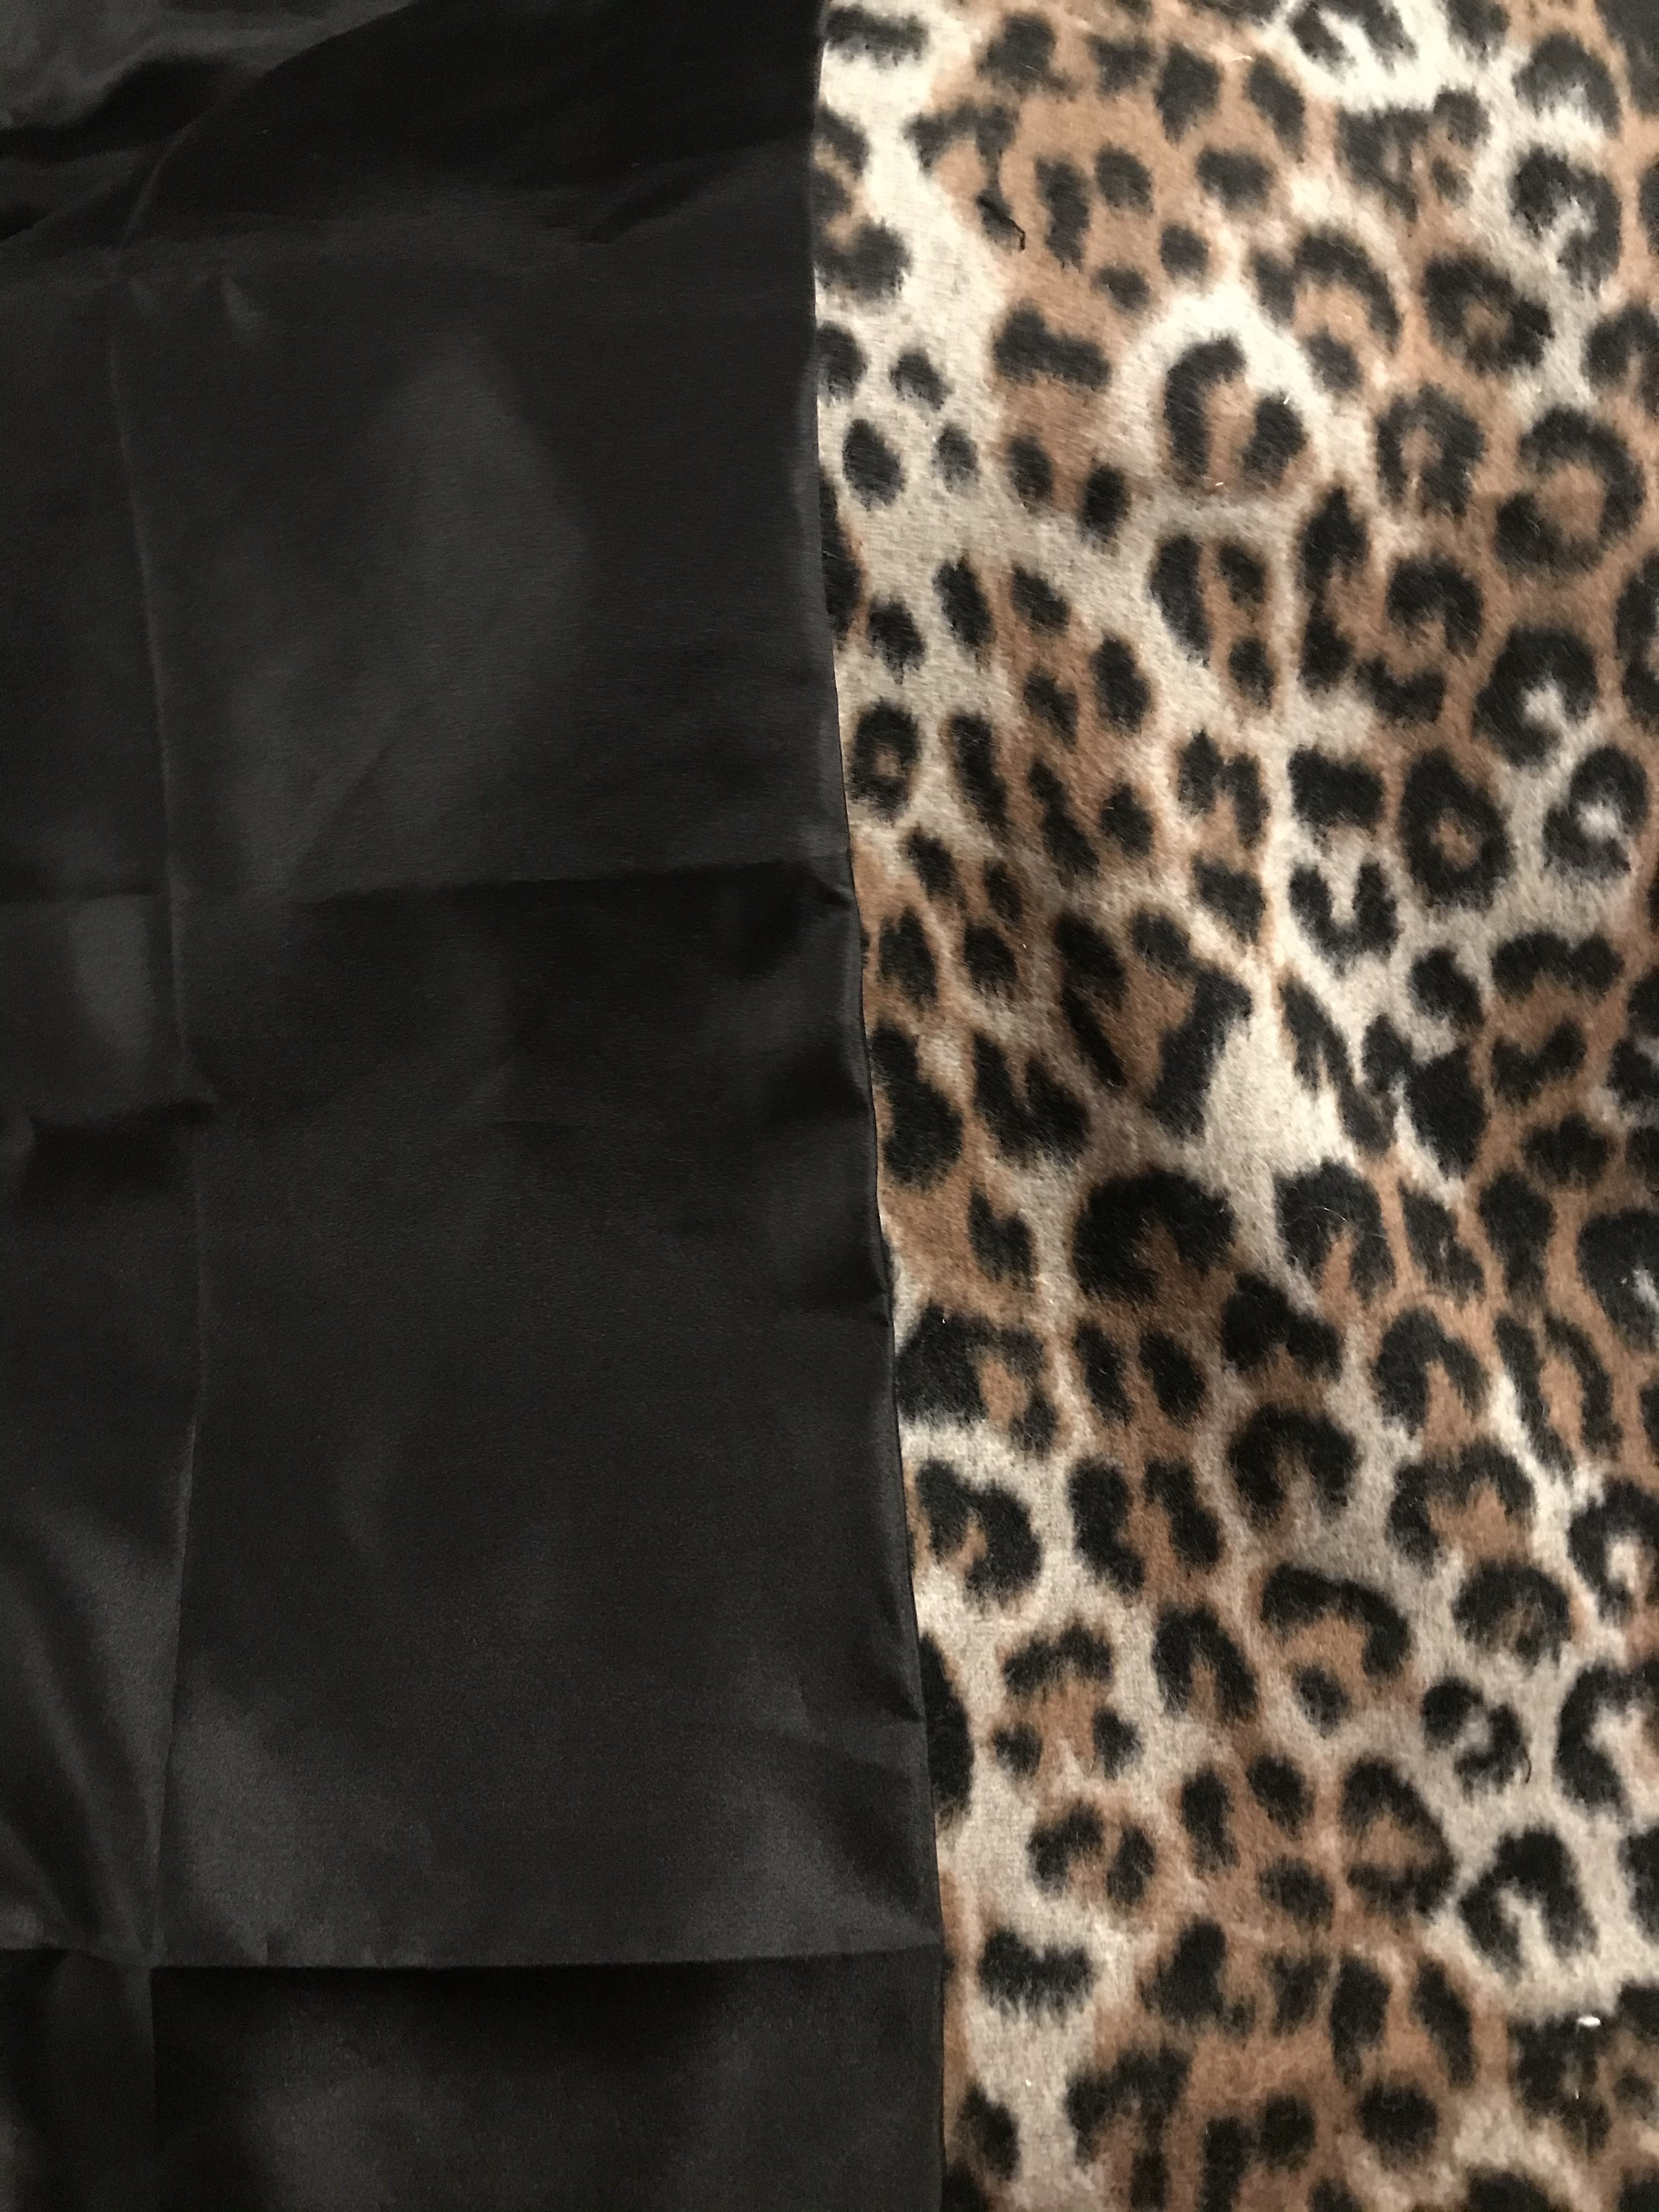
I initially started making this coat back in October 2020, taking the time to ask my friends on Instagram which lining color they liked with the print. I ultimately chose bright red as I thought it had the best “pop”, but any one of them would have been gorgeous!
My favorite lining options for my coat, all choices in silk:


Well, as usual for me, I eagerly started working on sewing up this gorgeous coat using Butterick 6385 pattern buy cutting out the pattern tissue, tissue fitting myself to check fit, cutting out the fashion fabric, the lining and a flannel underlining for warmth. I even made a few of the first seams, including the pockets (which end up being way too small.
Note to self: next time, make the pockets bigger!
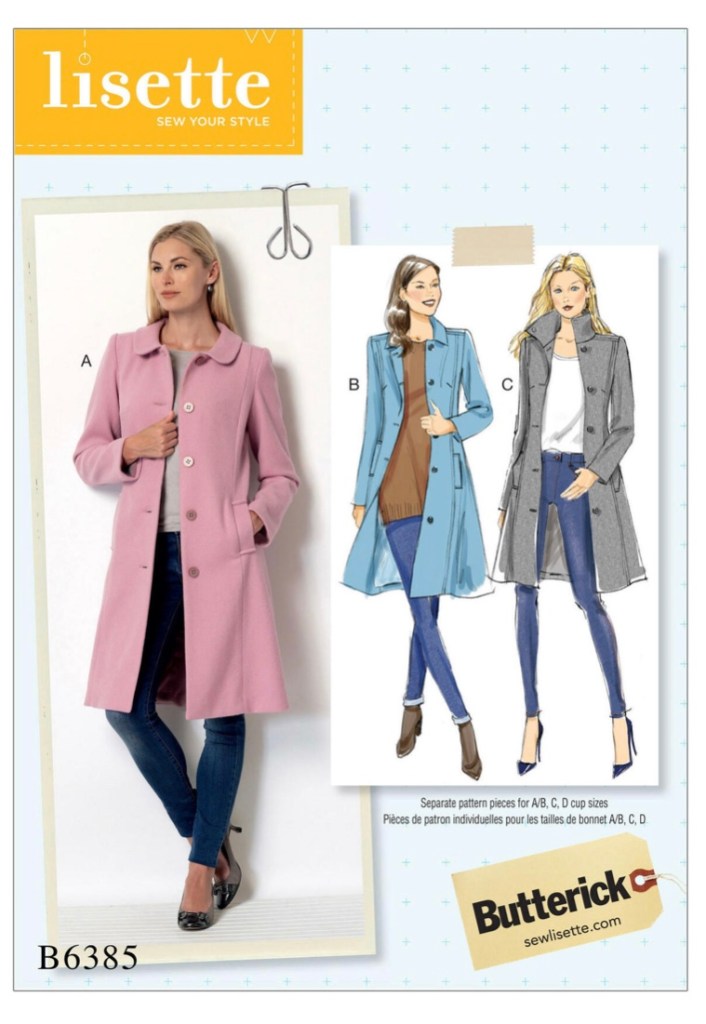
I chose view C with the stand up collar and the rectangle pocket flap of view A.
I got to cutting out all the pattern pieces before I realized that there was a good chunk of fabric missing from the upper sleeve that would leave a huge gaping hole if I attempted to ignore it, and I didn’t have enough of the fabric left to cut the piece again. To boot, the fabric store where I got the fabric also didn’t have any of exactly the same fabric left in stock. Grrr!
So, with the air deflated out of my sewjo, I rolled up what I had done so far, and added the coat components and pattern to my “to be continued” pile and there it sat for a better part of a year. “Le Sigh”
As part of my new life goals that I have set for myself recently, at least my sewing life goals, I want to tackle my unfinished projects, finish them, and clear the decks (and my mind) to focus on new personal and client projects to work on. So, with autumn in the air and this project staring me in the face and making me feel guilty about wasting time and resources, I figured out how to fill in the missing chunk at the sleeve by using fabric glue (gasp!) and scraps from the cuttings which I always save, and got right back into making this coat

I sewed and sewed with newfound energy for this coat, staying up late and ignoring my hungry husband. He’d survive, but I couldn’t until this darn coat was DONE!
Here’s a shot of the coat just before installing the lining, showing the interior interfacing and underlining in camel flannel for warmth and extra stability to the fashion fabric
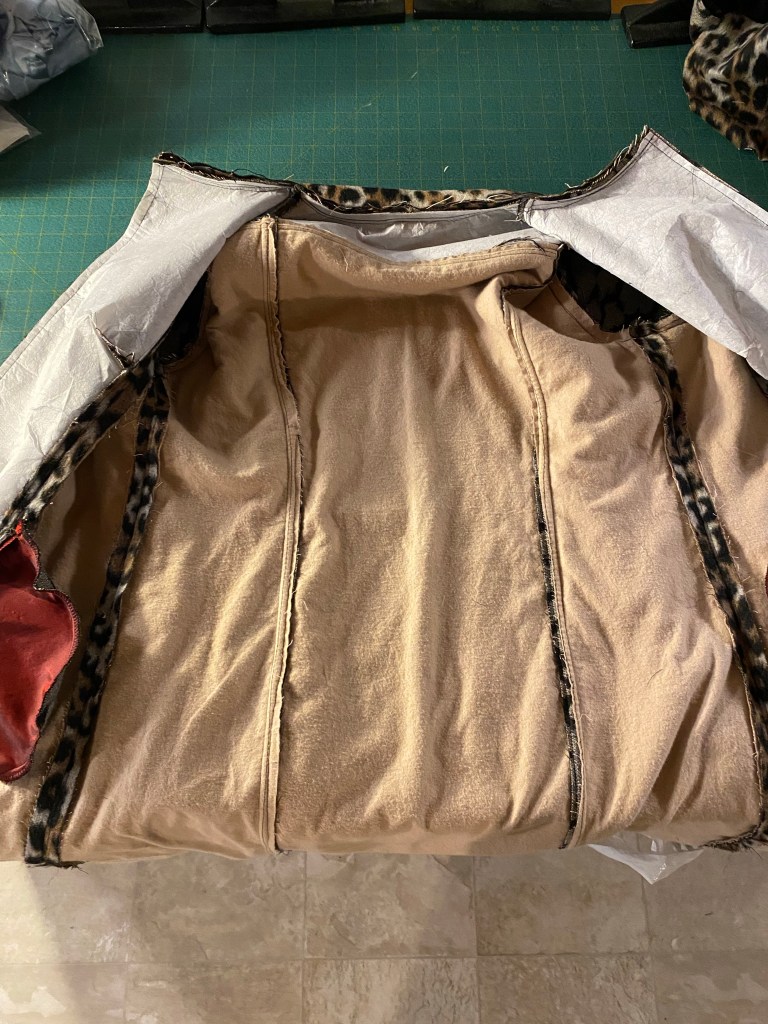
I skipped the shoulder pads and sleeve heads as I felt I really don’t need them, however that is one step that I probably should have done. Next time…
Setting in the lining and going the finishing touches on the coat, some by hand, was starting to turn the corner and approach the end. I took a good amount of time pressing and pinning this baby into submission, all which made it easier to sew and have professional looking results:

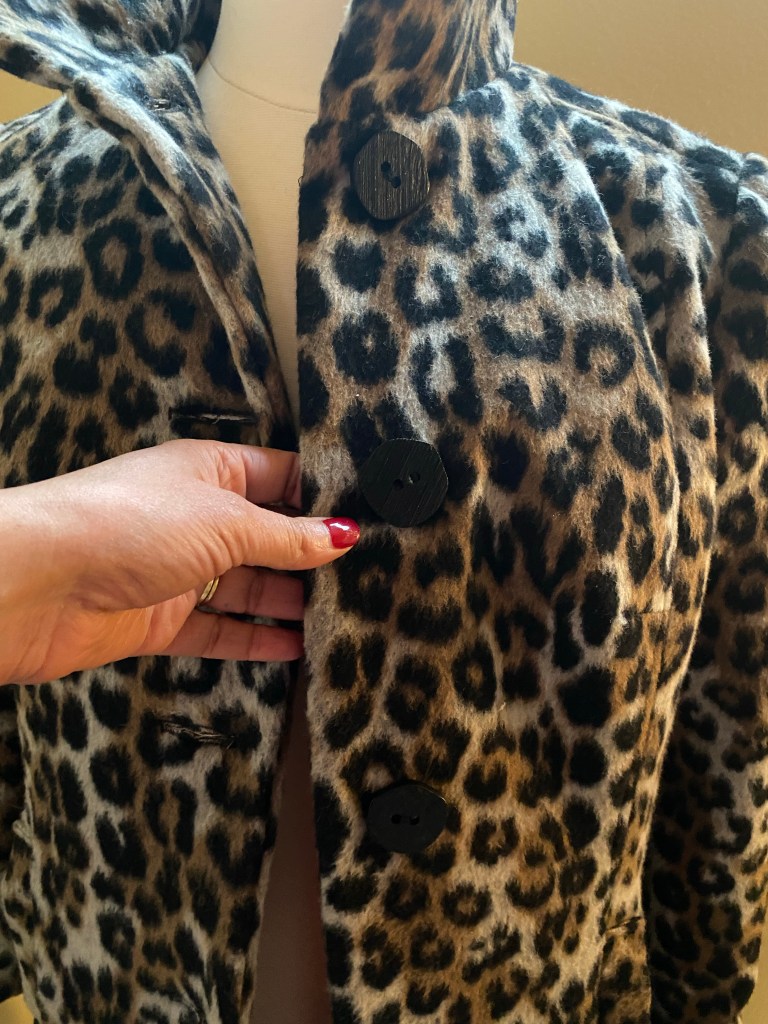
After finally finishing the coat, sewing buttonholes and buttons, I was finally DONE!

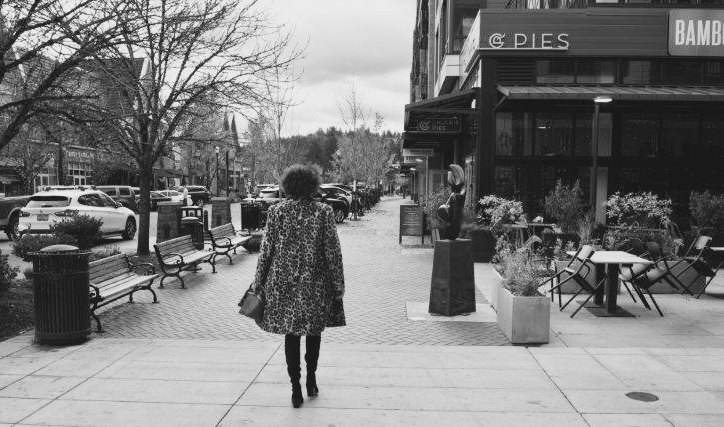
I knew that I wanted to take some great photos of this creation for sharing on social media, and have many examples and inspiration photos from my Pinterest page such as these images:


I asked my dear fashionista friend if I could borrow a few of her gorgeous designer handbags for the photos and she was so sweet and generous to lend me some of her favorites for a few days. I narrowed down the options to these three I’m accessorizing with the coat:

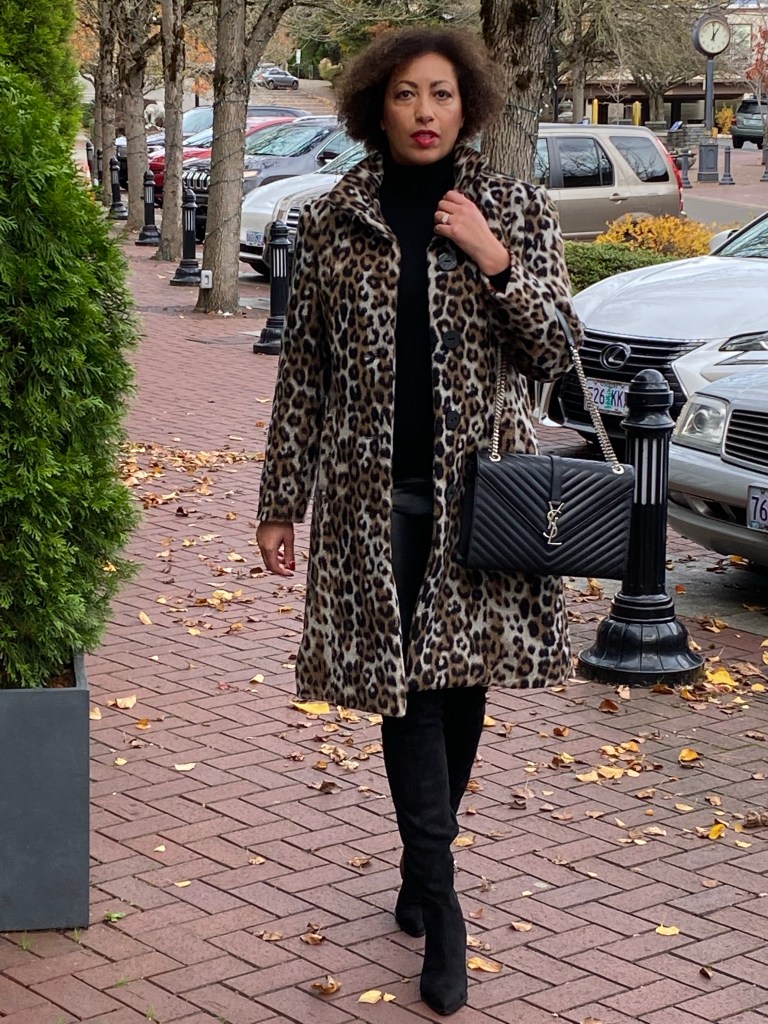
bag in black

I’ll just shut up now and let Her speak for herself…


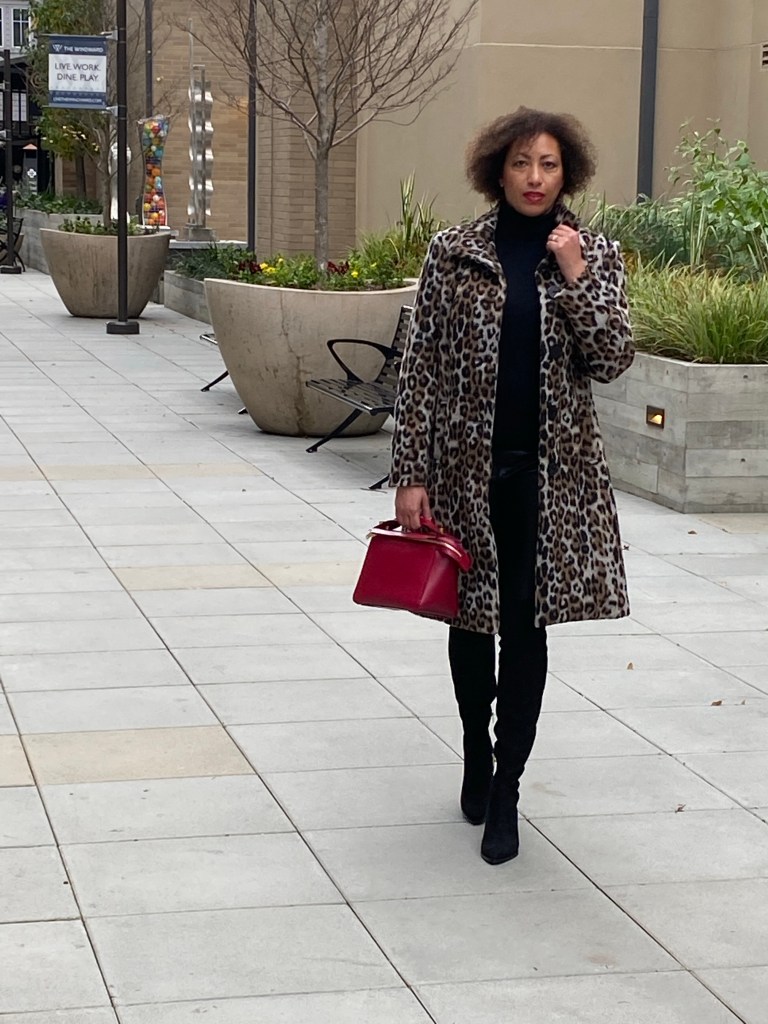


Ok, I’m now ready, the decks are clear for takeoff…

Leave a comment