
I needed a new dress to wear to our friend’s wedding, and decided that I wanted a cute fit & flare style, so I bought Vogue 1348 Tom & Linda Platt designer pattern to make:
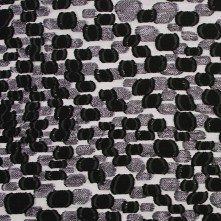
I found this lovely blue, grey and black striped silk dupioni (or shantung, I can never quite tell the difference) and got to work.
I chose to not make a muslin mock up and just went for it, cutting out the size that was closest to my body measurements. It turned out OK, but due to lack of time (I was literally sewing up until the very last minute!), I was not able to do more fitting in the process and the dress came out a little large on me, but certainly wearable.
I used all silk materials for this dress including the silk dupioni outer dress fabric, black silk organza for the underlining, silk habotai for the lining, and a lovely dot printed Italian silk organza material from Mood Fabrics for the petticoat ruffles.
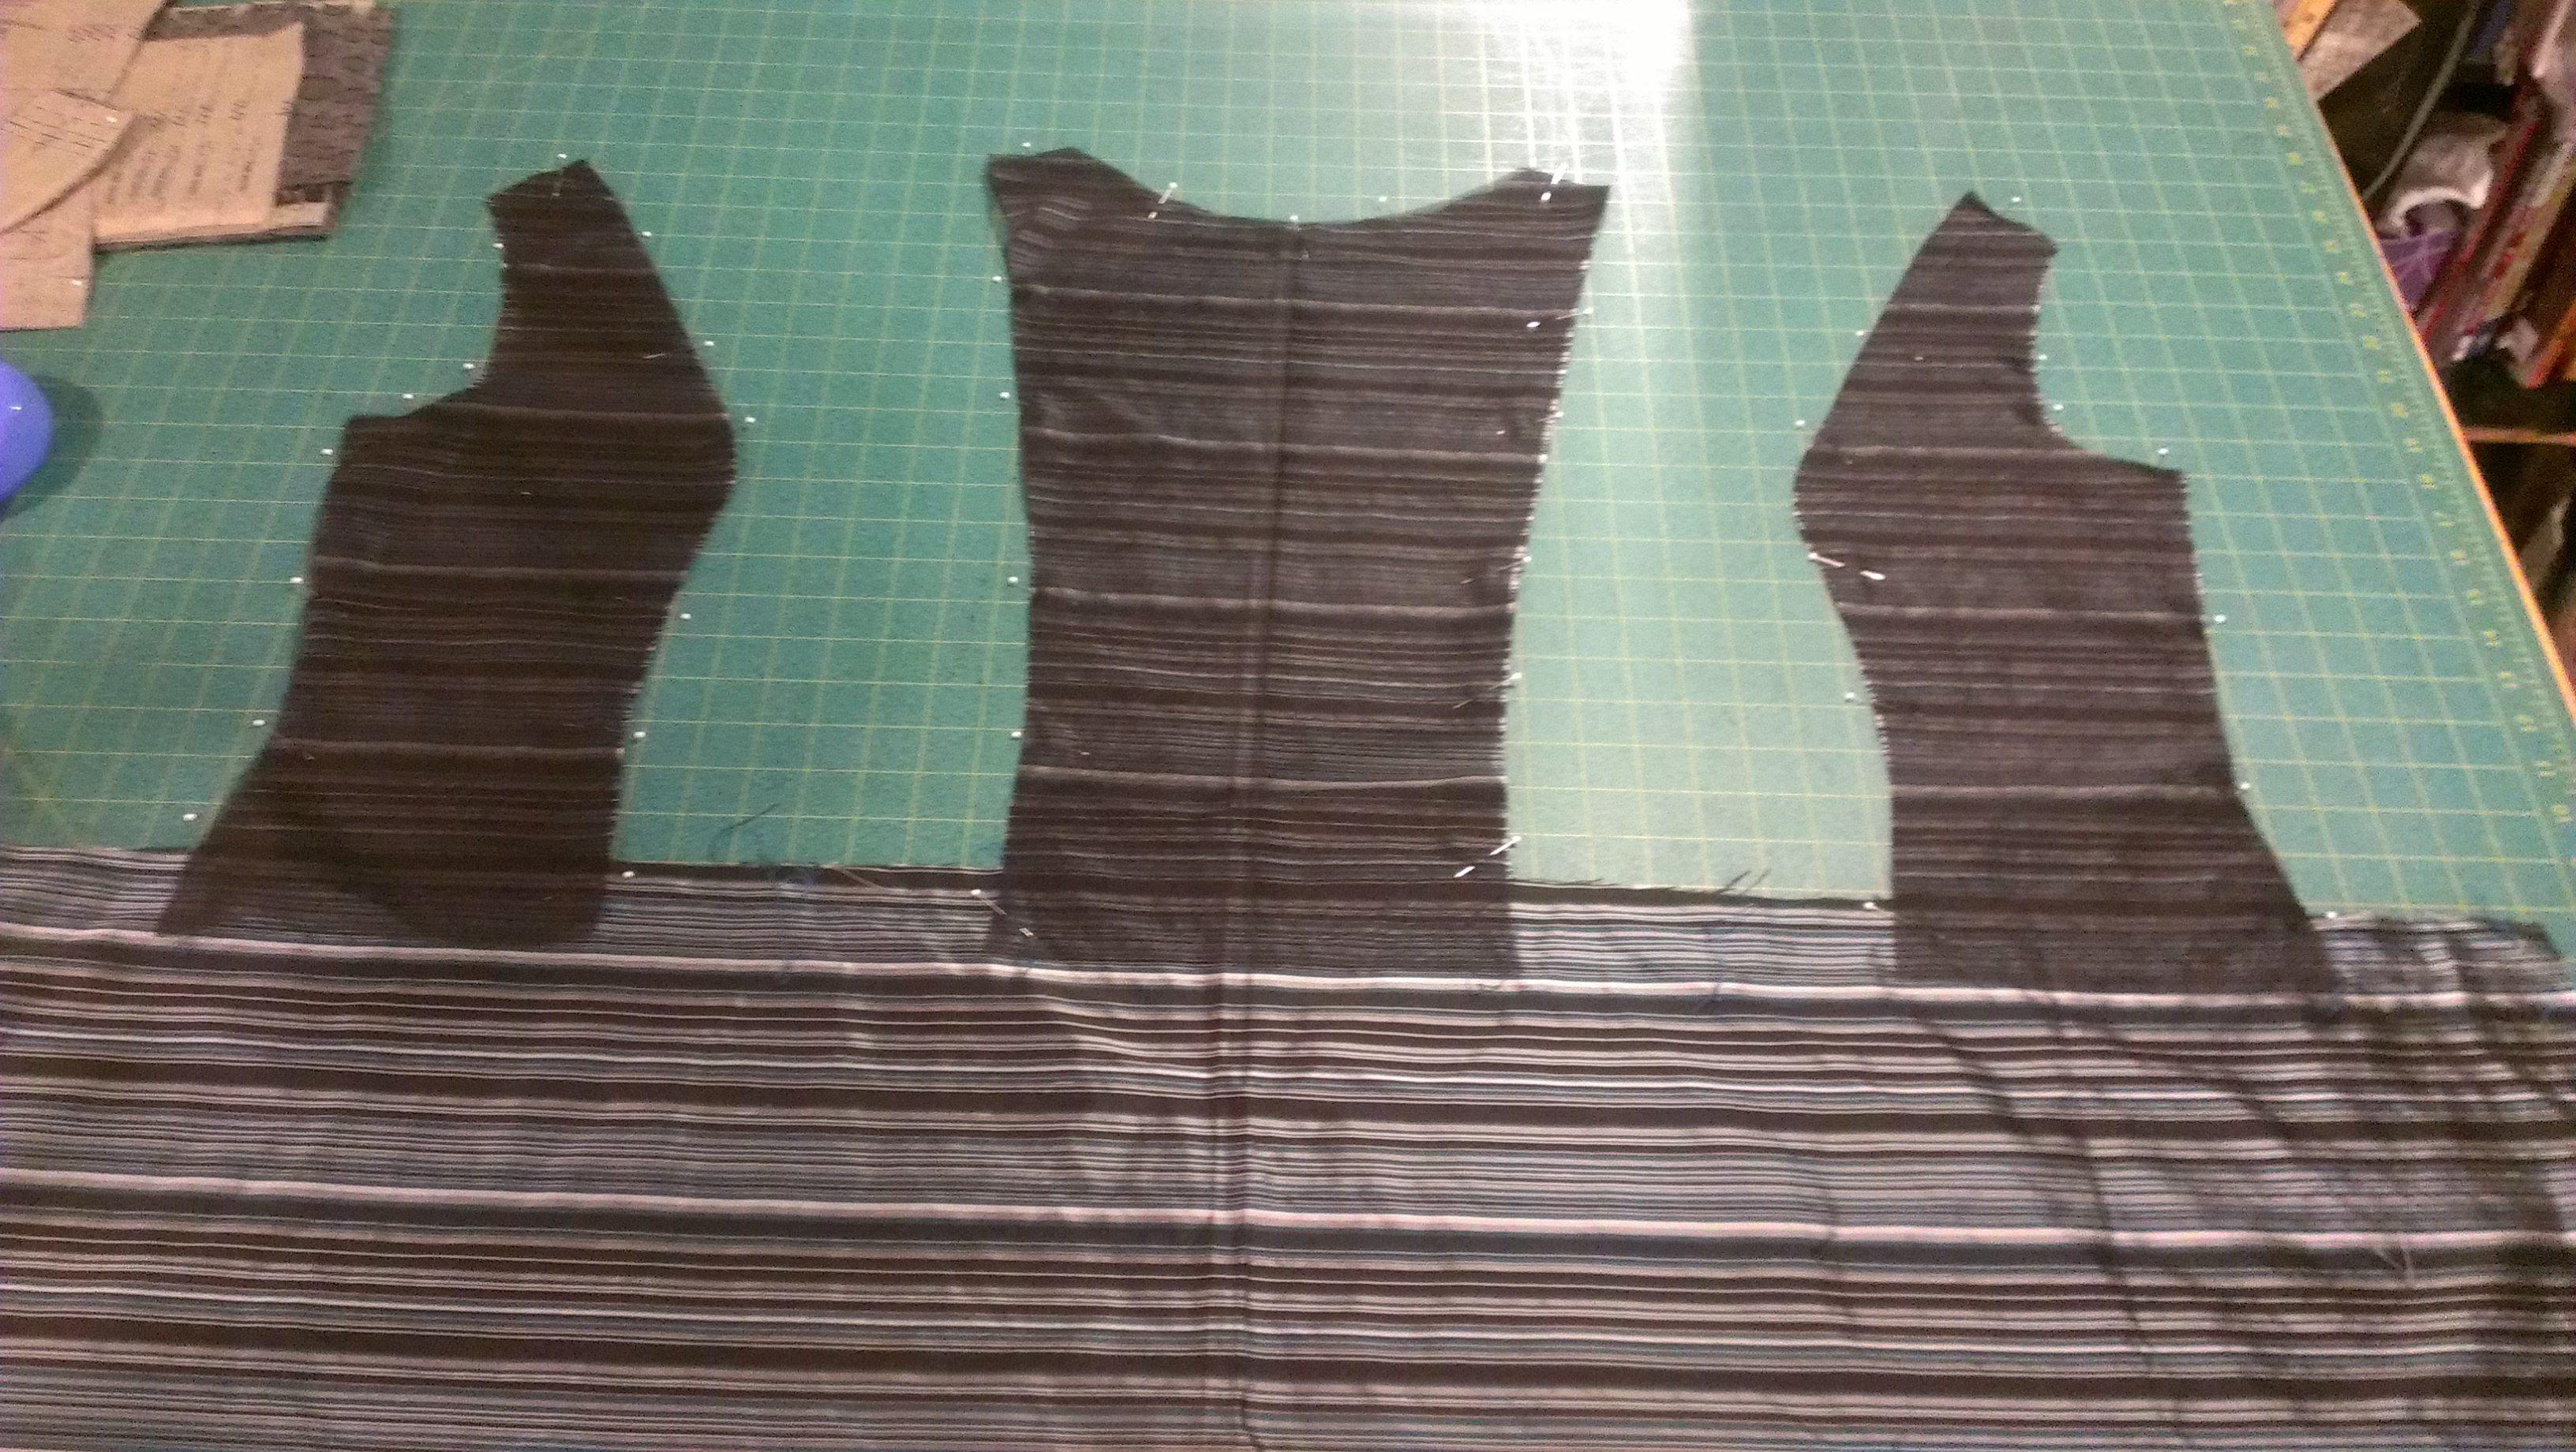
The pattern pieces for this dress are a little different from what I have ever made before, but they make sense once the construction process gets underway.
The front of the dress, bodice princess seams and all, is cut out of one piece, cut on the fold of the fabric, and the back is one piece, cutting 2 and sewing a center back invisible zipper.
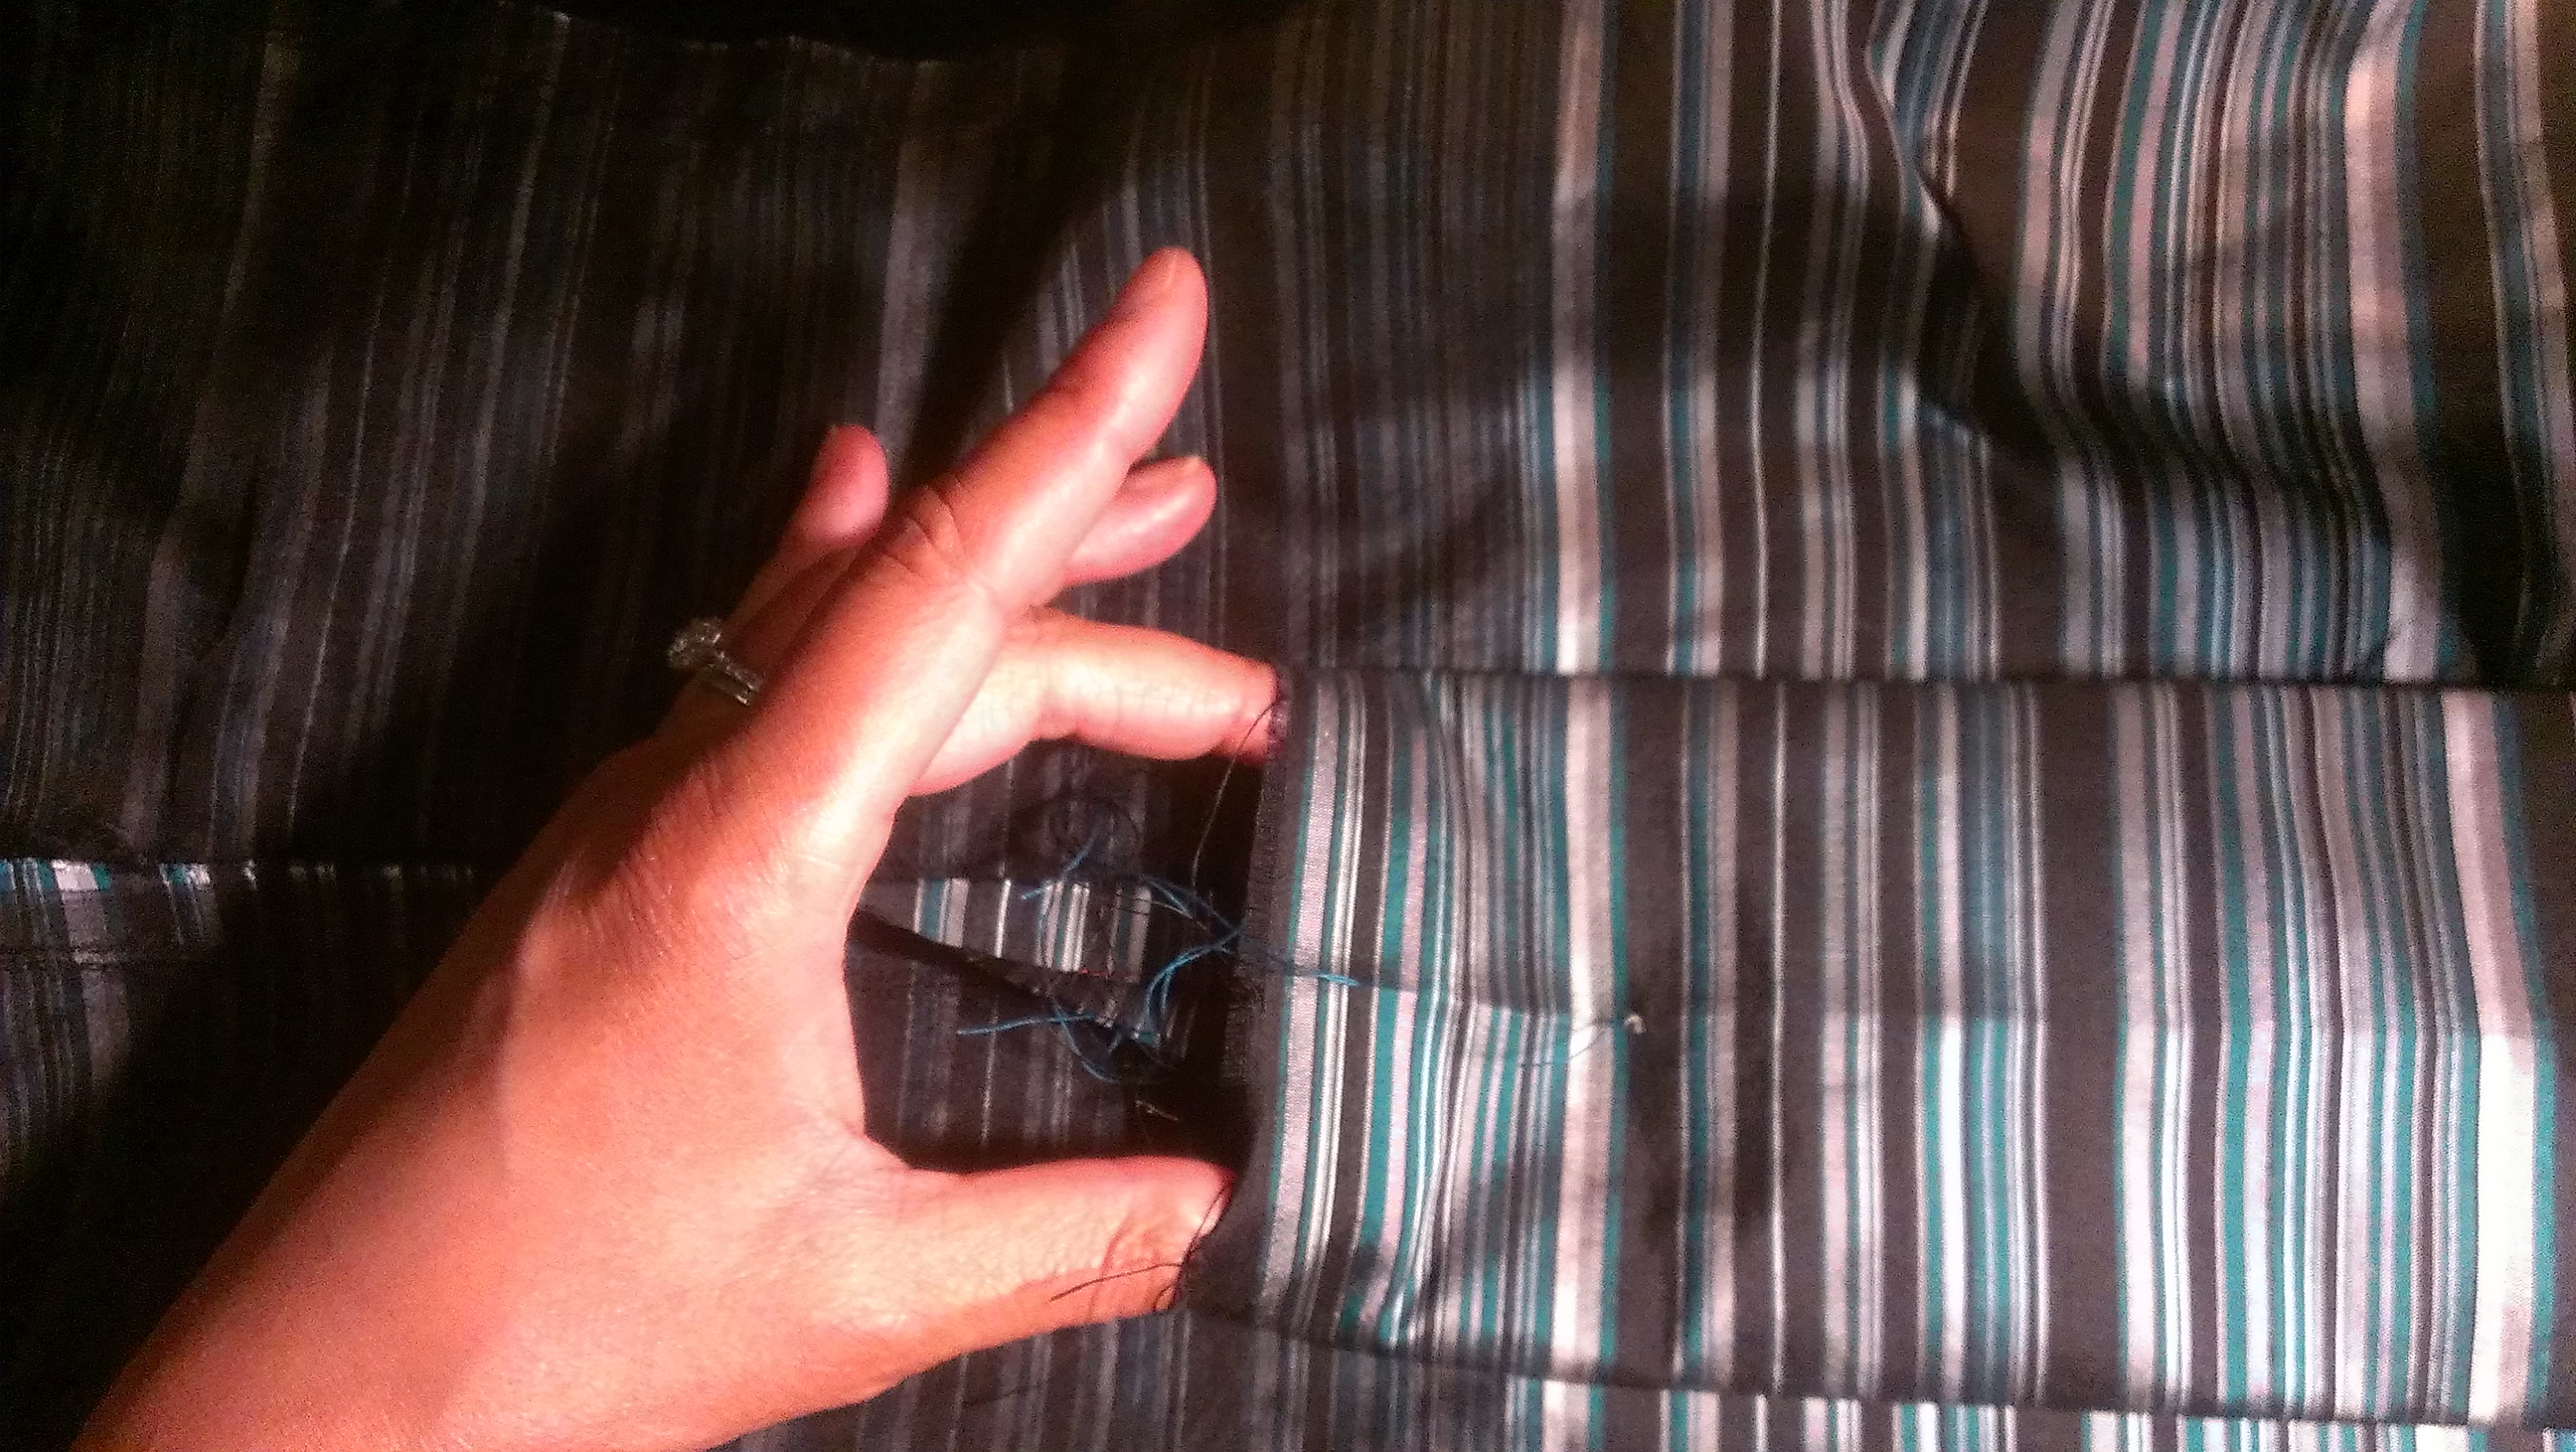
Here is a photo of the basting process of adding the underlining to the bodice and making the princess seams:


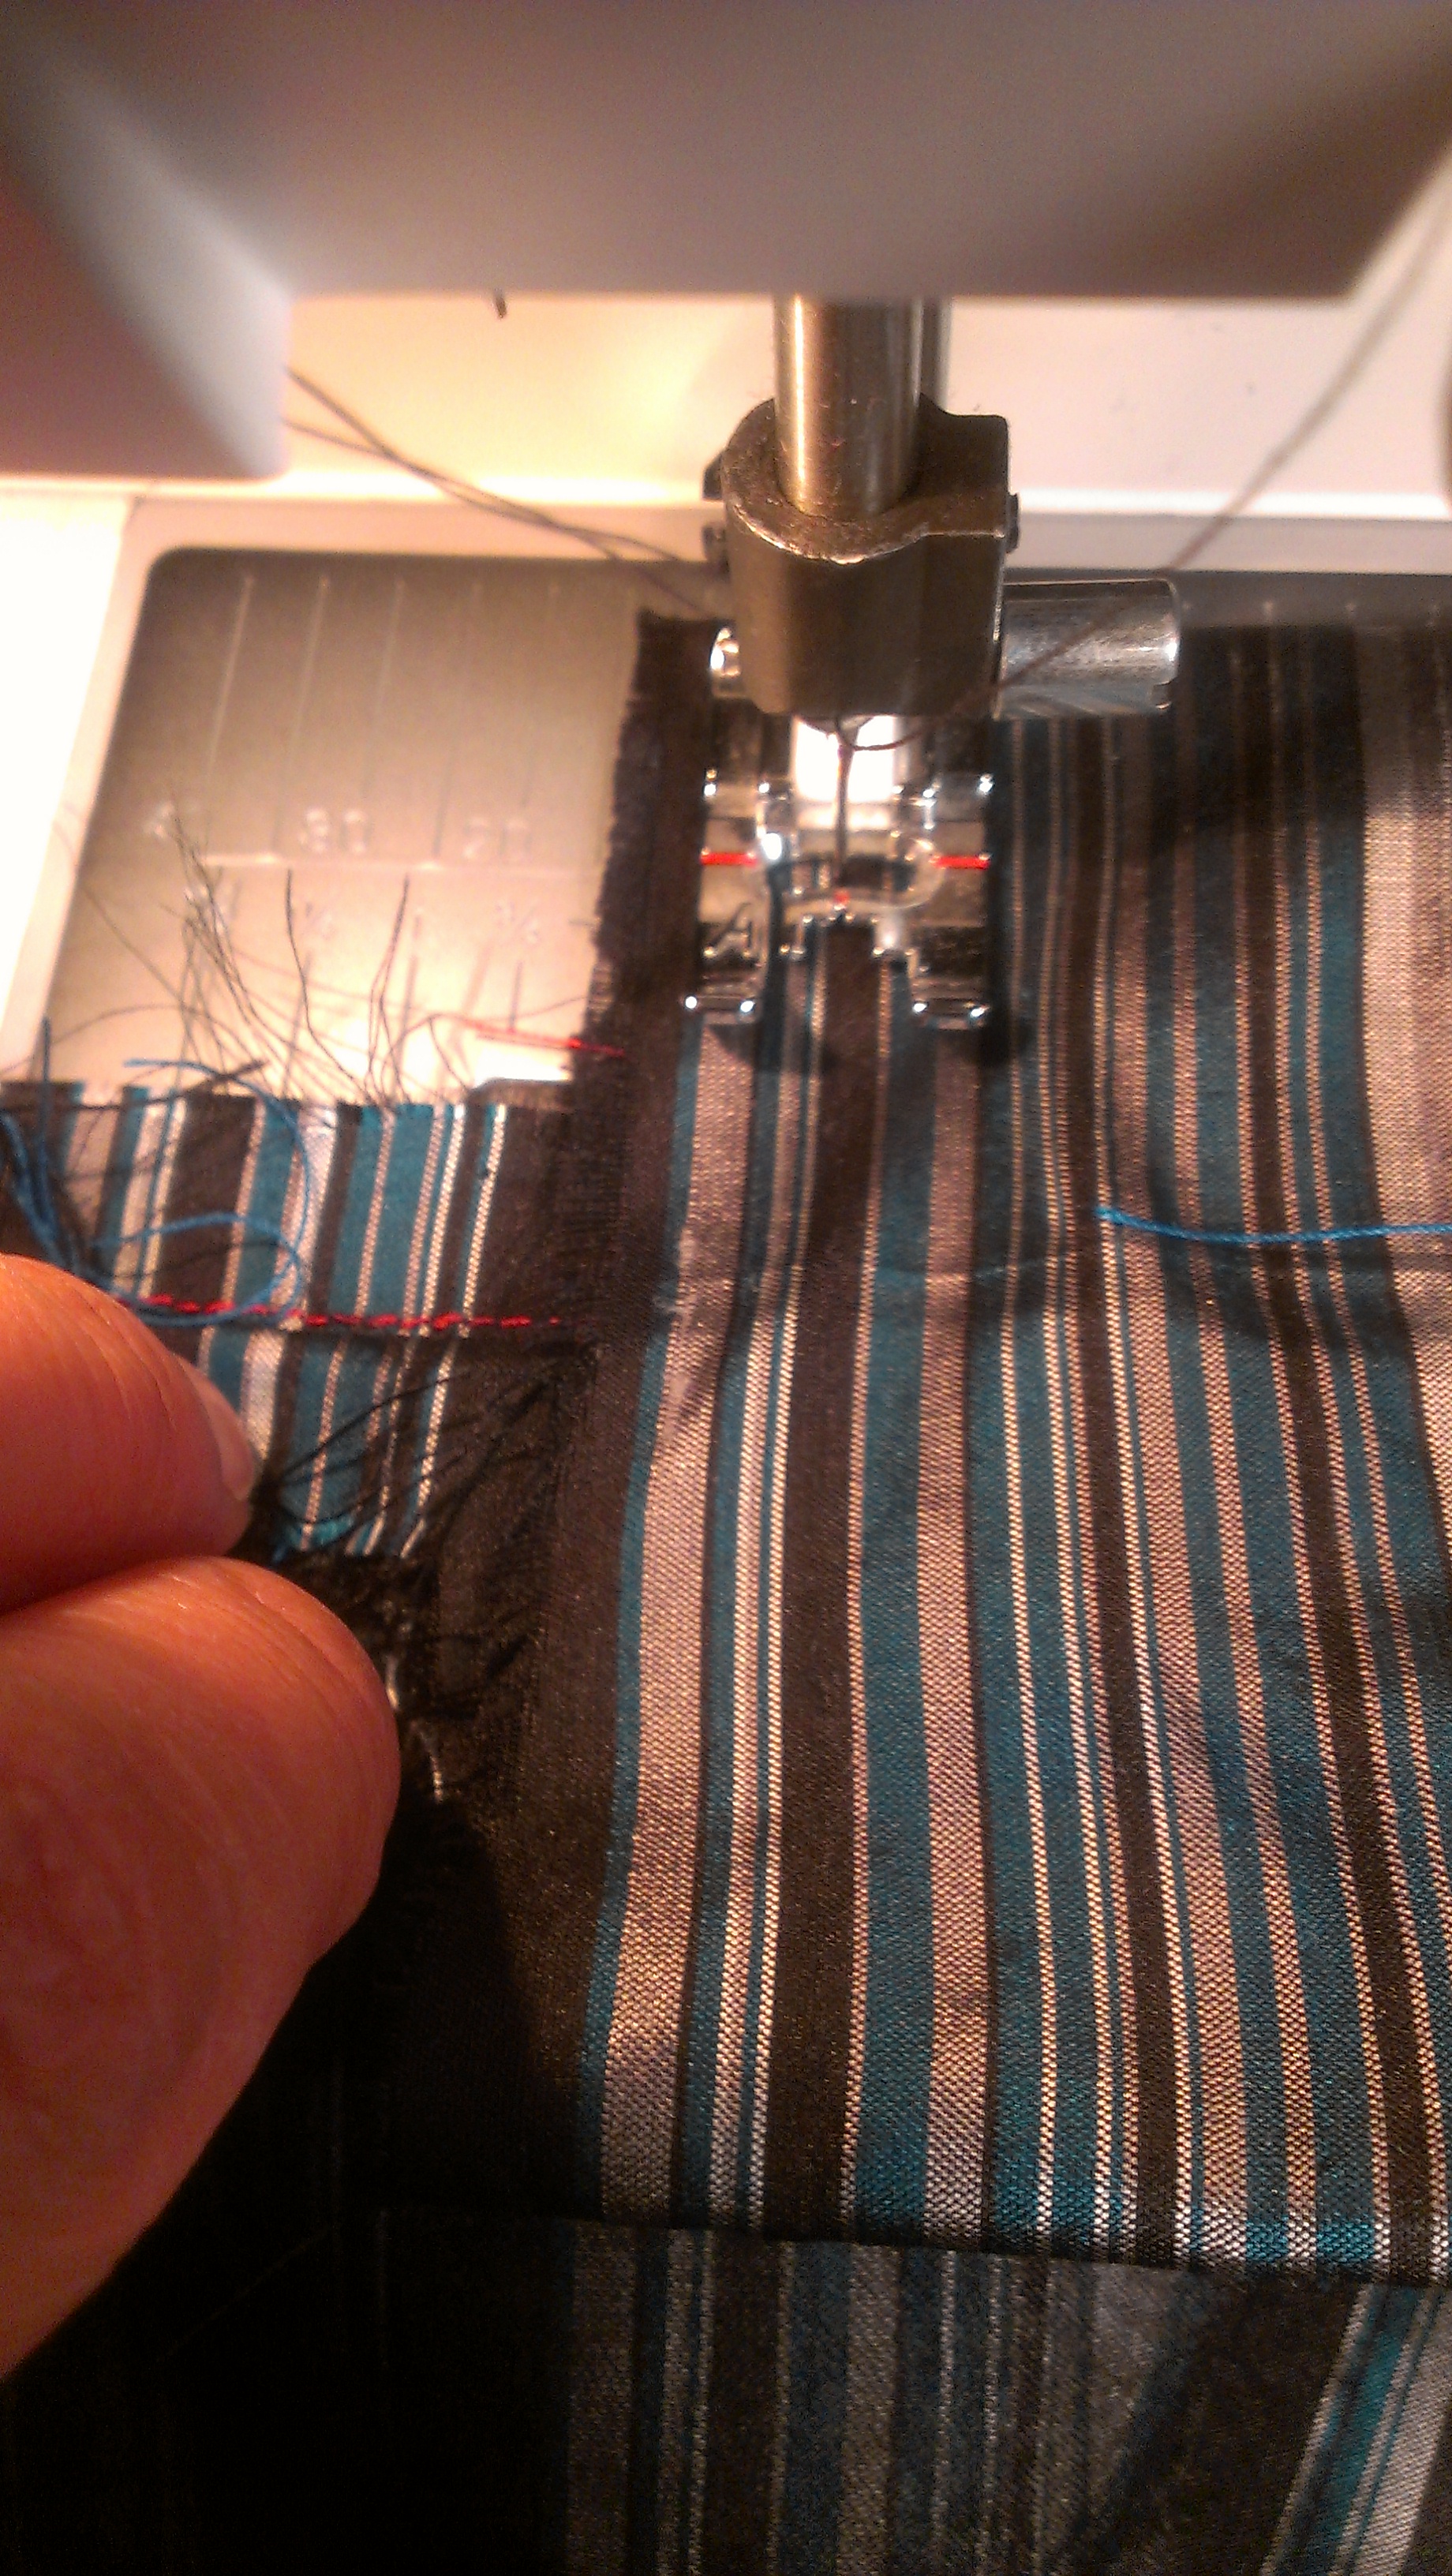
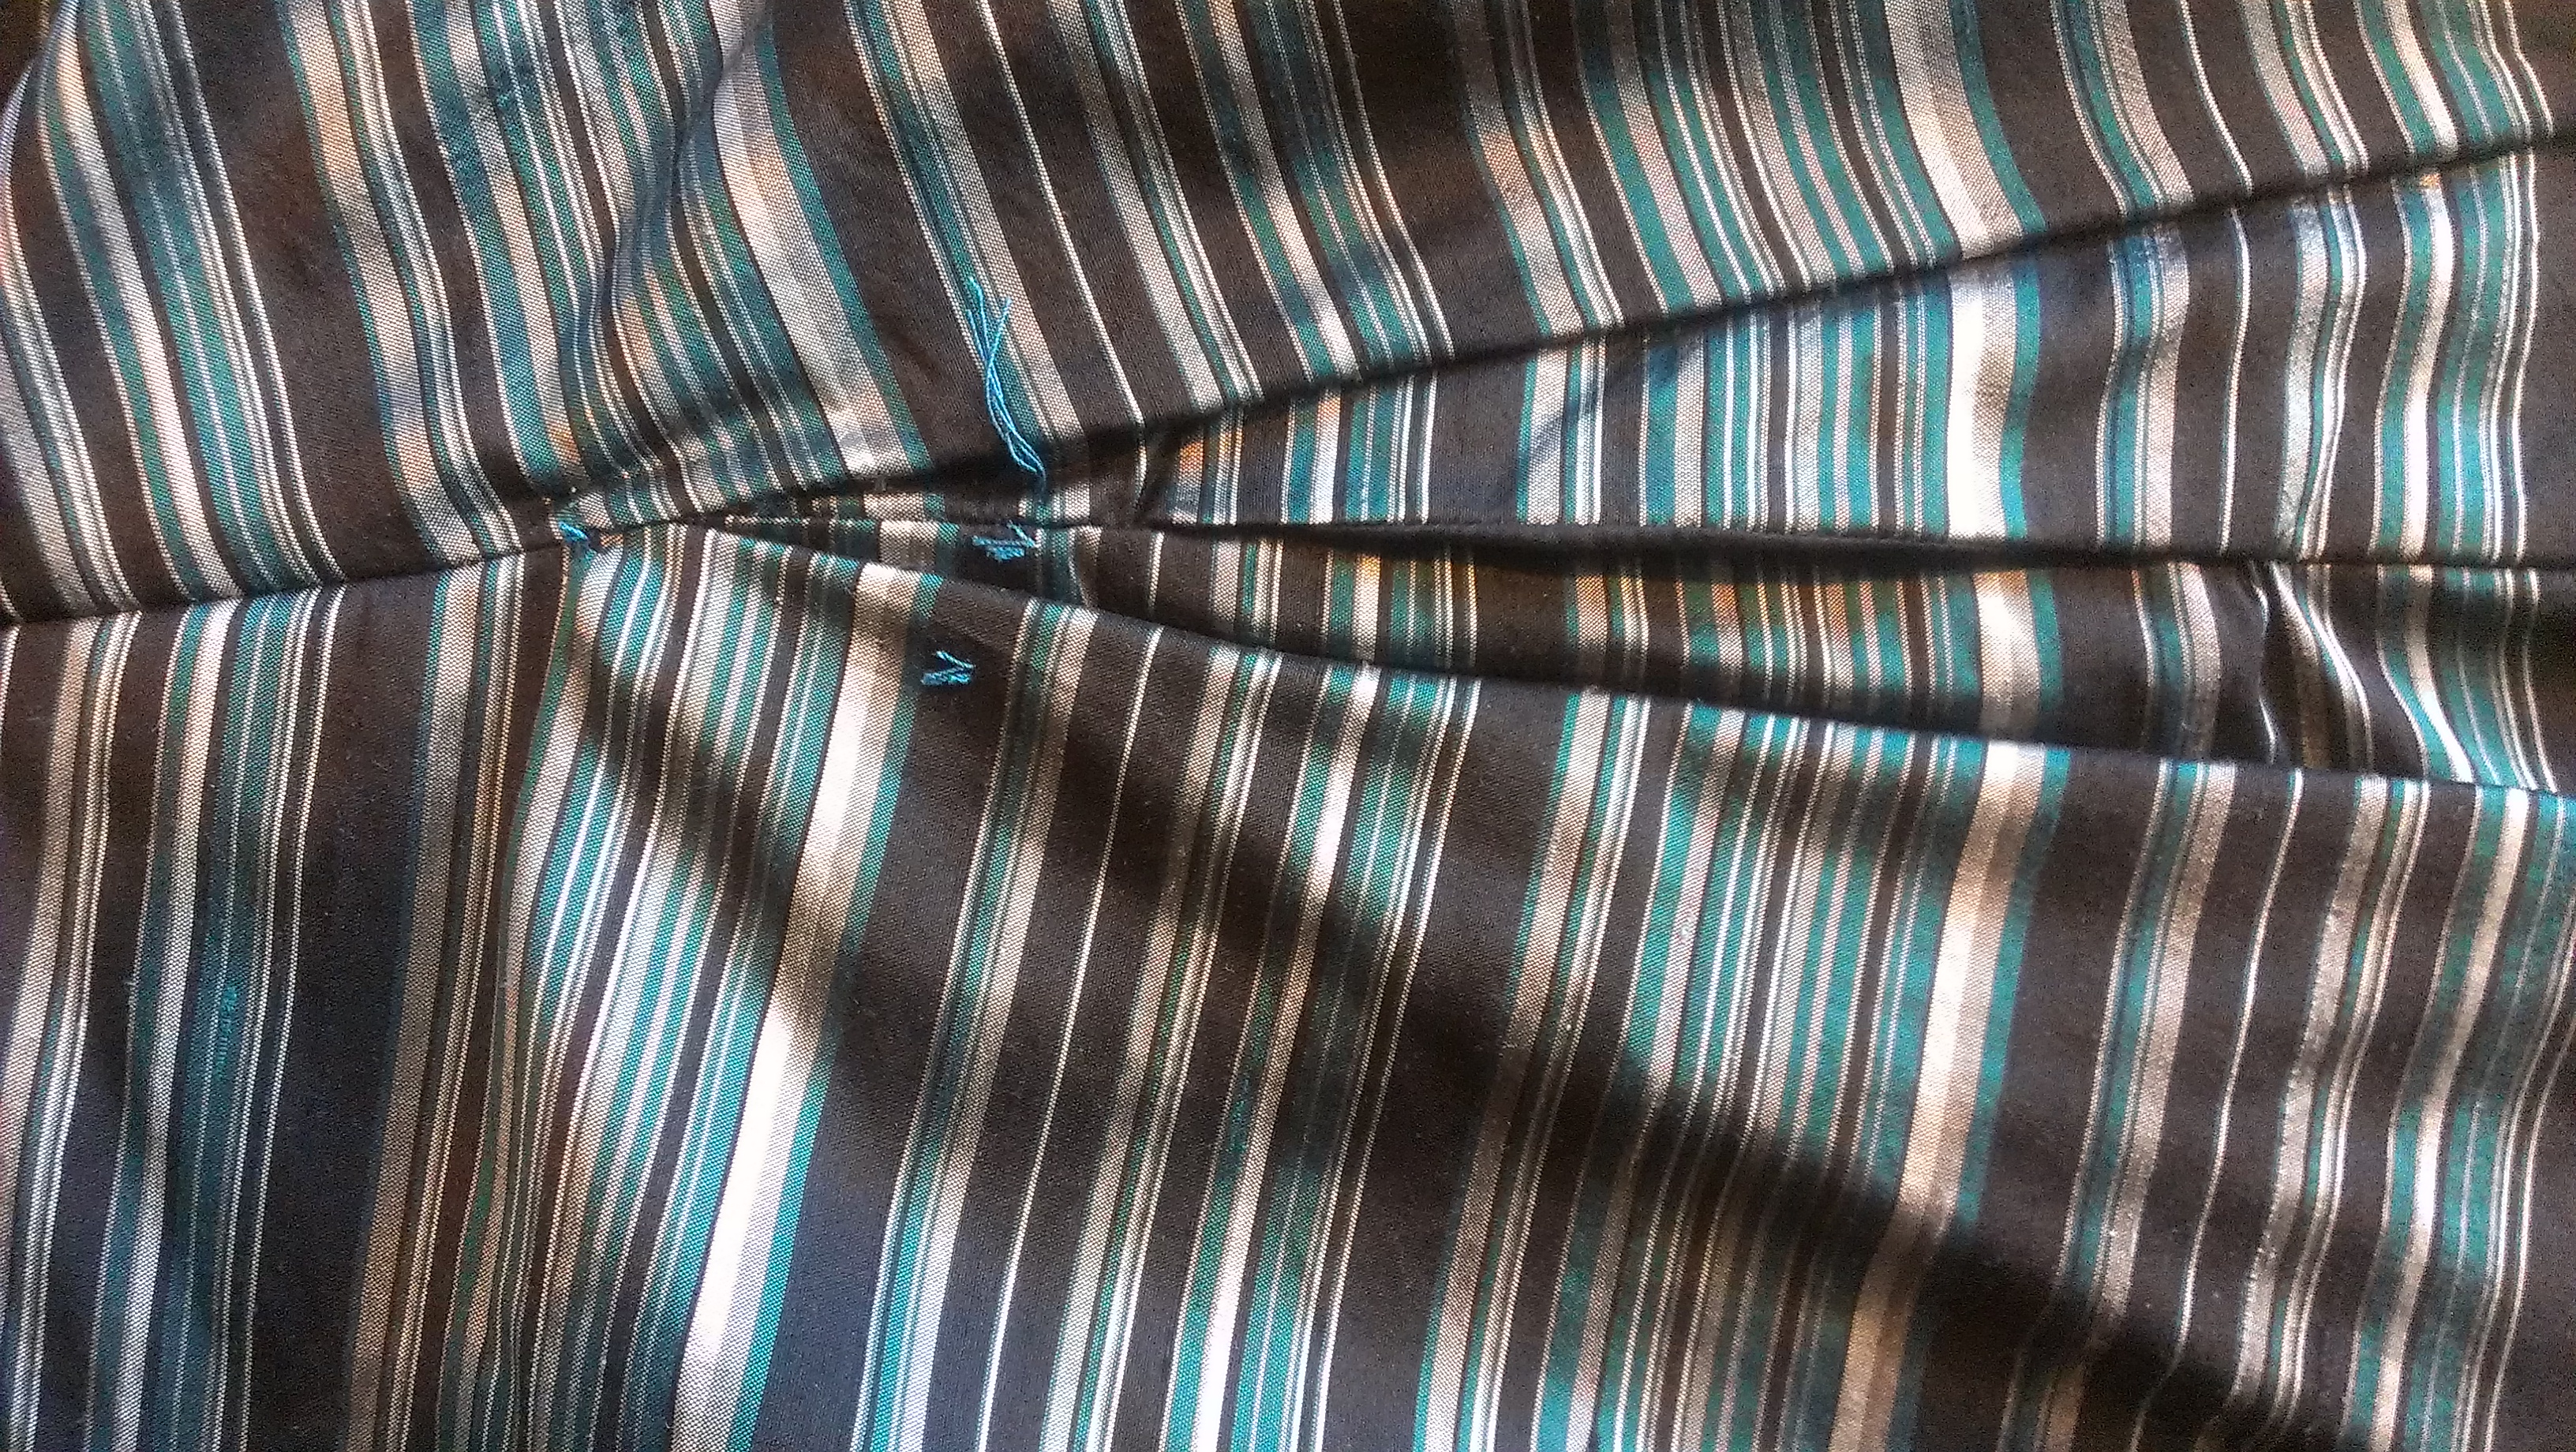
Making the pleats was the next major step. This was not too difficult to do, as long as the pattern marking are done well and the instructions are carefully followed.

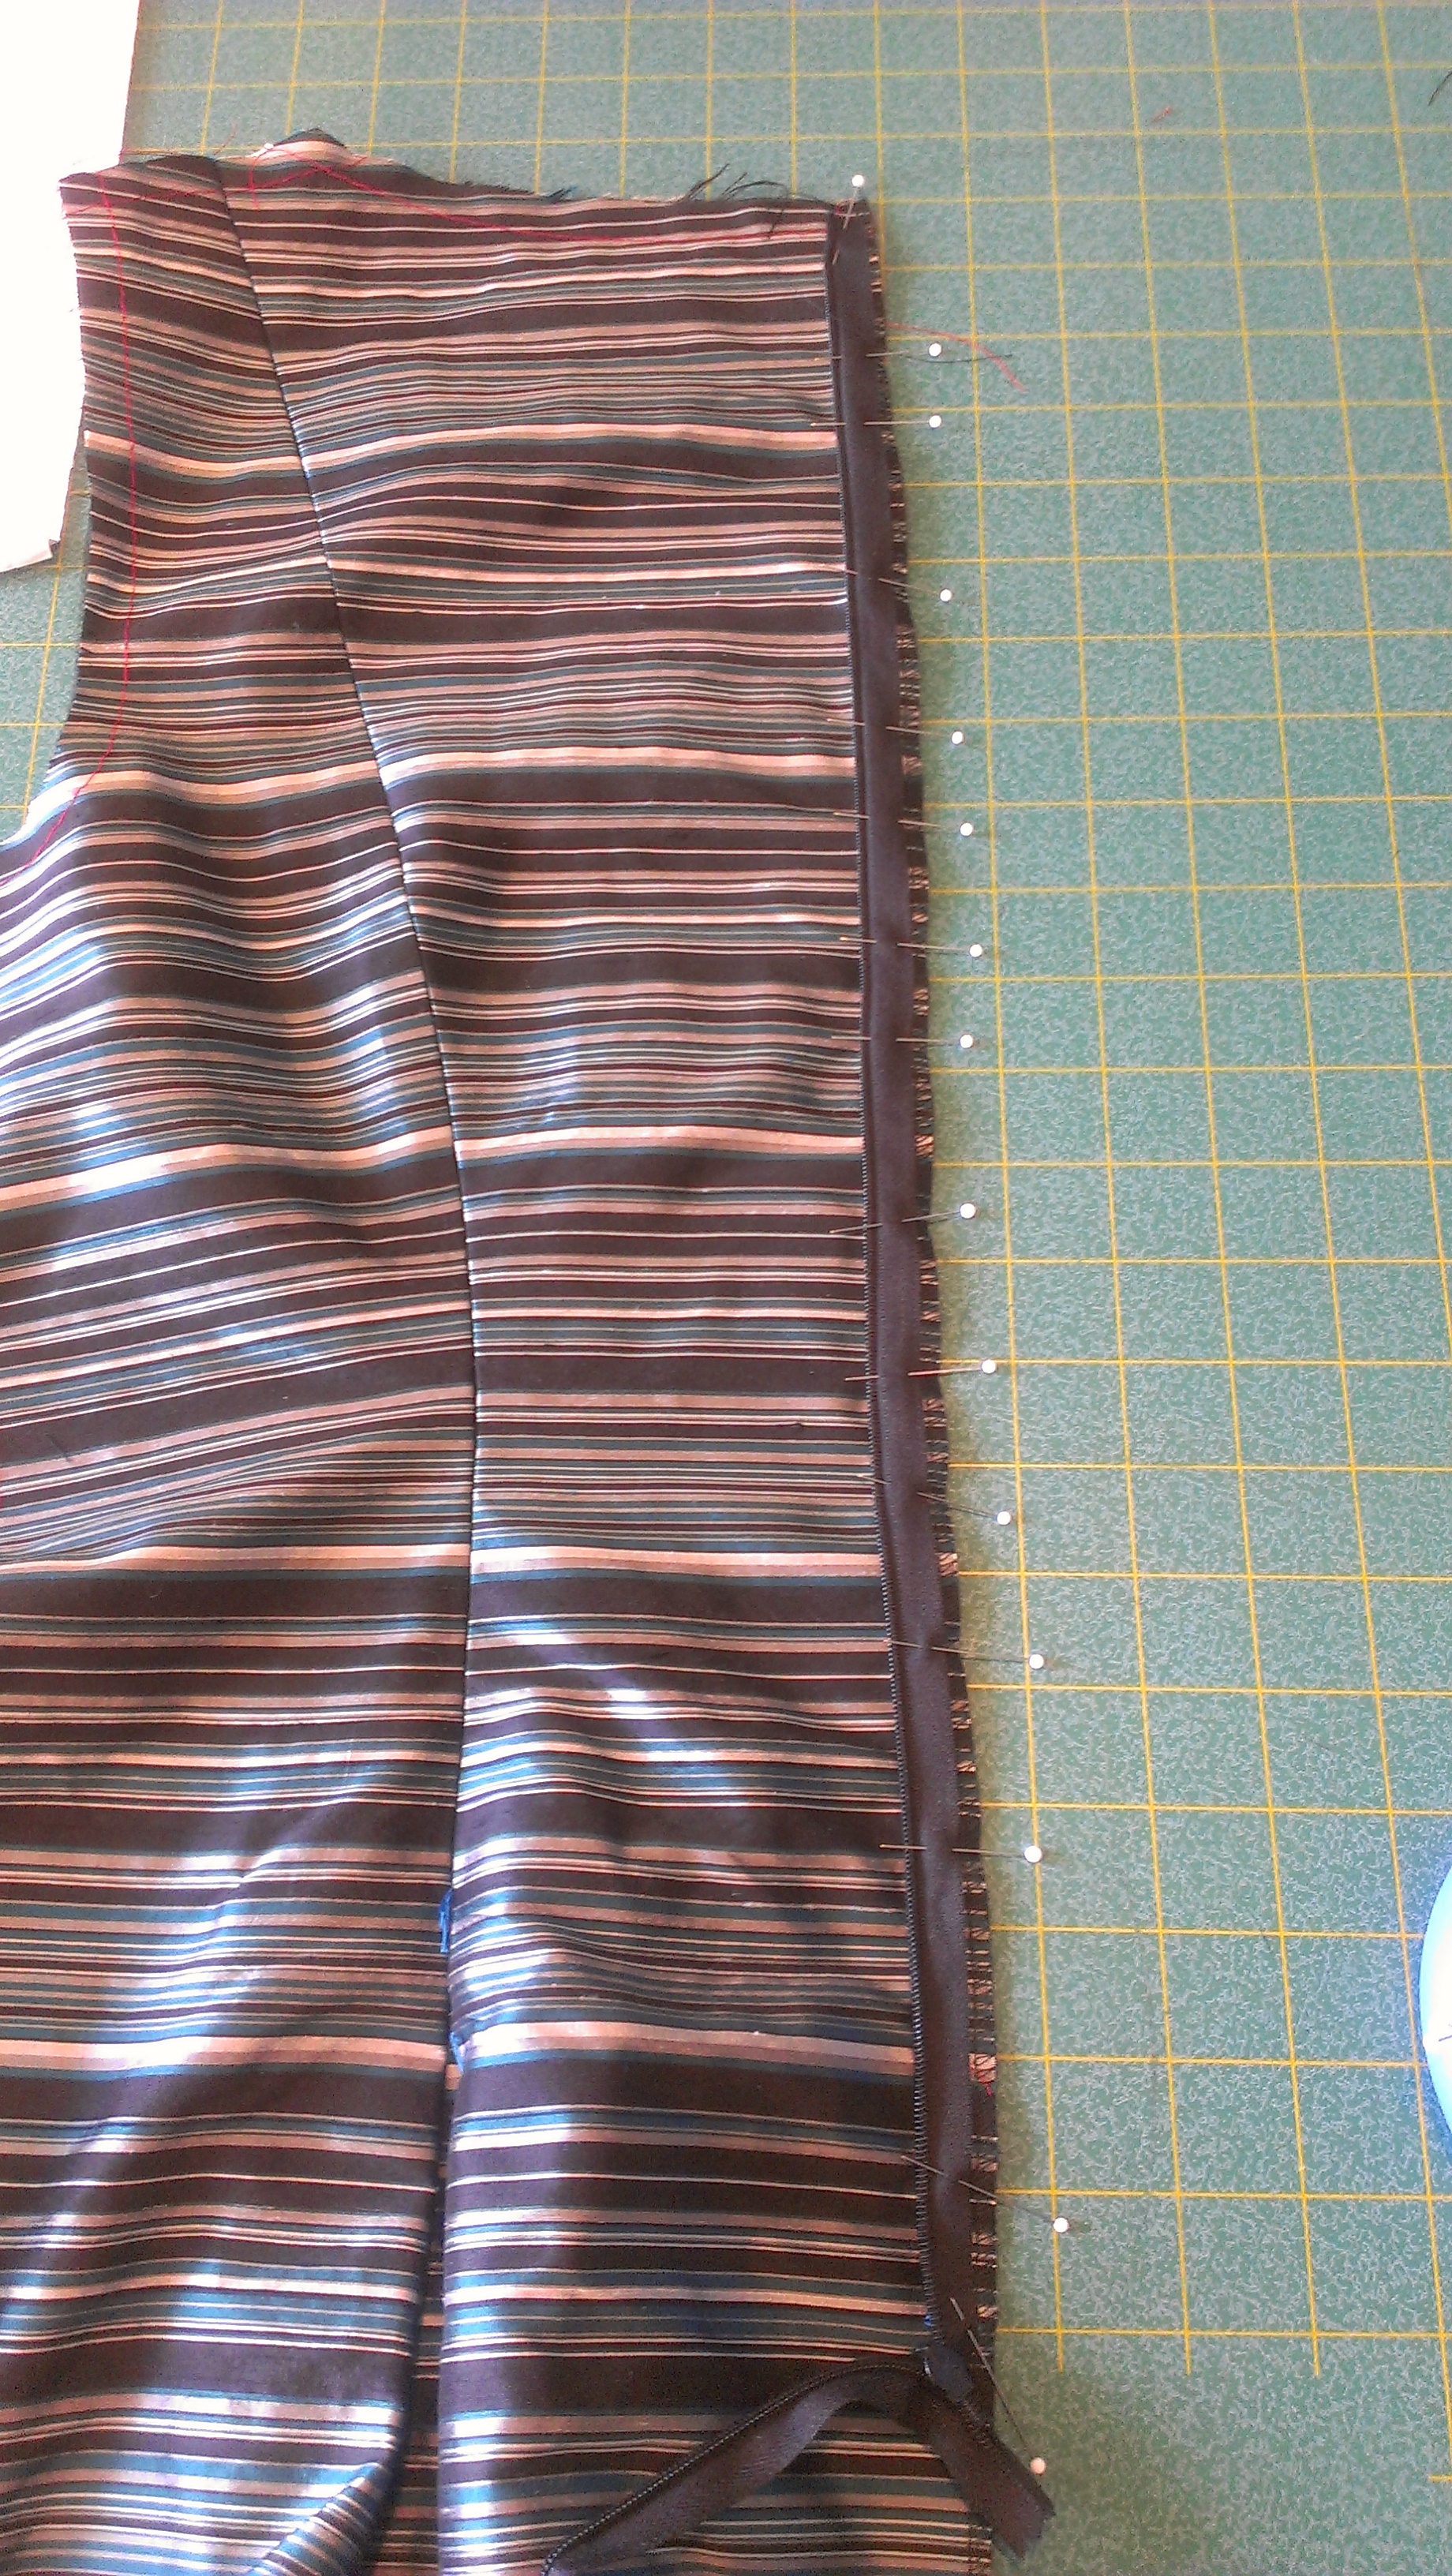
The invisible zipper is then installed in the center back seams:


Then the pockets are sewn to the side seams:
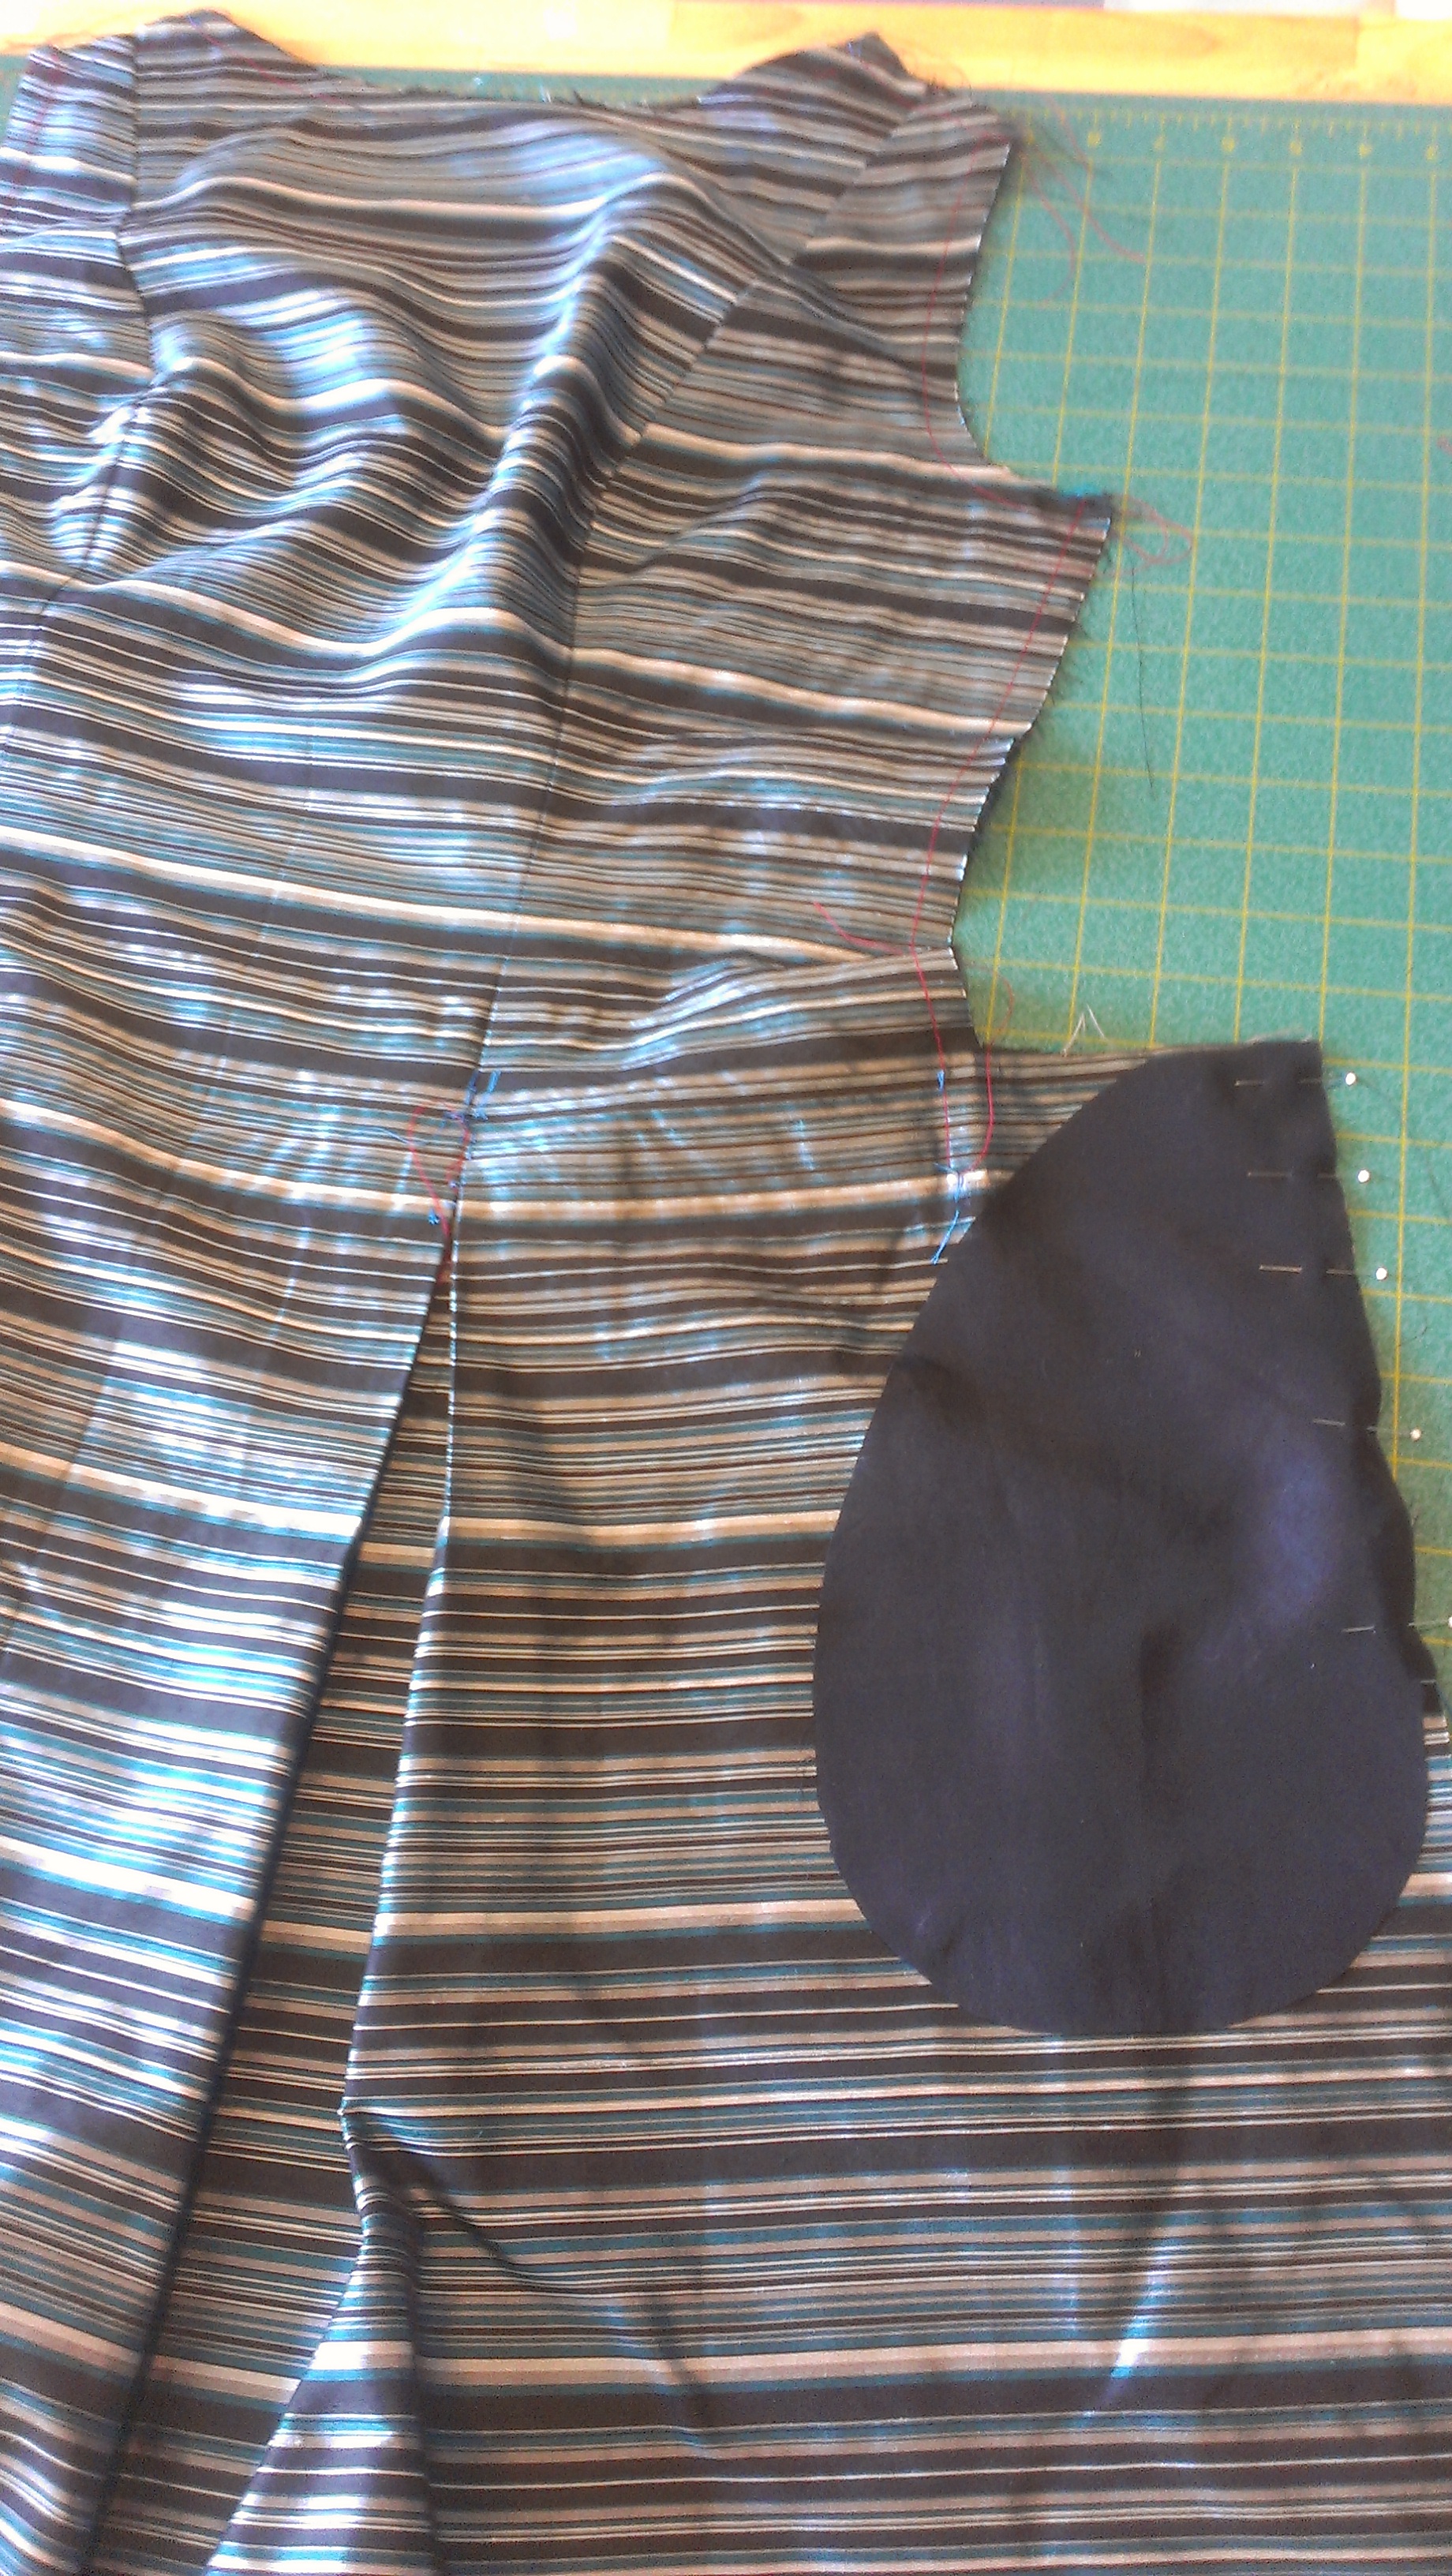
The tricky part with the pockets that are incorporated into the side seam and a pleat is getting the pleat just right from the back as well as the front sections of the dress. Carefully marked pattern symbols and lines really make a difference in this area. I had just done tailors tacks with thread, but really should have used tracing paper and the tracing wheel for the pleats to make the line and dot matching much easier. I managed to get through it though without too much difficulty.

The facing and lining pieces are next:

The, the petticoat is made from two rows of long pieces of organza gathered and sewn together, then sewn to the bottom of the lining material. I stared really running out of time at this point, so the photos had to stop and the sewing took precedence!
I made a few shortcuts as well and had no time to hand stitch the back of the lining to the zipper, nor did I add the strip of lace to the hem of the dress.
All in all, the dress came out cute, but not as fitted as I would like (I’ll go back and take in the side seams a bit for a closer fit through the waist. Plus it was a little puffier than I would have liked, but that is the nature of a pleated dress with a ruffled petticoat I suppose!
The wedding was really fun and I got a lot of compliments on my dress, so another successful dress project in my opinion!


Leave a comment