Author: Slmendes

  • Chambray Shirtdress McCalls 6885

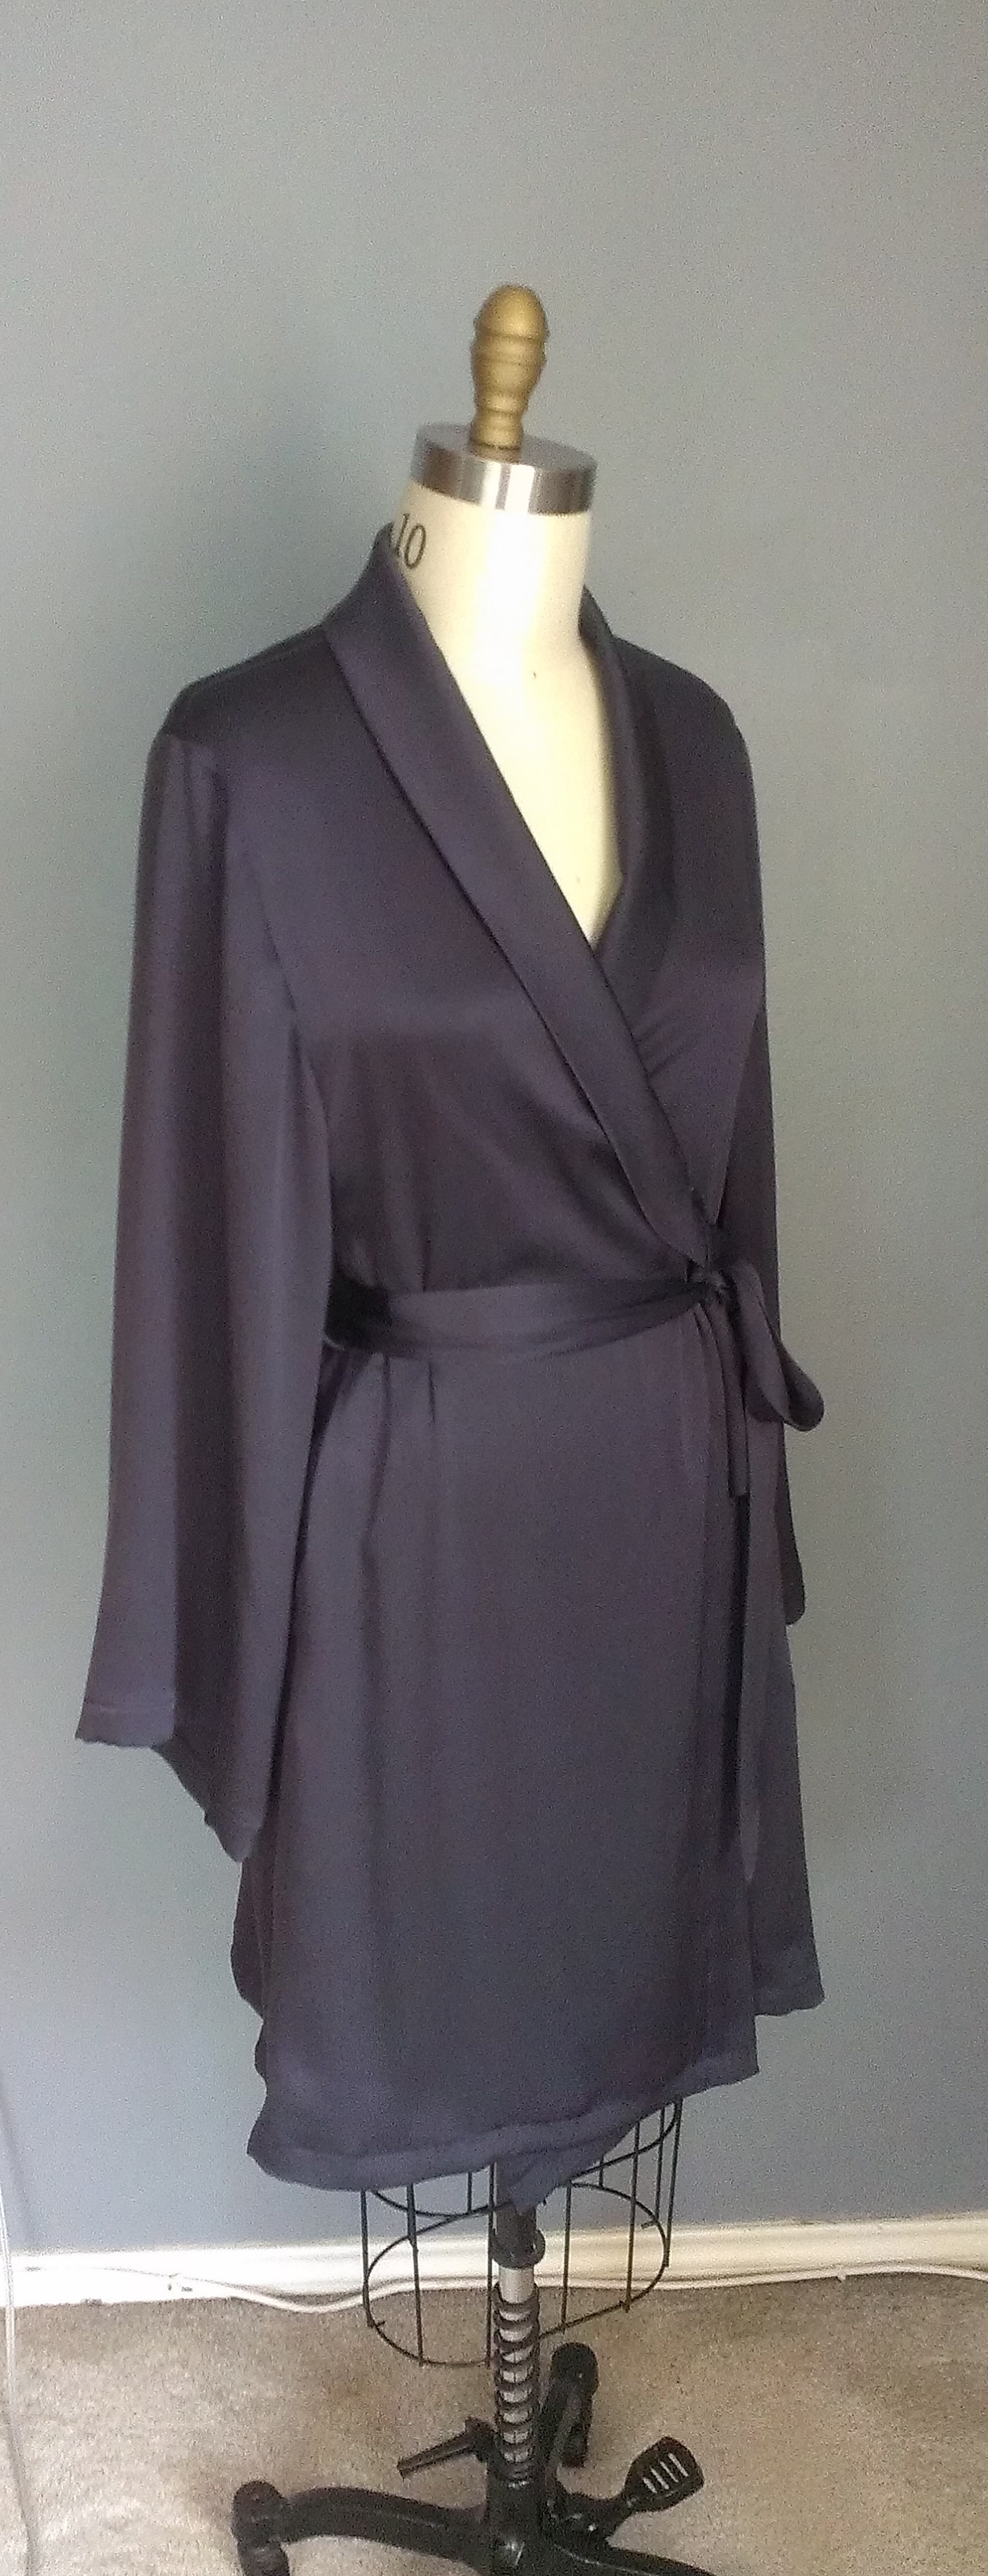
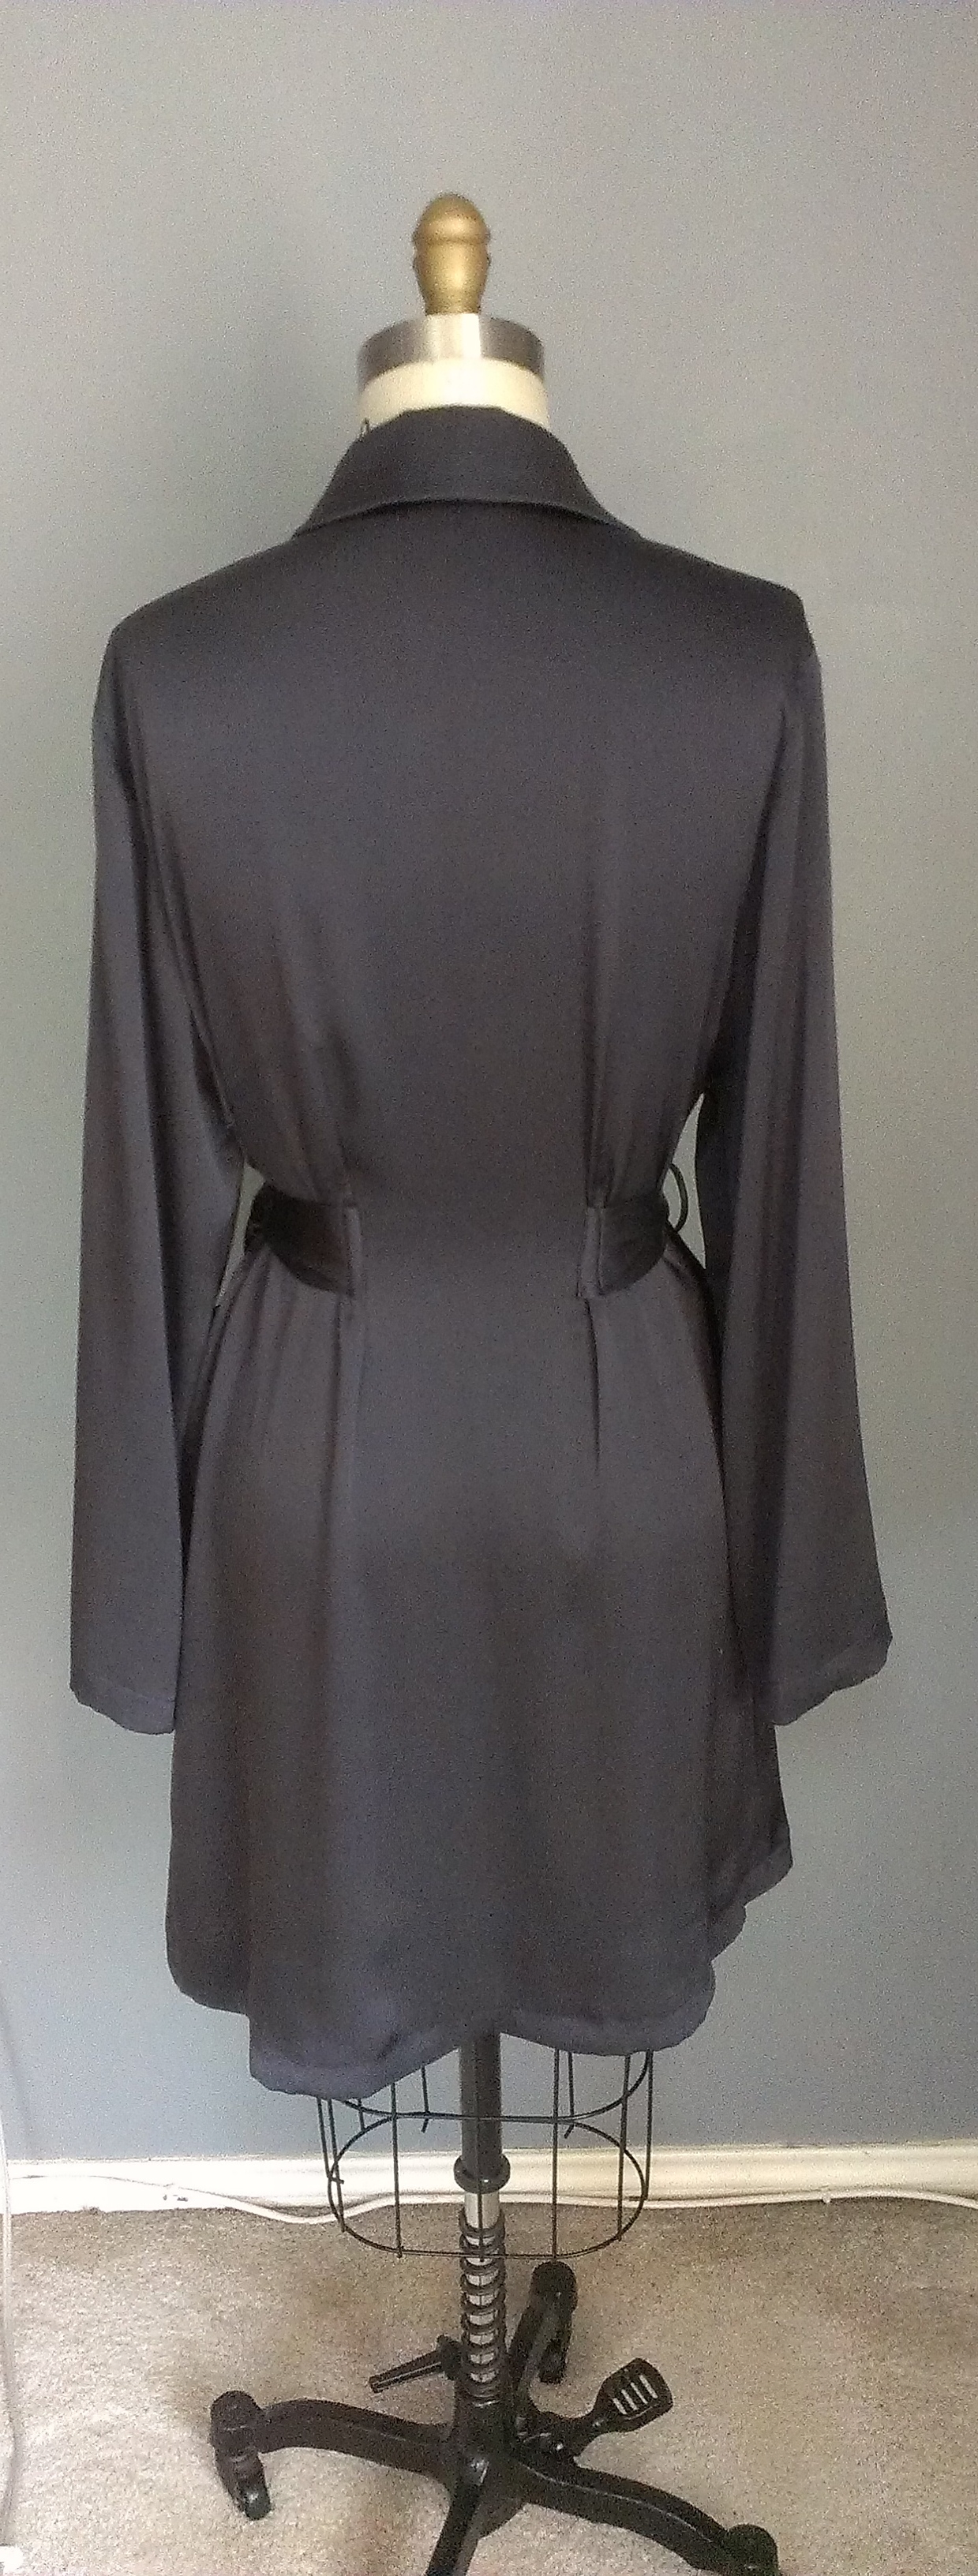
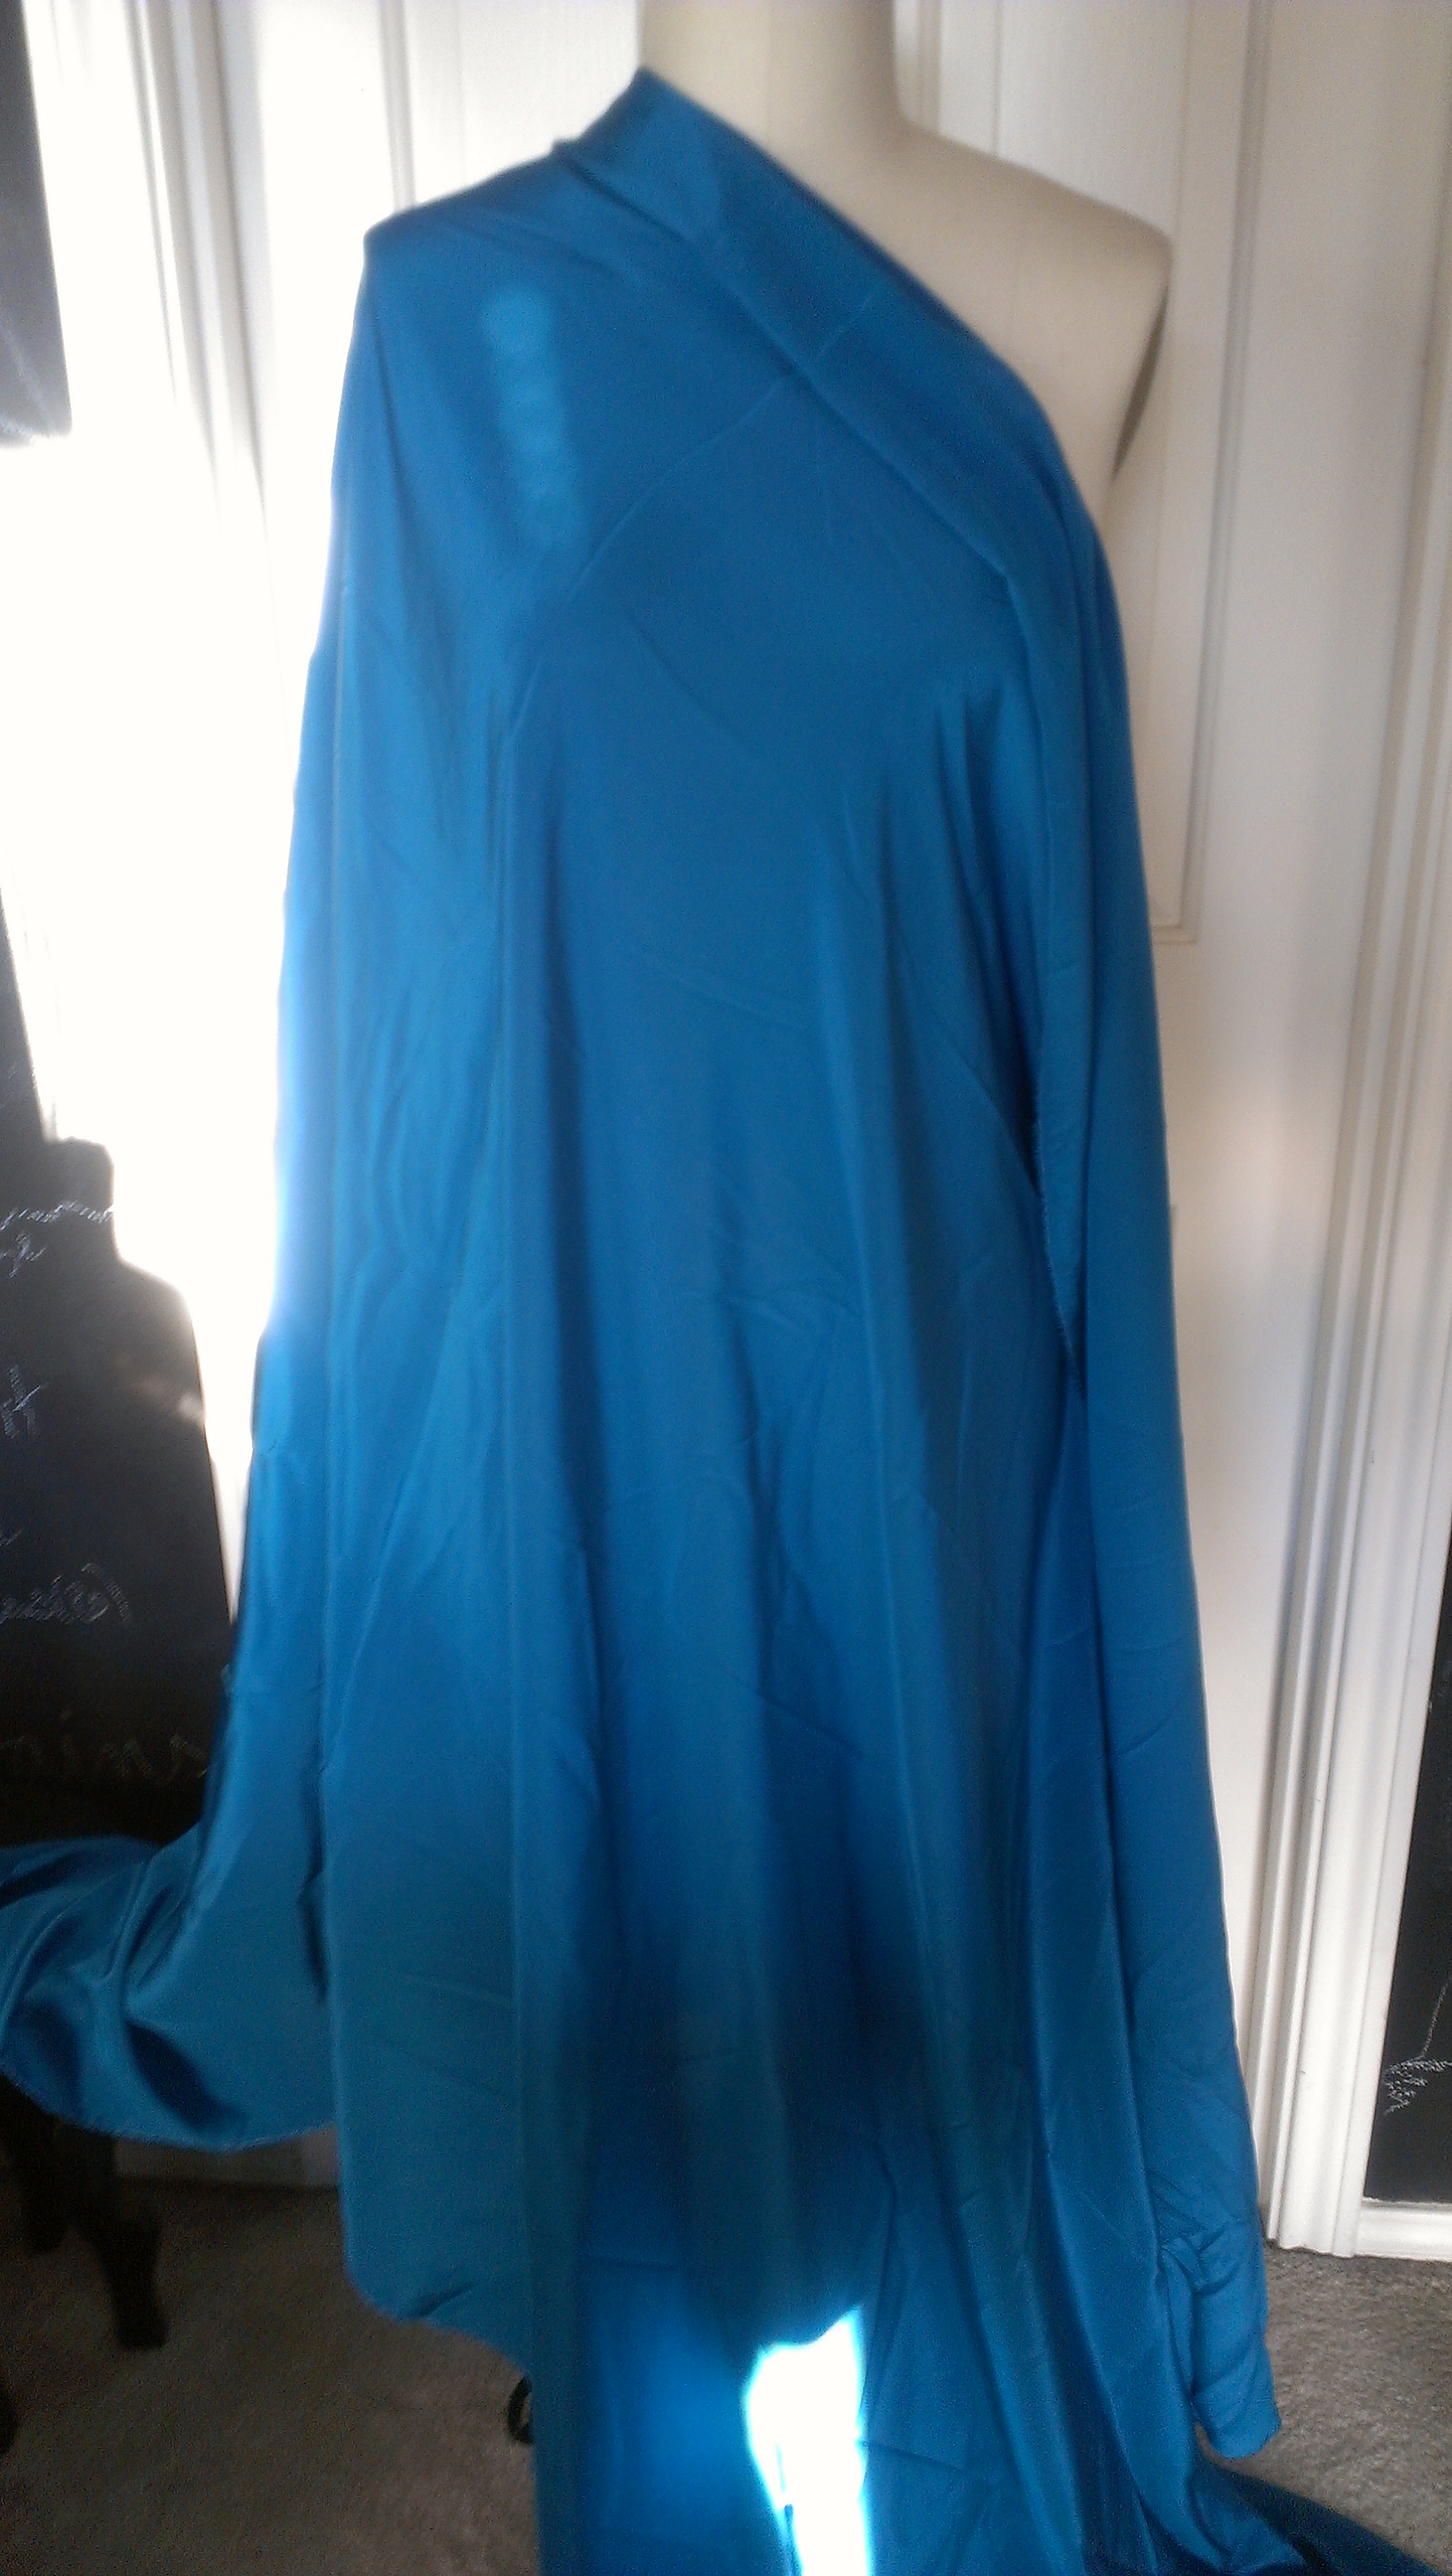
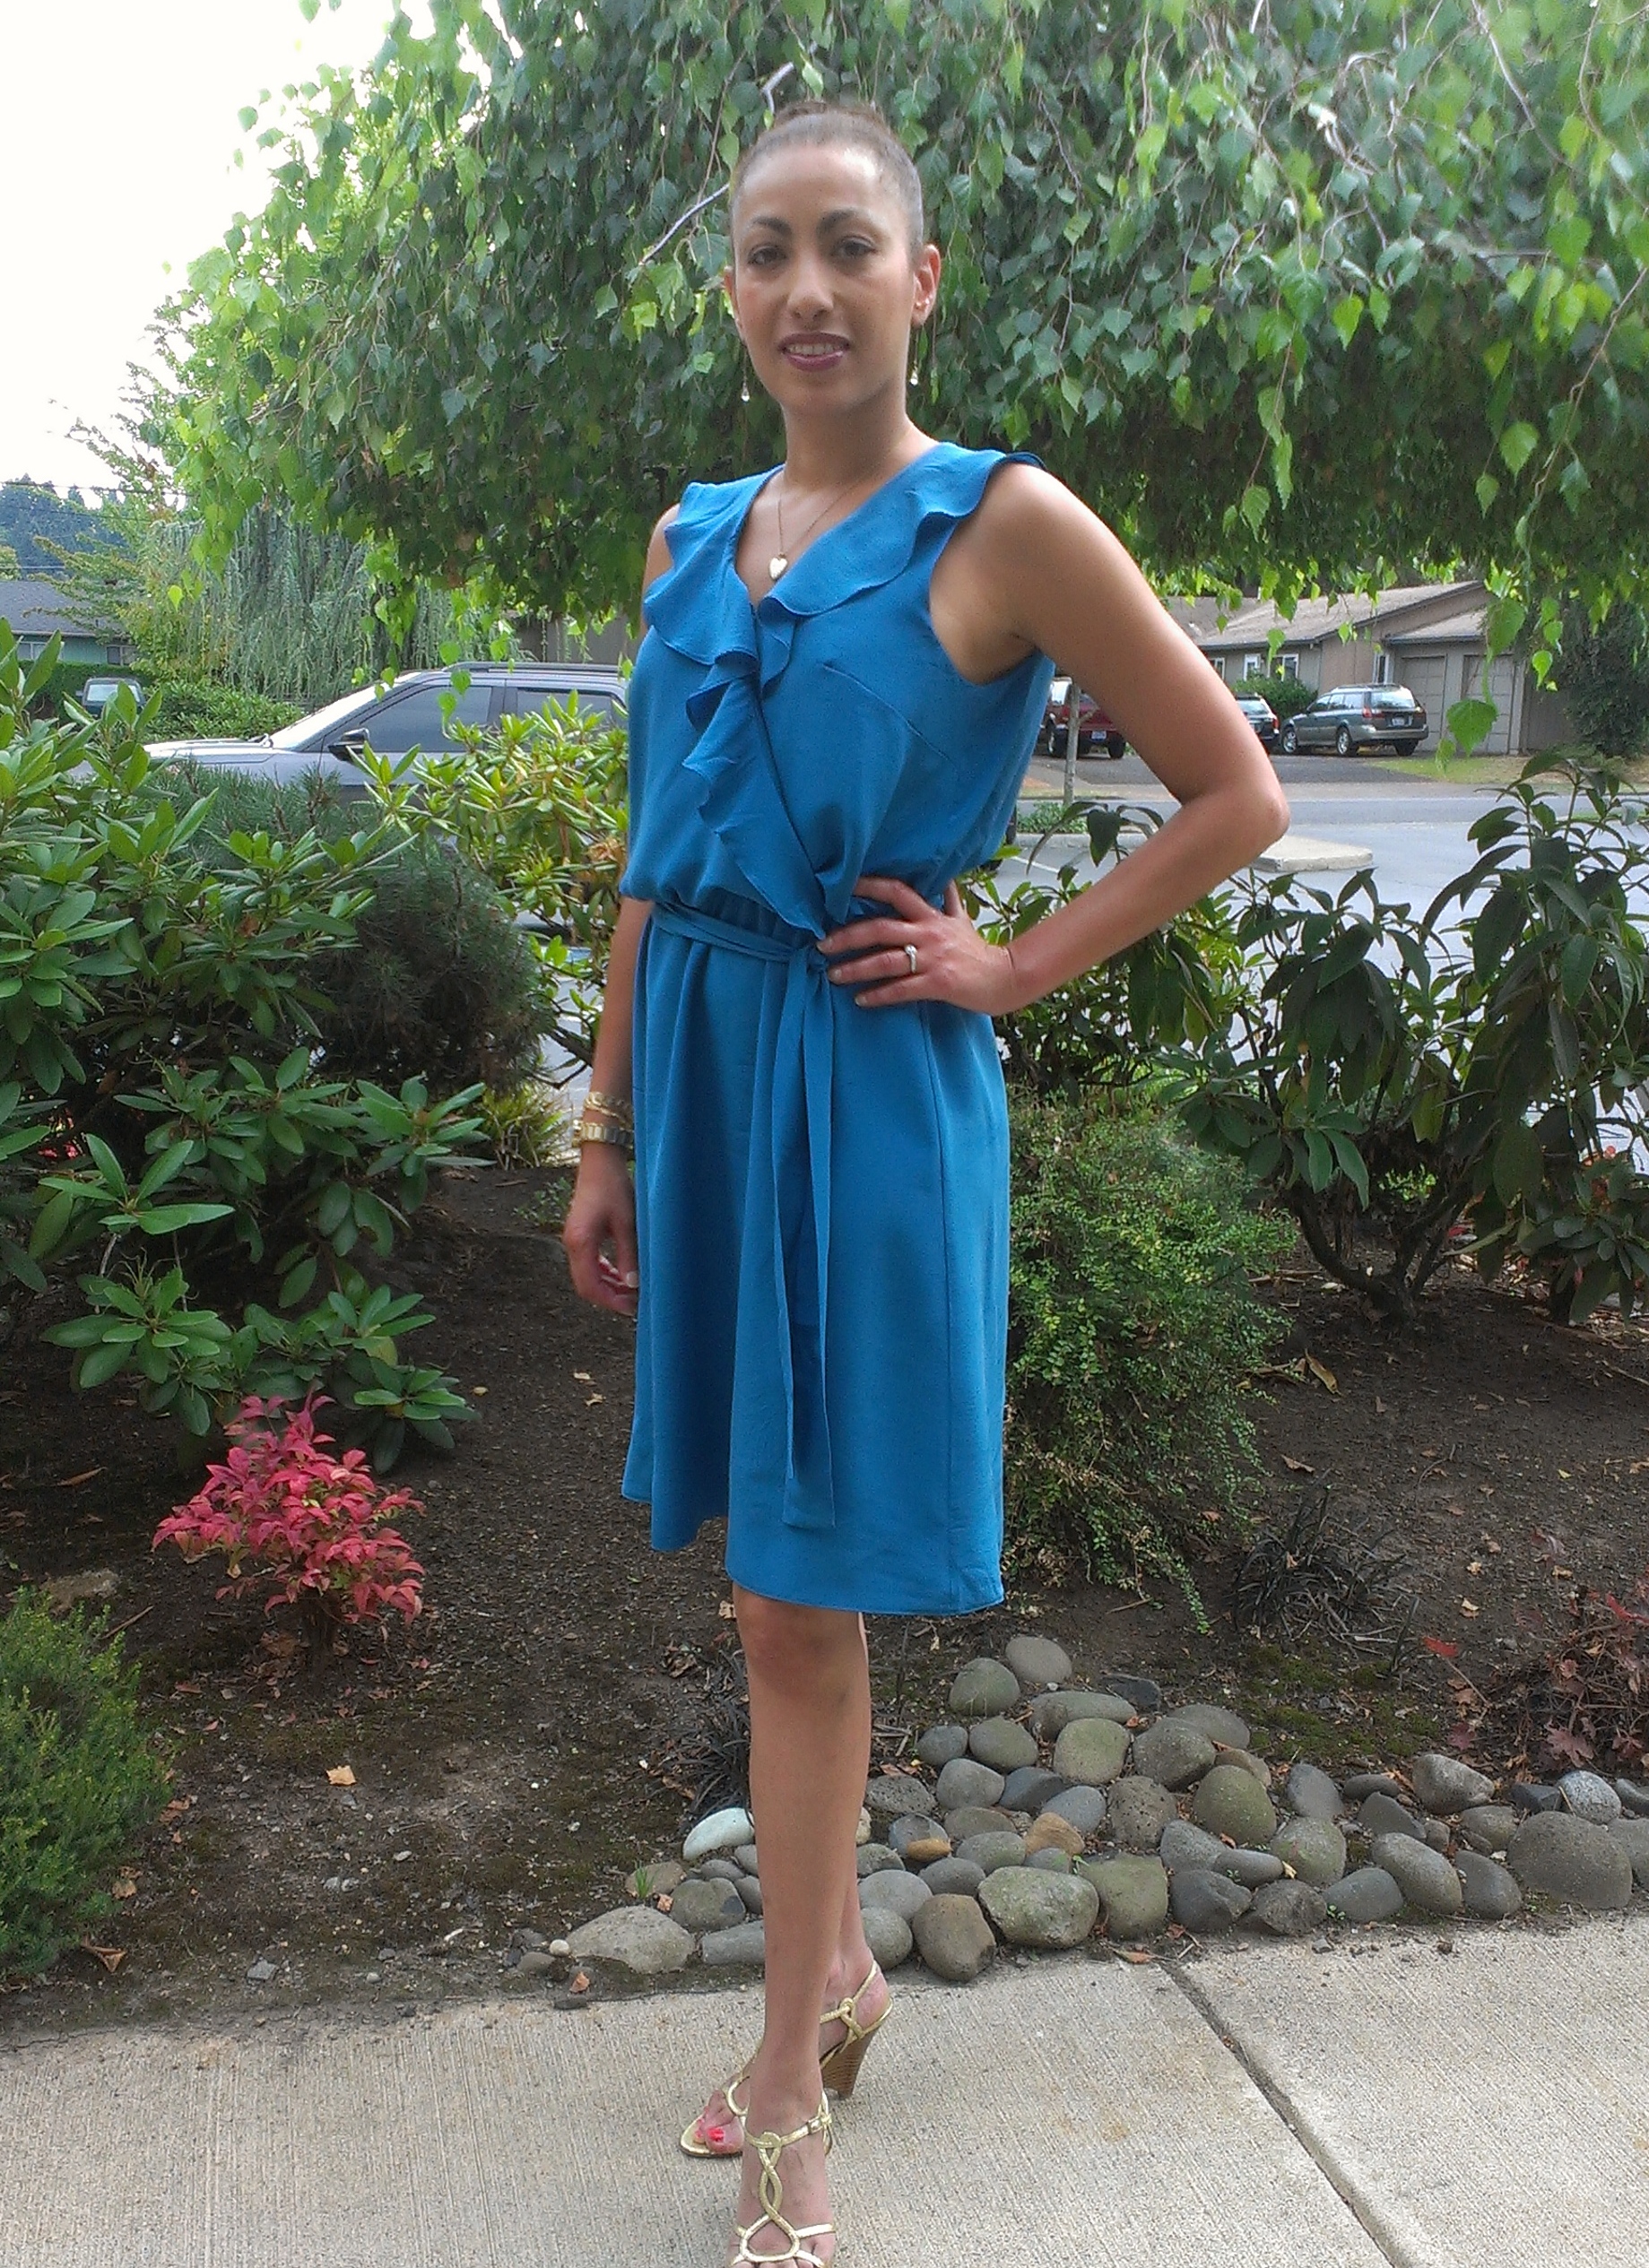
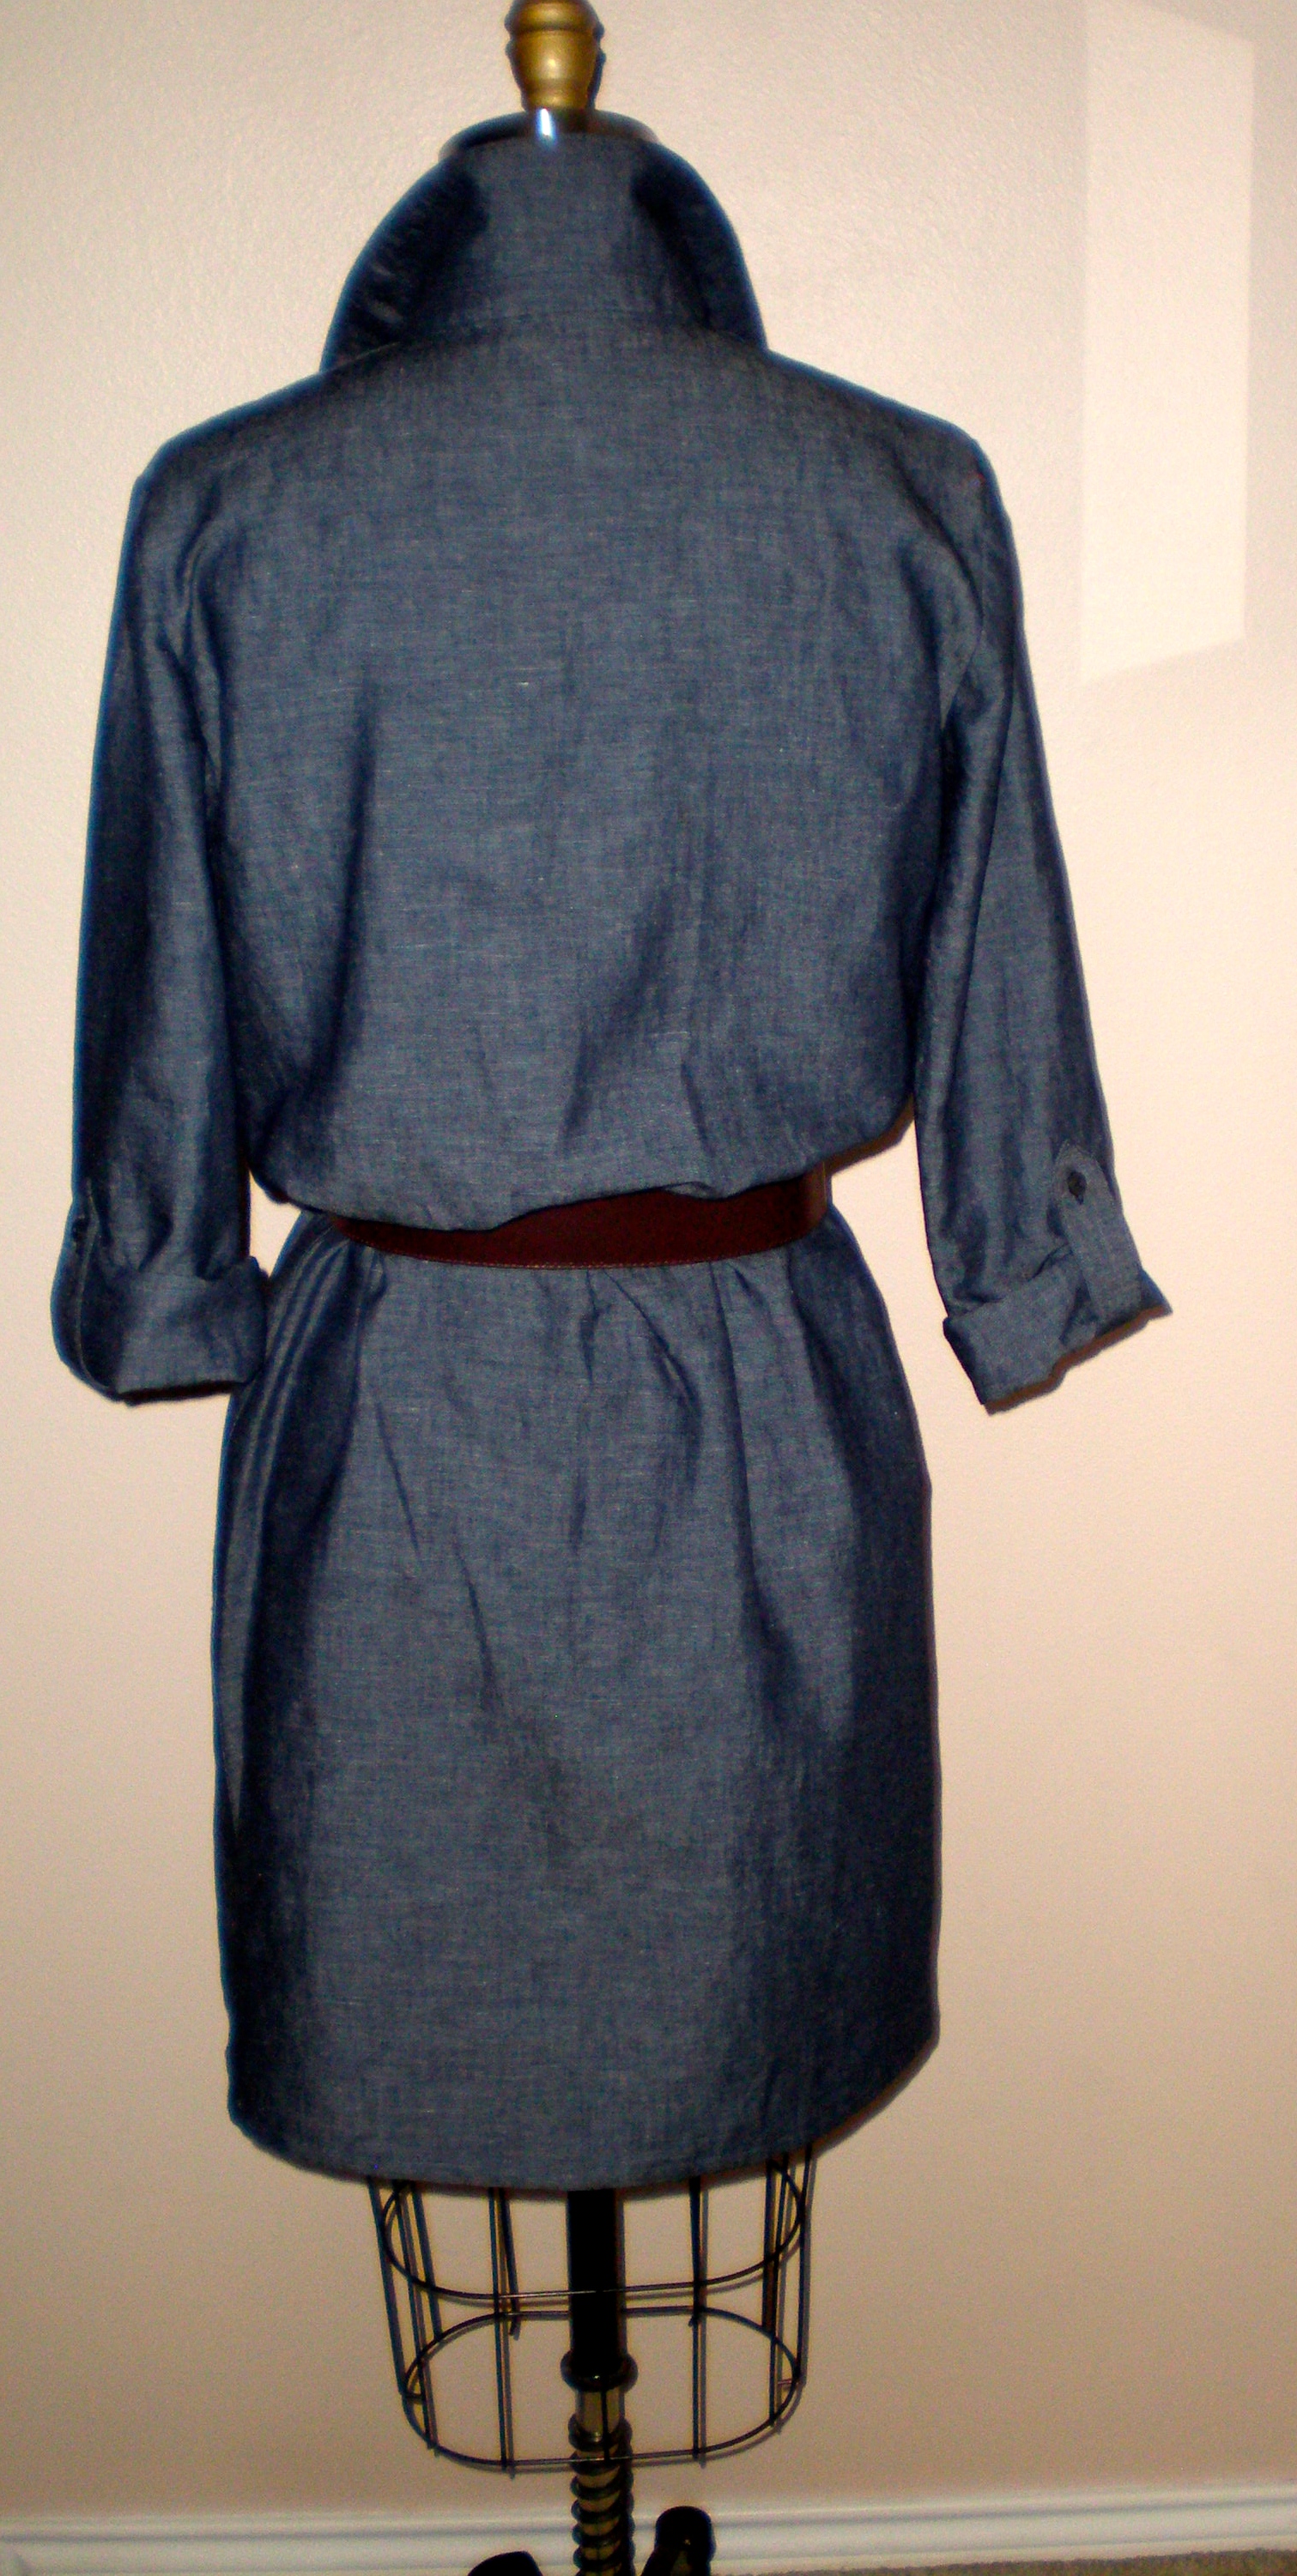
    I am excited to have finished this shirtdress made of 100% cotton dark wash chambray so that I can wear it for the Fall and beyond.

    Chambray shirtdress
    Chambray shirtdress with 1/2 front placket and button tabbed sleeves

    I really like the ease of wearing denim as well as the comfort of a dress, so this light weight denim a.k.a. chambray is a perfect combination.

    back of shirtdress
    back of shirtdress

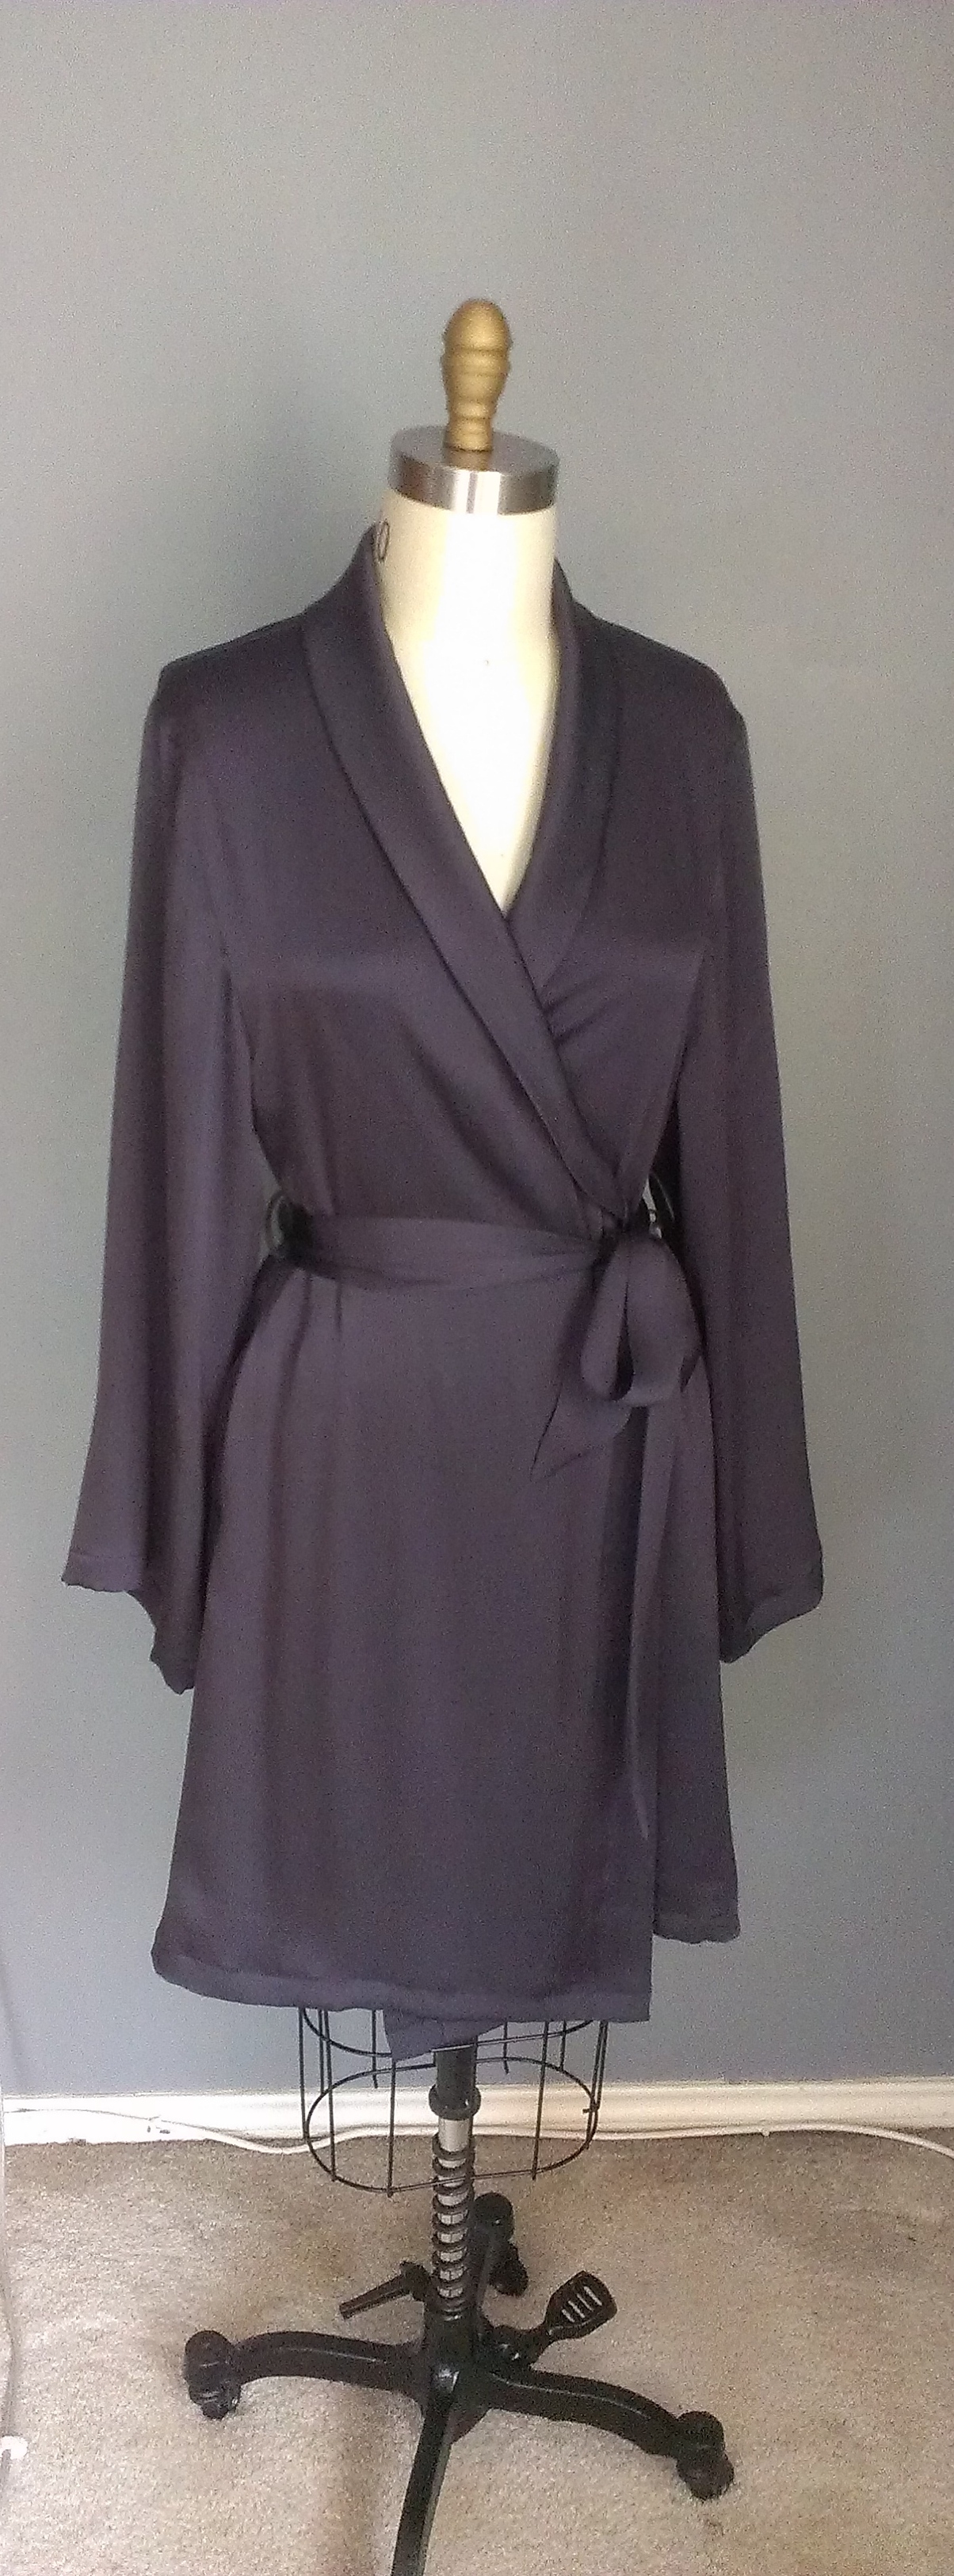
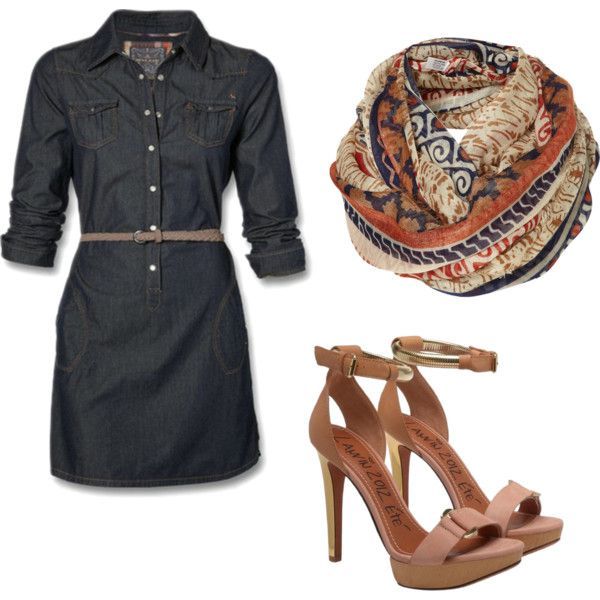
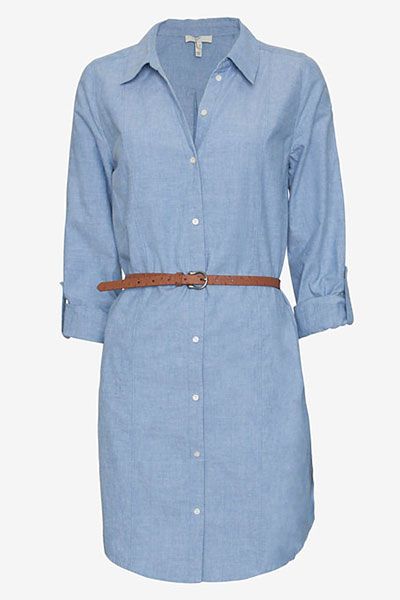
    I plan to wear this dress with a belt, boots & tights, maybe a scarf or fun jewelry, or even flat or strappy sandals for spring.

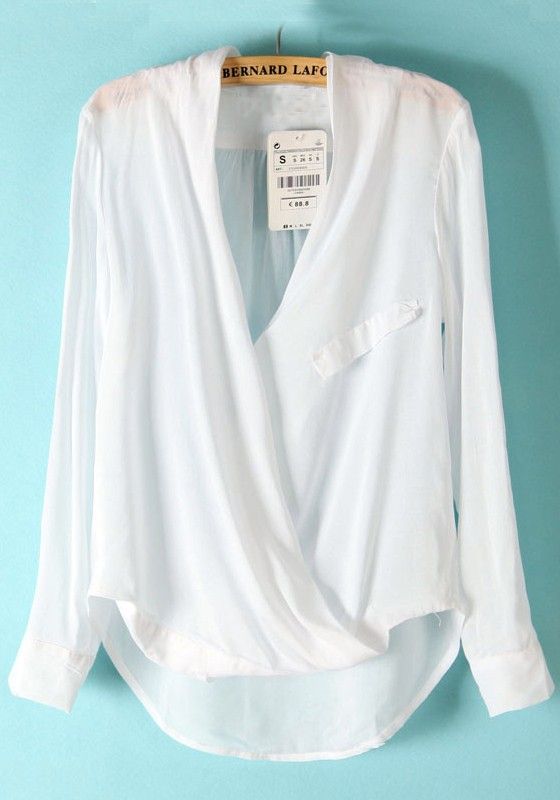
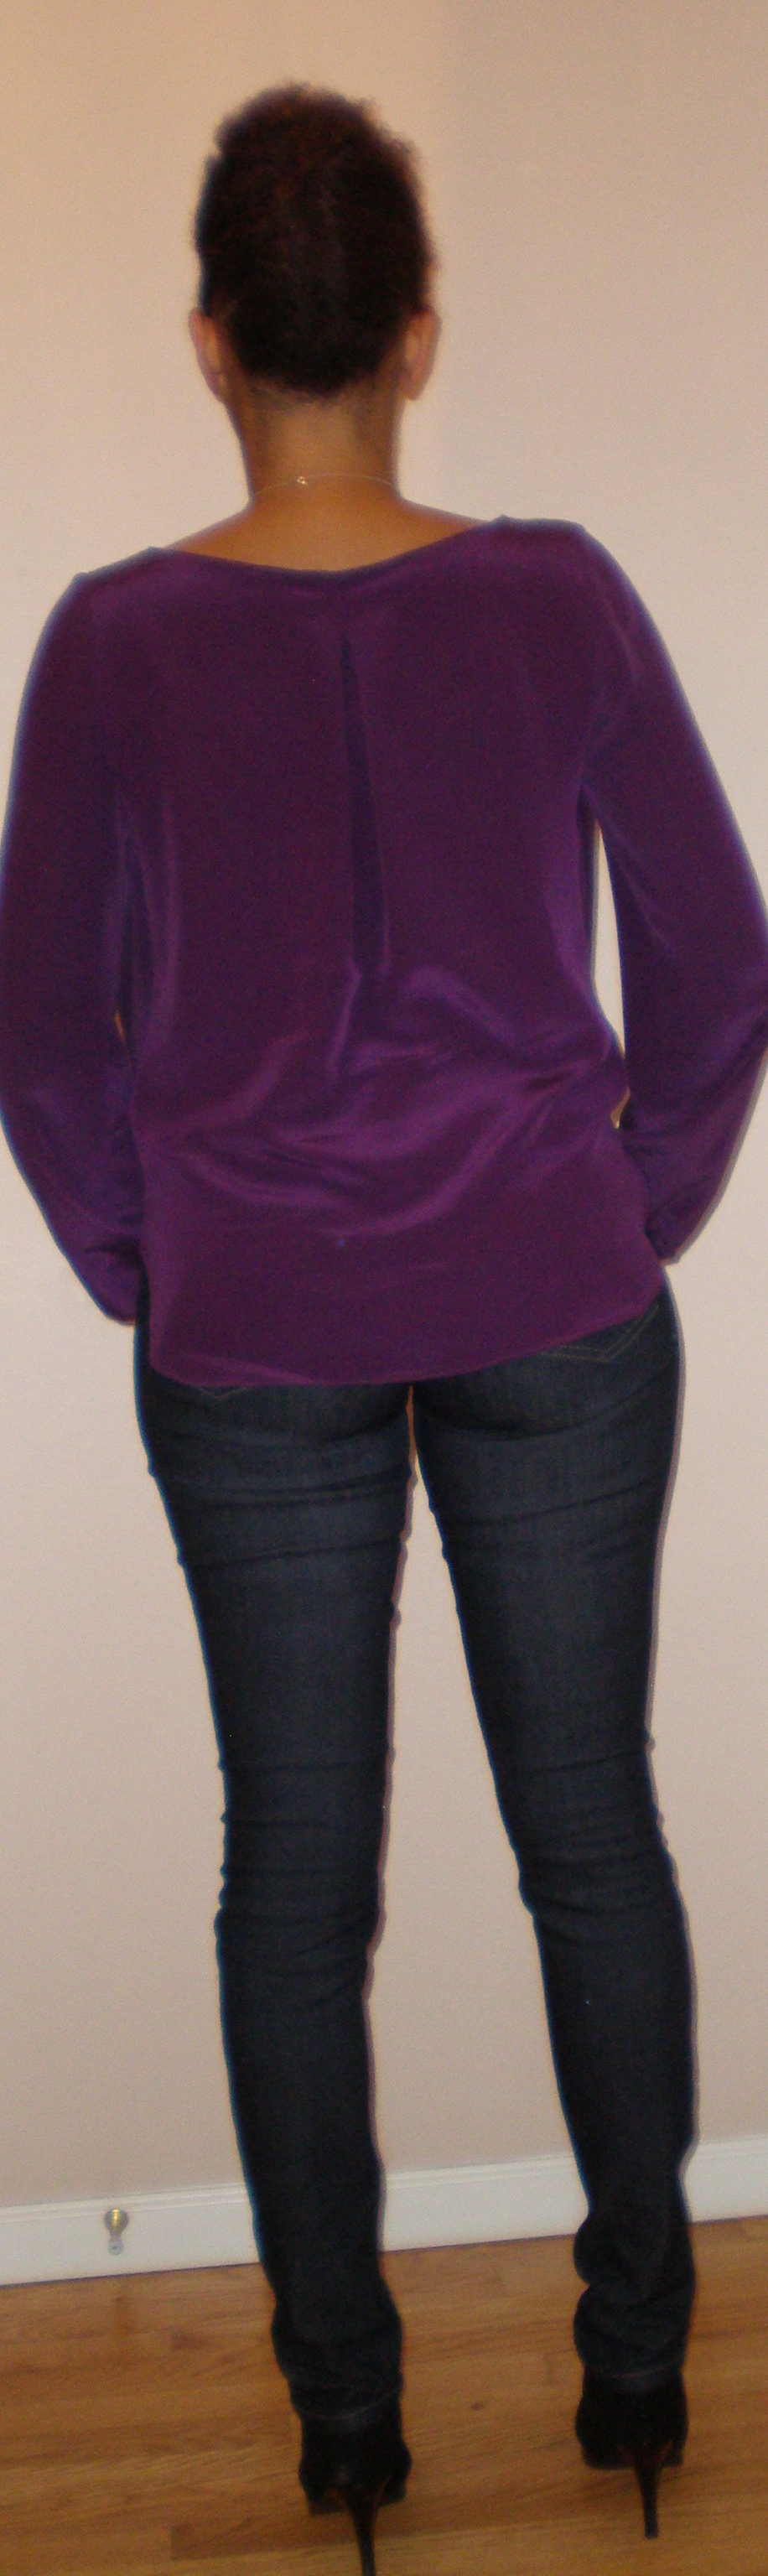
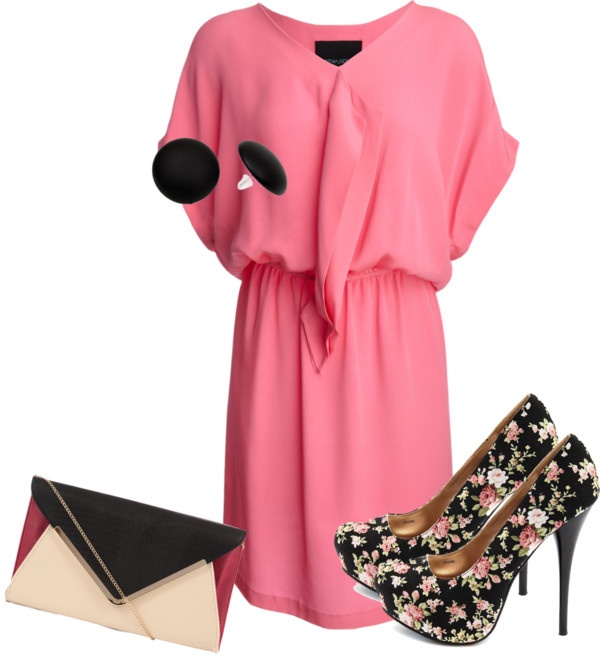
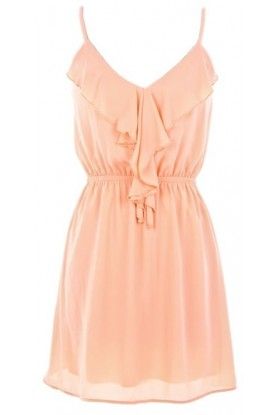
    Here are some images that I pinned on my Pinterest board Sew Love-Dresses

    7252594962e846e111ffe09db82da49d

    231f838523436fce5fb2fb20a4bb14ab

    29f573e2f757f7d12038c1321665ec85

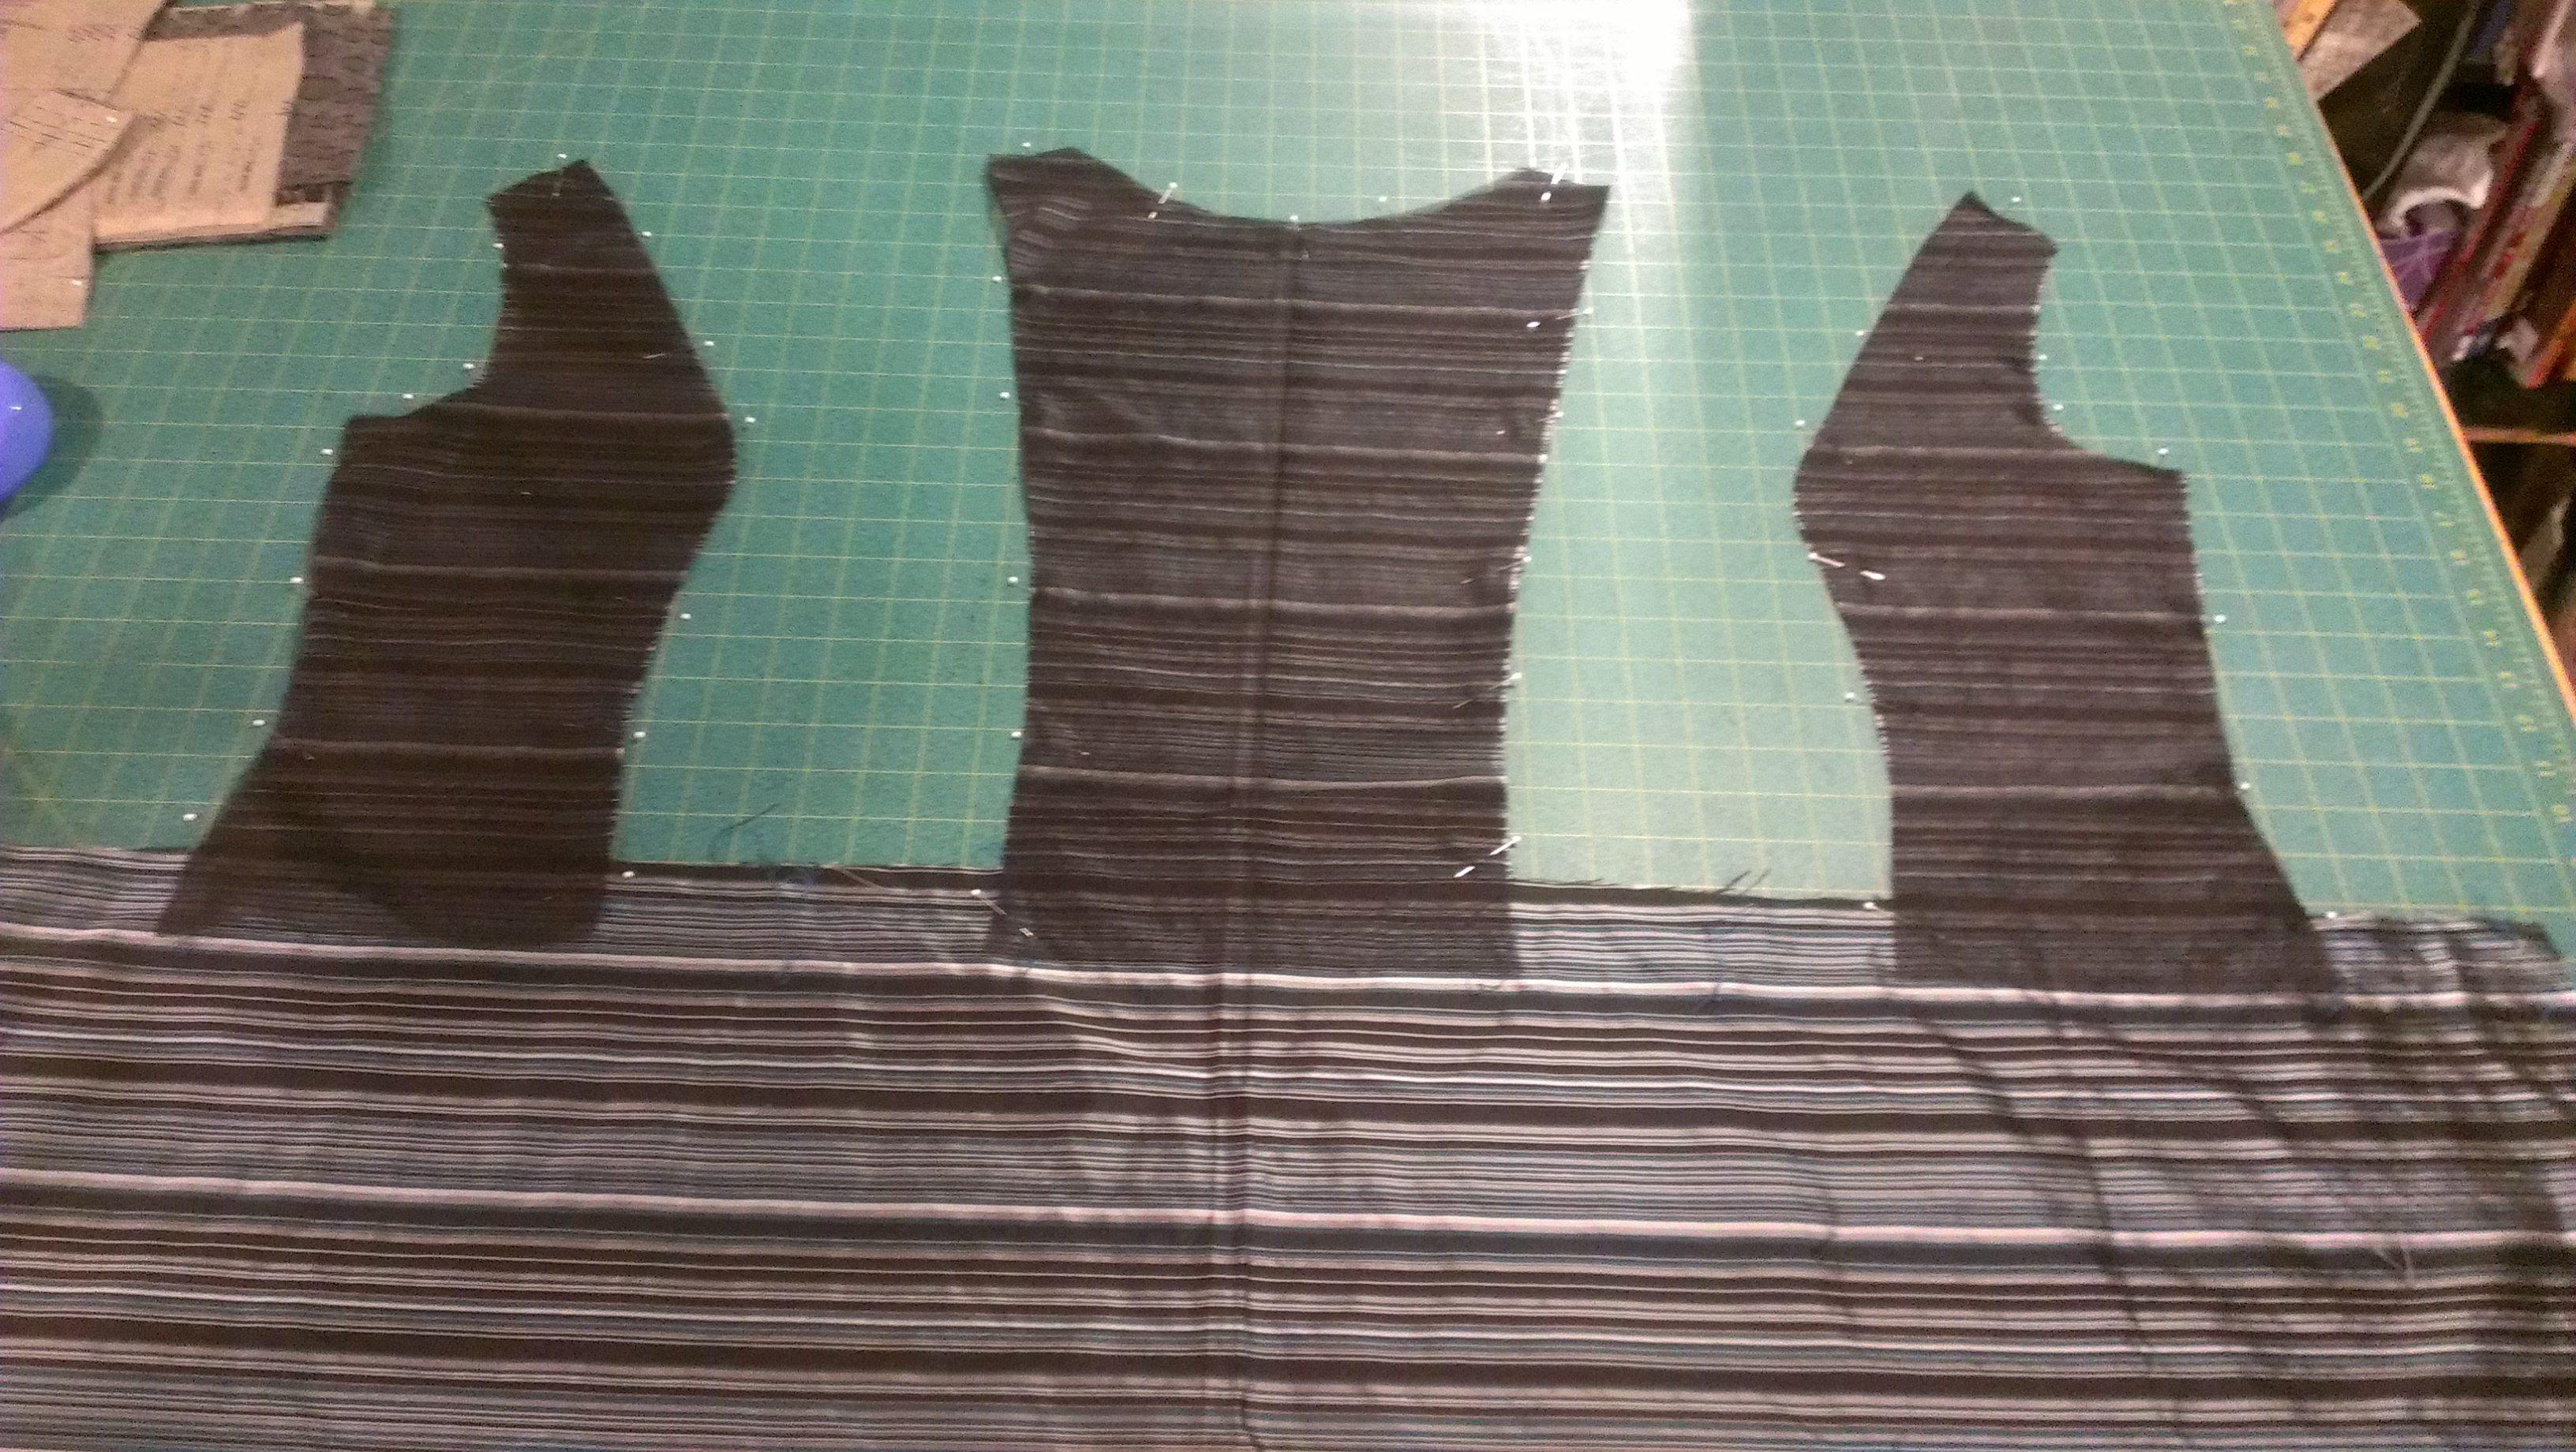
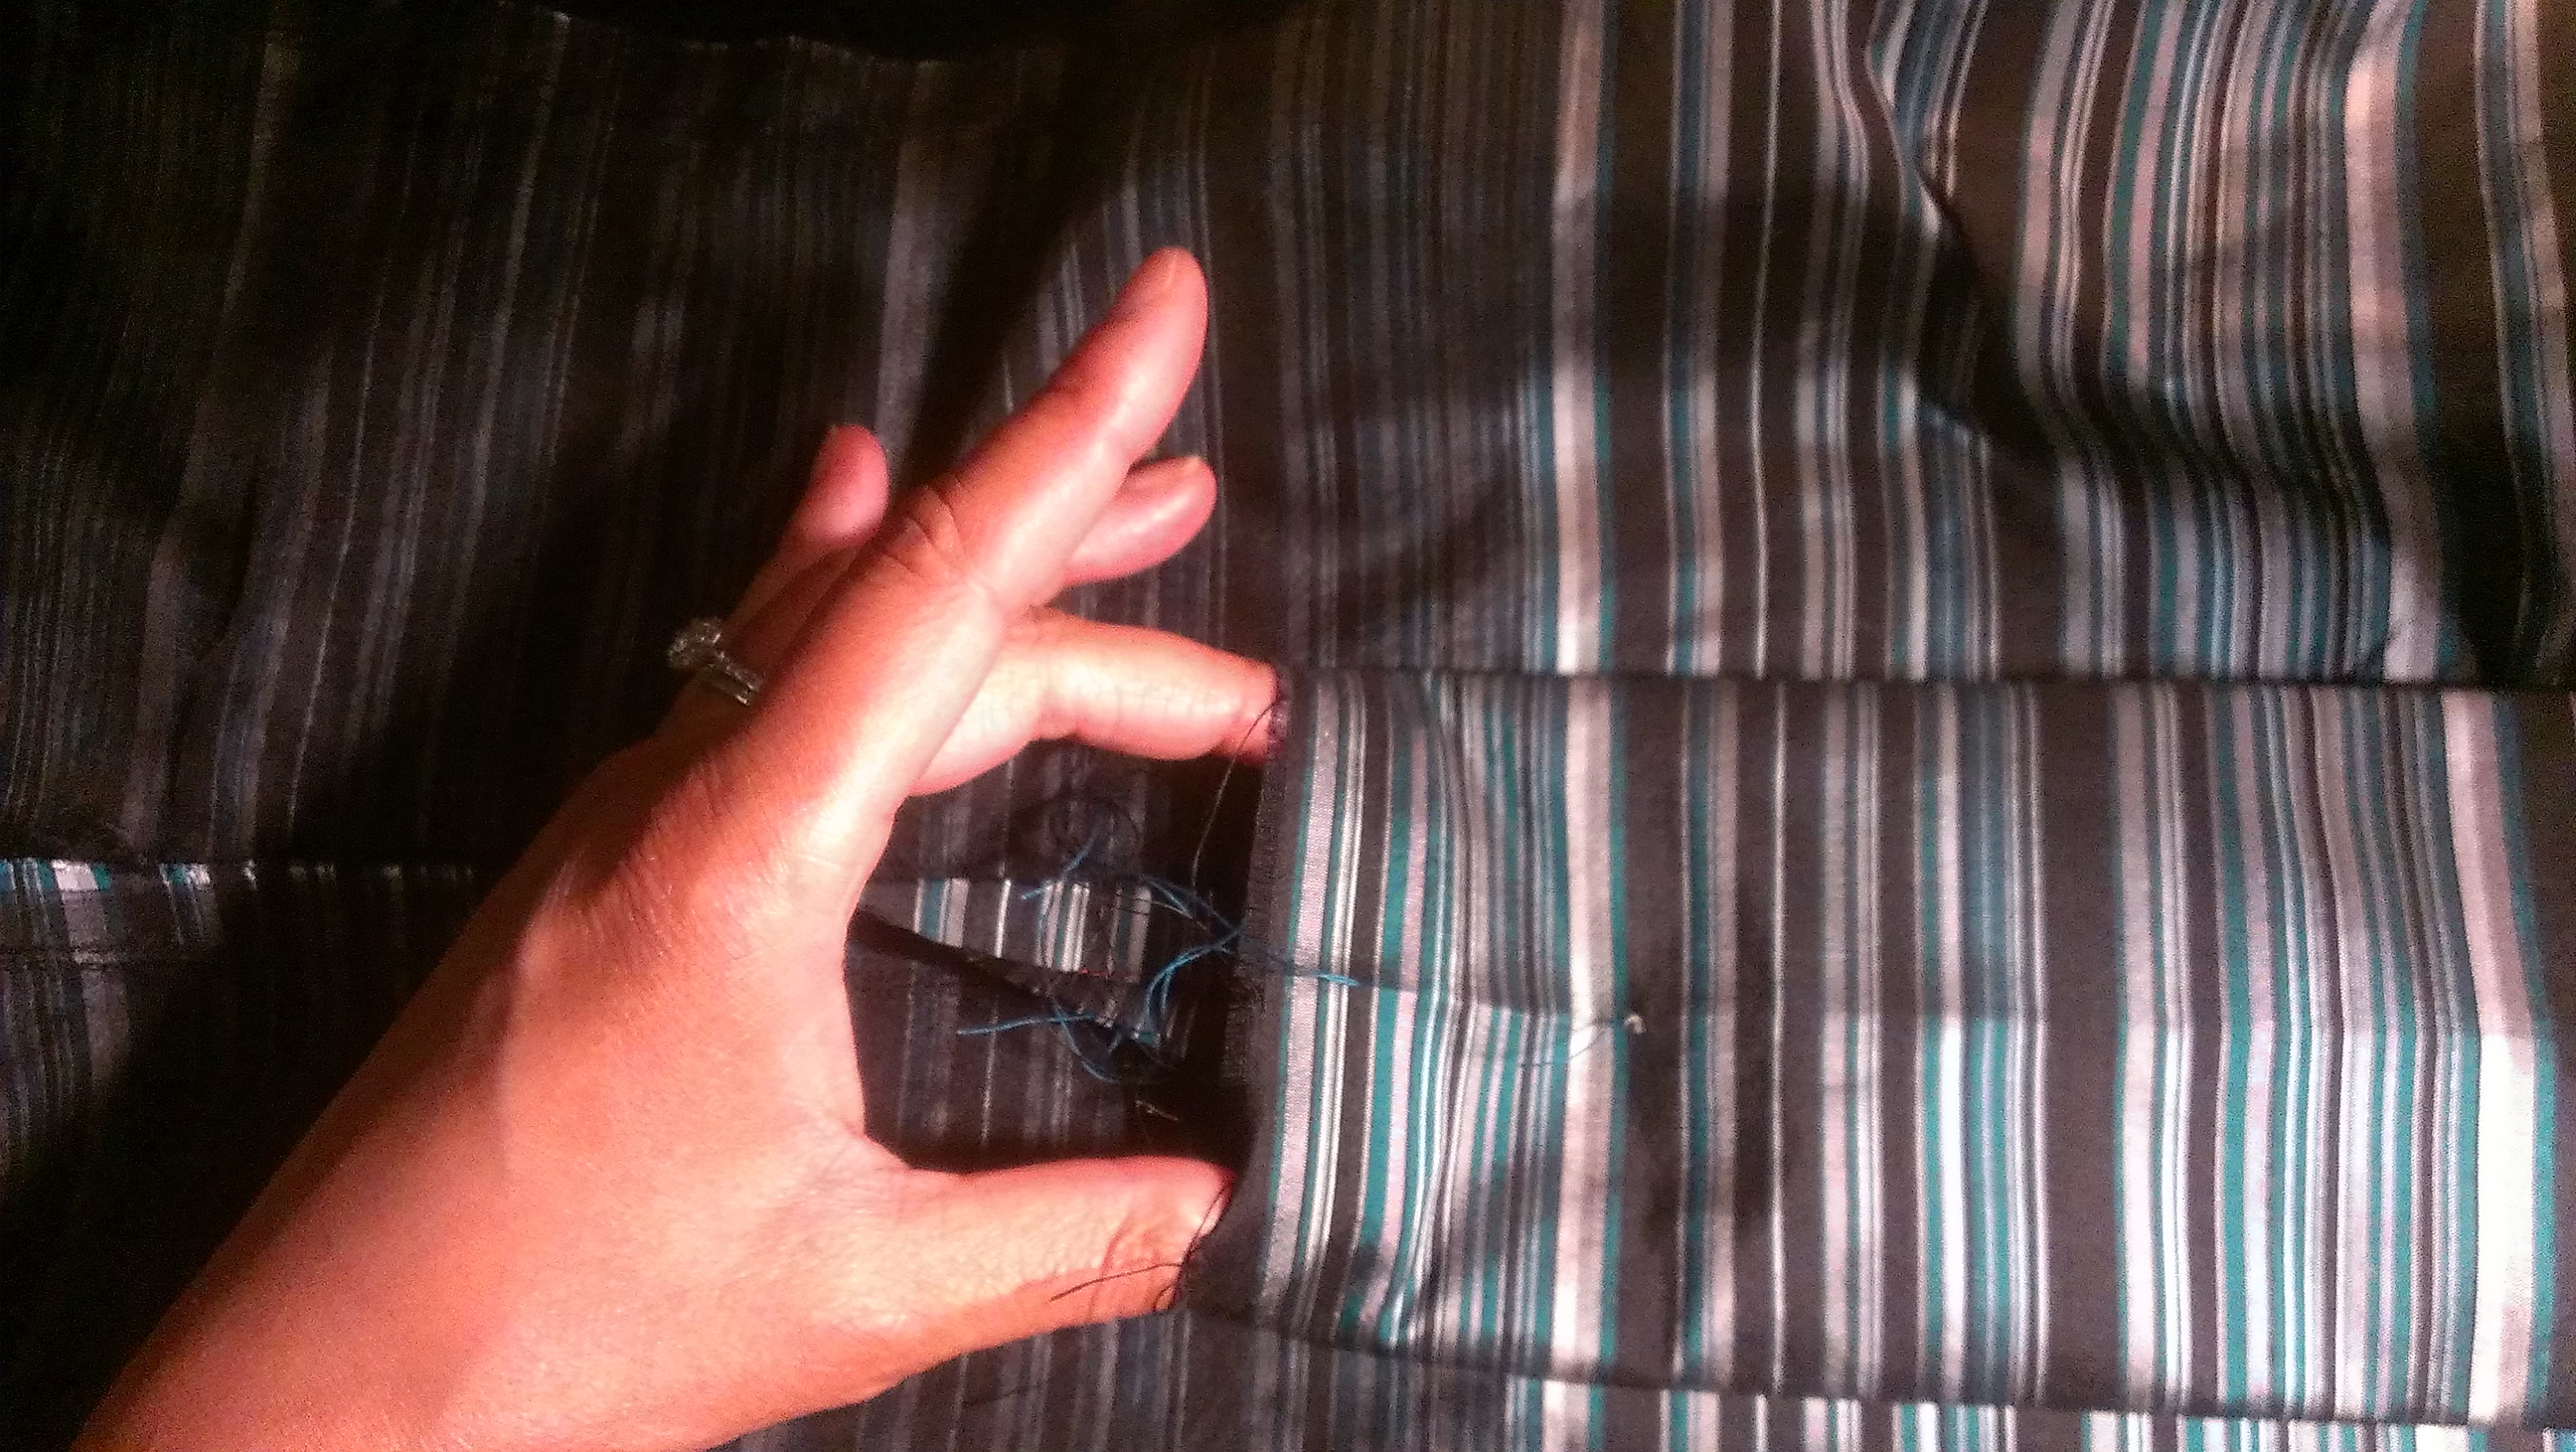
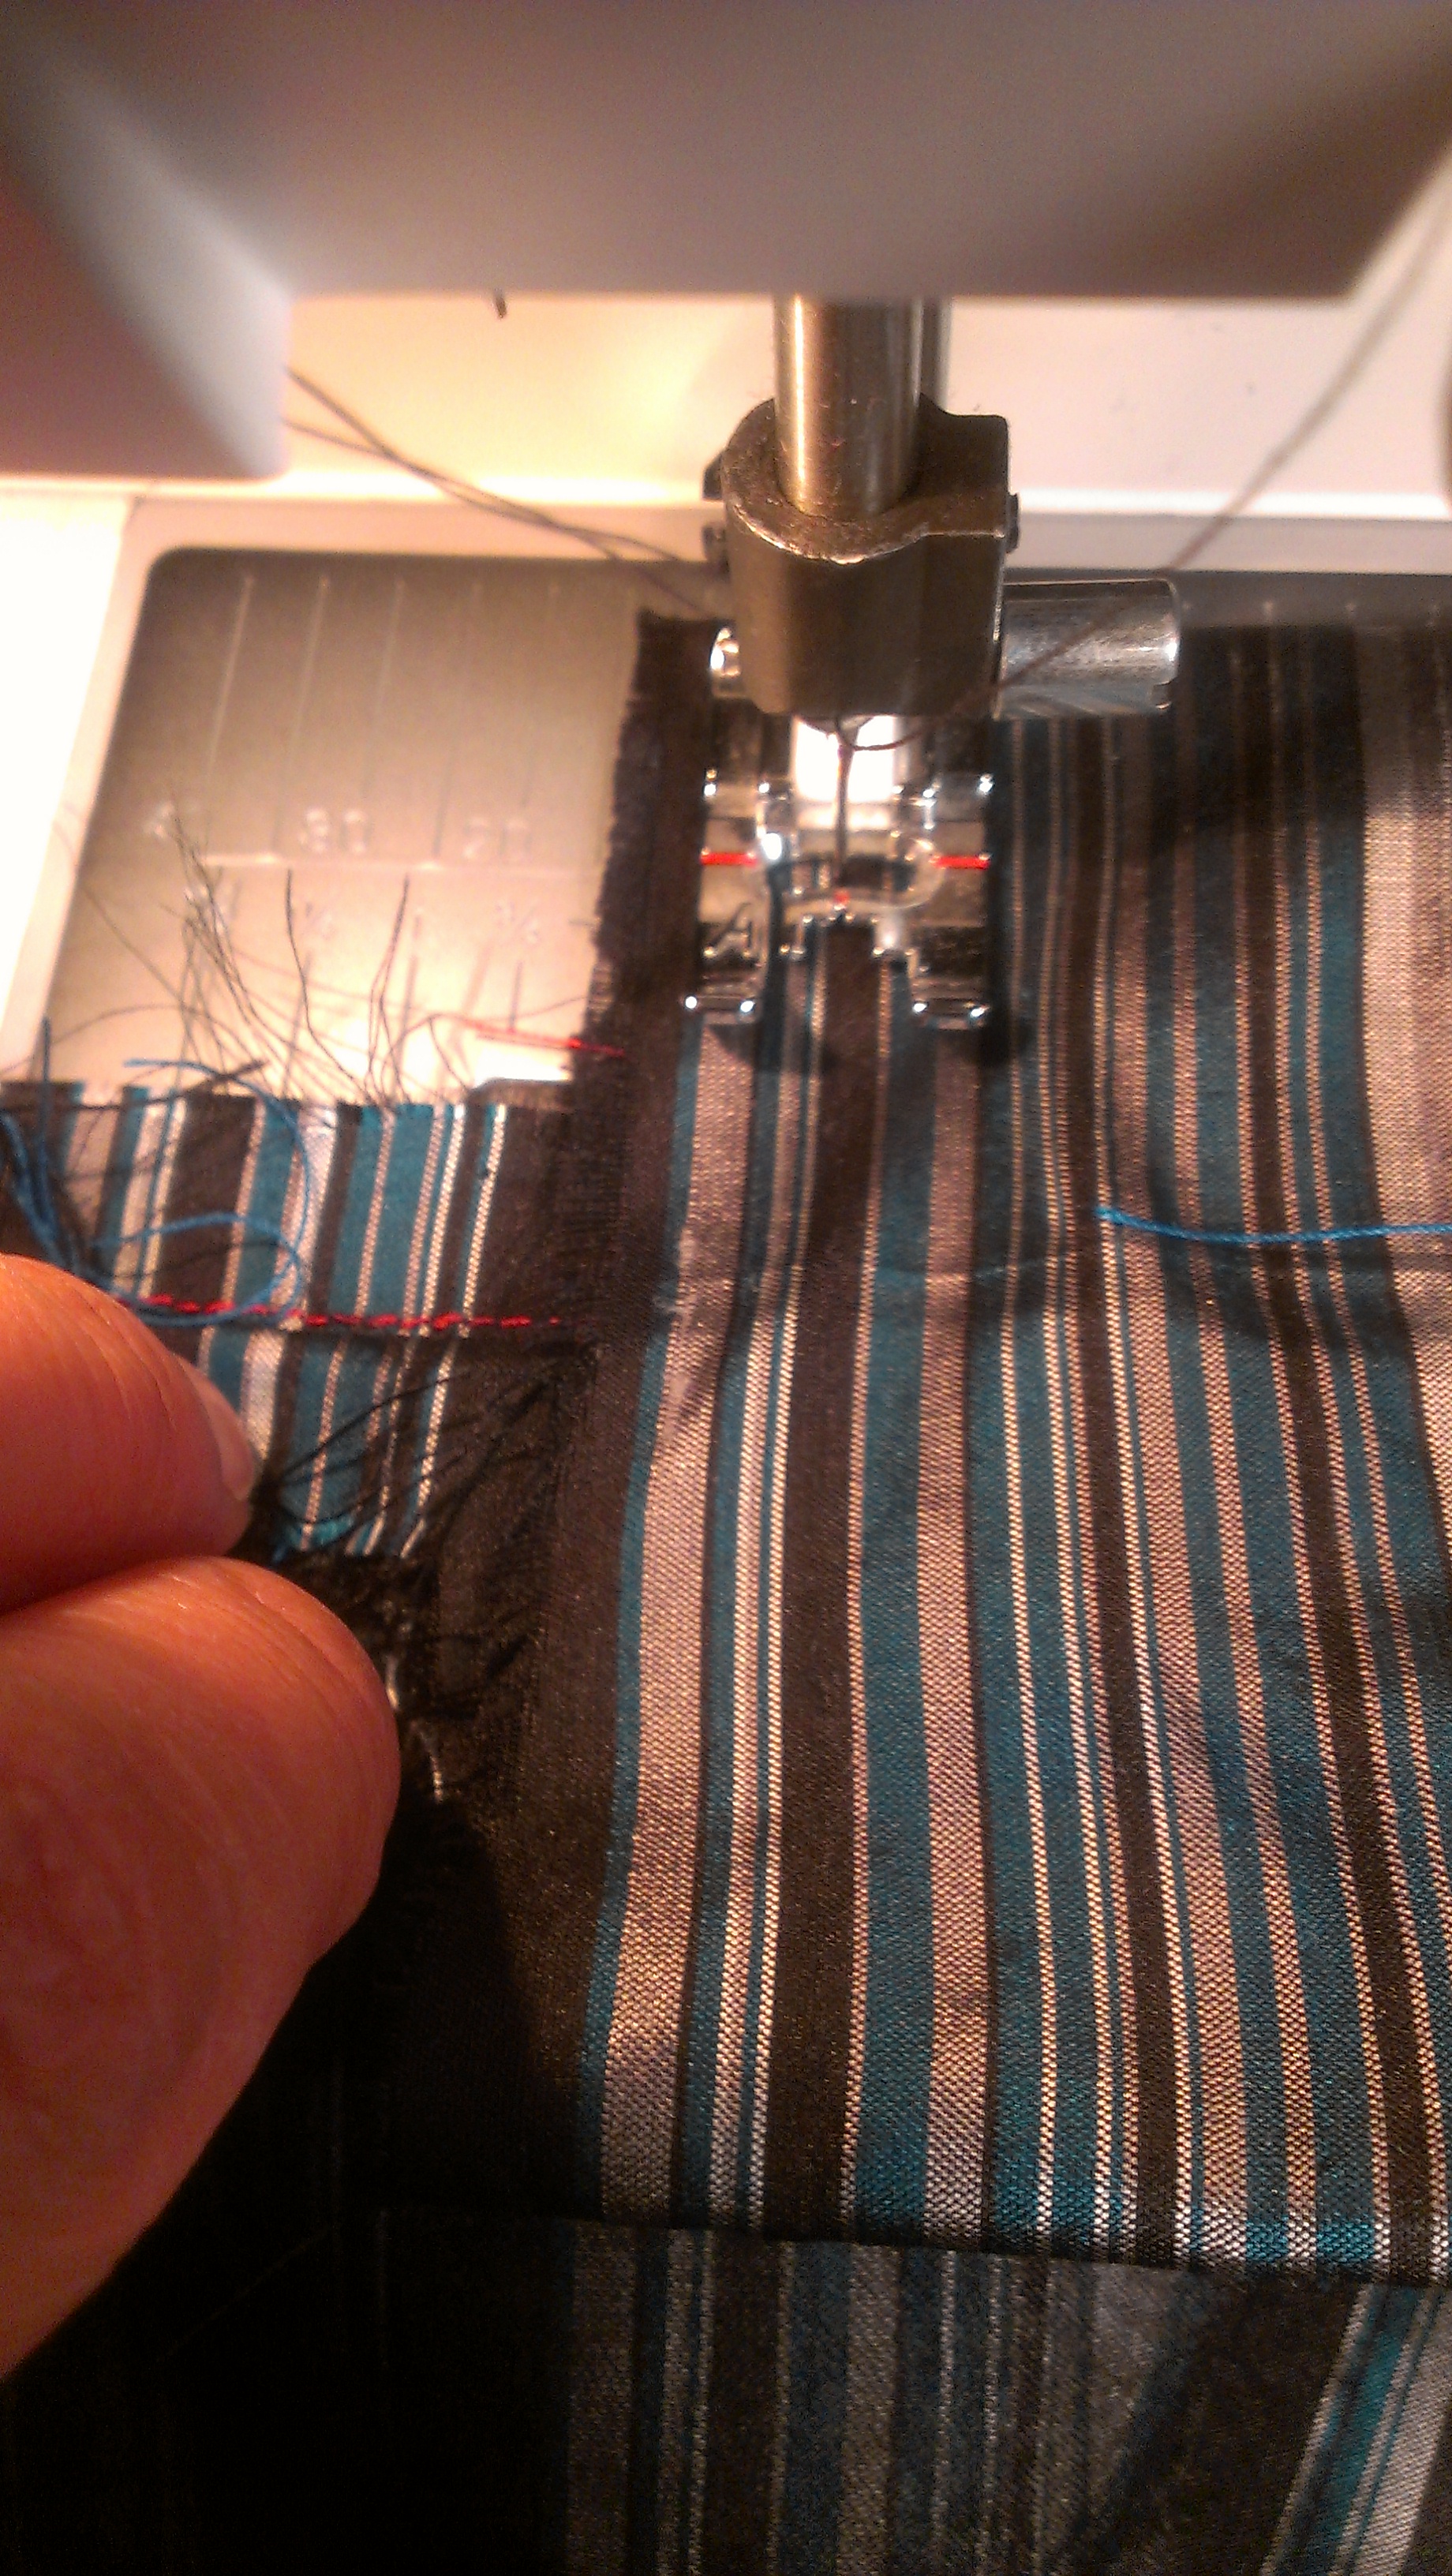
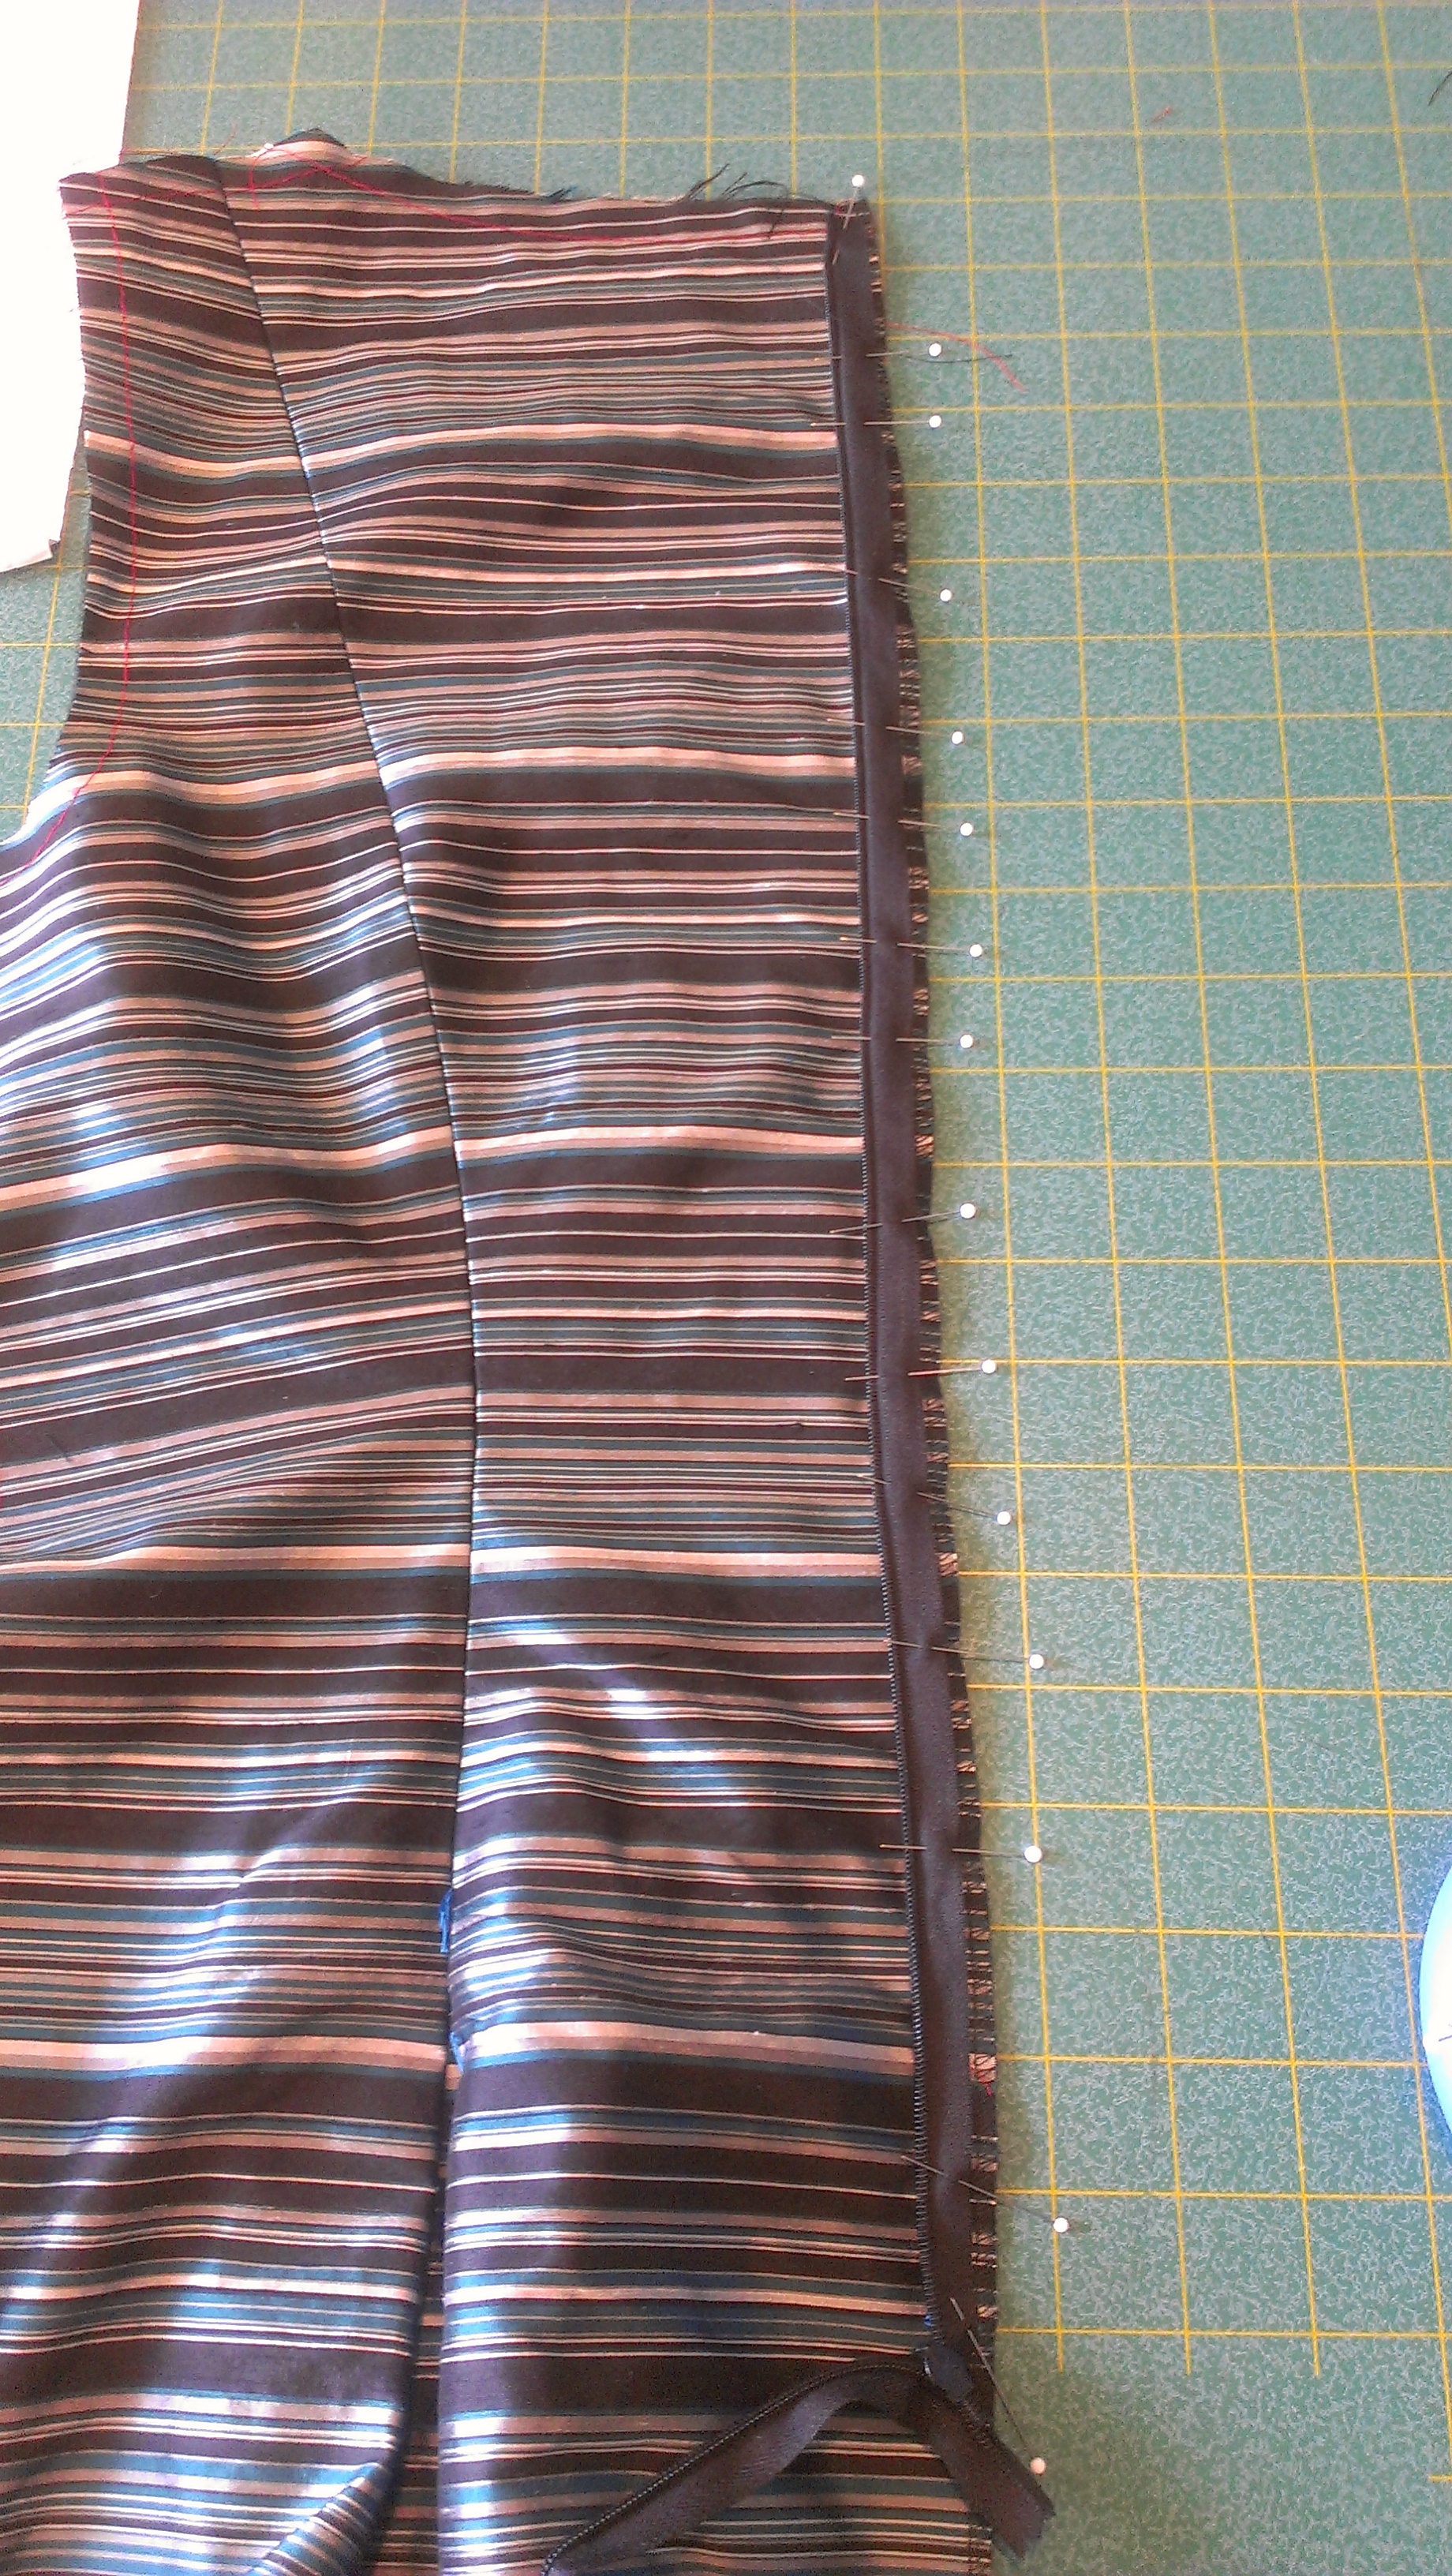
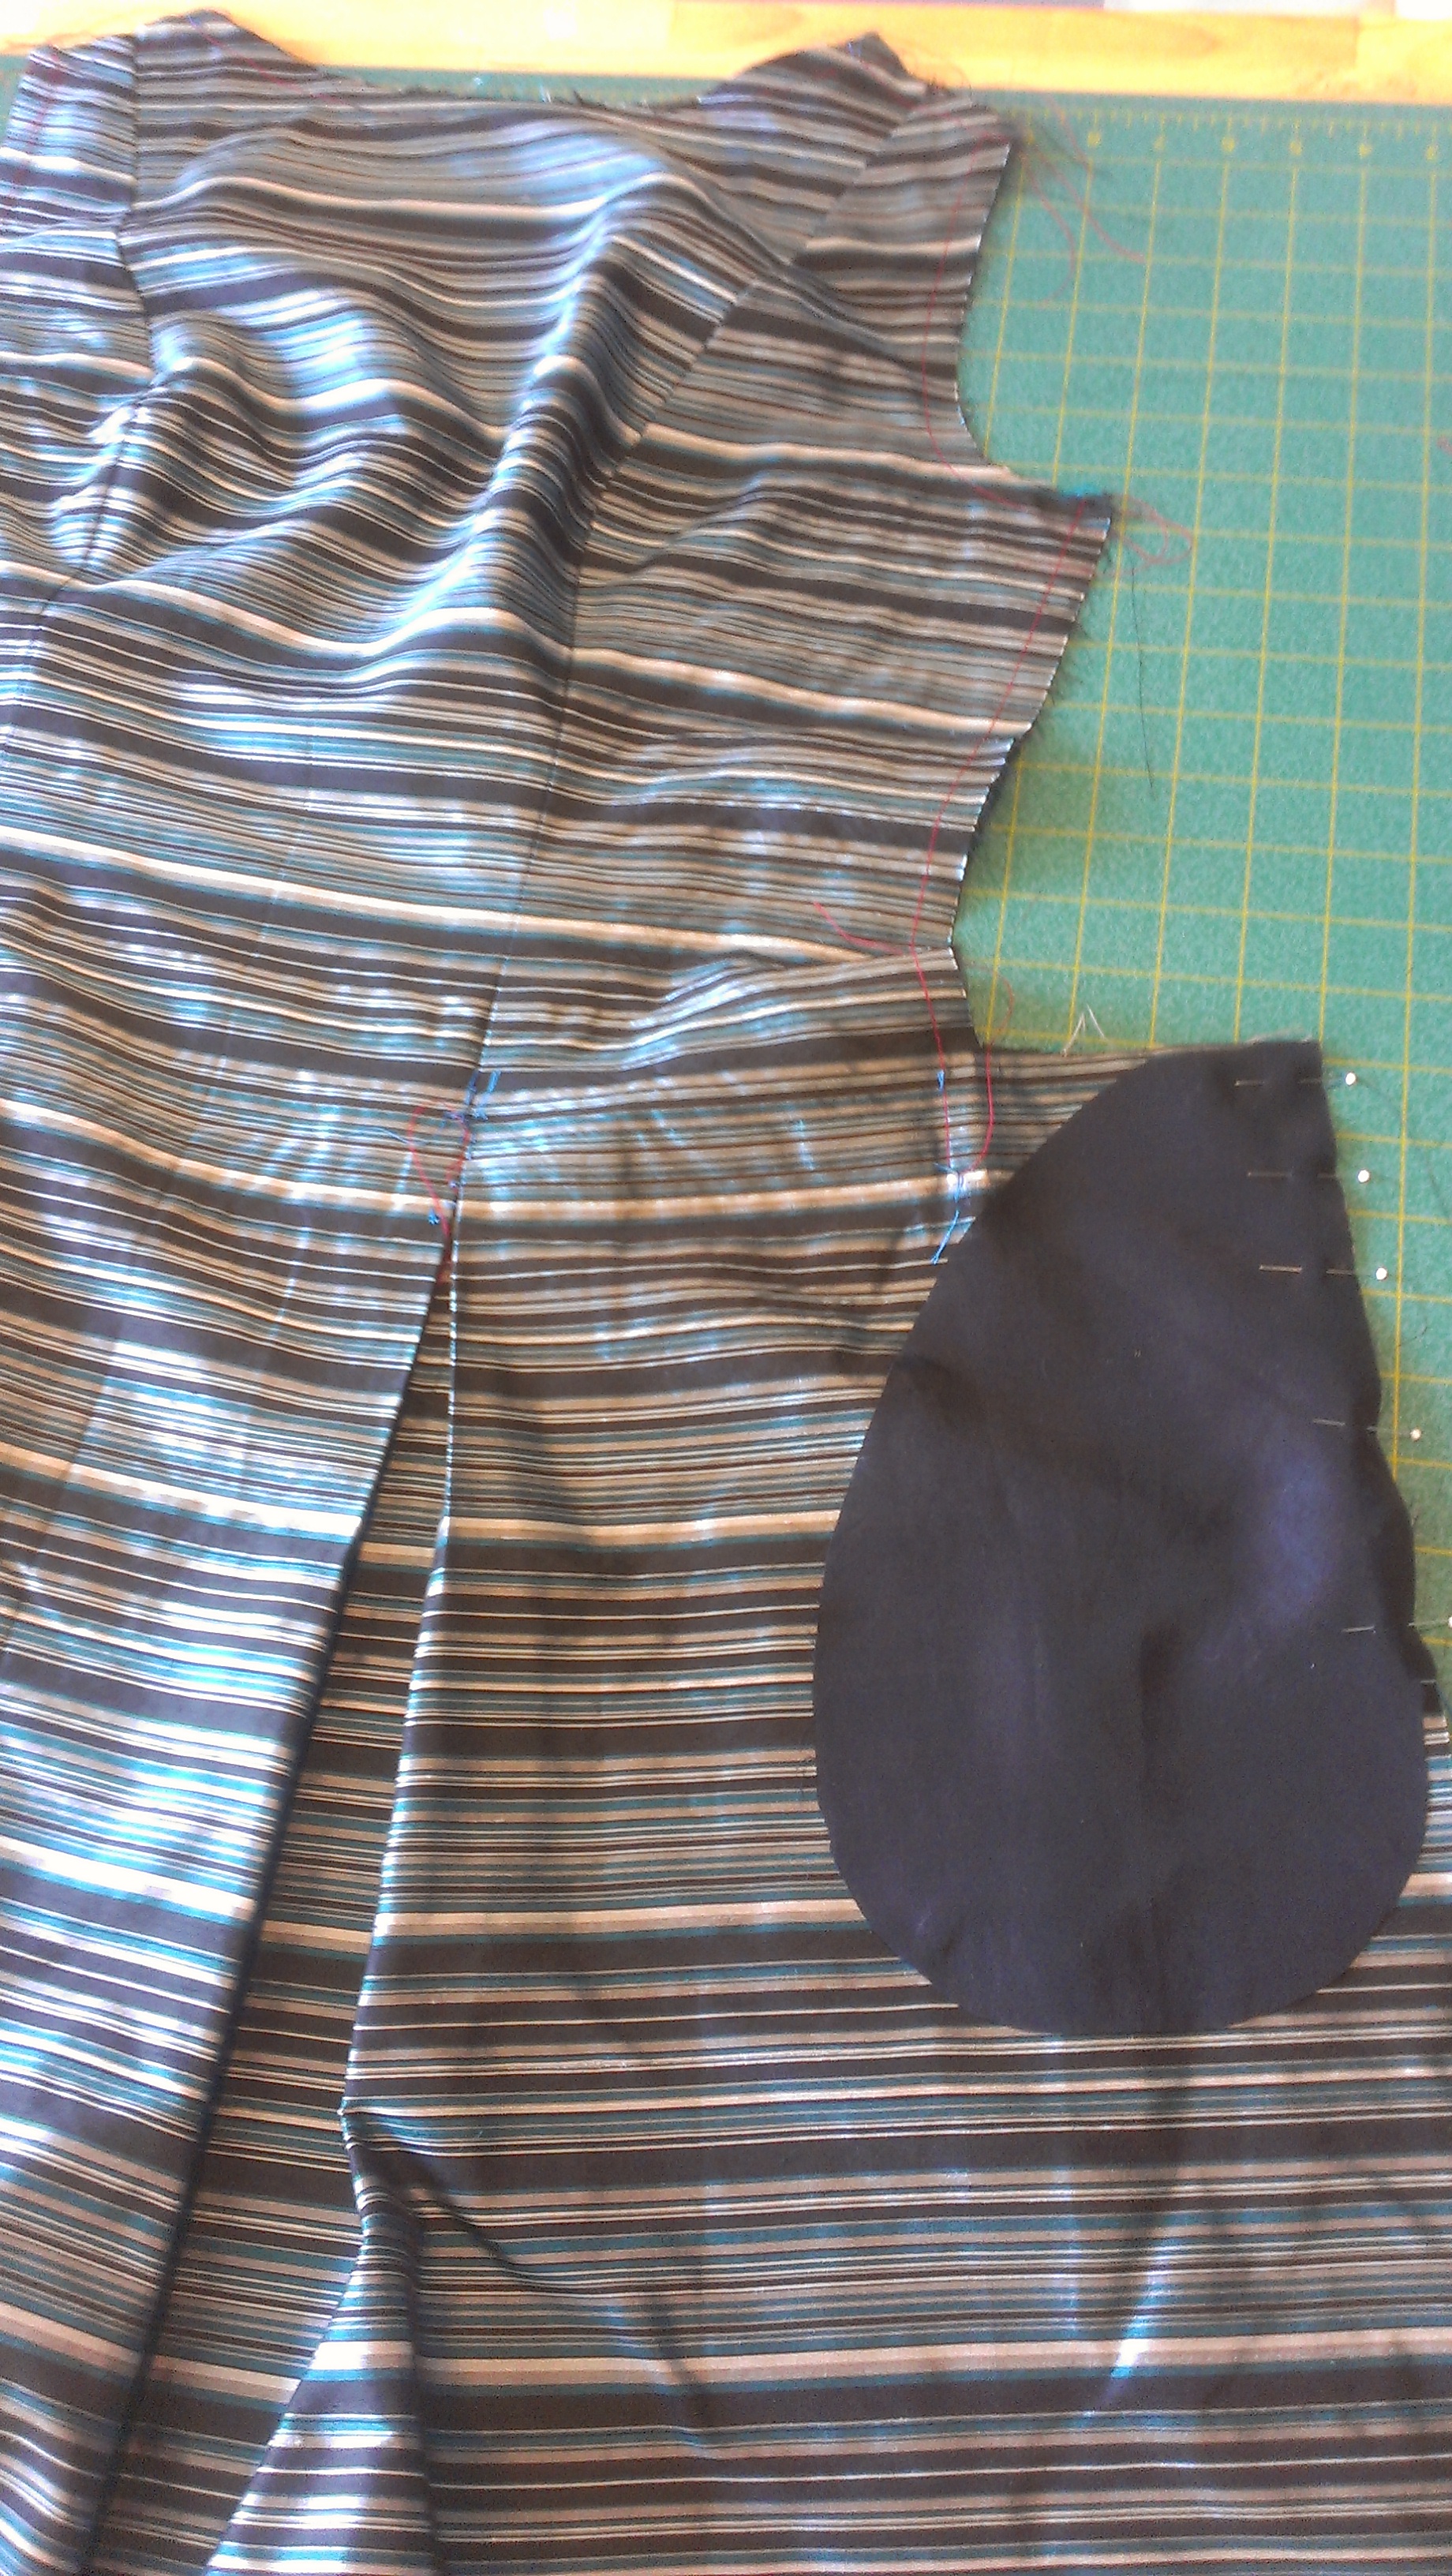
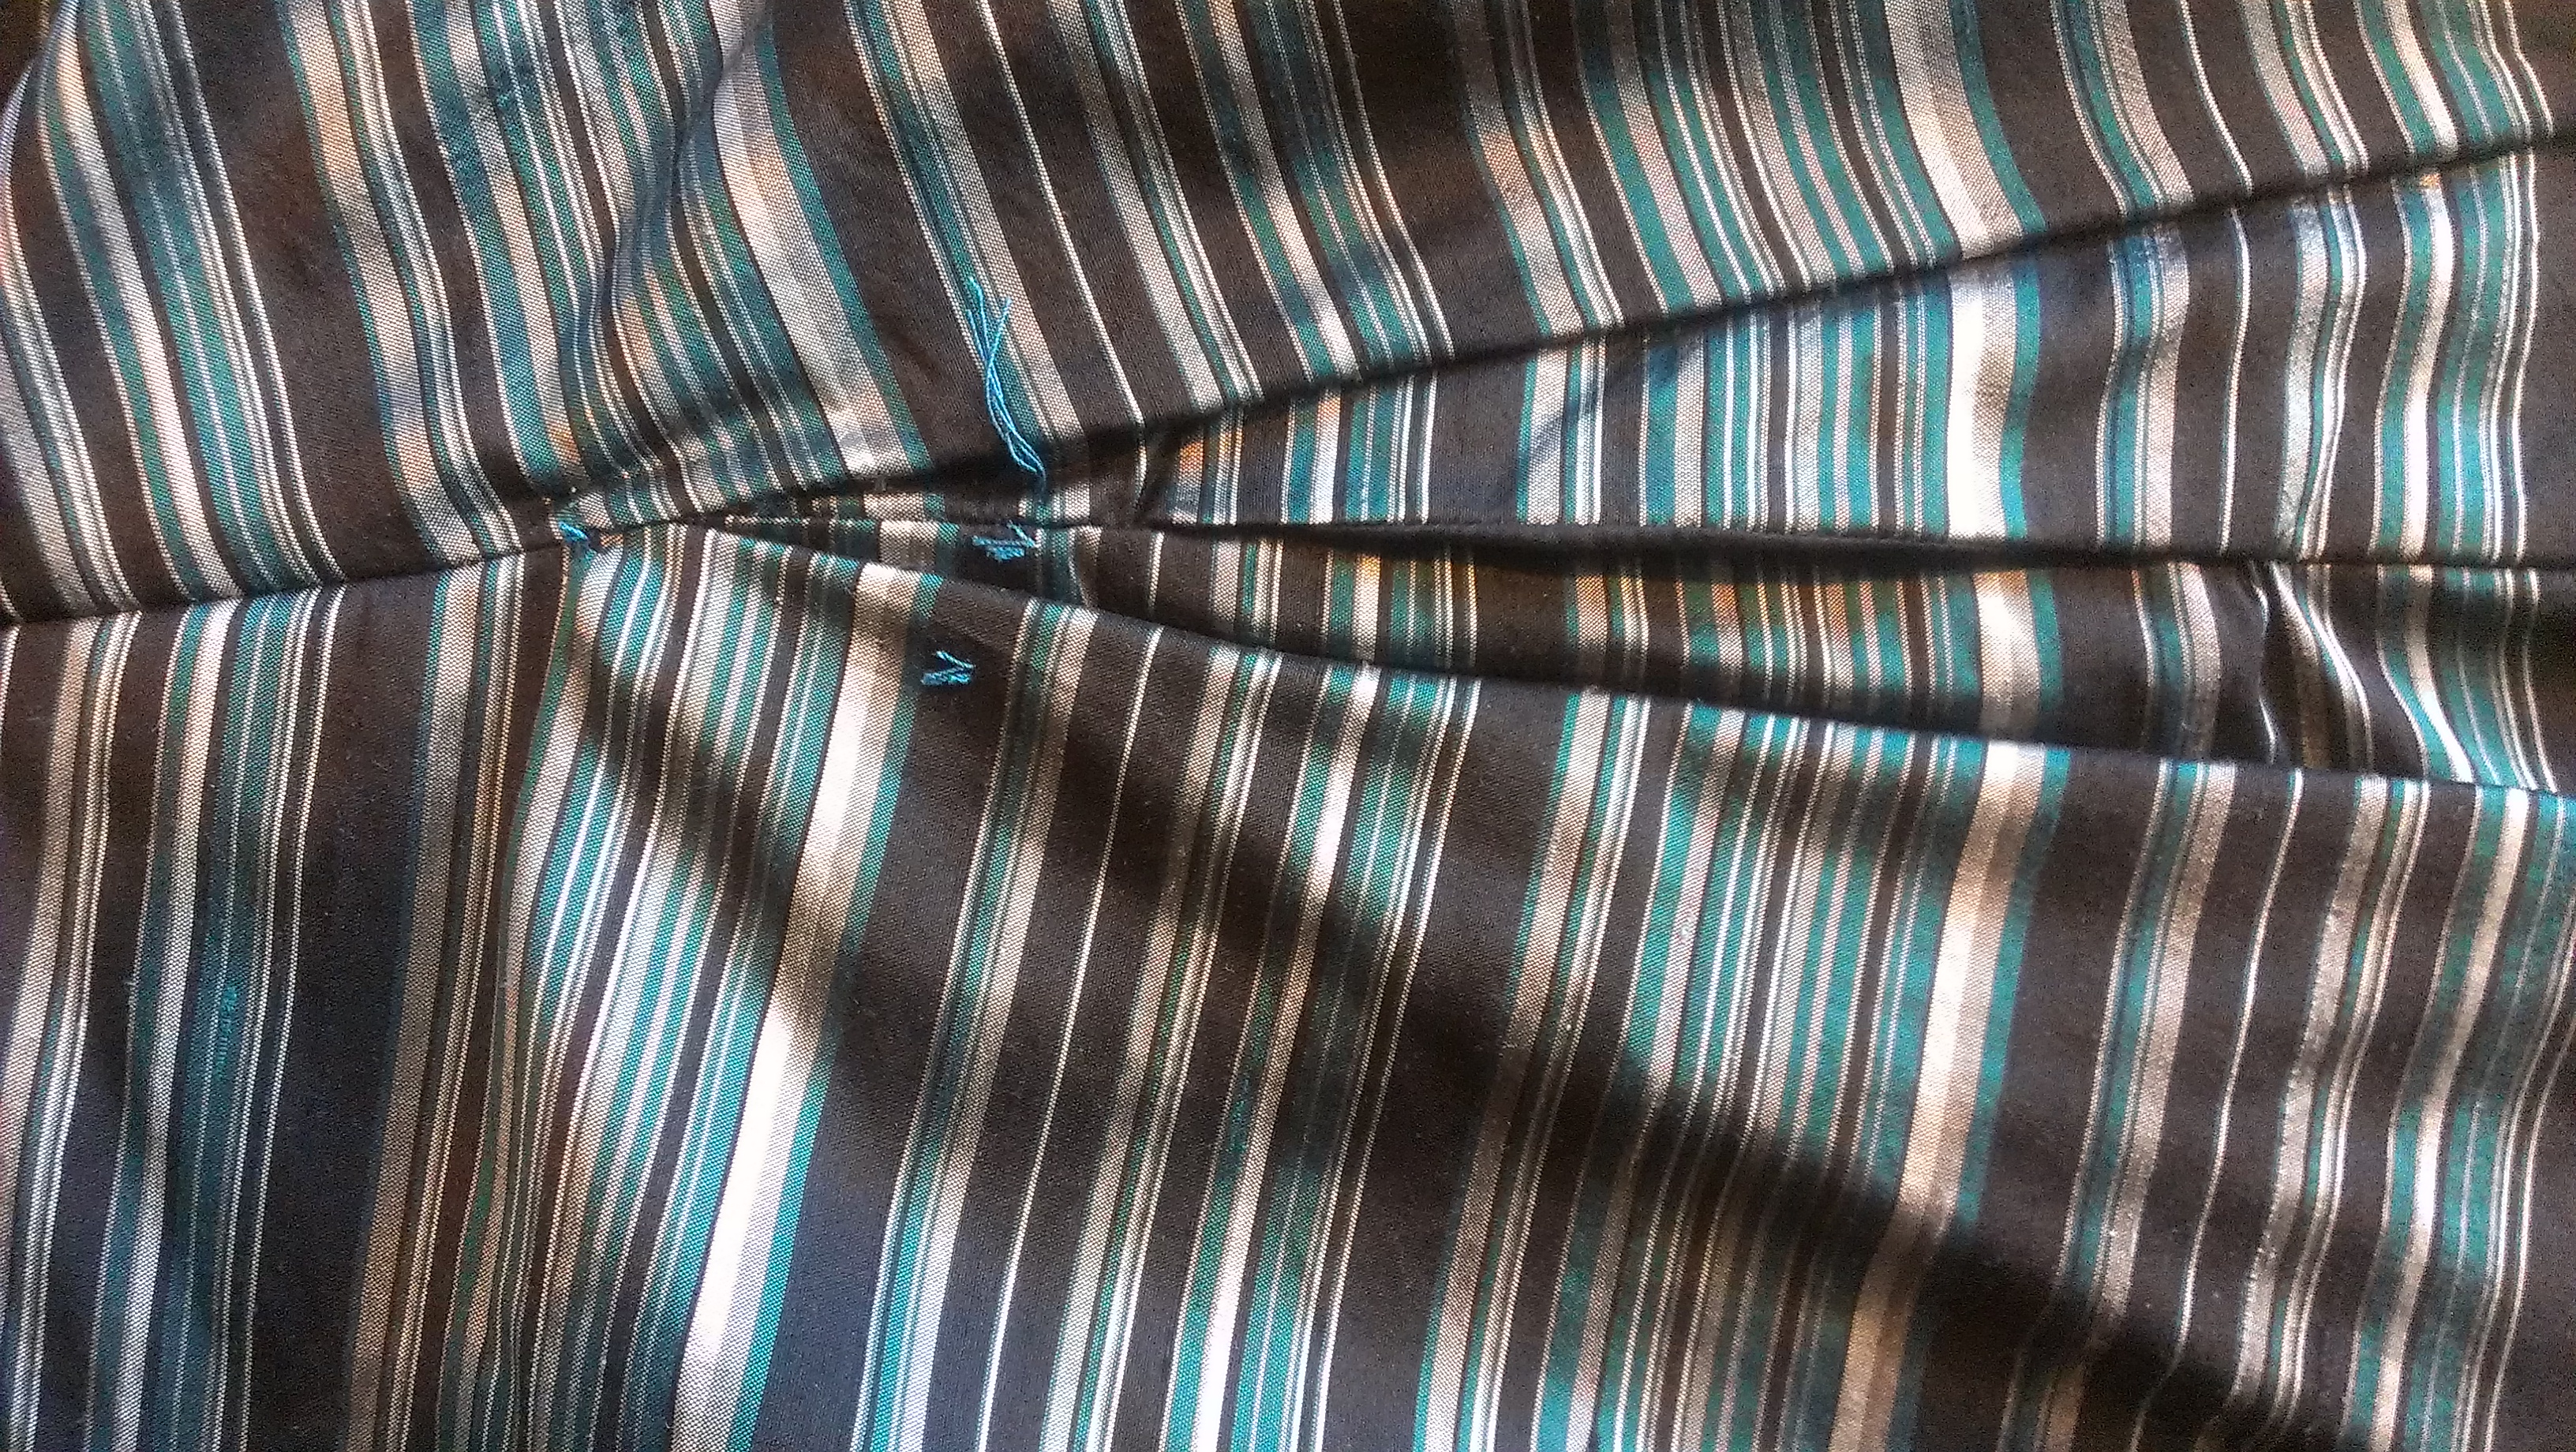
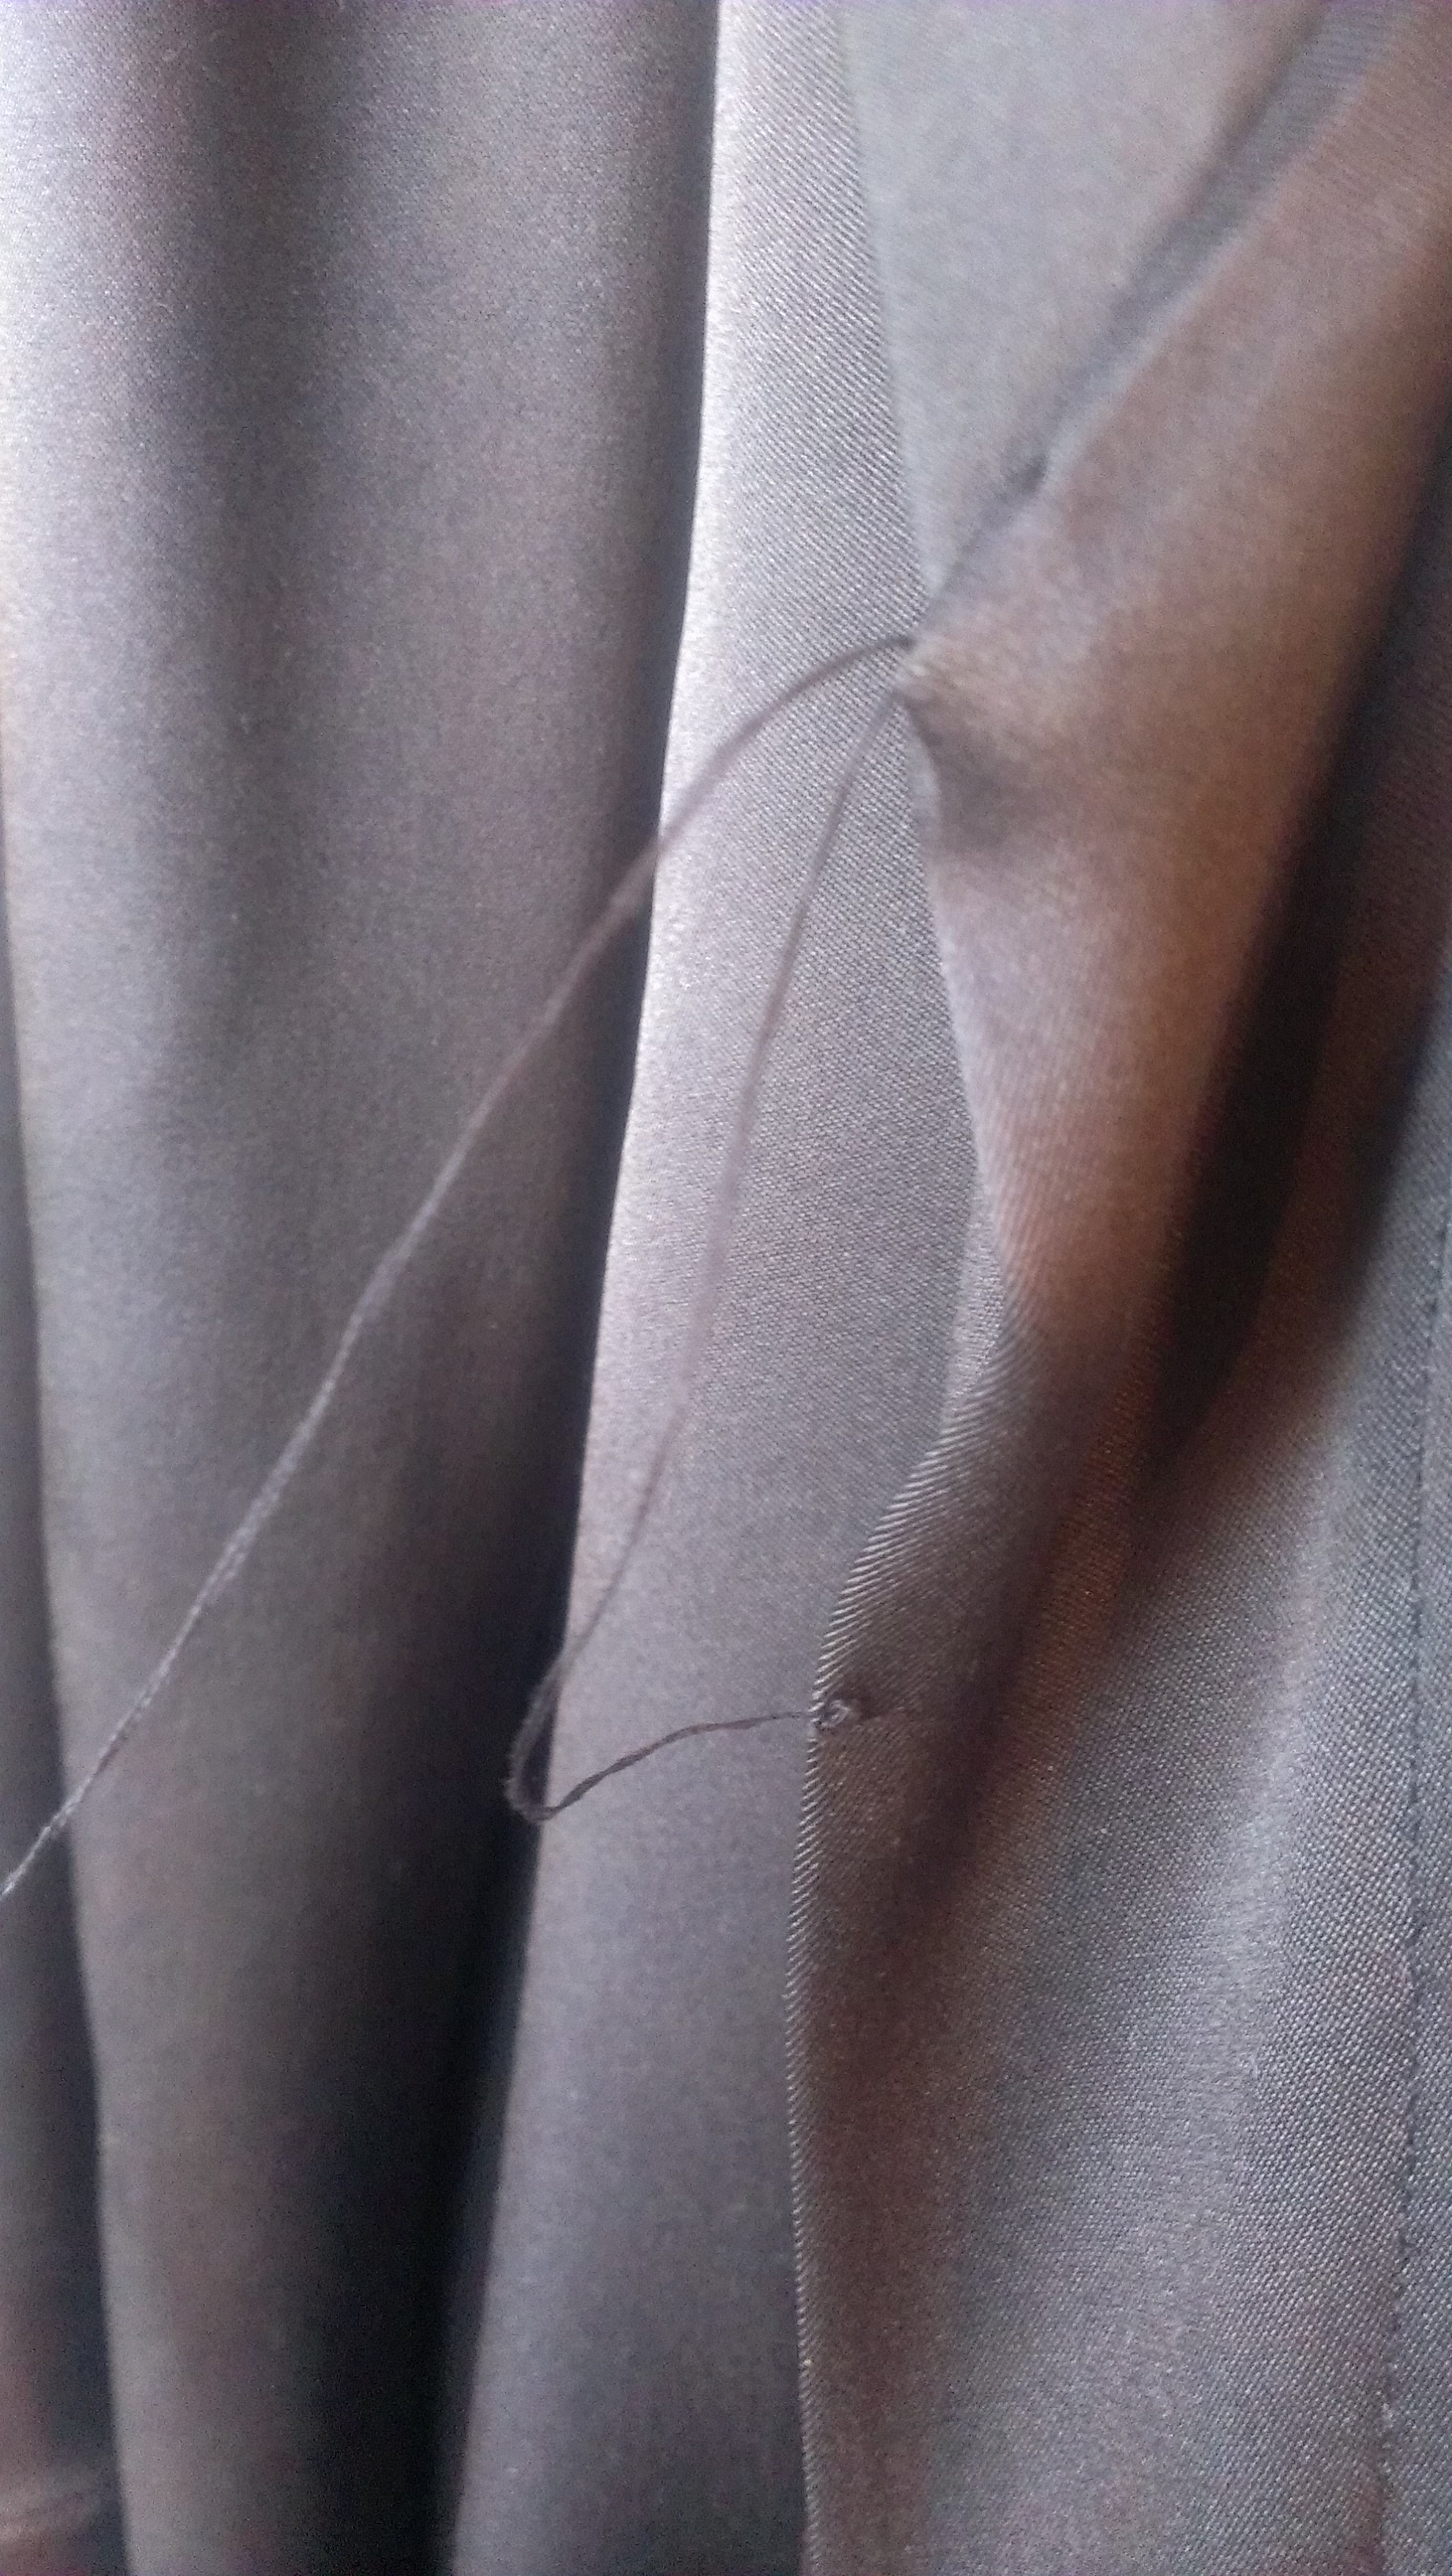
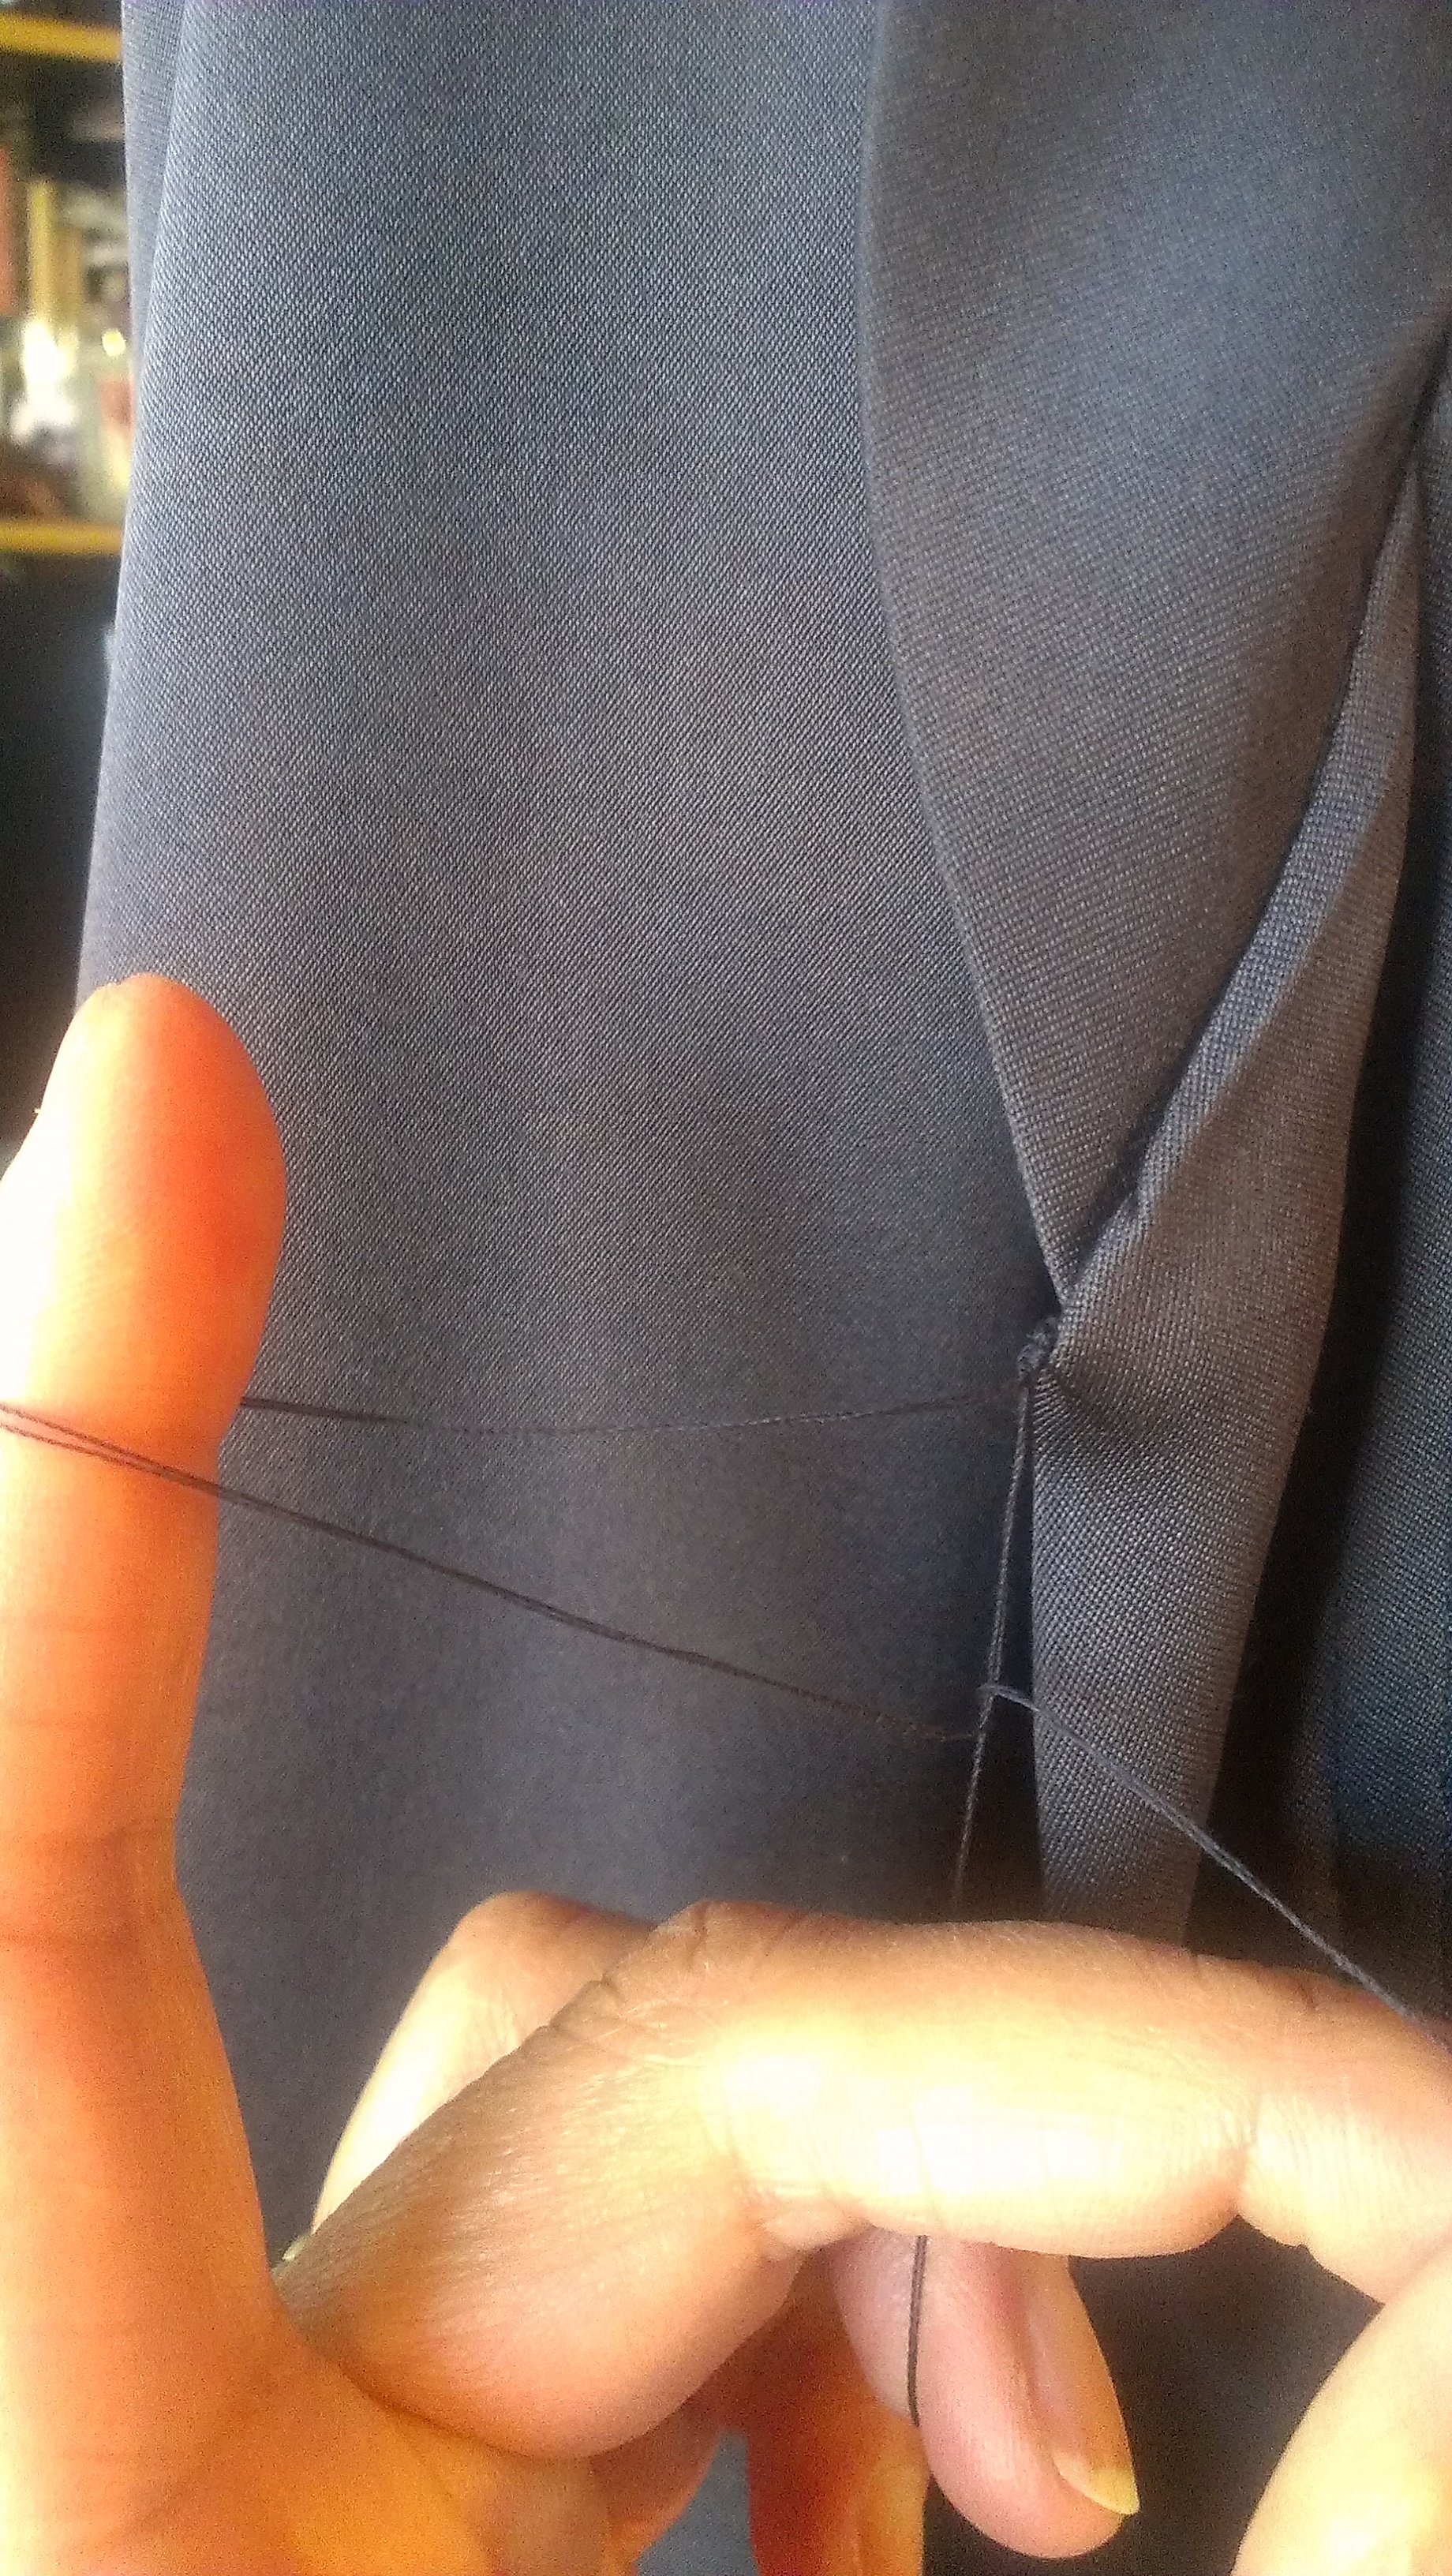
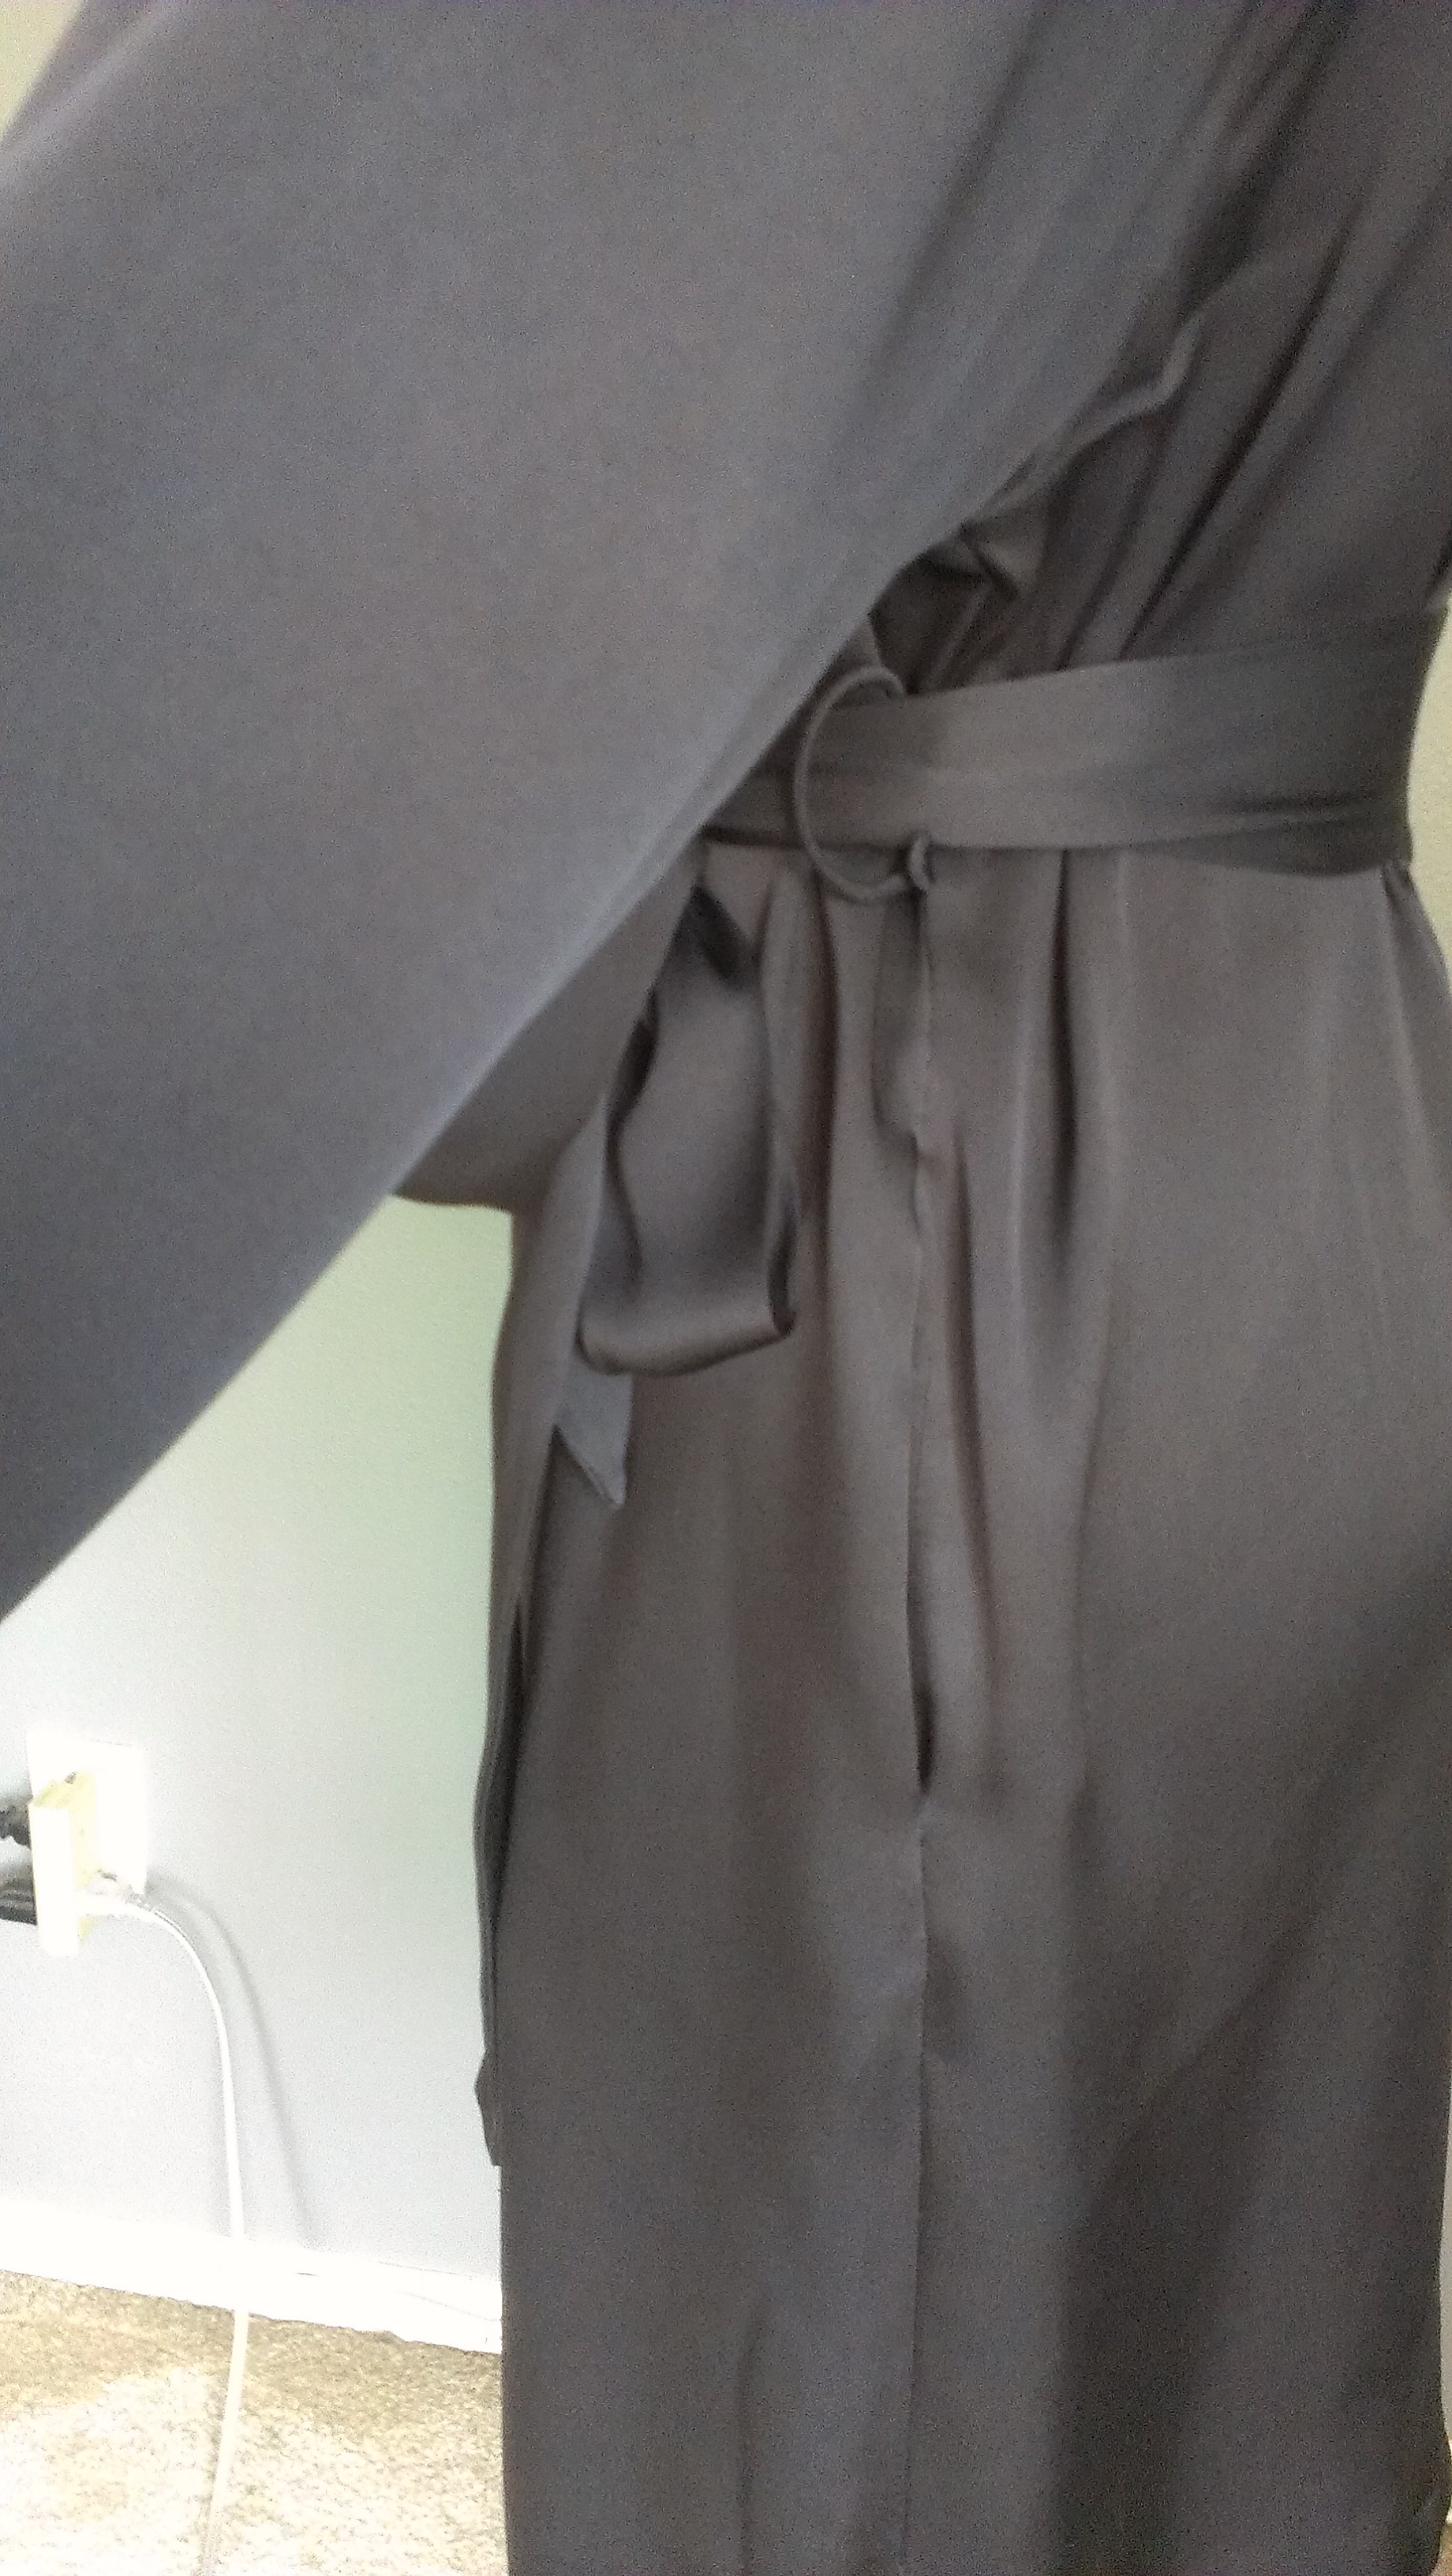
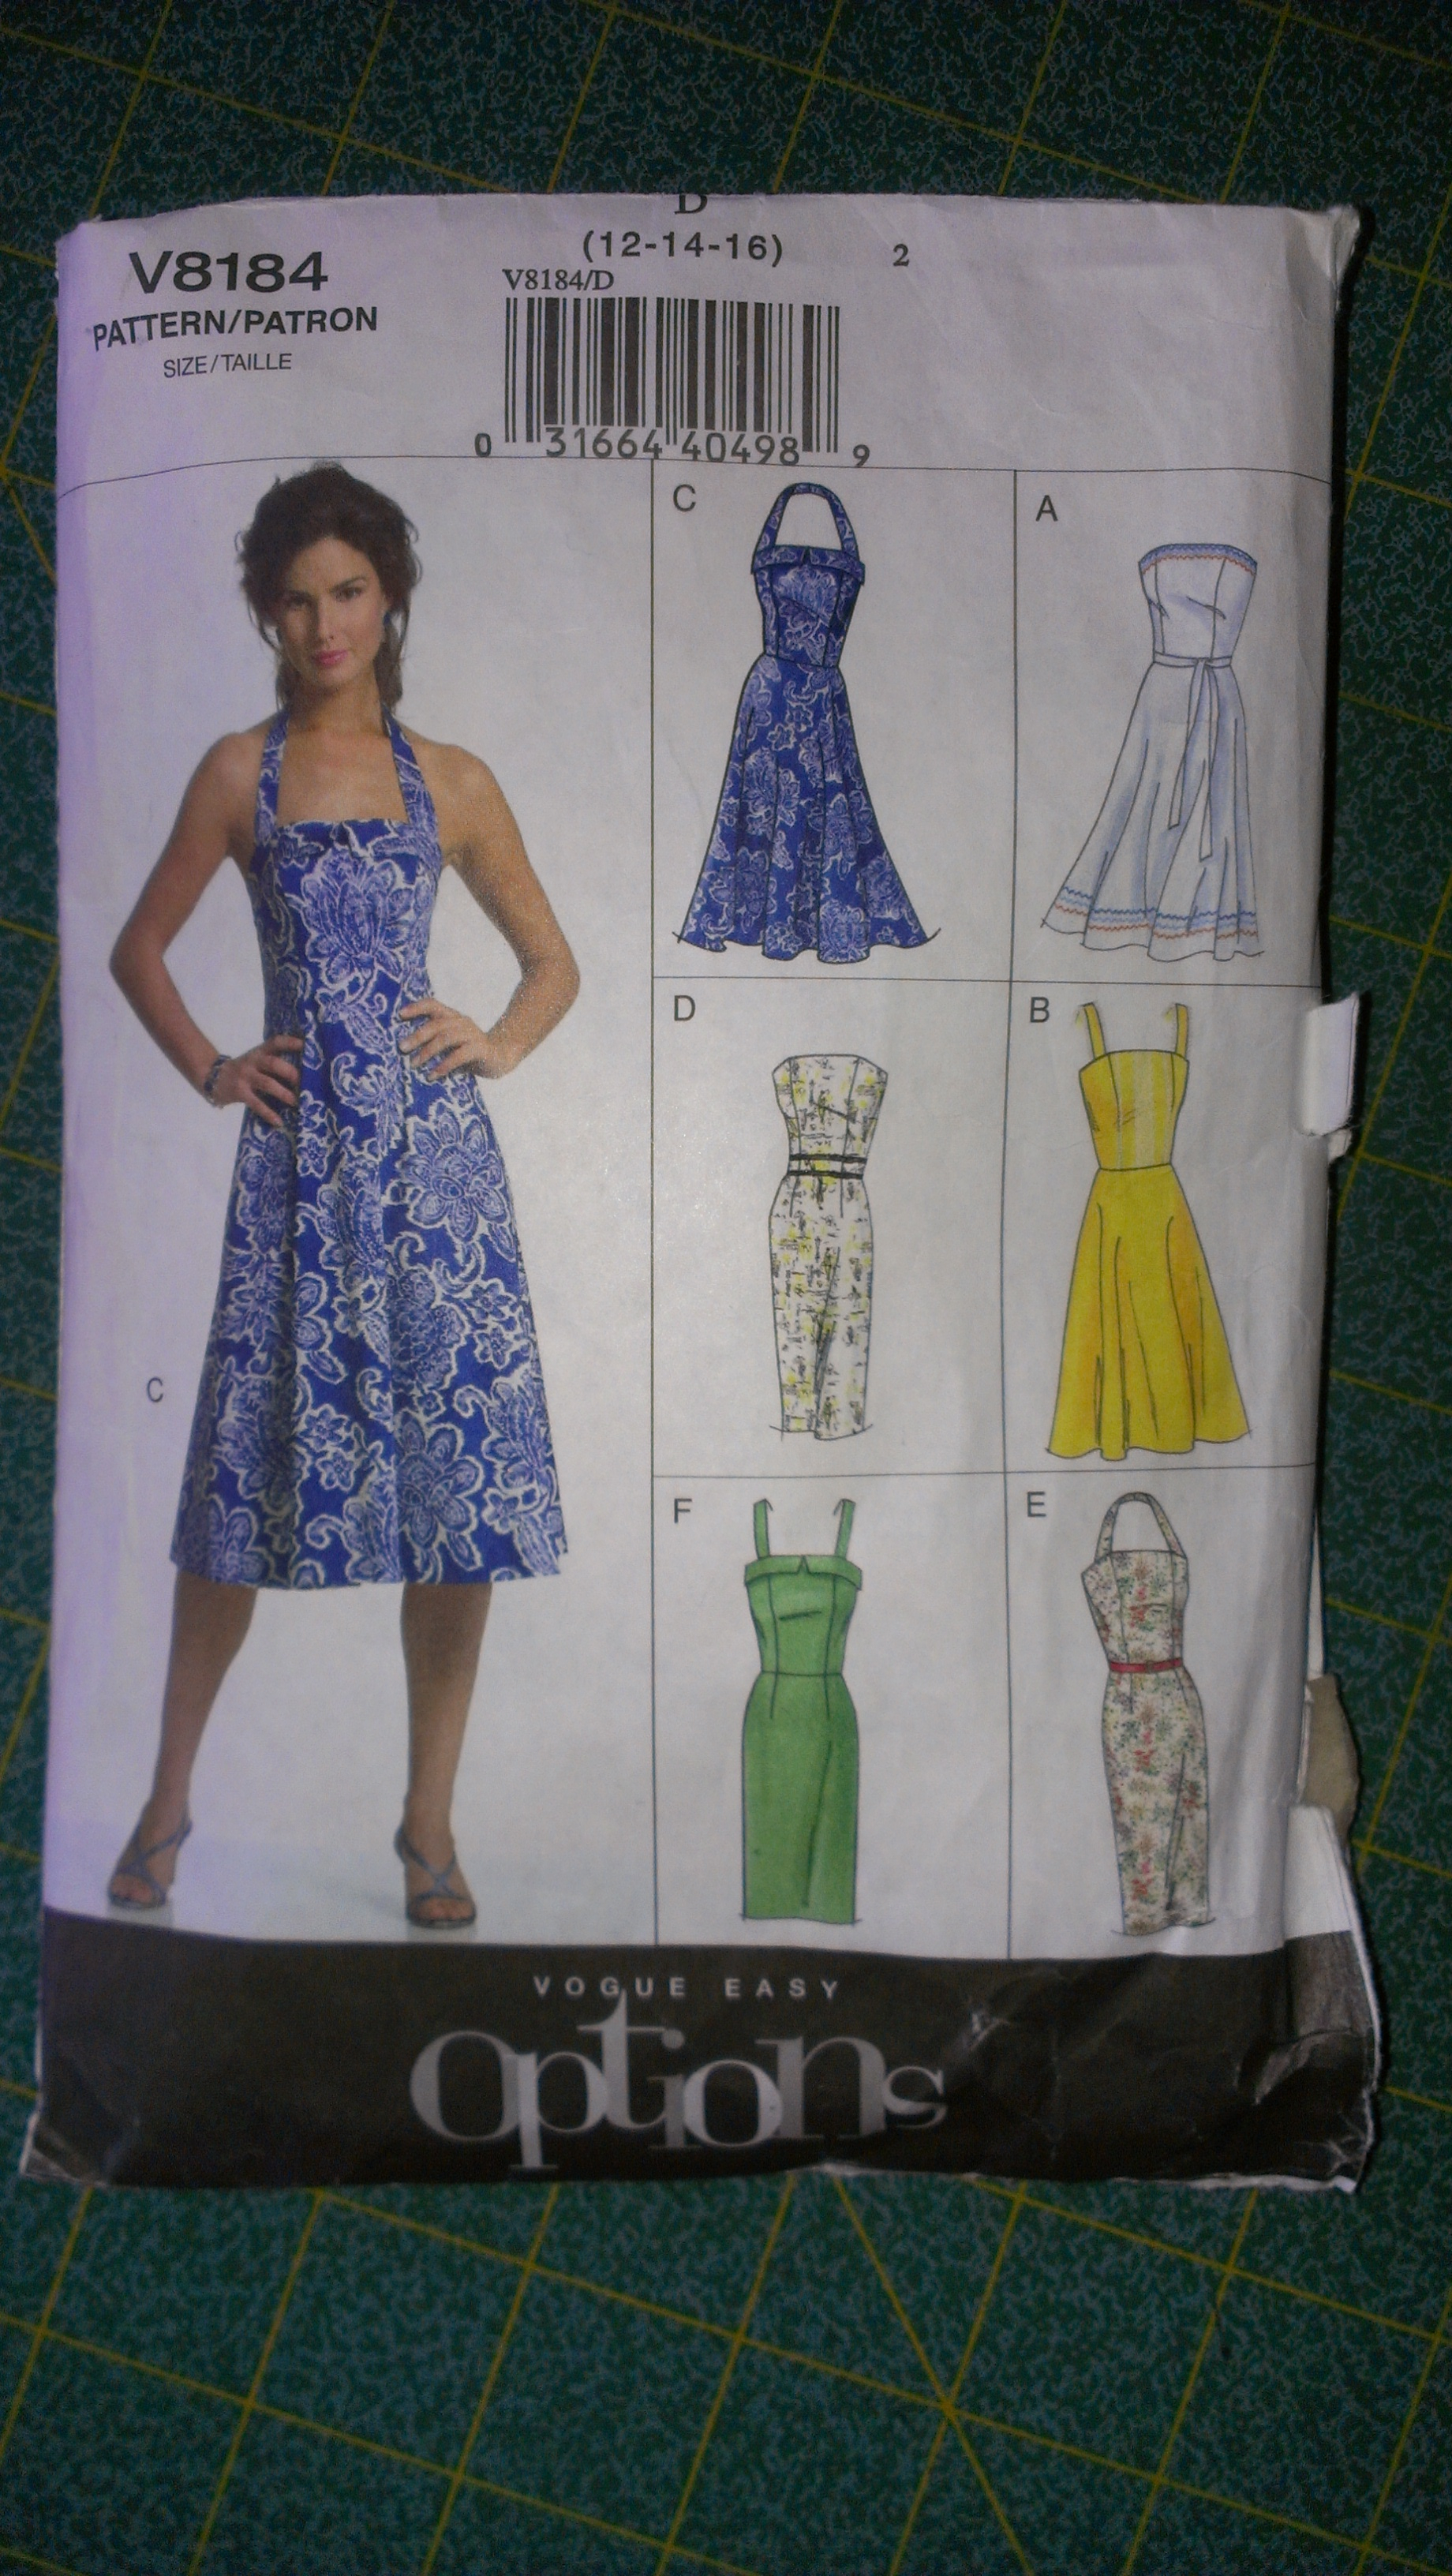
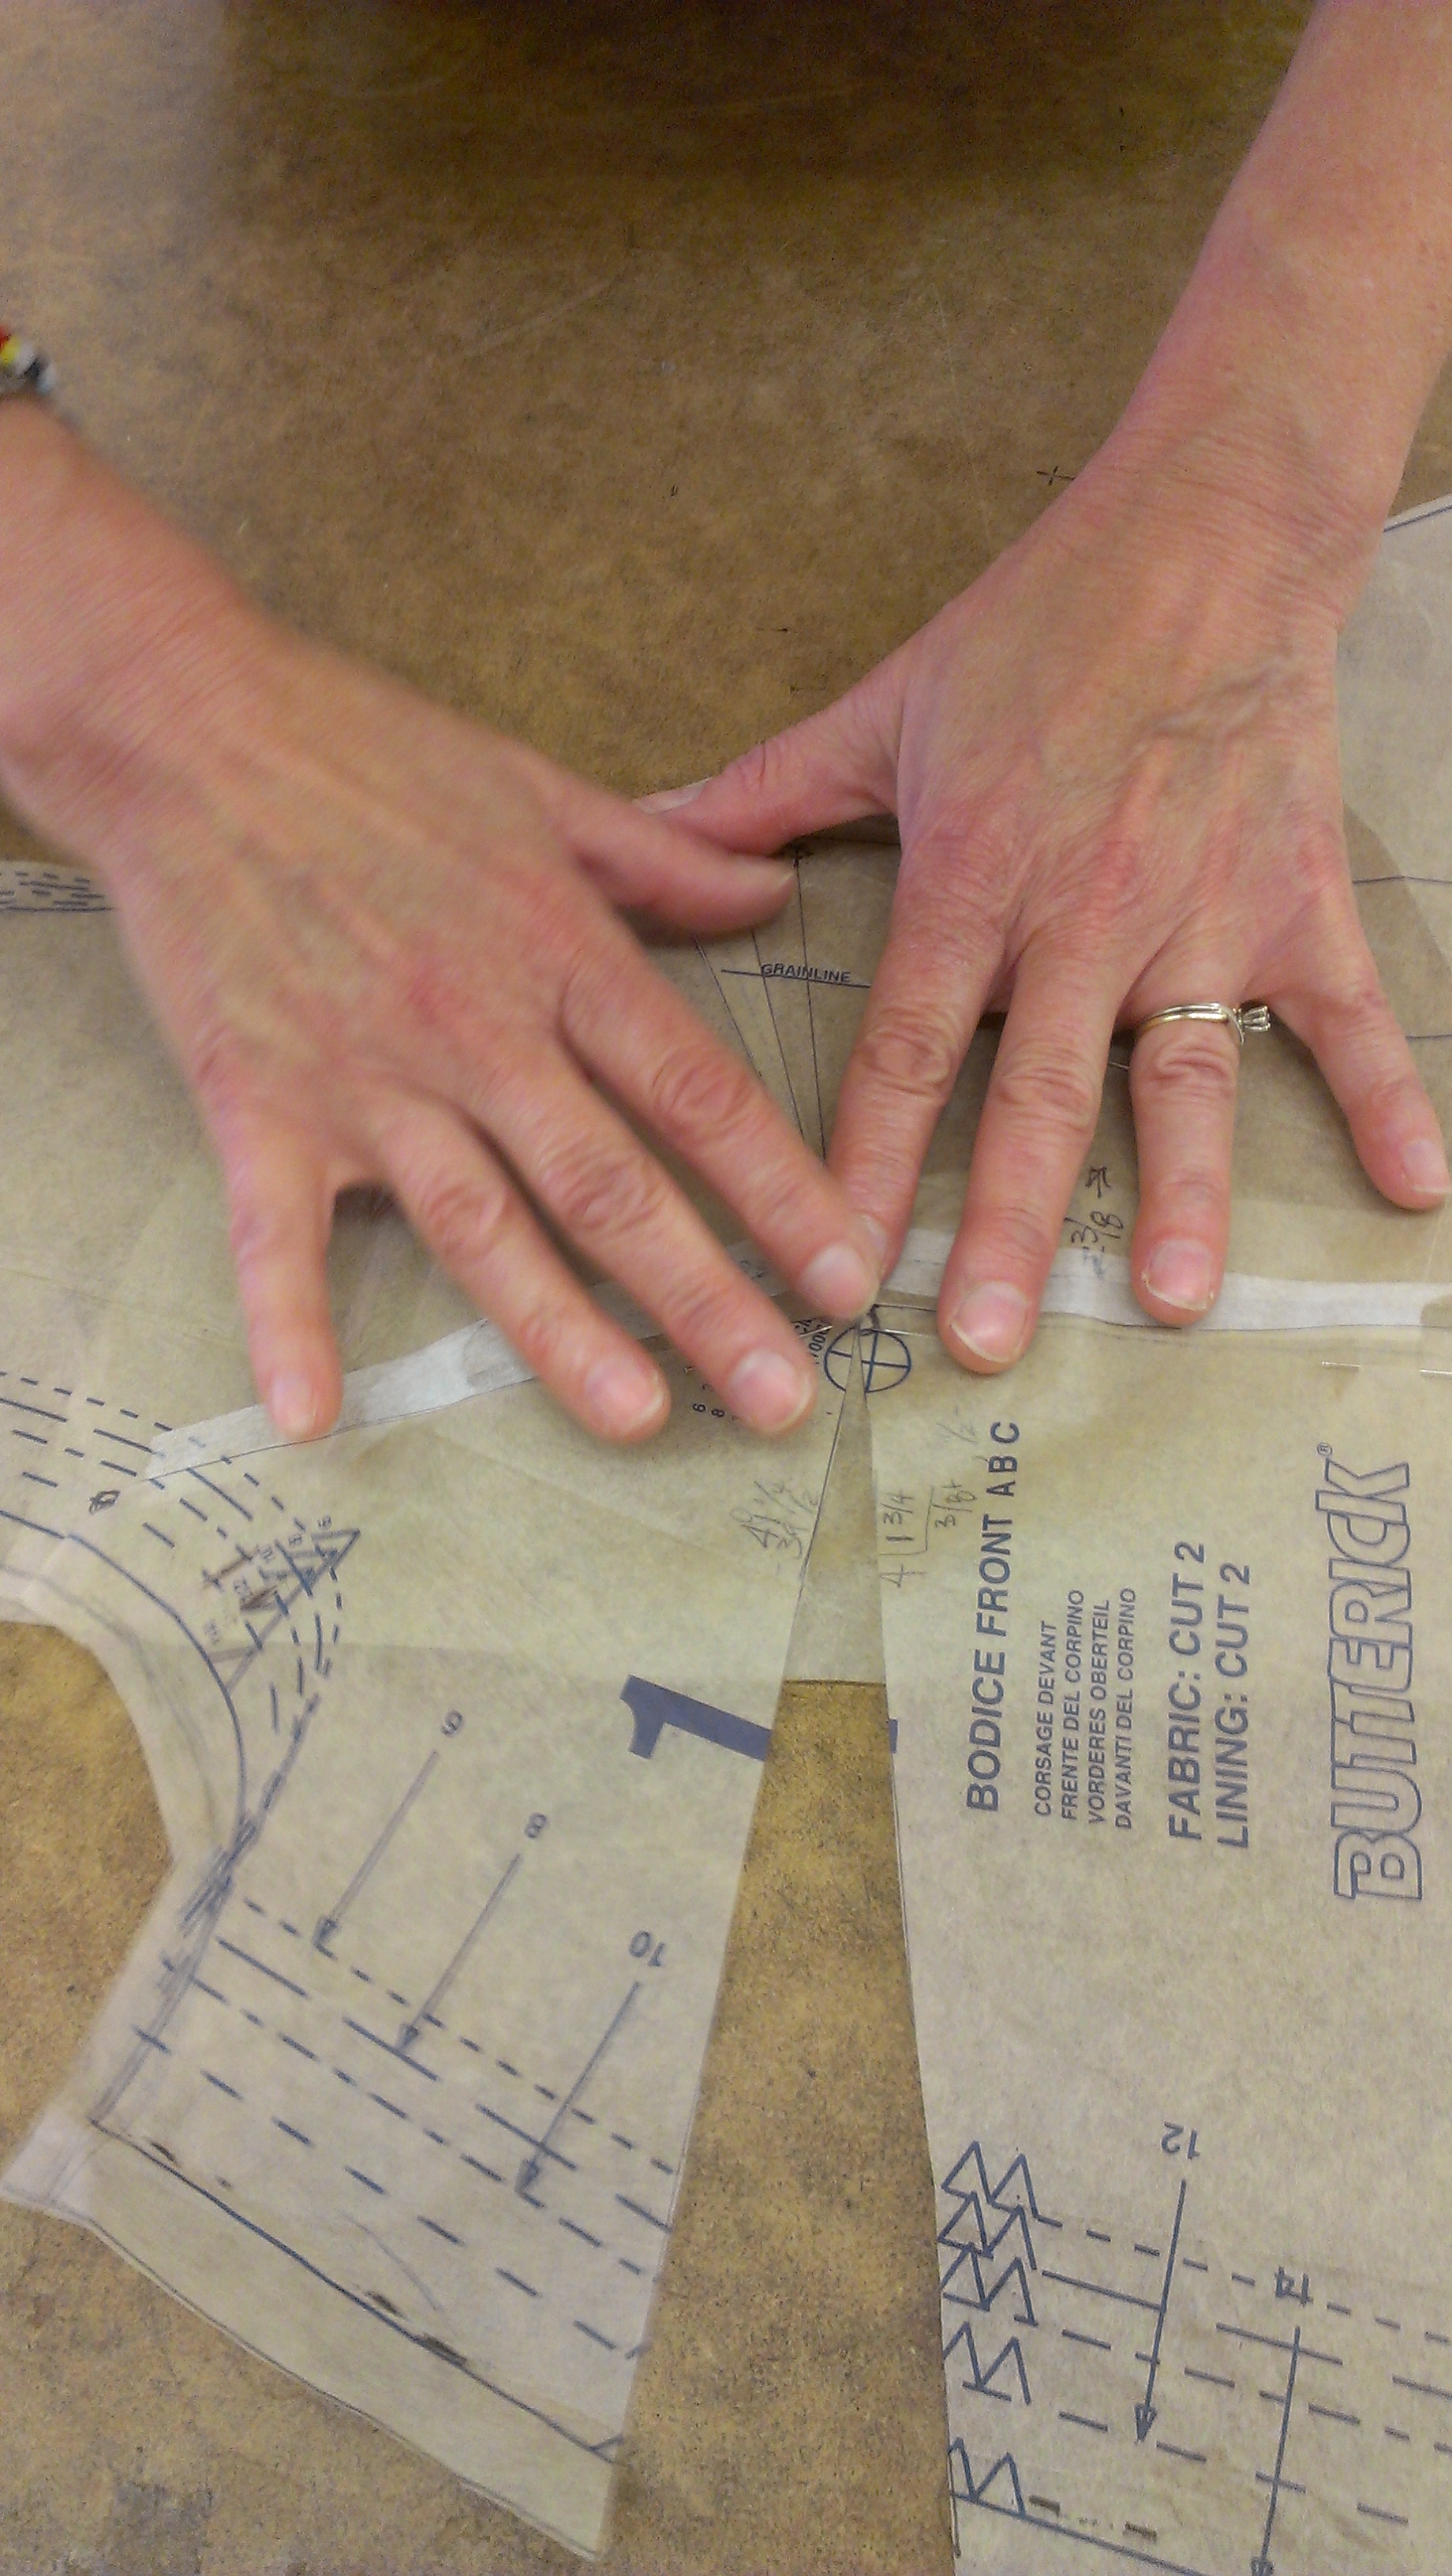
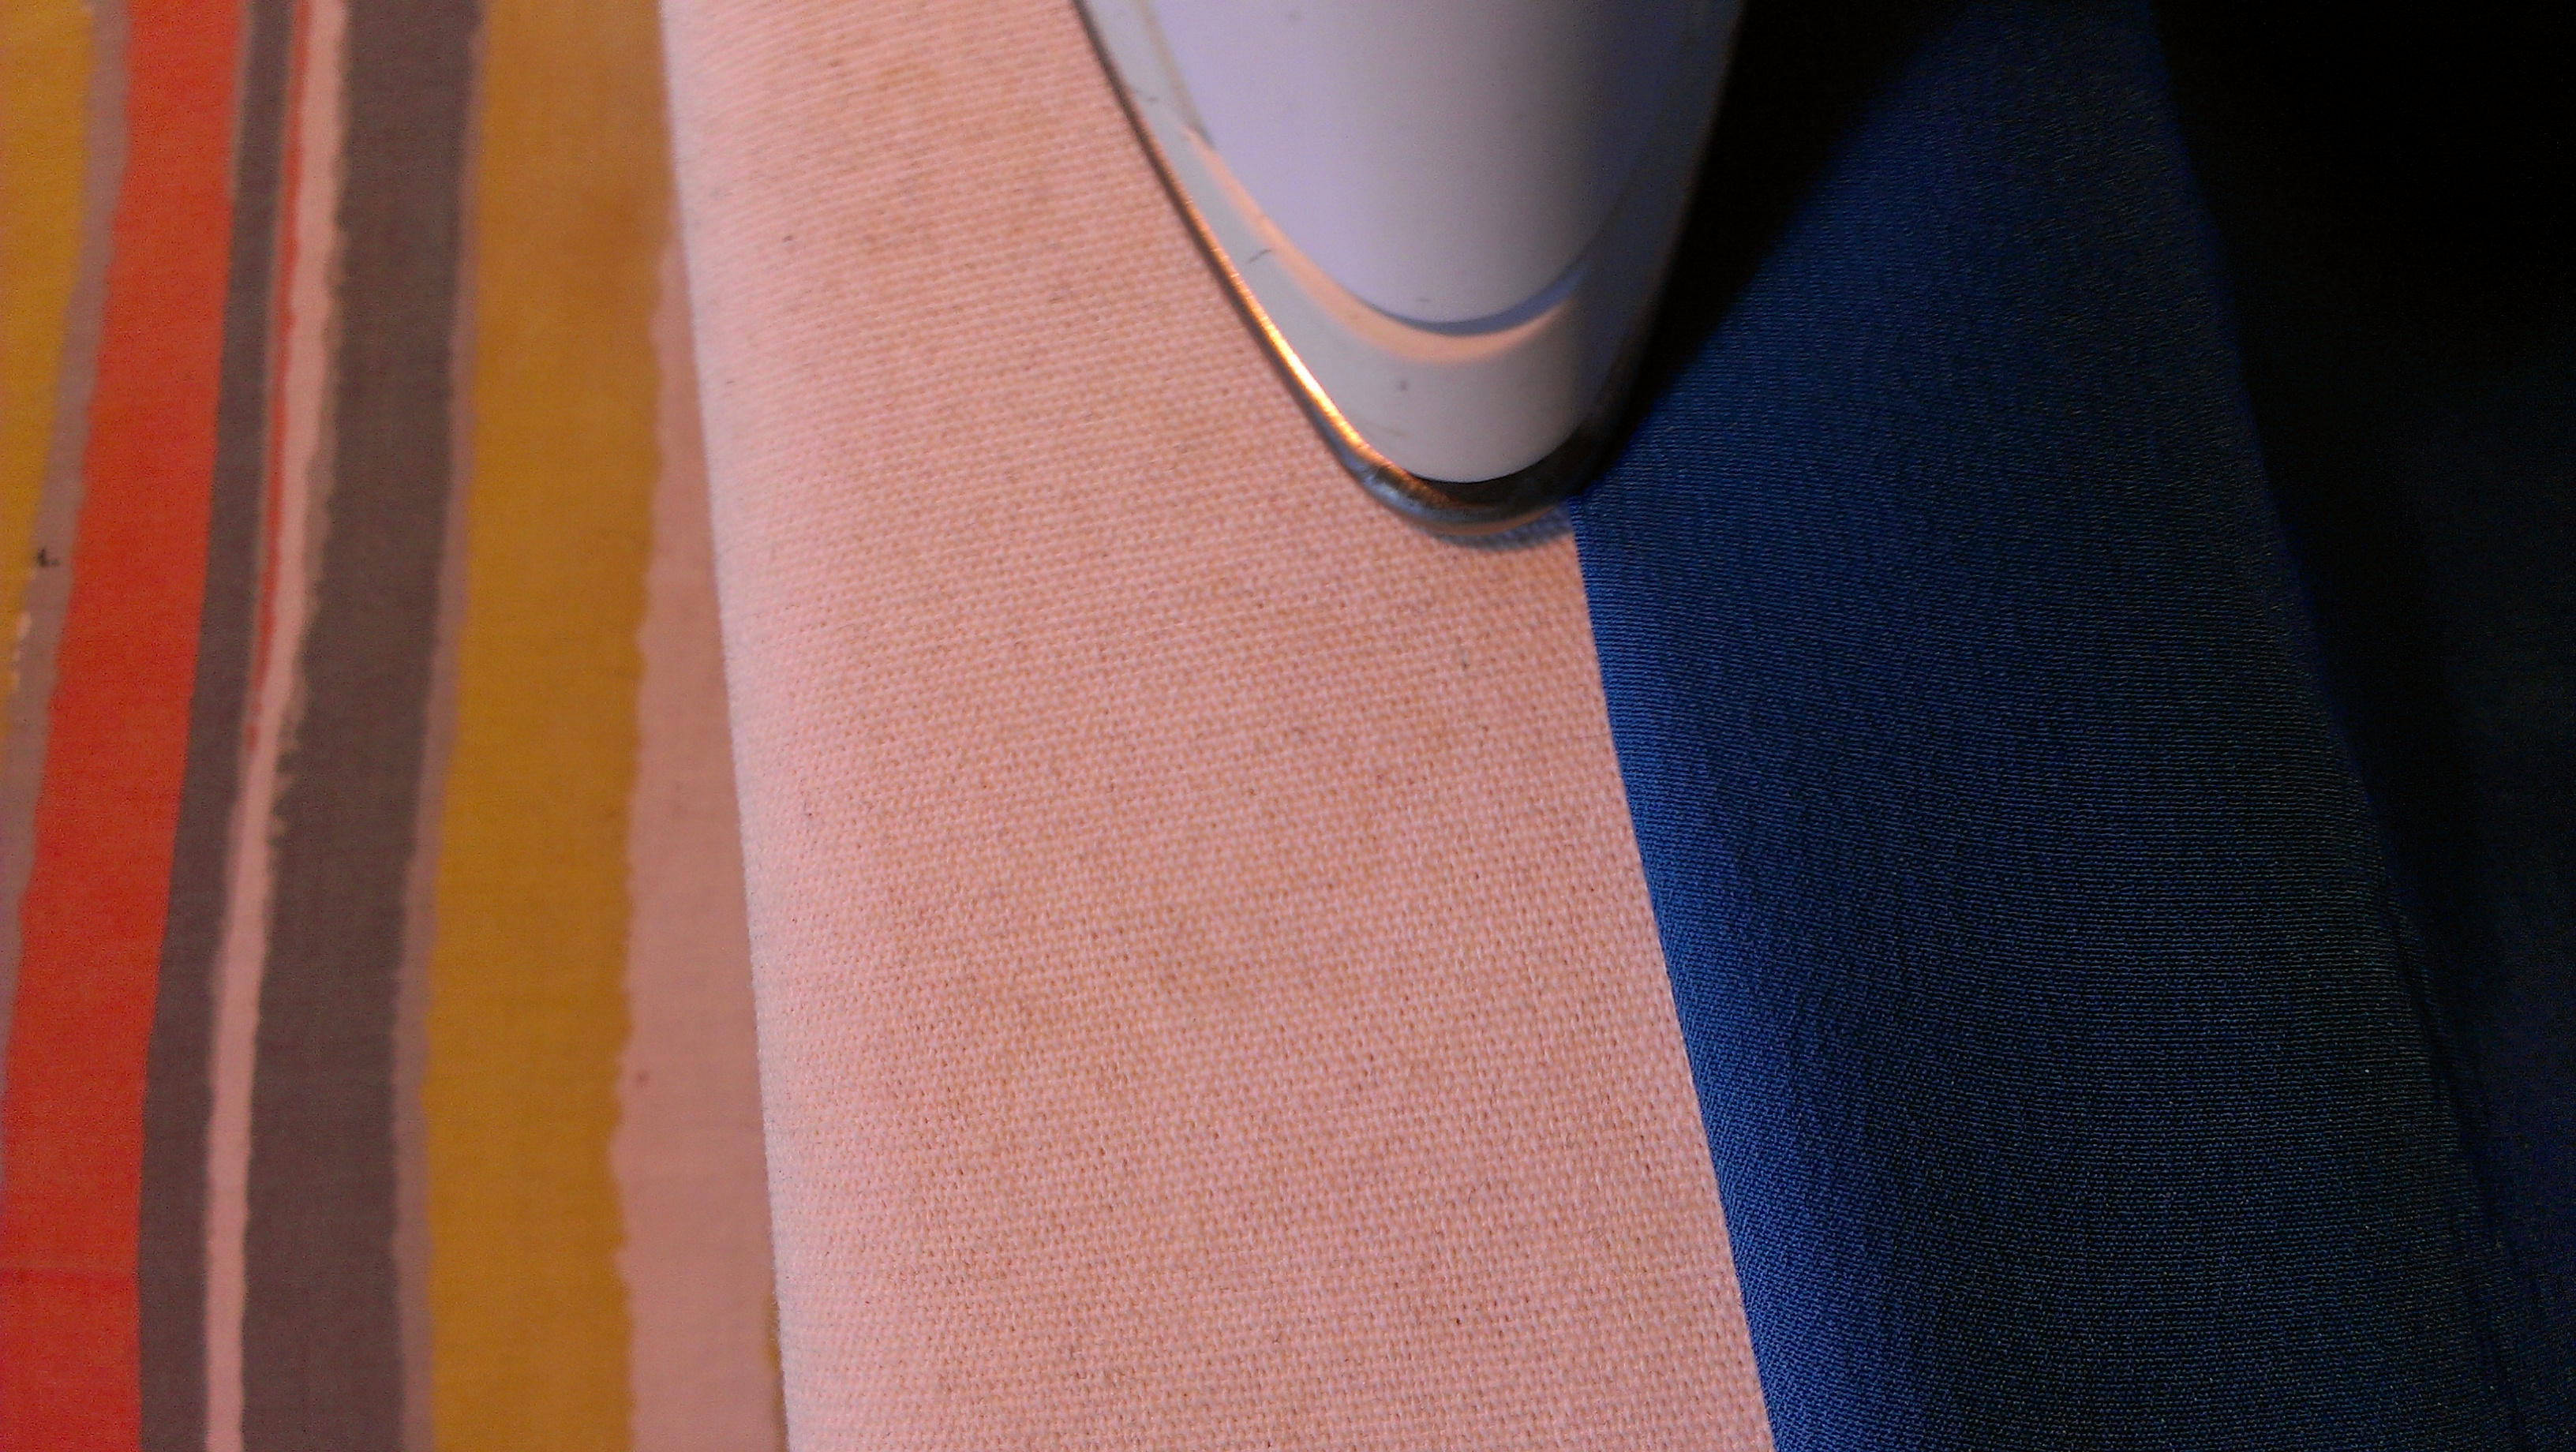
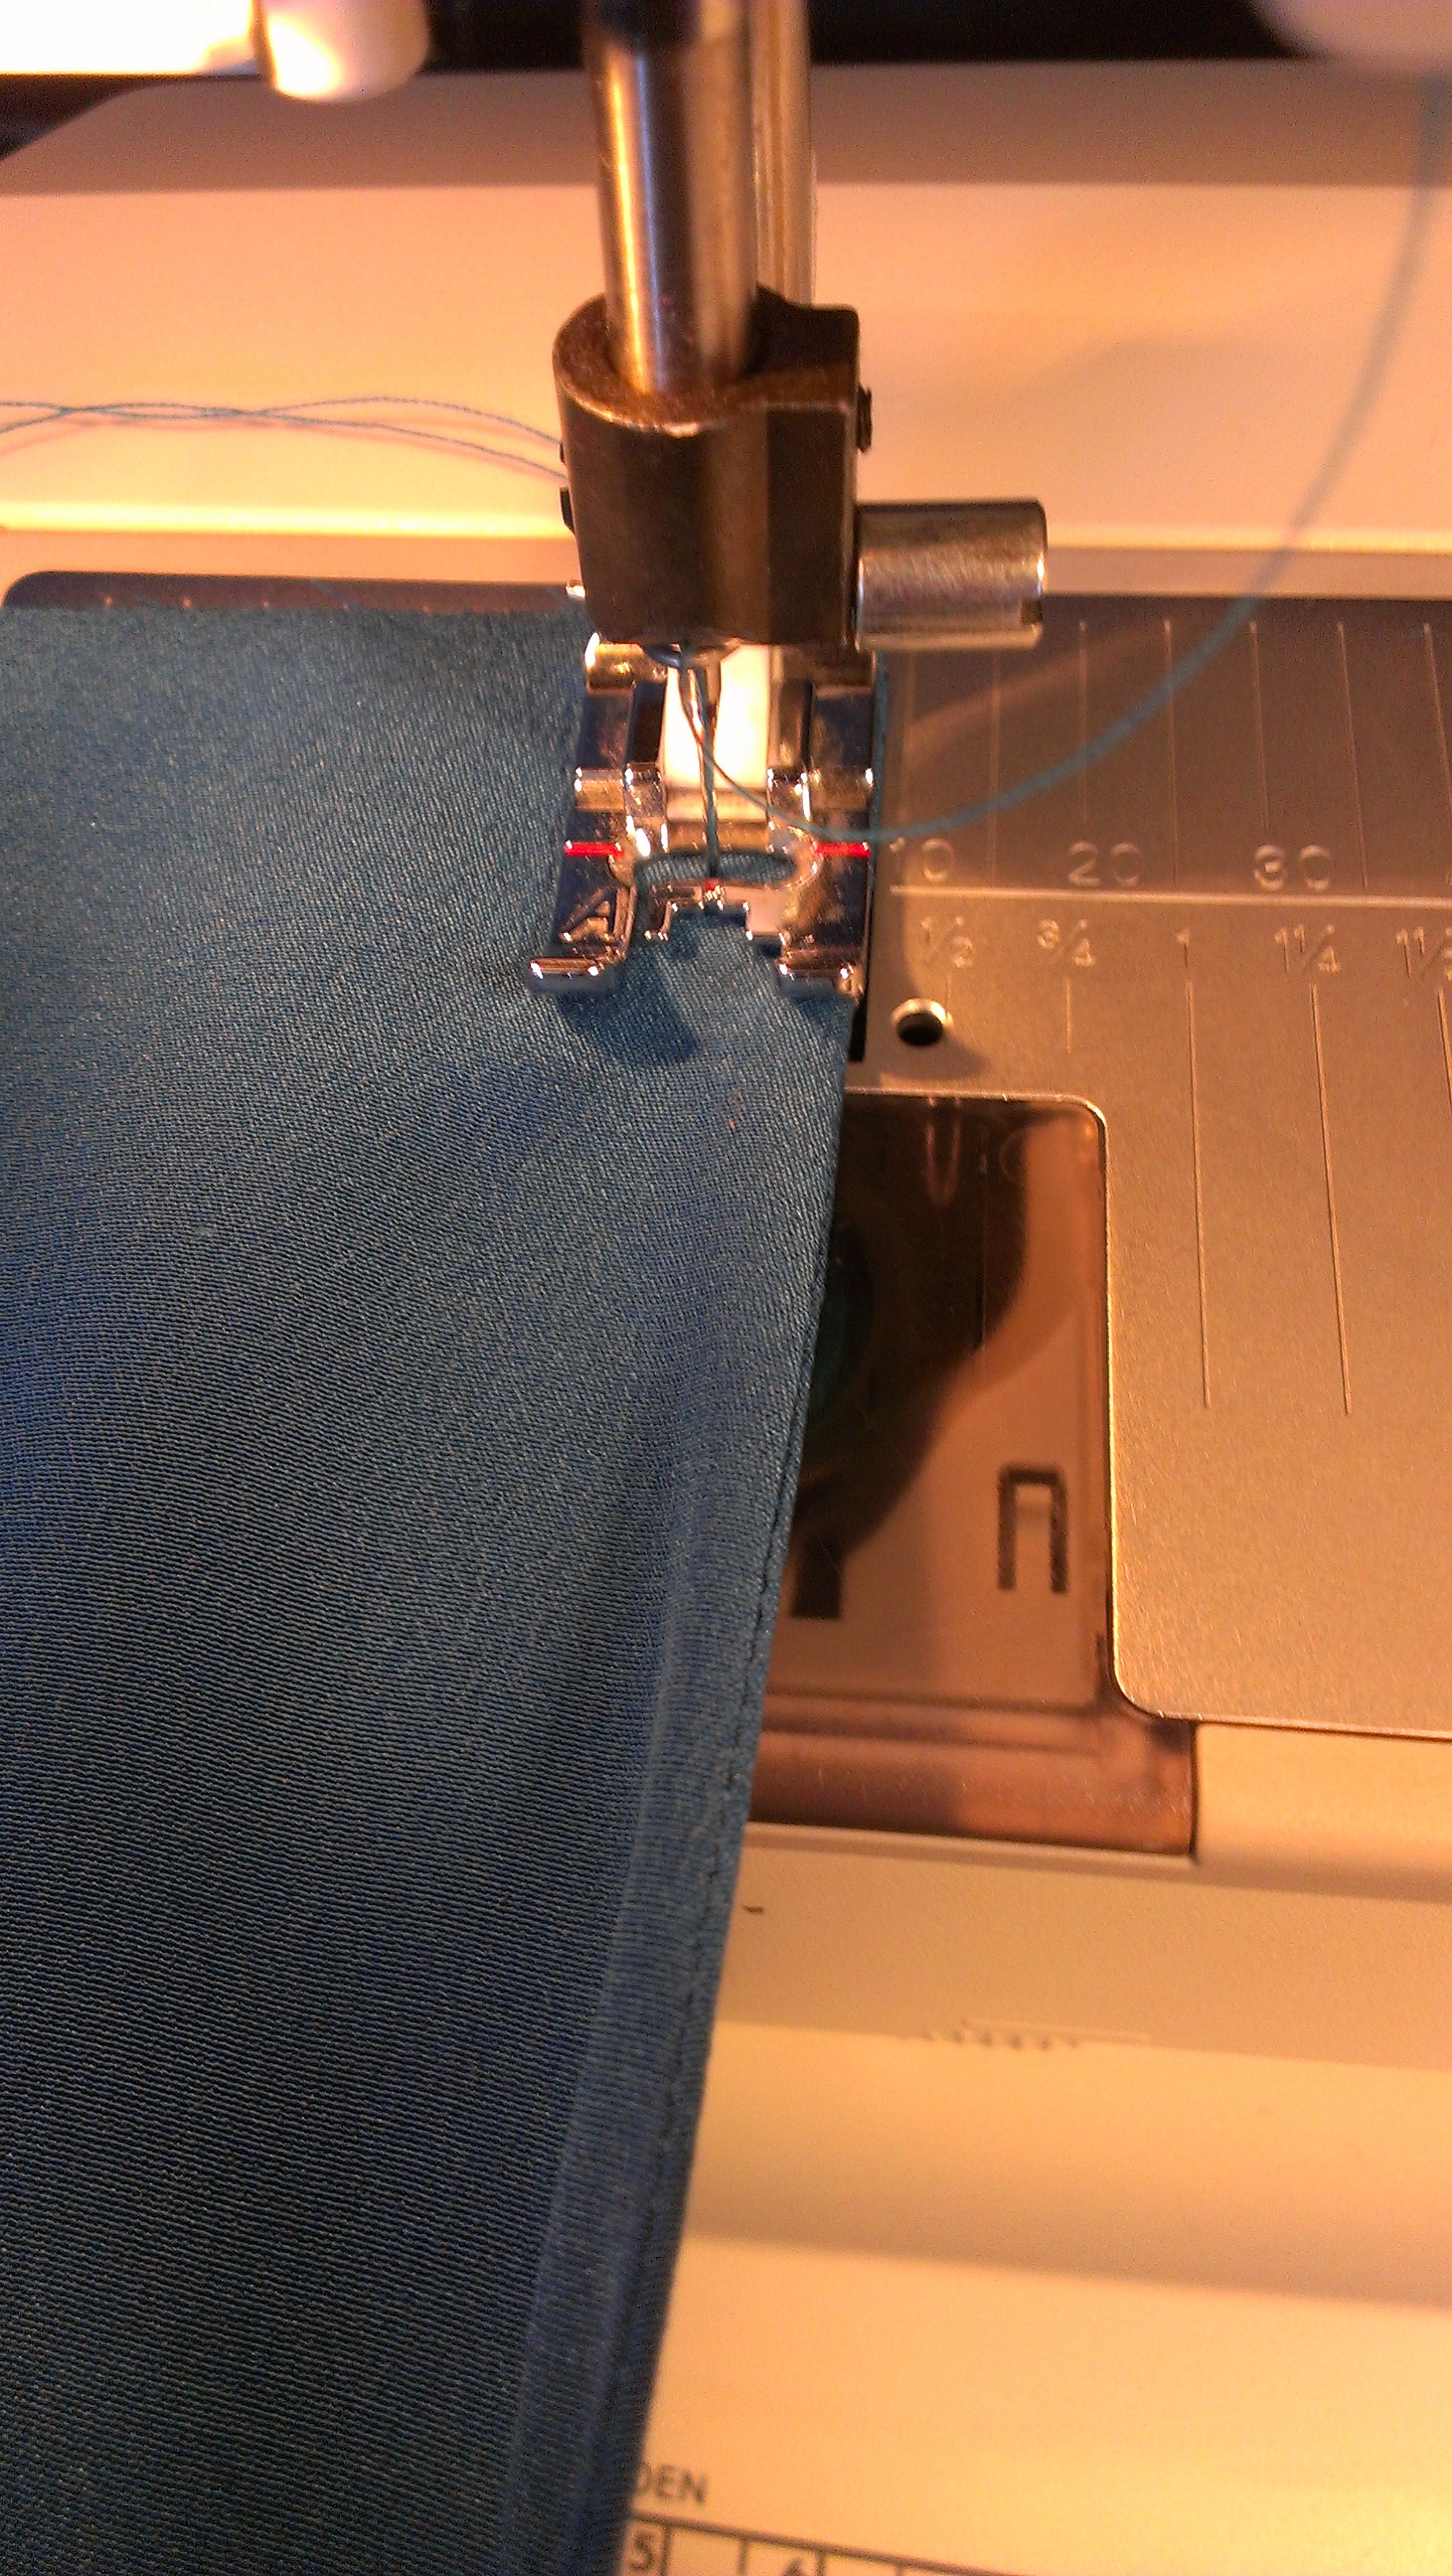
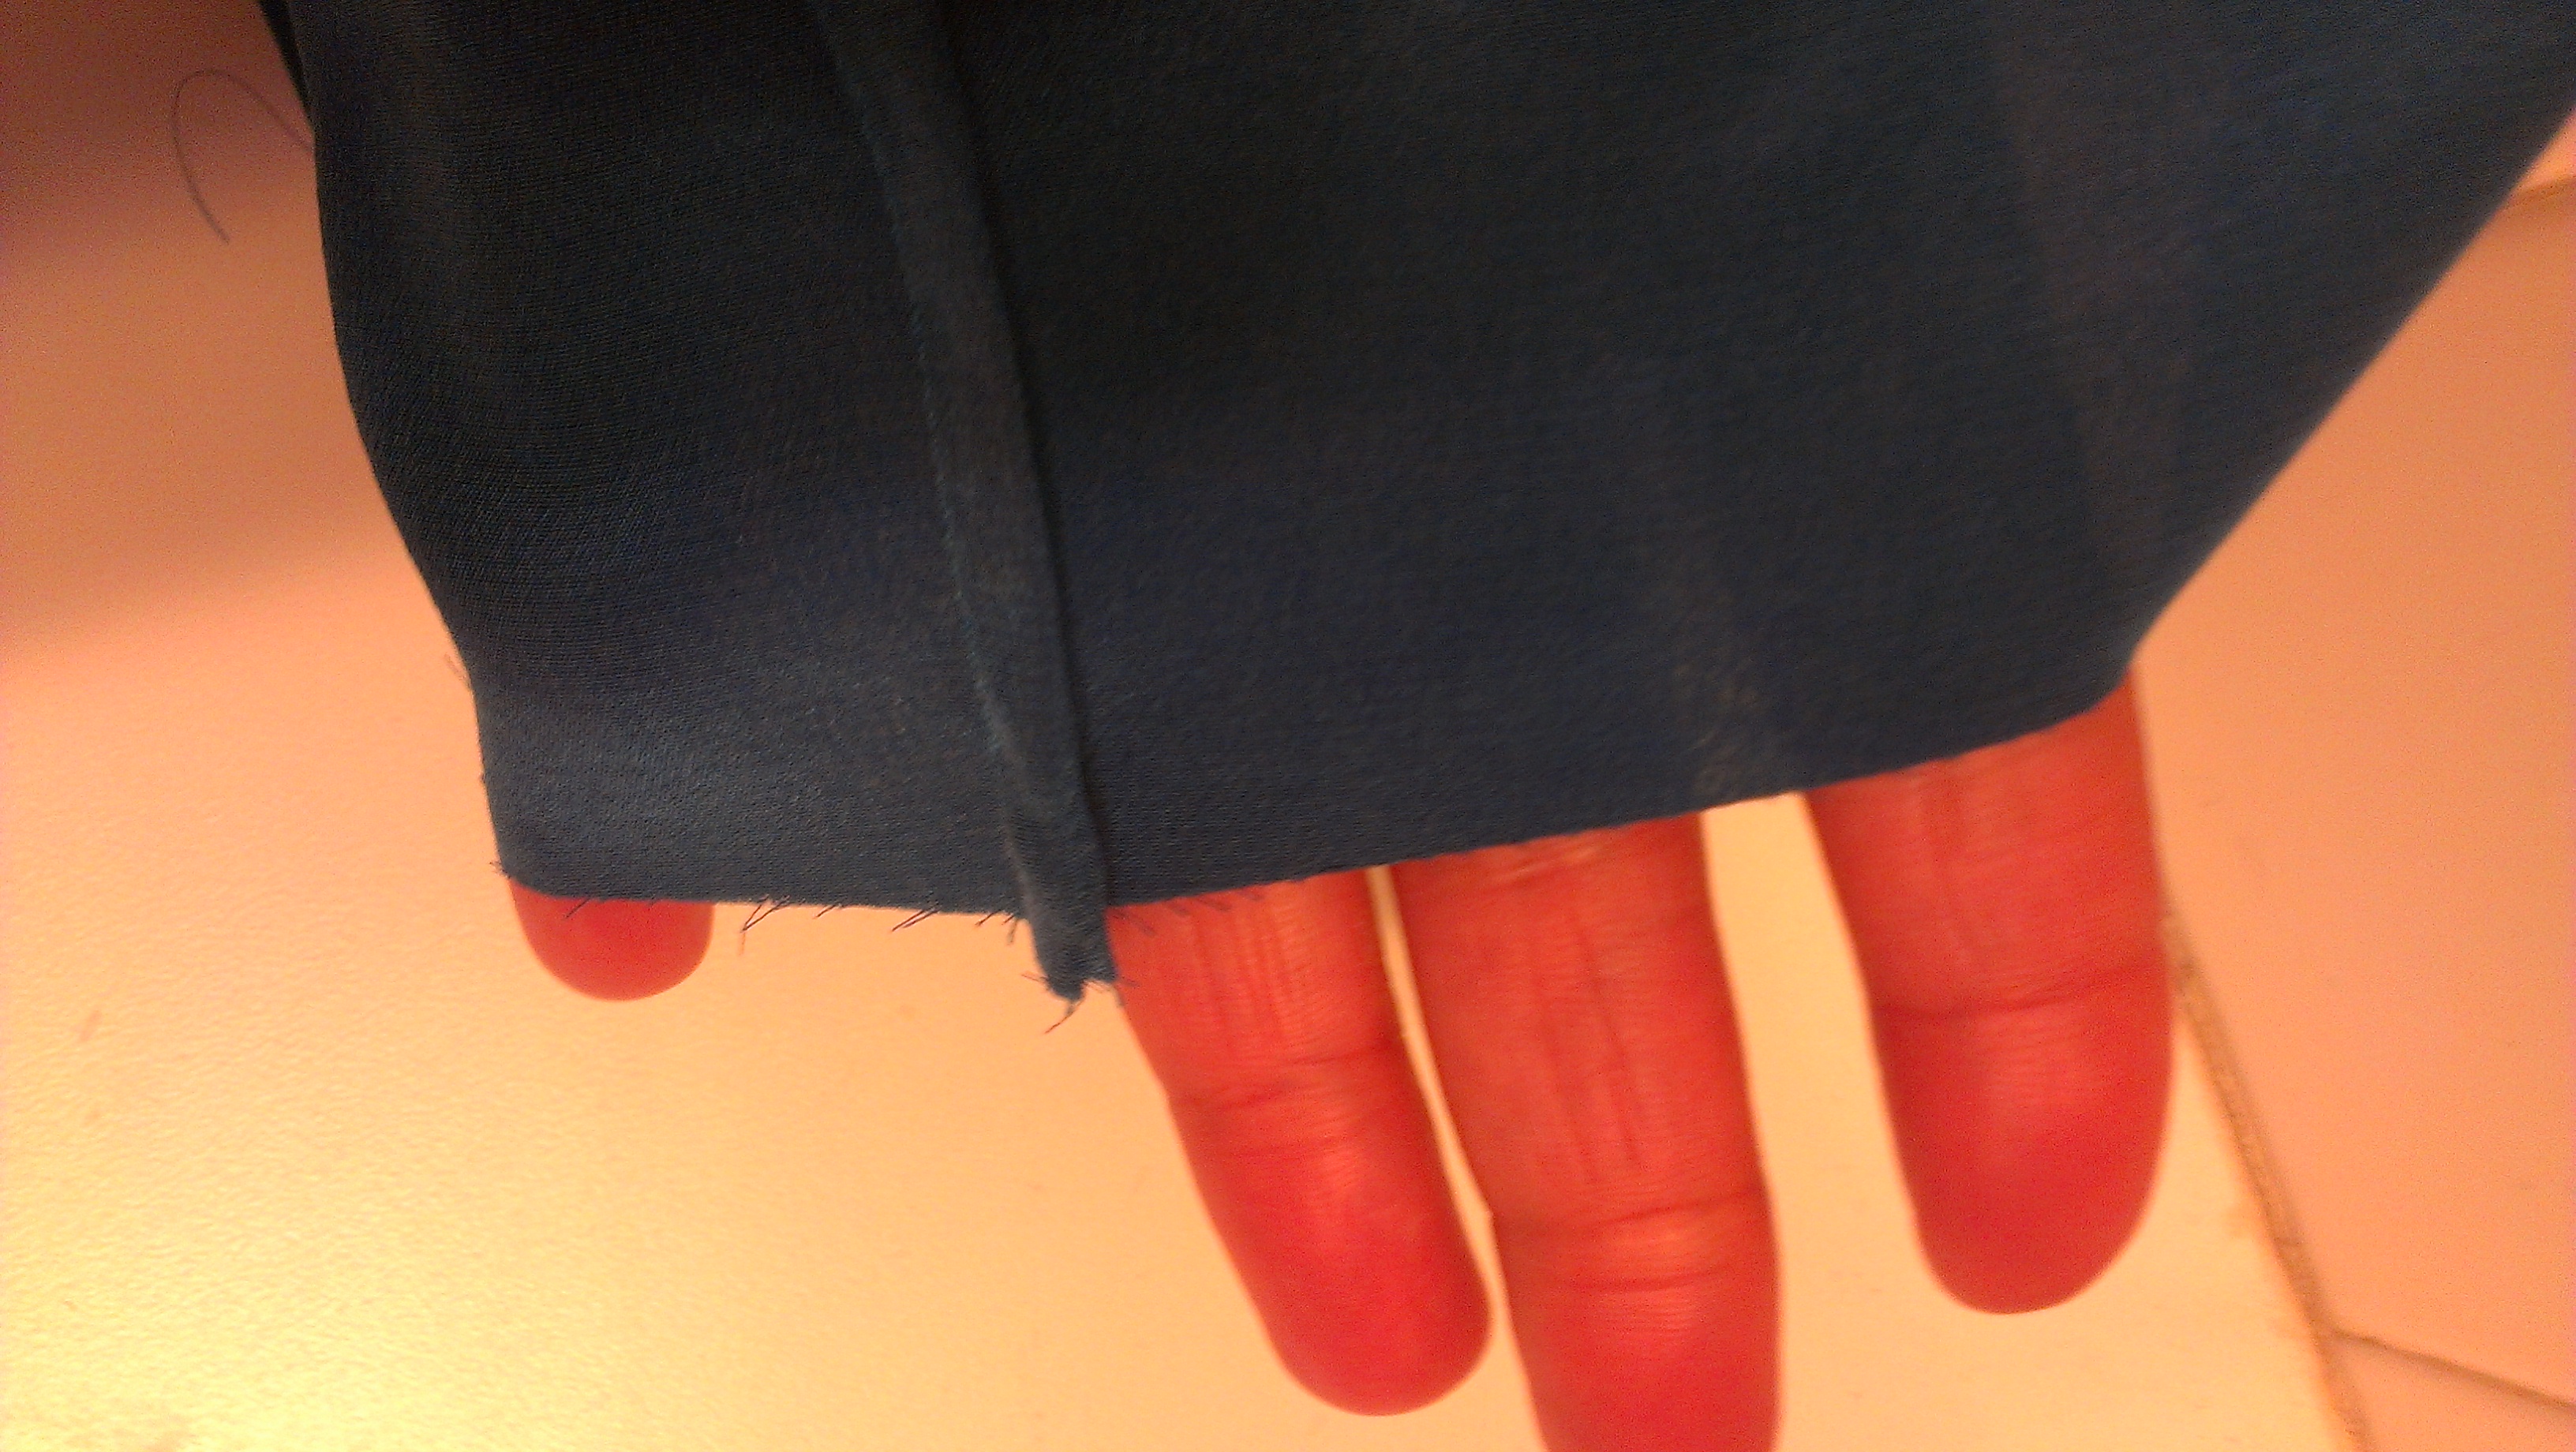
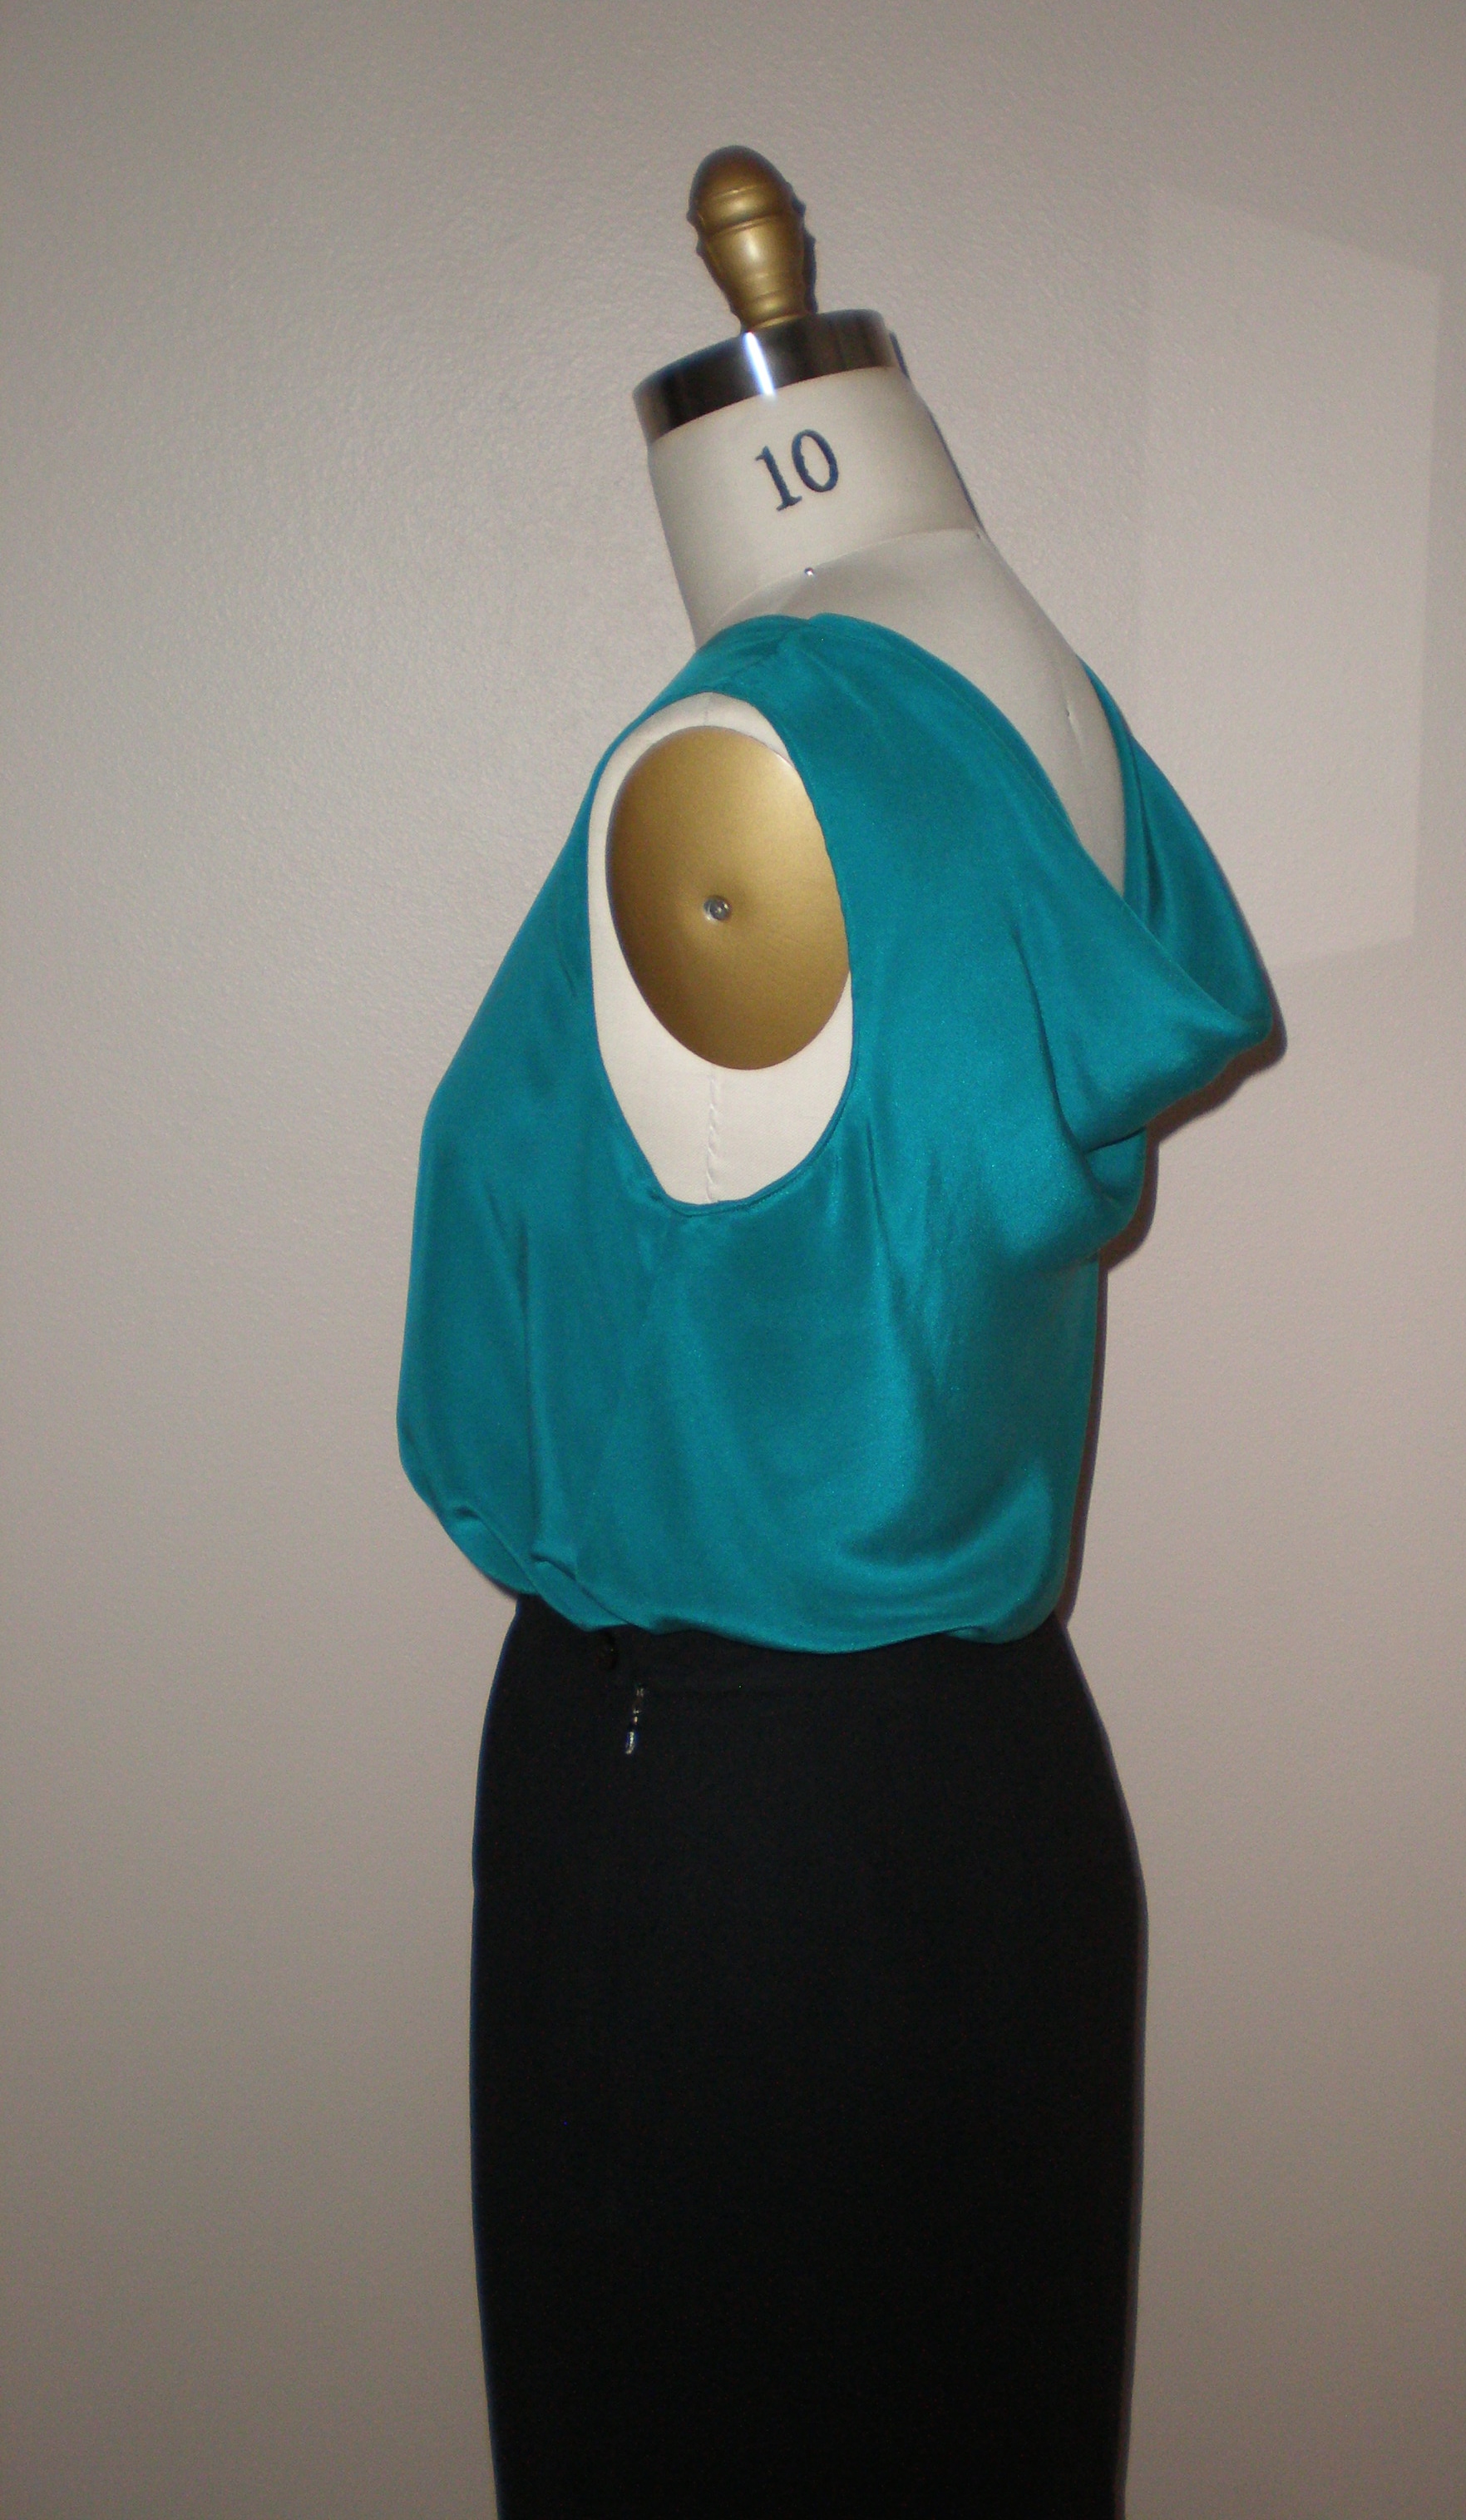
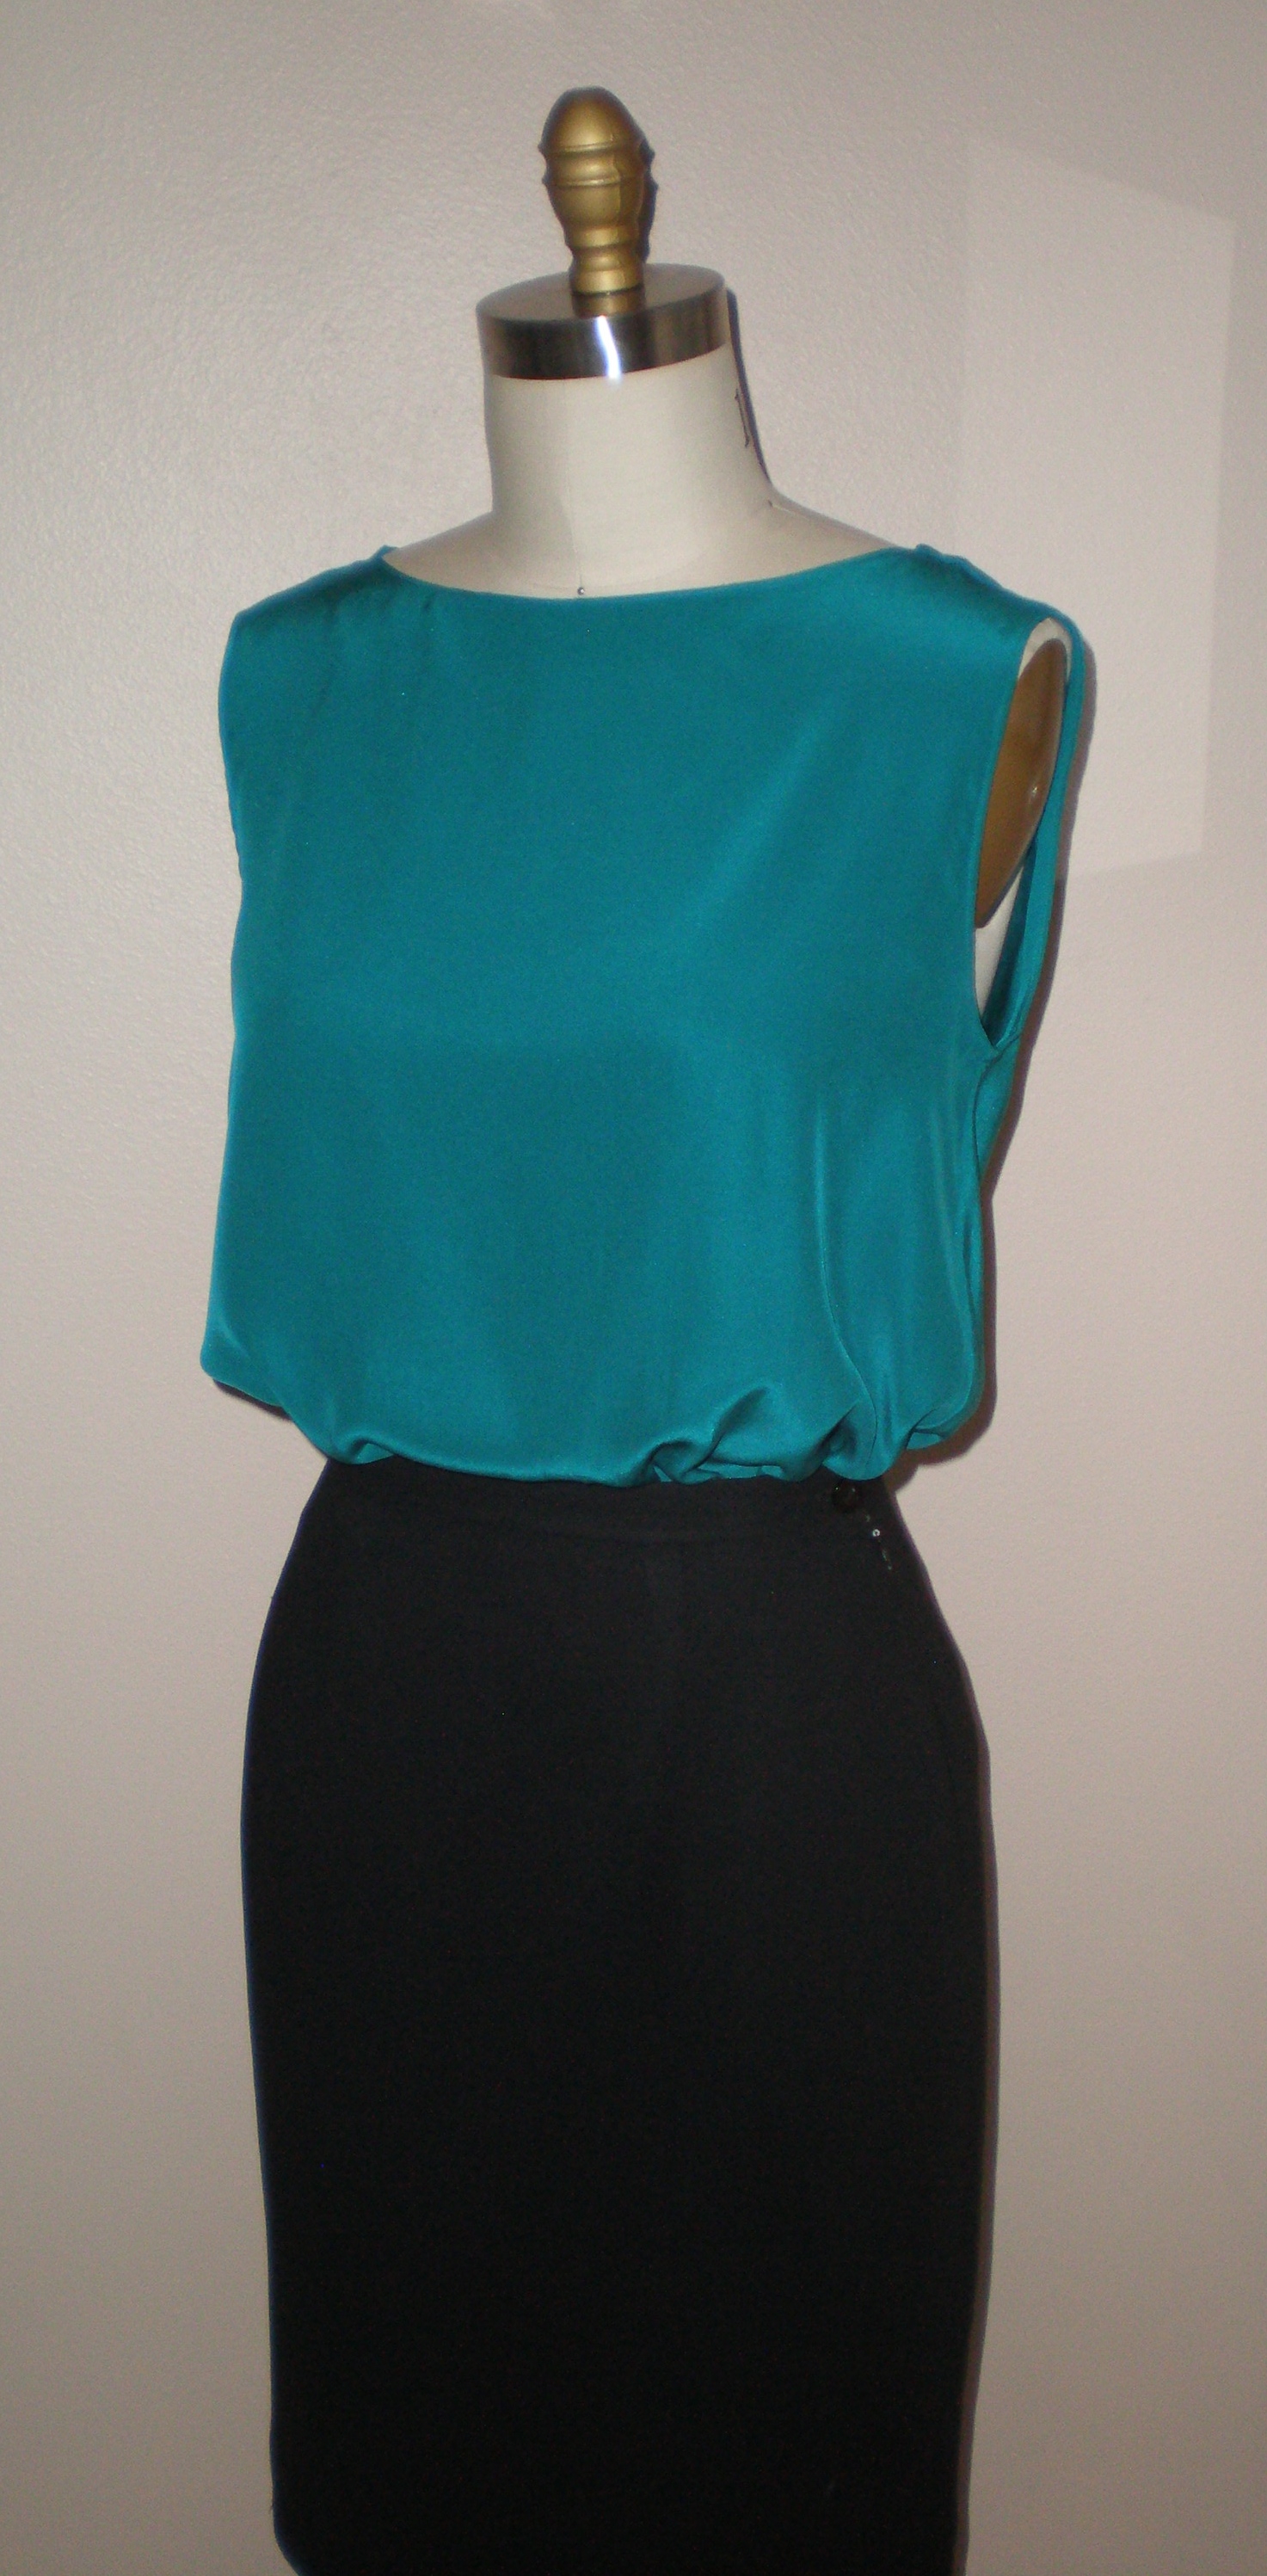
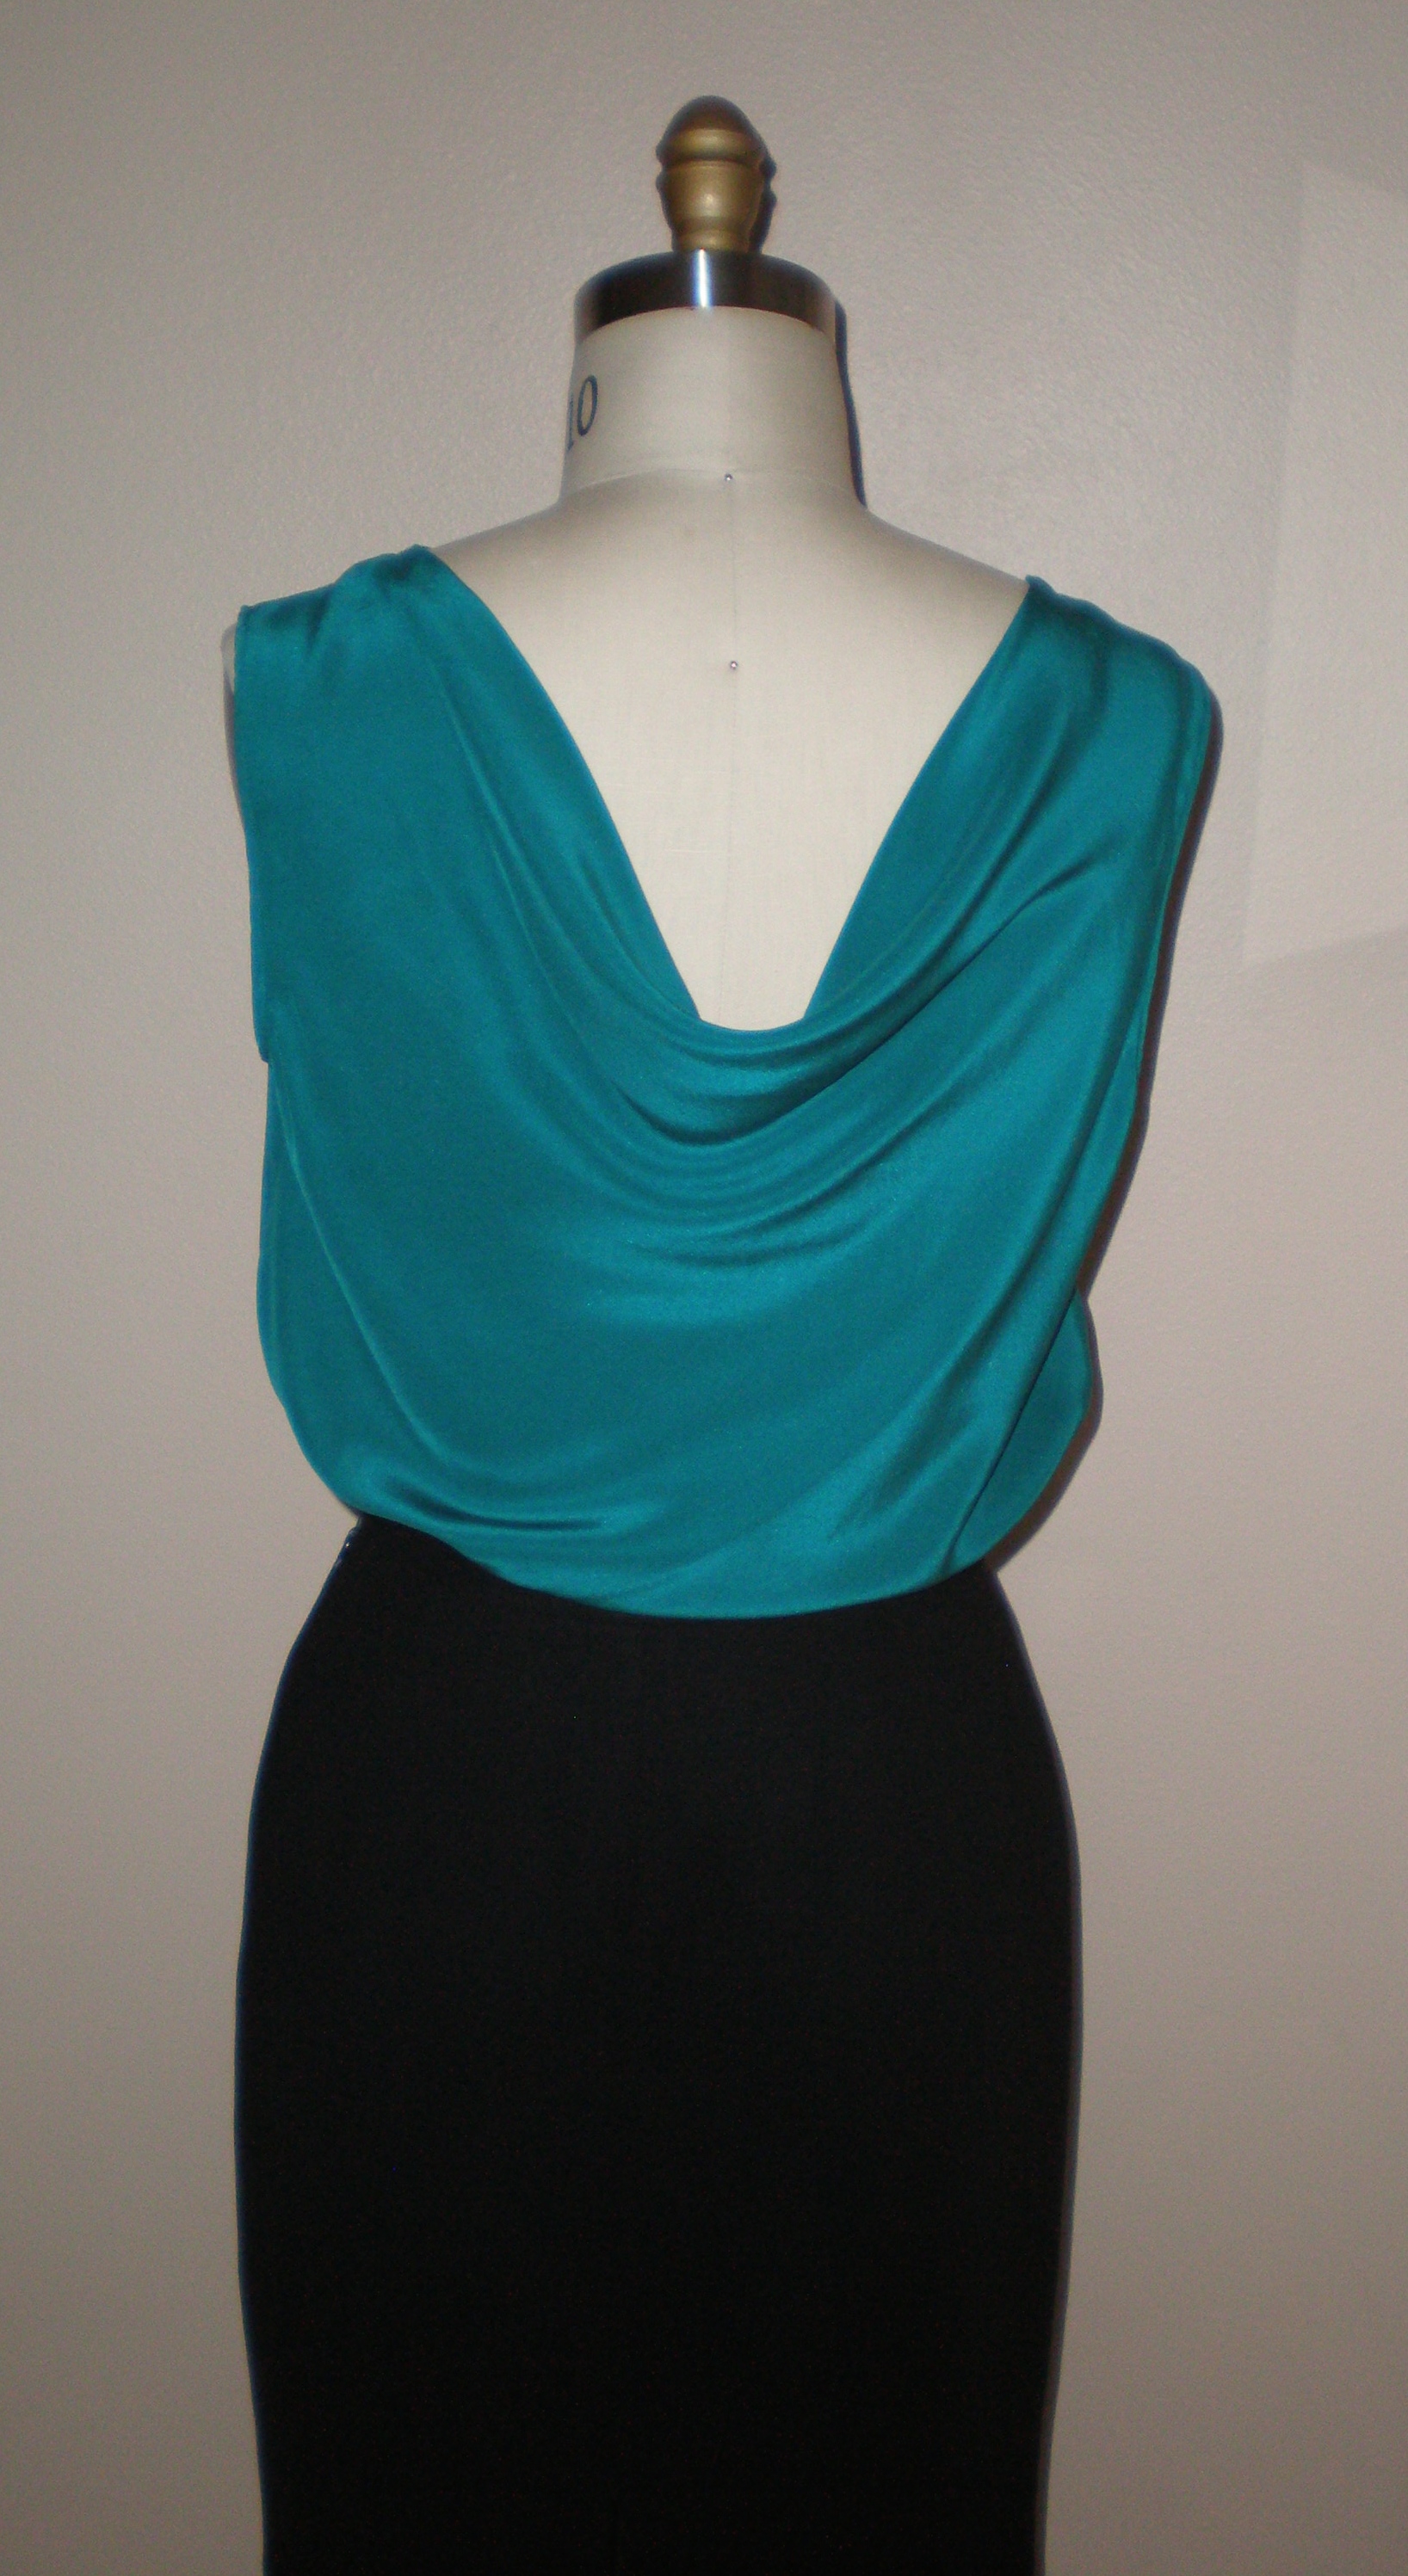
    I used McCalls  6885 (also labeled as MP345) to make this dress. It was a fairly easy dress to make, it just took time to cut out and mark the pattern carefully, to top stitch most of the seams as straight as I could, and make the major seams into flat felled seams which took time. I could have taken shortcuts and just serged most of the seams, but I didn’t want to do that. Instead, I made the side, shoulder and sleeve seams flat felled seams to prevent fraying and give a nice, finished look, and finished the armhole sleeve using my serger.

    The pattern envelope certainly does not indicate that this is a cute, fashionable dress pattern to make by using an ugly floral printed fabric, the shapeless styling and the dorky matching old-lady hat:

    Pattern envelope cover
    Pattern envelope cover

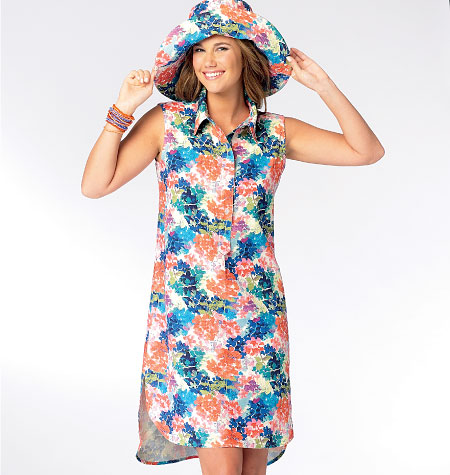
    I feel bad for the cute, young model who had to sport this look. Definitely not her best day in front of the camera thanks to this outfit.

    Thank goodness the illustration for view D saved the pattern from being a complete frumpy disaster and gave some life and hope for this pattern:

    M6885
    McCalls 6885 view D

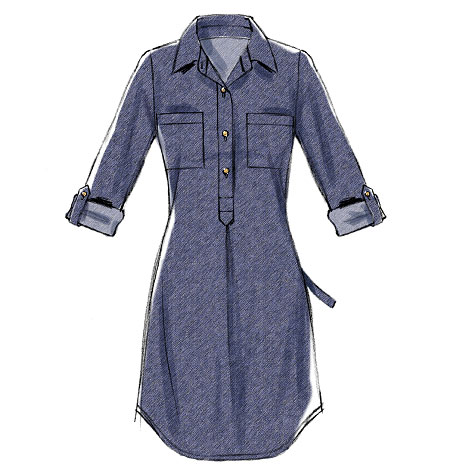
    Hence, view D is what I went with, accept that I made the hem of the dress straight, as in view C of the pattern, and I chose not to make the matching, attached tie belt as I knew I would want to wear one of my own belts with this dress.

    OLYMPUS DIGITAL CAMERA
    In my new shirtdress
    OLYMPUS DIGITAL CAMERA
    Back of dress
    OLYMPUS DIGITAL CAMERA
    Worn with a Banana Republic leather belt and scarf and Sorel boots.


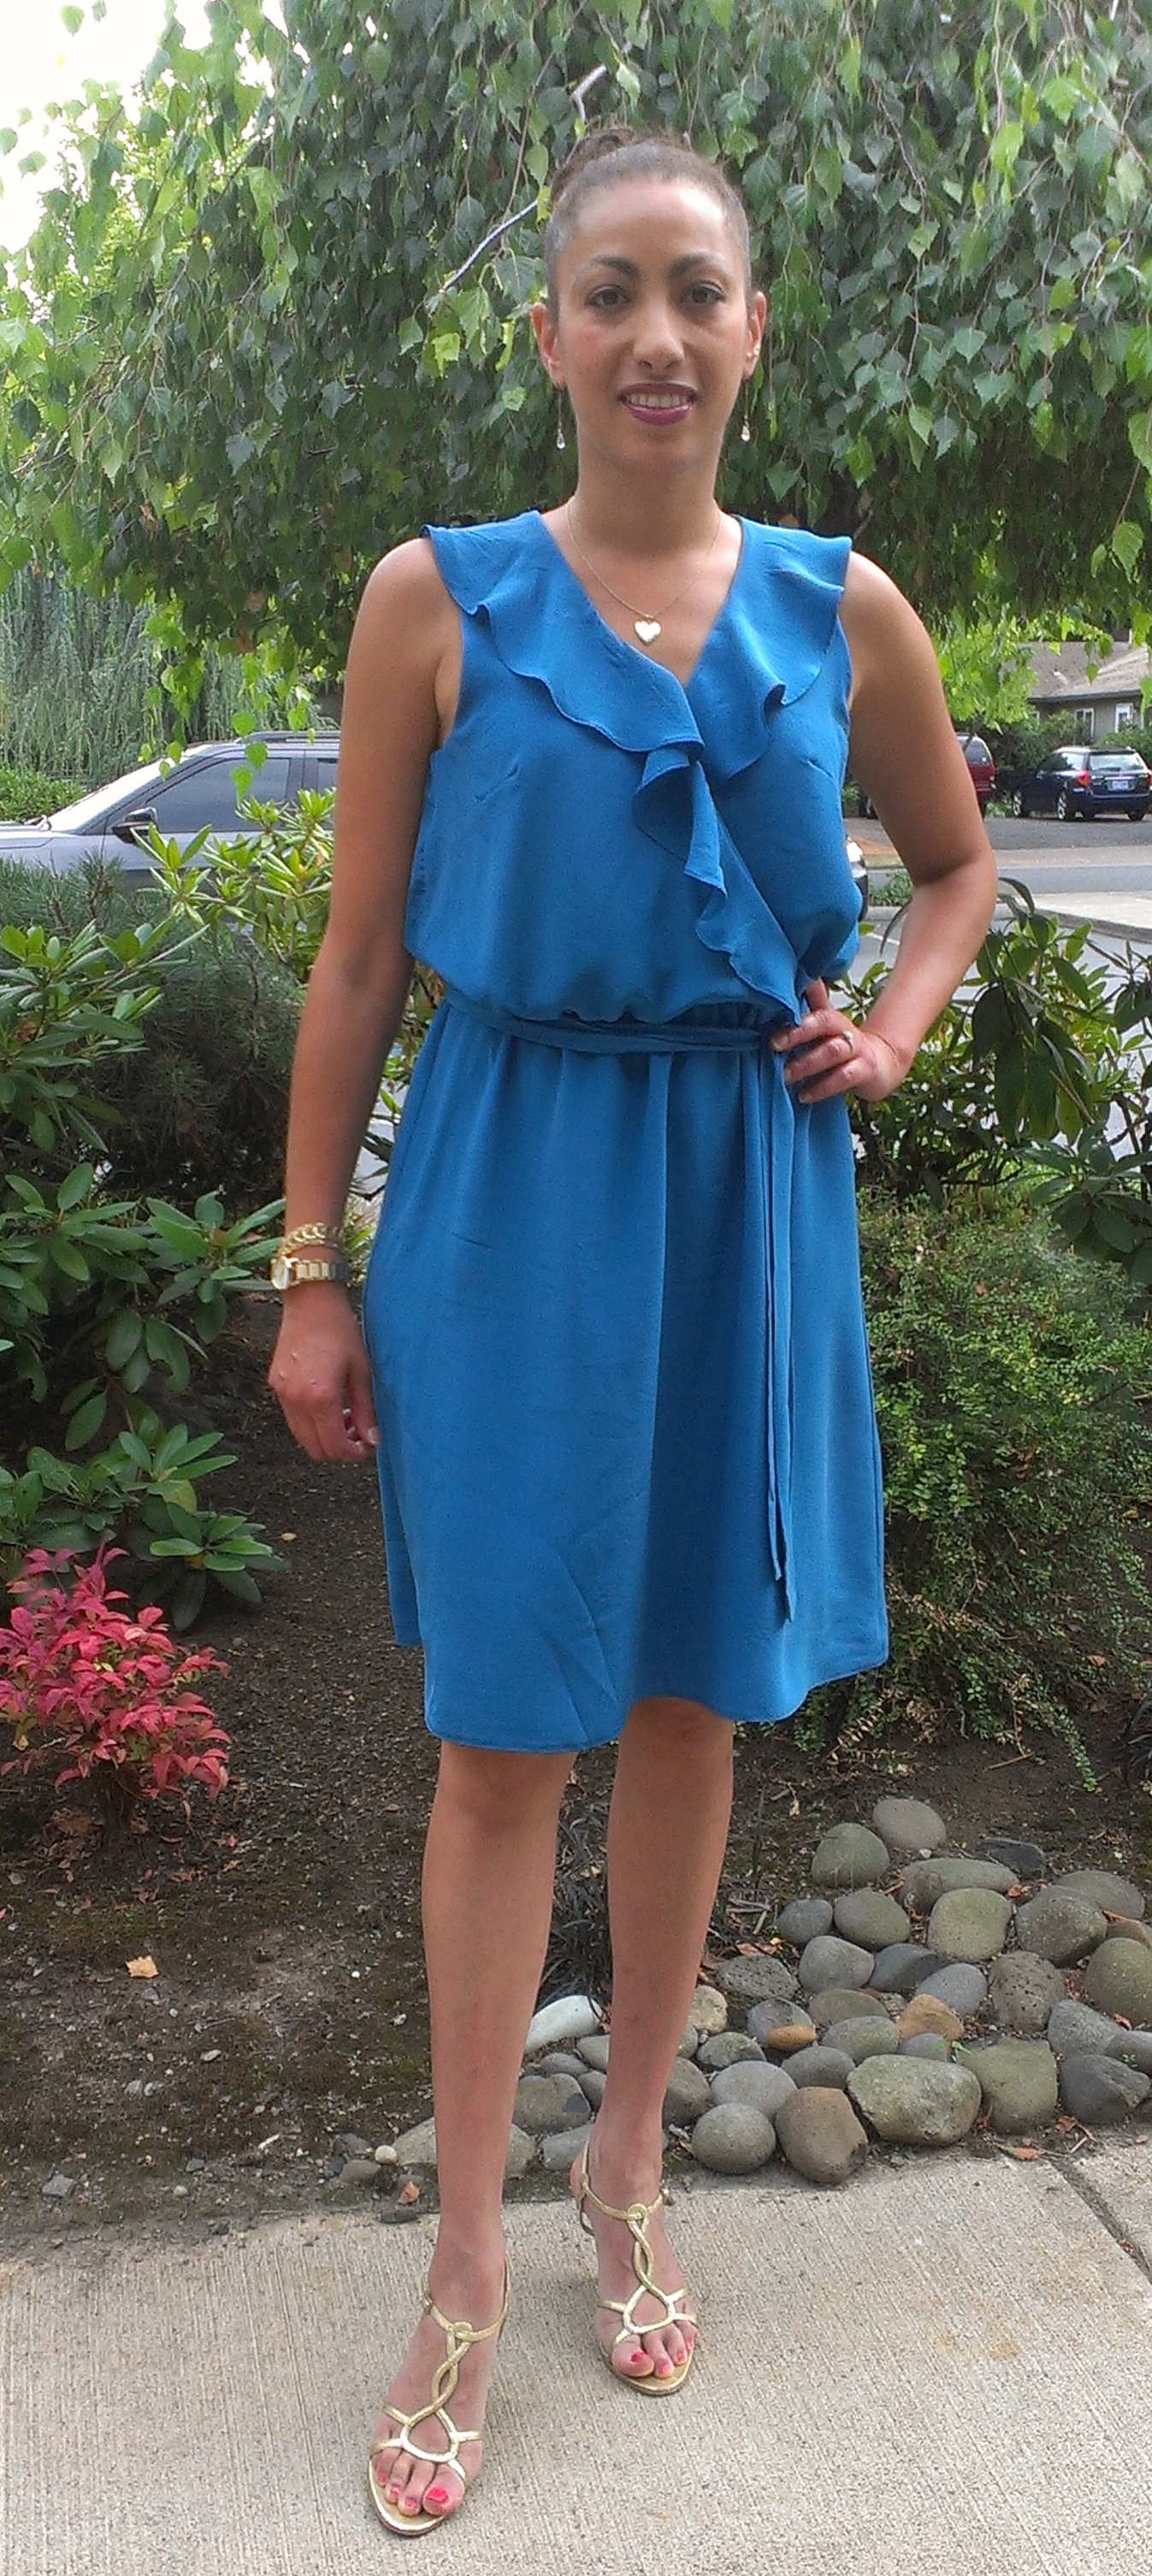
    I am very pleased with my new casual dress and will wear it often! I might even make this up again in other colors and fabrics.

    Yay for sewing! How I love you so!

  • Silk Bias Drape Cowl Top in Burgundy Charmeuse

    OLYMPUS DIGITAL CAMERA

    This top incorporates a few of my favorite things in this world: silk, wine and pretty clothes.

    I sewed up this top on Saturday morning into the afternoon to wear out to the fashion show at the tents of FashioNXT in Portland. Here I am with my good friend, Deborah, and also Anne, enjoying the evening of fashion and beauty:

    IMAG3061                        IMAG3062

    I wanted to wear something that I have made to this event, as I usually do like to do, but ran out of time to make a cool dress or other outfit. Even when I say to myself, “OK, next fashion show, a year from now, I want to wear something really great that I designed and sewed.” But I never seem to have the time to make something really awesome and unique. After all, this annual show features emerging and established fashion designers, including Project Runway winners and contestants.

    I had this beautiful red wine colored silk charmeuse yardage in my stash, plus have made this top pattern a few times now, so I knew it would be a fast and easy, yet a beautiful and elegant, project to make.

    I used McCalls 6563 pattern, modifying it by using the drape neck top of view D and the bottom and shaped hem of view A or C. I actually lower the back of the hem a tad to add a little extra coverage in the back side. So, side I changed this pattern more than 50%, can I call it my own? I kind of think YES!!!

    I need to make more of this pattern, and in multiple sizes, fabrications and colors and prints. SOLD!!! I’d even like to drape this into a halter top version of this cowl neck, OOOHHHH! Pretty 🙂

    It took about 4 hours to make, including cutting out on the bias grain, making French seams, hemming the armhole and hem with a narrow hem, and pressing the seams carefully. I skipped hemming the inside of the cowl for the sake of time.

    I always love a cowl neck too, so pretty and flattering. Here are some inspiration photos of similar tops I have pinned on my Pinterest board about tops:

    519c0a78a910f607efc020c03d613d2d

    47e6c18a3b0dbdcd32c4255dc82288eb

    So, for a quick and easy project, I am pleased with the results and want to make more of these silk beauties, in as many colors as possible:

    OLYMPUS DIGITAL CAMERA

    OLYMPUS DIGITAL CAMERA

    OLYMPUS DIGITAL CAMERA

    Carry on….

  • Silk Crepe Blouson Top New Look 6303


    OLYMPUS DIGITAL CAMERA

    I just completed this lovely purple silk crepe crossover blouson top from New Look 6303 pattern.  I just love the style of this top as I have seen on Pinterest several times and have pinned a few to my “Sew Love-Tops” board:

    57c944ff29dda8fb6dba4ca1ad29ba15

    e737c2c13a9eec9dbec4e4bf5836c8b7

    04786d4e001bd7f7d0896c1804b36699


    This was a fast and fairly easy sewing reject, after I lengthened the sleeves 3″ and left out the neck binding. I also did not tack the center front edges, but may go back and do this to keep the top closed, or add the neck binding. as included in the pattern, or make up another version of a binding.

    I made the side, shoulder, arm and armhole seams all French seams to prevent fraying and to make it pretty on the inside too.

    The top features a nice center back pleat and a longer back hem:

    OLYMPUS DIGITAL CAMERA

    This top even looks nice on the dress form:

    IMAG3038                  IMAG3036

    I love my new top, especially the color!

    OLYMPUS DIGITAL CAMERA


    If I make it again, which will be likely (although it takes up a whopping 3 1/4 yards 45″ wide fabric (2 1/4 60″ wide!), I will probably also make a change to the neckline and make it just a straight angle from the shoulder, or add the binding and make a tie closure.

    Either way, this is a great pattern and I even like the sleeveless version view D as well.


  • Silk Striped Fit & Flare Dress

    Vogue 1348 in striped silk dupioni
    Vogue 1348 in striped silk dupioni

    I needed a new dress to wear to our friend’s wedding, and decided that I wanted a cute fit & flare style, so I bought Vogue 1348 Tom & Linda Platt designer pattern to make:

    I found this lovely blue, grey and black striped silk dupioni (or shantung, I can never quite tell the difference) and got to work.

    I chose to not make a muslin mock up and just went for it, cutting out the size that was closest to my body measurements. It turned out OK, but due to lack of time (I was literally sewing up until the very last minute!), I was not able to do more fitting in the process and the dress came out a little large on me, but certainly wearable.

    I used all silk materials for this dress including the silk dupioni outer dress fabric, black silk organza for the underlining, silk habotai for the lining, and a lovely dot printed Italian silk organza material from Mood Fabrics for the petticoat ruffles.

    Italian sheer dots silk blend organza from Mood Fabrics
    Italian sheer dots silk blend organza from Mood Fabrics used for the petticoat

    The pattern pieces for this dress are a little different from what I have ever made before, but they make sense once the construction process gets underway.

    The front of the dress, bodice princess seams and all, is cut out of one piece, cut on the fold of the fabric, and the back is one piece, cutting 2 and sewing a center back invisible zipper.

    Here is a photo of the basting process of adding the underlining to the bodice and making the princess seams:

    IMAG2936           IMAG2937 IMAG2938               IMAG2939

    Making the pleats was the next major step. This was not too difficult to do, as long as the pattern marking are done well and the instructions are carefully followed.

    IMAG2943           IMAG2944 IMAG2945

    The invisible zipper is then installed in the center back seams:

    IMAG2948           IMAG2949           IMAG2952

    Then the pockets are sewn to the side seams:

    IMAG2951

    The tricky part with the pockets that are incorporated into the side seam and a pleat is getting the pleat just right from the back as well as the front sections of the dress. Carefully marked pattern symbols and lines really make a difference in this area. I had just done tailors tacks with thread, but really should have used tracing paper and the tracing wheel for the pleats to make the line and dot matching much easier. I managed to get through it though without too much difficulty.

    IMAG2951

    IMAG2953              IMAG2955

    The facing and lining pieces are next:

    IMAG2956

    The, the petticoat is made from two rows of long pieces of organza gathered and sewn together, then sewn to the bottom of the lining material. I stared really running out of time at this point, so the photos had to stop and the sewing took precedence!

    I made a few shortcuts as well and had no time to hand stitch the back of the lining to the zipper, nor did I add the strip of lace to the hem of the dress.

    All in all, the dress came out cute, but not as fitted as I would like (I’ll go back and take in the side seams a bit for a closer fit through the waist. Plus it was a little puffier than I would have liked, but that is the nature of a pleated dress with a ruffled petticoat I suppose!

    The wedding was really fun and I got a lot of compliments on my dress, so another successful dress project in my opinion!

    IMAG2960                           IMAG2963

  • Luxe Silk Kimono Robe

    IMAG2929

    I just completed and delivered the silk kimono robe I made for my good friend and bride-to-be. It turned out to be quite nice and luxurious! It took me much longer than I had anticipated, but I was able to crank it out in time for her to wear it while she gets ready for her wedding day on Friday.

    I used Vogue 8888 pattern to make this.

    Vogue 8888 pattern

    For the most part, it was a very good pattern to follow, although a good amount of pattern pieces (10-11 depending on the finished results), and using a very slippery, yet luxurious silk charmeuse, purchased at Mill End Store in 2013, cutting out and sewing was challenging.

    Also there was a good amount of hand sewing to do. The entire shawl collar interior seam is slip stitched by hand, which took a long time:

    slip stitching of collar interior by hand
    hand slip stitching the interior of the shawl collar

    I was not entirely happy with the seaming of the pocket opening as well as the pocket bag. I am not 100% sure I sewed it all correctly as the pattern instructions and illustrations were a bit vague and lacking for these steps, so I had to wing it and make an additional mock flat felled seam (or a mock french seam, I’m not sure what I did, I just made it work!) in order to hide the raw edge and prevent future fraying. I just tucked in the raw edges, pressed, and stitched them down inside.

    IMAG2902
    made up step of tucking in and stitching raw pocket edges.

    The pattern instructions have you just sew the pocket bag front and back together in a single straight stitch. I felt that this was not enough for a pocket as there tends to be wear and tear on a pocket interior, so I opted to sew the pocket seam around, then fold in the seam allowances in on themselves, pressed carefully and painstakingly, and make a mock french seam or mock flat felled seam. Whatever it was, it reinforced the pocket bag seams and hid the raw edges. Vogue could have done much, much better here in my opinion. No photo, I’m sorry.

    I also made up a French seam technique for the armhole seam as Vogue has you just make a single flat seam for the armhole. Again, raw edges and fraying will be present here, and I was not about to pink, serge or zig-zag the lovely silk seams (cheating IMO), so I made my own French seam for the body/sleeve seams.

    I am pleased that Vogue made the effort to make the side and underarm seams of this robe French seams in the instructions, but I am disappointed in the fact that the armhole seams and pocket bag seams are just regular, single stitch seam and raw edge will be seen. So I did the right thing and made French seams where ever I could.

    More hand work making the thread loop to help hold and guide the robe sash ends. I was going to skip this step of making the thread chain loop, but felt the robe in silk really needed this additional holder and guide, as the silk fabric is so slick and slippery and will certainly fall open with wear, weather intended or not 😉

    IMAG2921 IMAG2922

    The interior ties will also help hold the robe closed:

    interior tie strings
    interior ties of robe

    The back of the robe is nice too, smart to have the sashes attached so they don’t get lost and don’t slip around too much:

    Vogue 8888 back
    Back of silk robe with attached sashes.

    Side view of the completed robe showing the pocket, sash, side loop and part of the kimono sleeve:

    IMAG2928

    I love this robe, it turned out so luxe and beautiful, and now want one made up for myself!

    Maybe when I have about 3 1/2 yards of yummy silk fabric and a month to cut and sew, I’ll do it again!

    IMAG2929

    IMAG2931

    I hope my lovely friend loves it and enjoys it for years to come!

  • Island Girl Halter Crop Top & Skirt

    Hot off the sewing machine: Crop top and skirt made from a modified version of Vogue 8184 dress pattern in a cotton “Island Girls” print from Alexander Henry Fabrics Collection.

    Island Girl crop top and skirt

    We were invited to a Hawaiian themed party, and I knew right away that I could make a quick dress or something to wear to the party.

    I also knew that the fabric store I most frequent, Mill End Store, carried this fun, colorful printed fabric with big flowers and pin-up girls (and guys too on some fabrics!) that would be perfect for a Hawaiian-themed party, so I picked up two yards and got to work.

    "island girls" printed fabric from Alexander Henry Fabrics Collection
    “Island Girls” cotton fabric by Alexander Henry Collection Fabric purchased at Mill End Store in Beaverton, Oregon.

    I chose Vogue 8184 pattern for the halter strap top and the fact that I have used this pattern twice already to make dresses and knew that the fit was good for me.

    Vogue 8184 pattern envelope
    Dress pattern I used, view E

    As I sewed the bodice and skirt of this pattern, which was a little weird sewing right into the faces and through the bodies of some of these ladies by the way,

    IMAG2873

    I realized that the top was a little short and that I probably should have lengthened the bodice an inch or so before cutting out the pattern. This problem actually had a great solution: why not just make it a crop top and skirt!

    OLYMPUS DIGITAL CAMERA

    Crop tops are so fashionable now, and if I can get the proportions just right and the skirt waist to reach high enough and the top to hit my middle at just the right place (the non-fatty, not too fleshy to show 2″ area only), this could be really cute! So I went for it.

    I had some zippers on hand that I got for free at work from our trims department (sometimes I really love my job!), and had two of the same zippers, although one orange and one pink, both the same metal zipper and pull,  that would both be perfect for this outfit so I used them for a pop of color and additional interest.

    OLYMPUS DIGITAL CAMERA

    I went forward with the simple straight skirt and made the lining of the bodice using muslin. To finish off the hem of the top, as it would normally be sewn to the top of the skirt to make the dress, I just sewed the hem of the top together to the lining before I finished the back of the top with the zipper, under stitched it, and flipped it right side out giving it a good press after each sewing step.

    Then, I essentially hand sewed the zipper into place, folding the outer and the lining into place to make the cleanest finish possible. Then a hook and eye closed the very top of the top.

    I also had to cut apart the halter strap and make it about 1 1/2″ smaller to fit around my neck, so I sewed two snaps at a good place to hold the straps closed.

    Overall, it turned out to be a really great and fun outfit for the party, plus I can wear the pieces as separates, or on a vacation to Hawaii (hint, hint), and now I can make other crop top and skirt outfits using this method for future fashions.

    Halter top & Skirt               Back of top & skirt                  OLYMPUS DIGITAL CAMERA

    Aloha!

                                                                 Halter top

  • Silk Ruffle Blouson Dress

    IMAG2658


    I completed this lovely dress just in time to wear to the wedding shower of our friend. Here is the journey of the construction of this dress.

    I chose Butterick 5744 pattern to make the feminine ruffled blouson dress in a lovely silk crepe and silk habotai lining material that I purchased at Mill End Store in Milwaukie, OR. I made view A of the pattern with the plain skirt with the double ruffle of view B.

    silk material draped on dress form
    teal silk crepe de chine draped on my dress form
    B5744
    Butterick 5744 pattern


    I was going for a pretty, feminine and romantic looking dress such as these styles:

    Tory Burch blue ruffled dress
    Tory Burch dress
    Nicole RIchie in a pretty yellow dress
    yellow dress on Nicole Richie
    Tan ruffle neck dress from Karen Millen
    Ruffle neck dress from Karen Millen
    pink blouson dress from Cynthia Rowley
    Pink blouson dress from Cynthia Rowley $330
    tank dress in peach with neckline ruffle
    ruffle neck tank dress

    So I took my pattern to the Open Sewing session held at Mill End Store in Beaverton last Saturday and was able to get some great assistance and personal fitting attention from sewing expert Elizabeth Miles. We cut out the pattern pieces, pinned the pattern tissue pieces together and I slipped it on. Elizabeth was able to fit the pattern tissue to my body.

    We decided that the pattern needed a few tweaks for the best fit. We added a bust dart and did a slight full bust adjustment, as well as added about an inch to the bottom hem of the bodice front and back.

    IMAG2537        IMAG2529


    Elizabeth was such a great help for me to fit this dress, I can’t thank her enough for her time and attention. I will be going back to that session for help on other sewing projects for sure!

    So on to the cutting and sewing of my dress.

    I added 2″ to the hem of the skirt using a chalk outline as I cut out the pattern. The chalk line is a little faint in this photo:

    IMAG2586


    And here is the lining cutting layout:


    IMAG2590


    As I sewed, I made French seams for the skirt side seams for both the dress and the lining:

    IMAG2610
    Sew a narrow 1/4″ seam wrong sides together, press flat, trim and press open
    IMAG2613
    press edges of seam flat
    IMAG2616
    right sides together, sew seam again, enclosing the first seam


    IMAG2617
    completed French seam

    All in all, I am very pleased with my finished  dress and was excited to wear it to the shower!

    IMAG2659

    ruffle neckline blouson dress in silk

    IMAG2663

    IMAG2671


  • Bright Coral Silk Tank Top

    Simplicity 1614 View B
    Simplicity 1614 View B Tank in bright coral silk charmeuse


    I cranked out this silk charmeuse tank top yesterday using Simplicity 1614 pattern. It took about 6 1/2 hours start to finish, including pattern cutting time right out of a newly opened envelope. That always means taking several body and pattern measurements, figuring out what size to cut out, and cutting out all the pattern pieces needed from the pattern tissue, as well as sewing something for the first time, so it takes a bit longer.


    IMAG2646

    I’ve been wanting to sew a bright coral orange top to wear to go with my BCBG sandals I bought two years ago for a long time! My first attempt at making a cool top was a failure, at least a fit failure for me, so I am delighted to finally have a great top to wear with these shoes, plus a whole lot more!


    back strap detail


    I like the front yoke seam as well as the back strap parts of this pattern. The pattern envelope comes with a few other views as well, and at least one other view is definitely a fun and relatively easy tank top to sew.

    I made French seams for the yoke, shoulder, side and center back seams, and made my own 2″ bias binding for the neckline and armholes, but ended up only using the binding for the neckline and just narrow hemming the armholes.

    I think this pattern has some creative opportunities as well. I may go back and do some beading, sequin or stud application to the yoke or back strap for some interest and design umph.

    IMAG2631


    Inspiration for this top is abundant. Check out some of the tops and outfits I have pinned on my Pinterest board:

    Black silk tank Eileen Fisher
    Silk tank top from Eileen Fisher for $188 at Neiman Markus

    fa46c1b995dcd9c0b8a94555d6dddb76

    0de9ffebcc94fd1b90e5b024a06c13d9

    Joie Silk Tank Top $138
    Joie Silk Tank Top $138 found at Saks Fifth Avenue


    Next time I make this tank top ( and there will be a next time), I will bring up the neckline as it is a little low, bring up the armholes, and possibly  cut the back on the fold if possible.

    Overall, for 1.5 yards of fabric, about 6 hours of my life, I am very happy with my new silk tank top!


  • Jade Green Silk/Linen Tunic Top

    Silk/Linen tunic top

    I started this tunic top at the end of Summer 2013 and got nearly finished with it until the sleeve did not fit right and the armholes were way too small, so I put it down and didn’t pick it up until this weekend. I finally finished it as I want to wear it this summer and I am trying to get through some of my UFO’s (unfinished objects) that I have started and never completed. So, I proceeded I rip out all the armhole stitches, cut the armhole opening a little deeper, and reattached the sleeve. From there, just the finishing touches of the hem was all I needed to do. Why I didn’t complete this sooner is an attest to my tendency to procrastinate and my shorter than desired attention span!

    I used McCalls 6702 pattern using the sleeve of Simplicity 2339 for a tab sleeved 1/2 placket tunic. The fabric is a lovely silk/linen blend from Mill End Store in Beaverton, OR and the little silver buttons used on the sleeve tab are from Button Emporium in Portland, OR. I was going for the look of this top I pinned on Pinterest:

    This is the style of top I was trying to copy.
    This is the style of top I was trying to copy.

    The top turned out nice, but the fit could be a lot better through the chest and the armhole. Next time, I will cut it looser in this area for ease of movement.

    Sleeve taken from Simplicity 2339 view A
    Sleeve taken from Simplicity 2339 view A
    The arm hole and chest area are still too small, but I'm going to wear it anyway!
    The arm hole and chest area are still too small, but I’m going to wear it anyway!
    Detail of buttonless 1/2 front placket
    Detail of buttonless 1/2 front placket

    I will be wearing this tunic throughout the summer and may even attempt another one as I like the ease and wearability of this tunic style. I have some more linen, some cotton voile, and even some silk fabric in my stash that I can use that will be perfect for this look.

    Jade Green Silk/Linen Tunic


    Thanks for reading! Now, back to my sewing room for the next project awaiting completion!

  • Teal Silk Cowl Neck Tank Top

    New Look 6181 as a top
    The top that was meant to be a dress.

    As much as I like how this top turned out, it was the result of a mistake that I saved.

    This top was meant to be the top part of a dress made from New Look 6181 pattern view A, the short dress:

    New Look 6181 pattern cover

    As the line drawing  of view A illustrates, the dress has a v-neckline, loose “blouson” fitting bodice, a two-piece sleeve with an open seam, and short skirt. It also has a lovely cowl-draped back. The back is the nicest part of this pattern and really should be featured on the cover of the pattern.  The back is so nice in my opinion, that it could be worn as the front for a face-flattering draped cowl neck.

    Here is the line drawing from the pattern showing the cowl back and string tie:

    New Look 6181 line drawing
    The short dress, view A with modifications, is the intended dress.

    I was inspired by some dresses I pinned on Pinterest that I wanted to emulate the look:

    DVF dress
    DVF dress
    Dress and outfit pinned from Polyvore
    Dress and outfit pinned from Polyvore
    Little blouson dress
    Little blouson dress

    I wanted a fast, easy, pretty and comfortable silk dress to wear, so I bought this pattern.

    I had some of this lovely teal green silk charmeuse in my stash I bought at Josephine’s Dry Goods last year.

    Silk fabric draped on dress form.
    Silk fabric draped on dress form.

    I decided to modify the front of the neckline of the pattern to a more curved shape to compliment the curved and draped cowl back neckline. I thought this would look better than a V-neck for this dress. So, as I was cutting out the pattern, using chalk and a curved ruler, I just drew a new front neckline right onto my fabric.

    drawing new neckline using chalk
    Drawing in new curved neckline using my chalk tool and curved ruler.

    So, plugging along, I cut out all of my pattern pieces including the front bodice, the back bodice, the skirt and the sleeves. That went pretty well….

    All set to cut out
    All set to cut out

    IMAG2391

    IMAG2392

    The cutting out and marking process was (pleasantly) surprisingly fast! Everything was going well until I was ready to sew and realized I left out a major part: I only have the front part of the skirt! I cut one skirt piece on the fold, not realizing I need two skirt pieces! ARGH!!! I did not have enough extra fabric to cut out the rest of the skirt, so the whole dress idea had to be scrapped and re-thought.

    I figured I would continue sewing the top of the dress and see how it went as just a top. I finished most of the work in about 2 hours, eliminating the back sting tie, the front neck facings and the sleeves. I cut two bias strips from the scraps of fabric for the arm holes and finished the neckline and bottom with a narrow hem.

    Although I am very disappointed in myself for not thinking ahead of time and for not realizing that I did not have enough fabric for the dress I wanted to make, the top came out pretty nice! I am pleased with the neckline change and think it looks better and mirrors the curve of the back of the top. I also like it sleeveless in this case, and am happy I didn’t add the sleeves for this top. Had I thought ahead, maybe I could have just lengthened the top all together and made it a little more flattering worn loose and untucked. Or made the dress sleeveless, having enough fabric to make the both the front and back of the skirt. But, I was not thinking ahead….at all…

    Front of top:

    rounded front neckline of silk top.
    rounded front neckline of silk top.
    Side back to top showing cowl drape
    Side back to top showing cowl drape

    I think this top looks best tucked in:

    Worn tucked in looks nice with a skirt or pant.
    Worn tucked in looks nice with a skirt or pant.
    New Look 6181 madde into a top
    Side back view of top
    New Look 6181 back
    Cowl back of top

    Or, the top can be reversed and the cowl worn in front:

    Top turned backwards, worn with cowl drape in front.
    Top turned backwards, worn with cowl drape in front.

    Overall, I am pleased with my new silk top, and chalk this up to a wearable mistake and practice for the dress version!

    The top has a lovely drape, can be work frontwards or backwards, and is a beautiful color
    The top has a lovely drape, can be worn frontwards or backwards, and is a beautiful color of teal green.