Like a beautiful breath of fresh air, Peyton came to my studio via word of mouth and brightened up my life! She is a lovely, fun & fresh young lady with long dark hair and a beautiful warm smile.

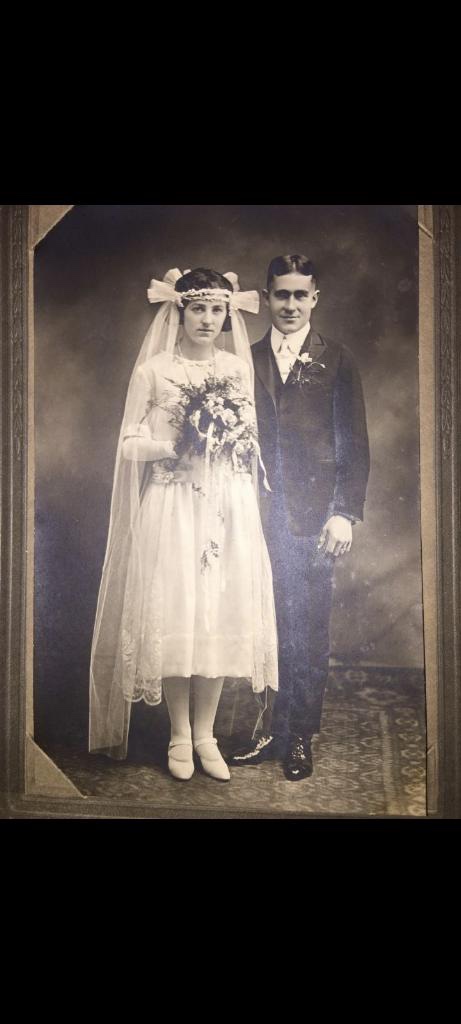
She had with her two dresses: one from her grandmother’s wedding from the 1940’s, and one that belonged to her great-grandmother for her wedding dating back to the 1920’s! There also were a couple of bridal accessories in the garment bag including sheer gloves and a detachable collar with lace edging and covered buttons. She wanted to use the dresses in some way to create a dress for her own wedding. She had been given permission from her family to use the dresses in any way that she wanted, but with the condition that she incorporate parts of the dresses into her own wedding dress.

She sent me some ideas of what she wanted for her dress: Something simple for the top, not fussy, and a tea-length skirt. Just pretty, romantic and comfortable.

The lace from the bodice of her grandmother’s dress was unusable as it was discolored and sadly disintegrating from age. The skirt, however, was in good condition and made of a nice quality silk chiffon and lined in a lightweight silk material.
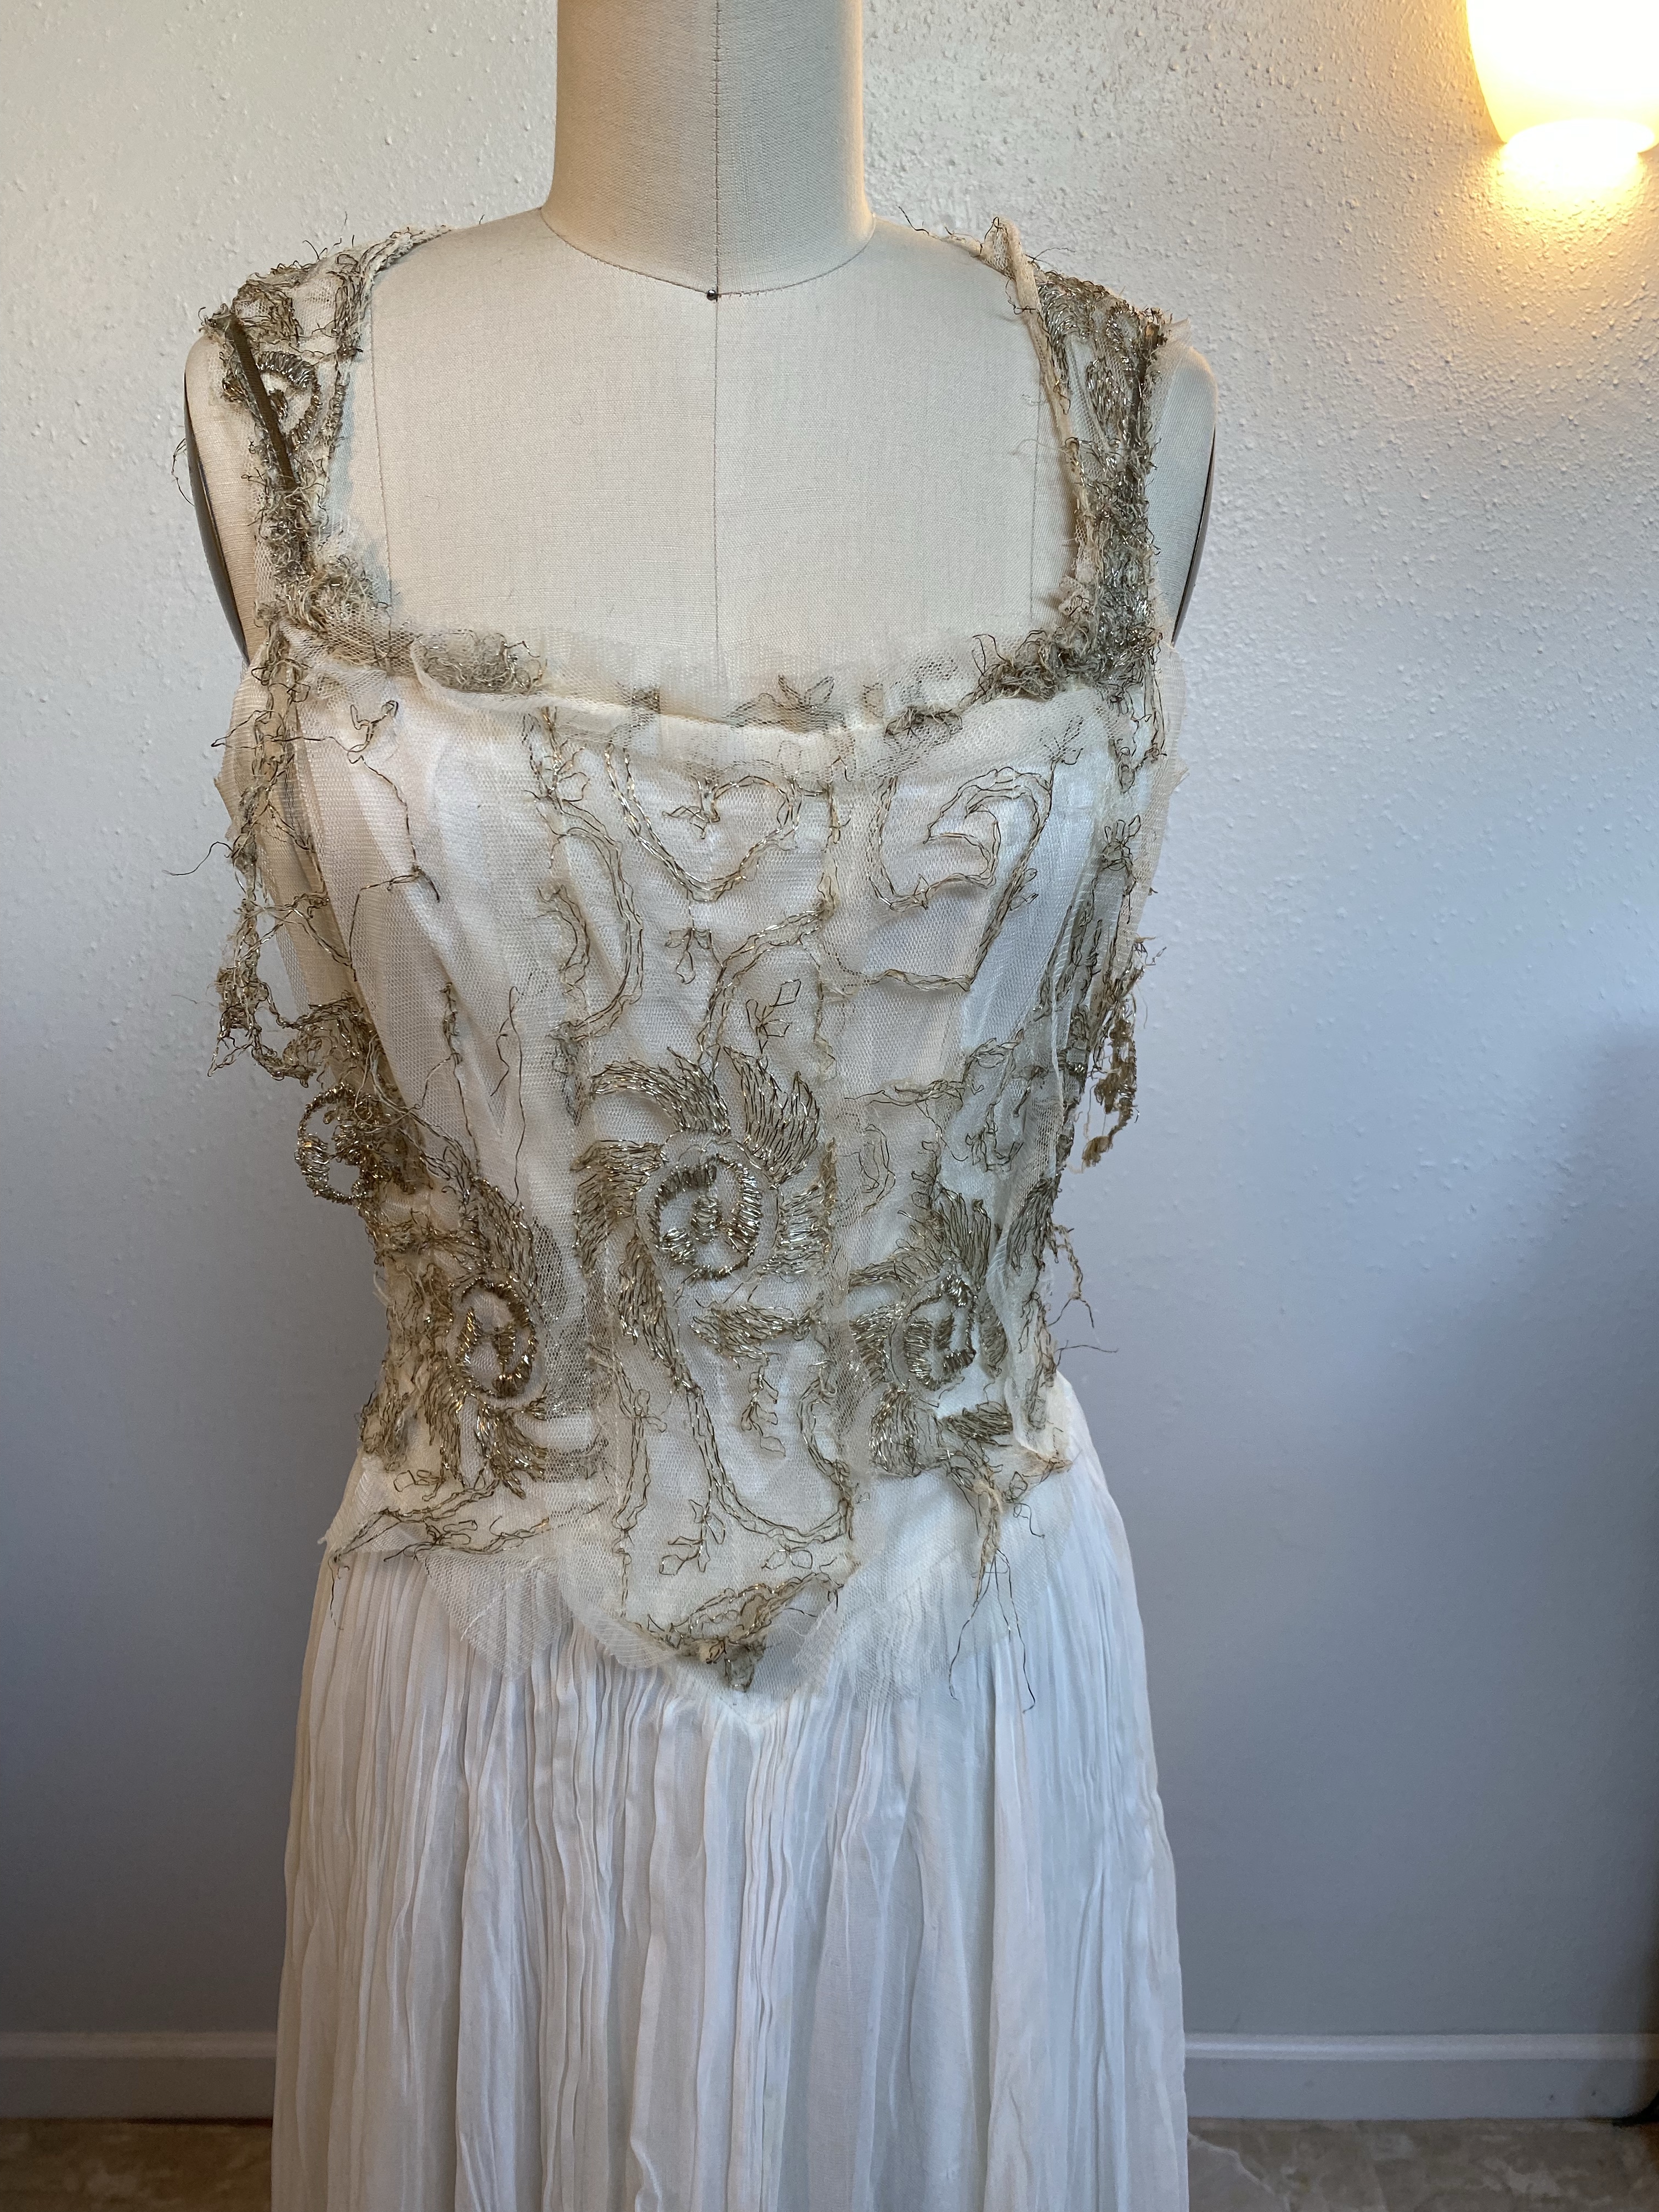


She trusted me with her heirloom dresses and I got to work deconstructing her grandmother’s dress. We decided that great-grandmother’s dress was far too discolored and not a good shade of white to use, so we left that one in-tact.
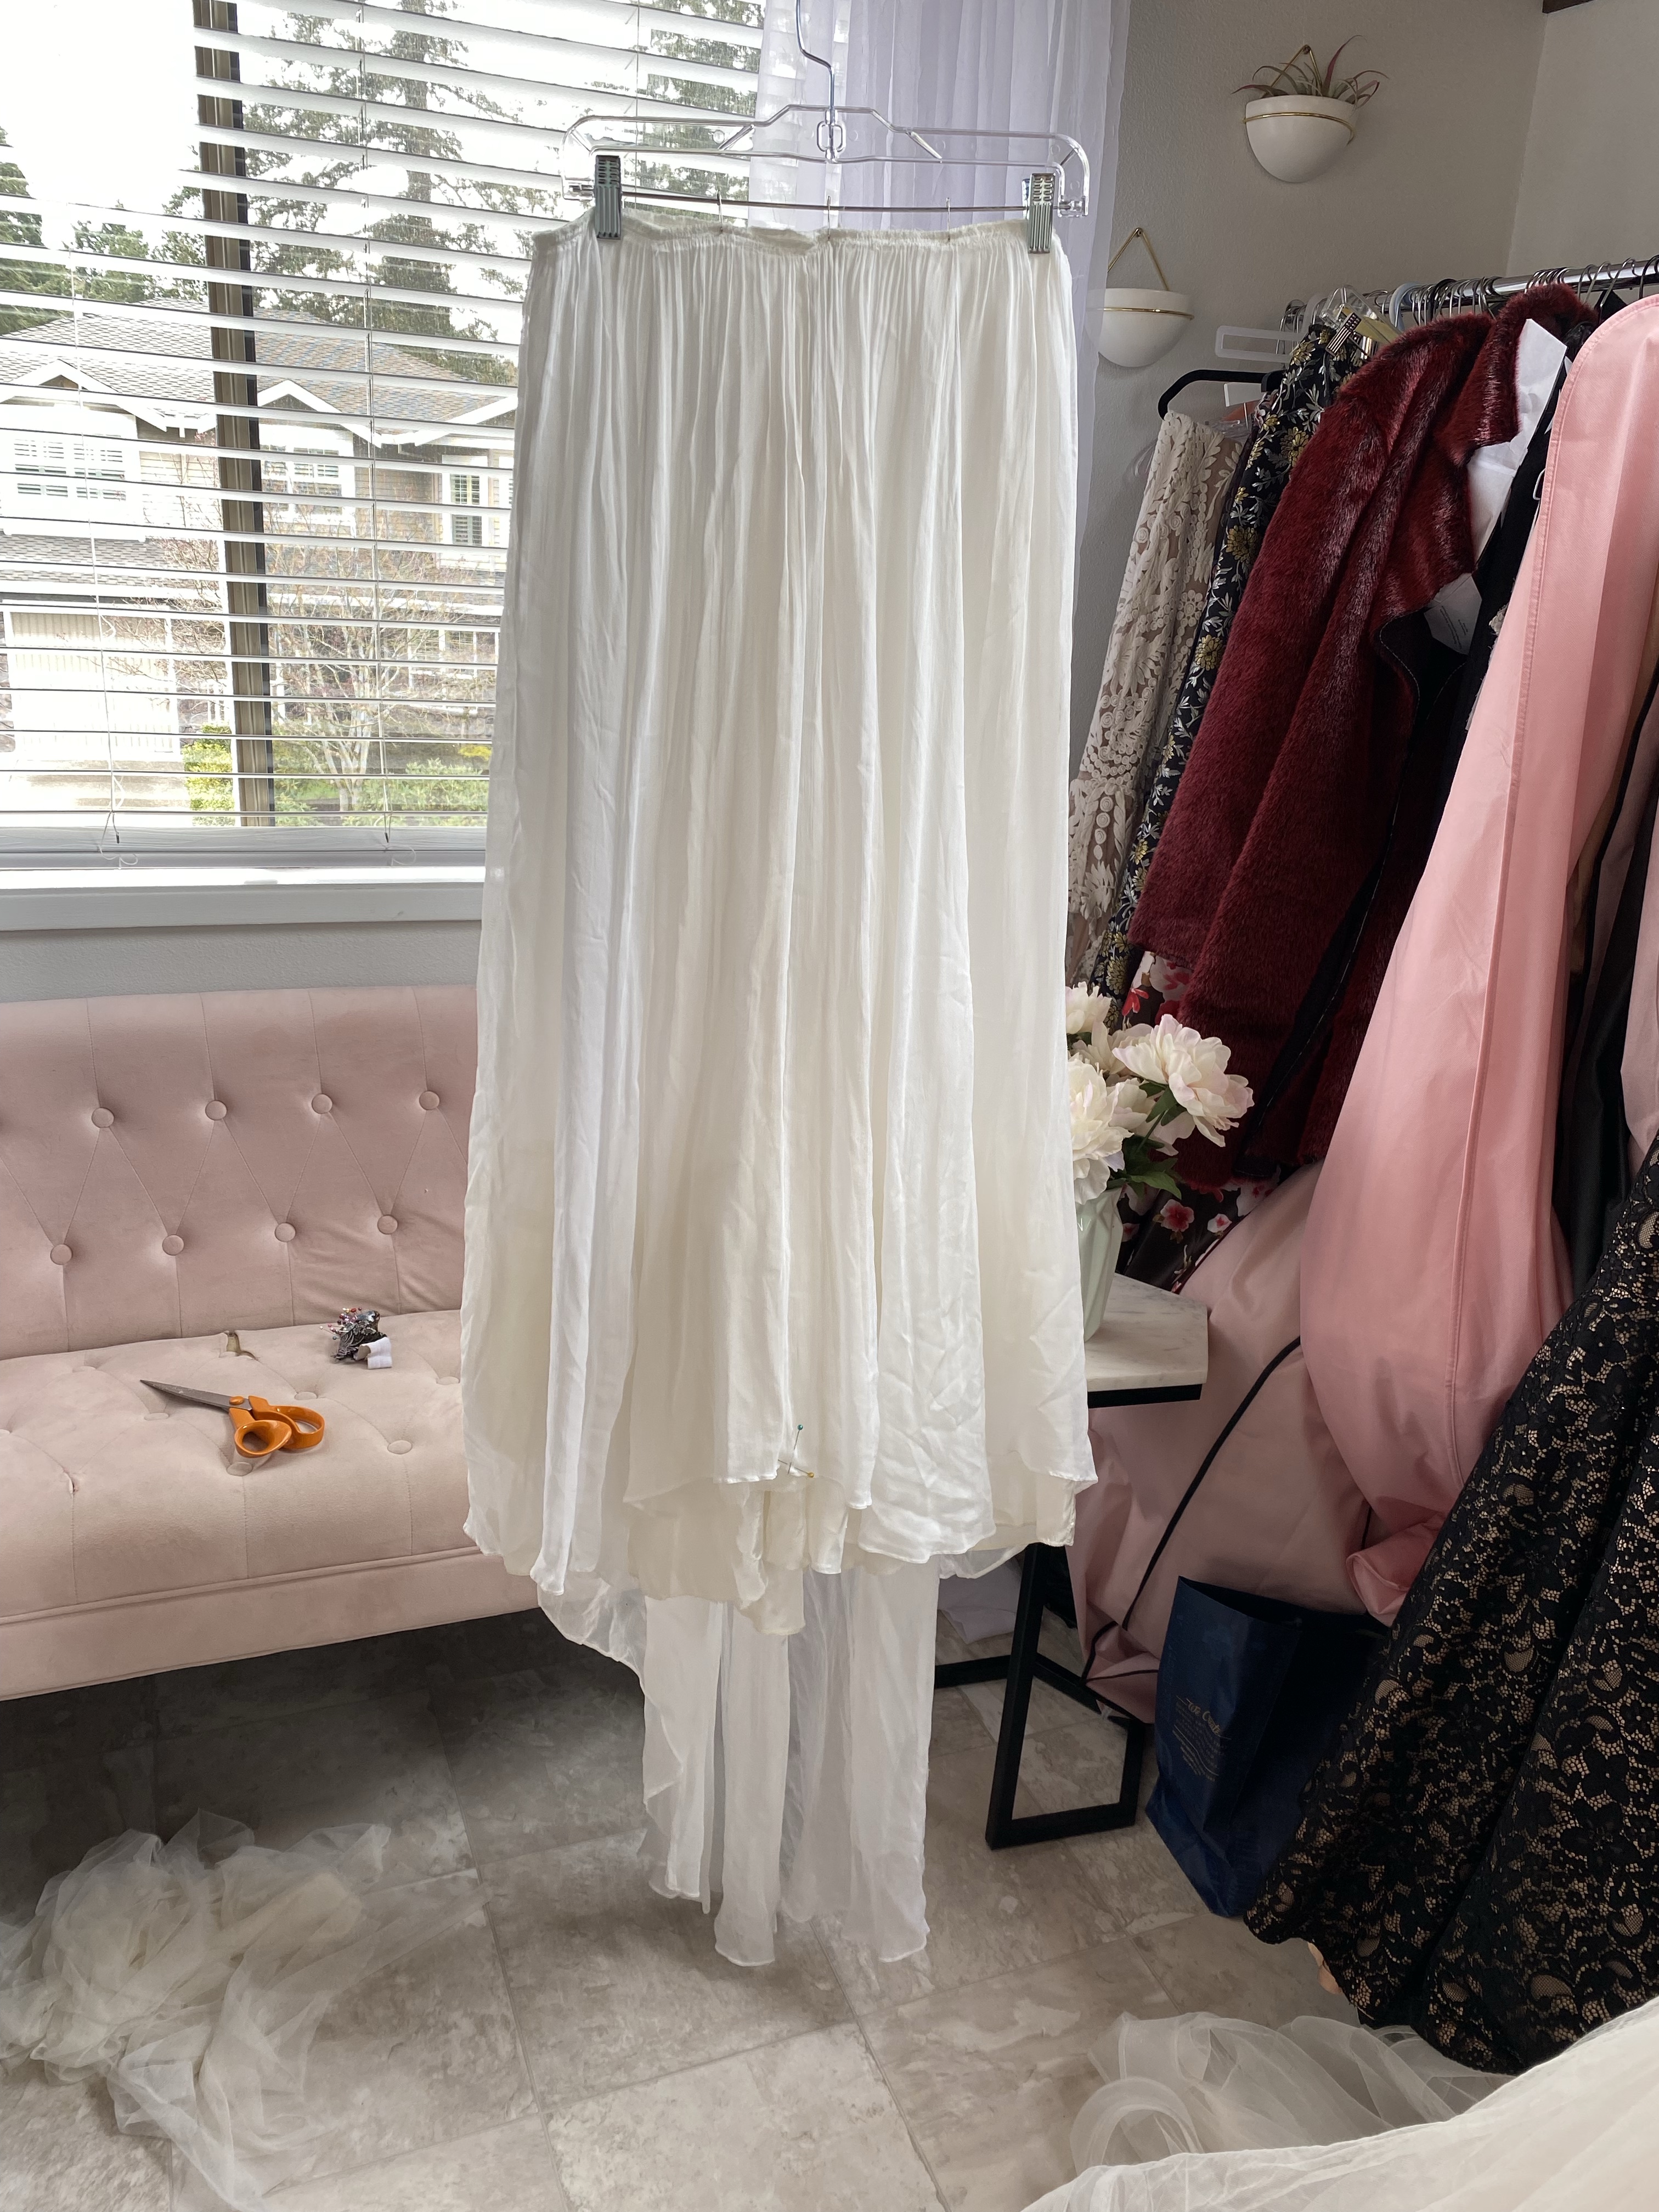
I ever so carefully removed the vintage stitches, many of them hand-sewn, separating the bodice from the skirt. Once the skirt was off, I overlocked the very top edge of the skirt to give it stability and keep it together for what was coming next for it. A bath!
I gently laundered the detached skirt in my clean bathtub in warm water with Woolite and a sprinkle of Oxyclean, gently swishing it in the suds and rinsing it out with warm water. The bath water was pretty dingy after all of these decades! After pressing out the dampness in a clean white towel, I then laid out the skirt to air dry on my drying rack.
Once the skirt was completely dry, I hung it on a skirt hanger and carefully steamed it out with my handy dandy steamer machine. I love that thing! The skirt came out like a dream! It was soft, flowy, fresh and pretty. Best of all, the wrinkles, dingy hue and “old lady” smell magically disappeared! Horray!
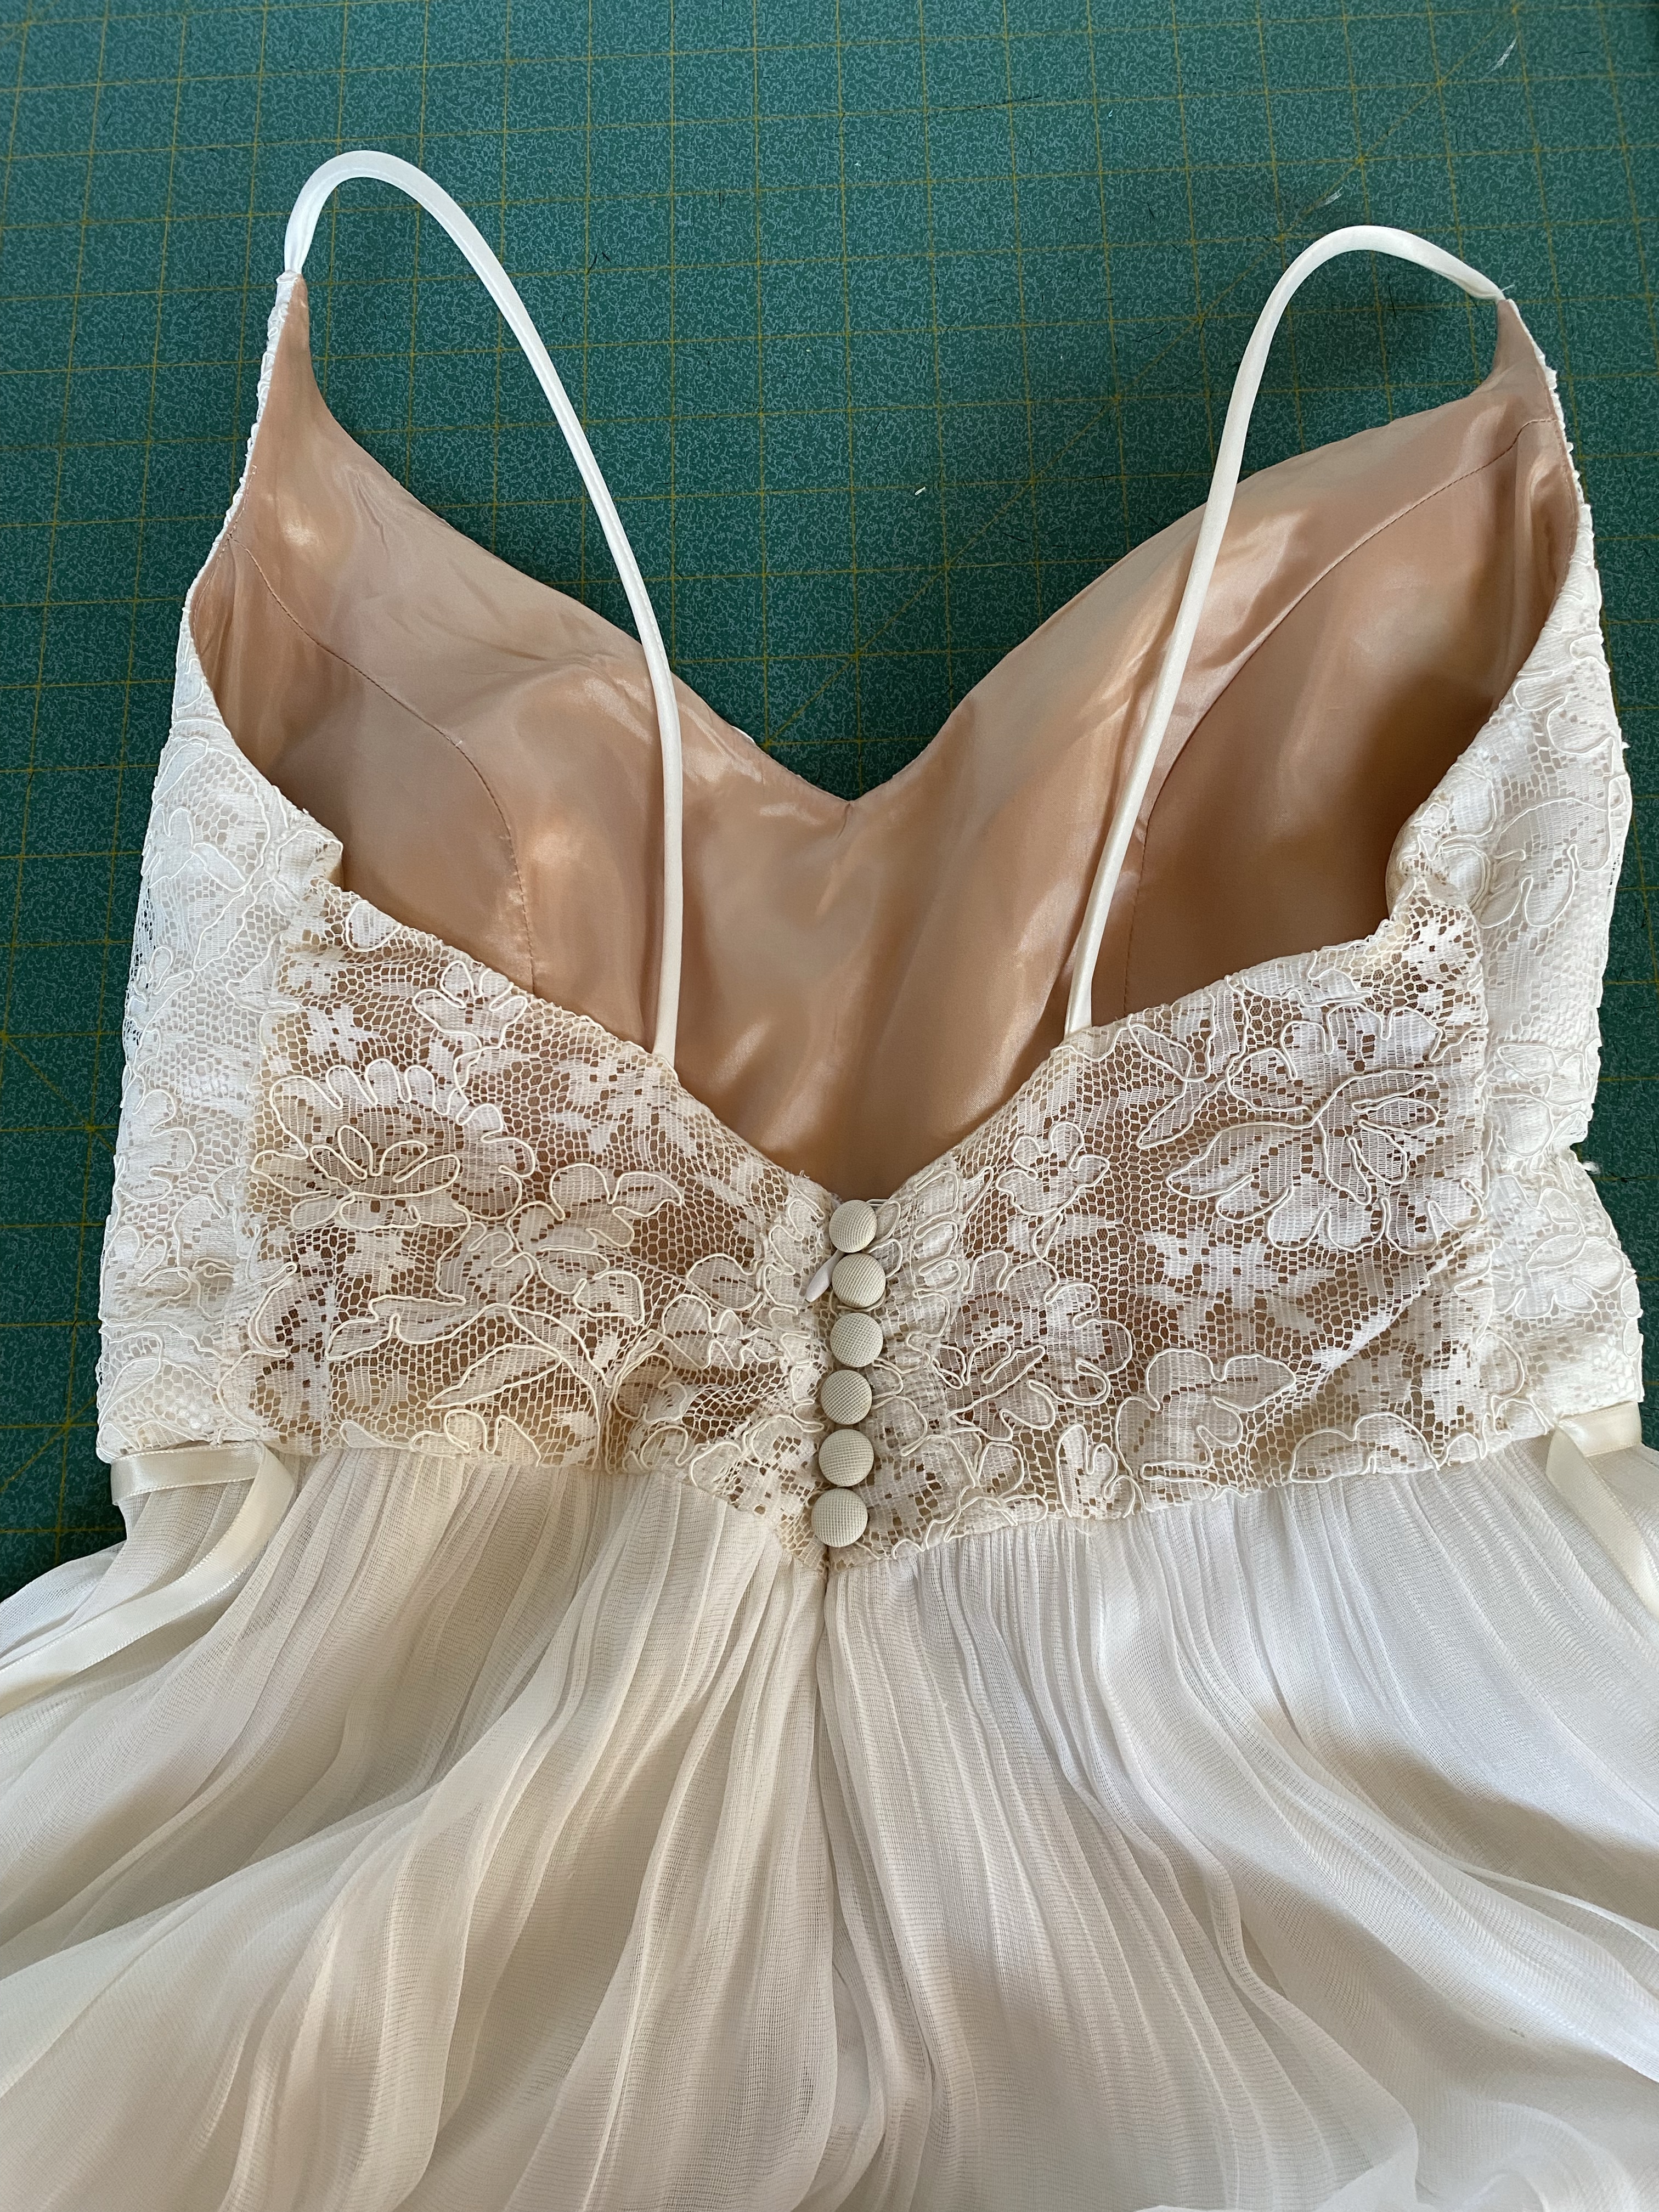
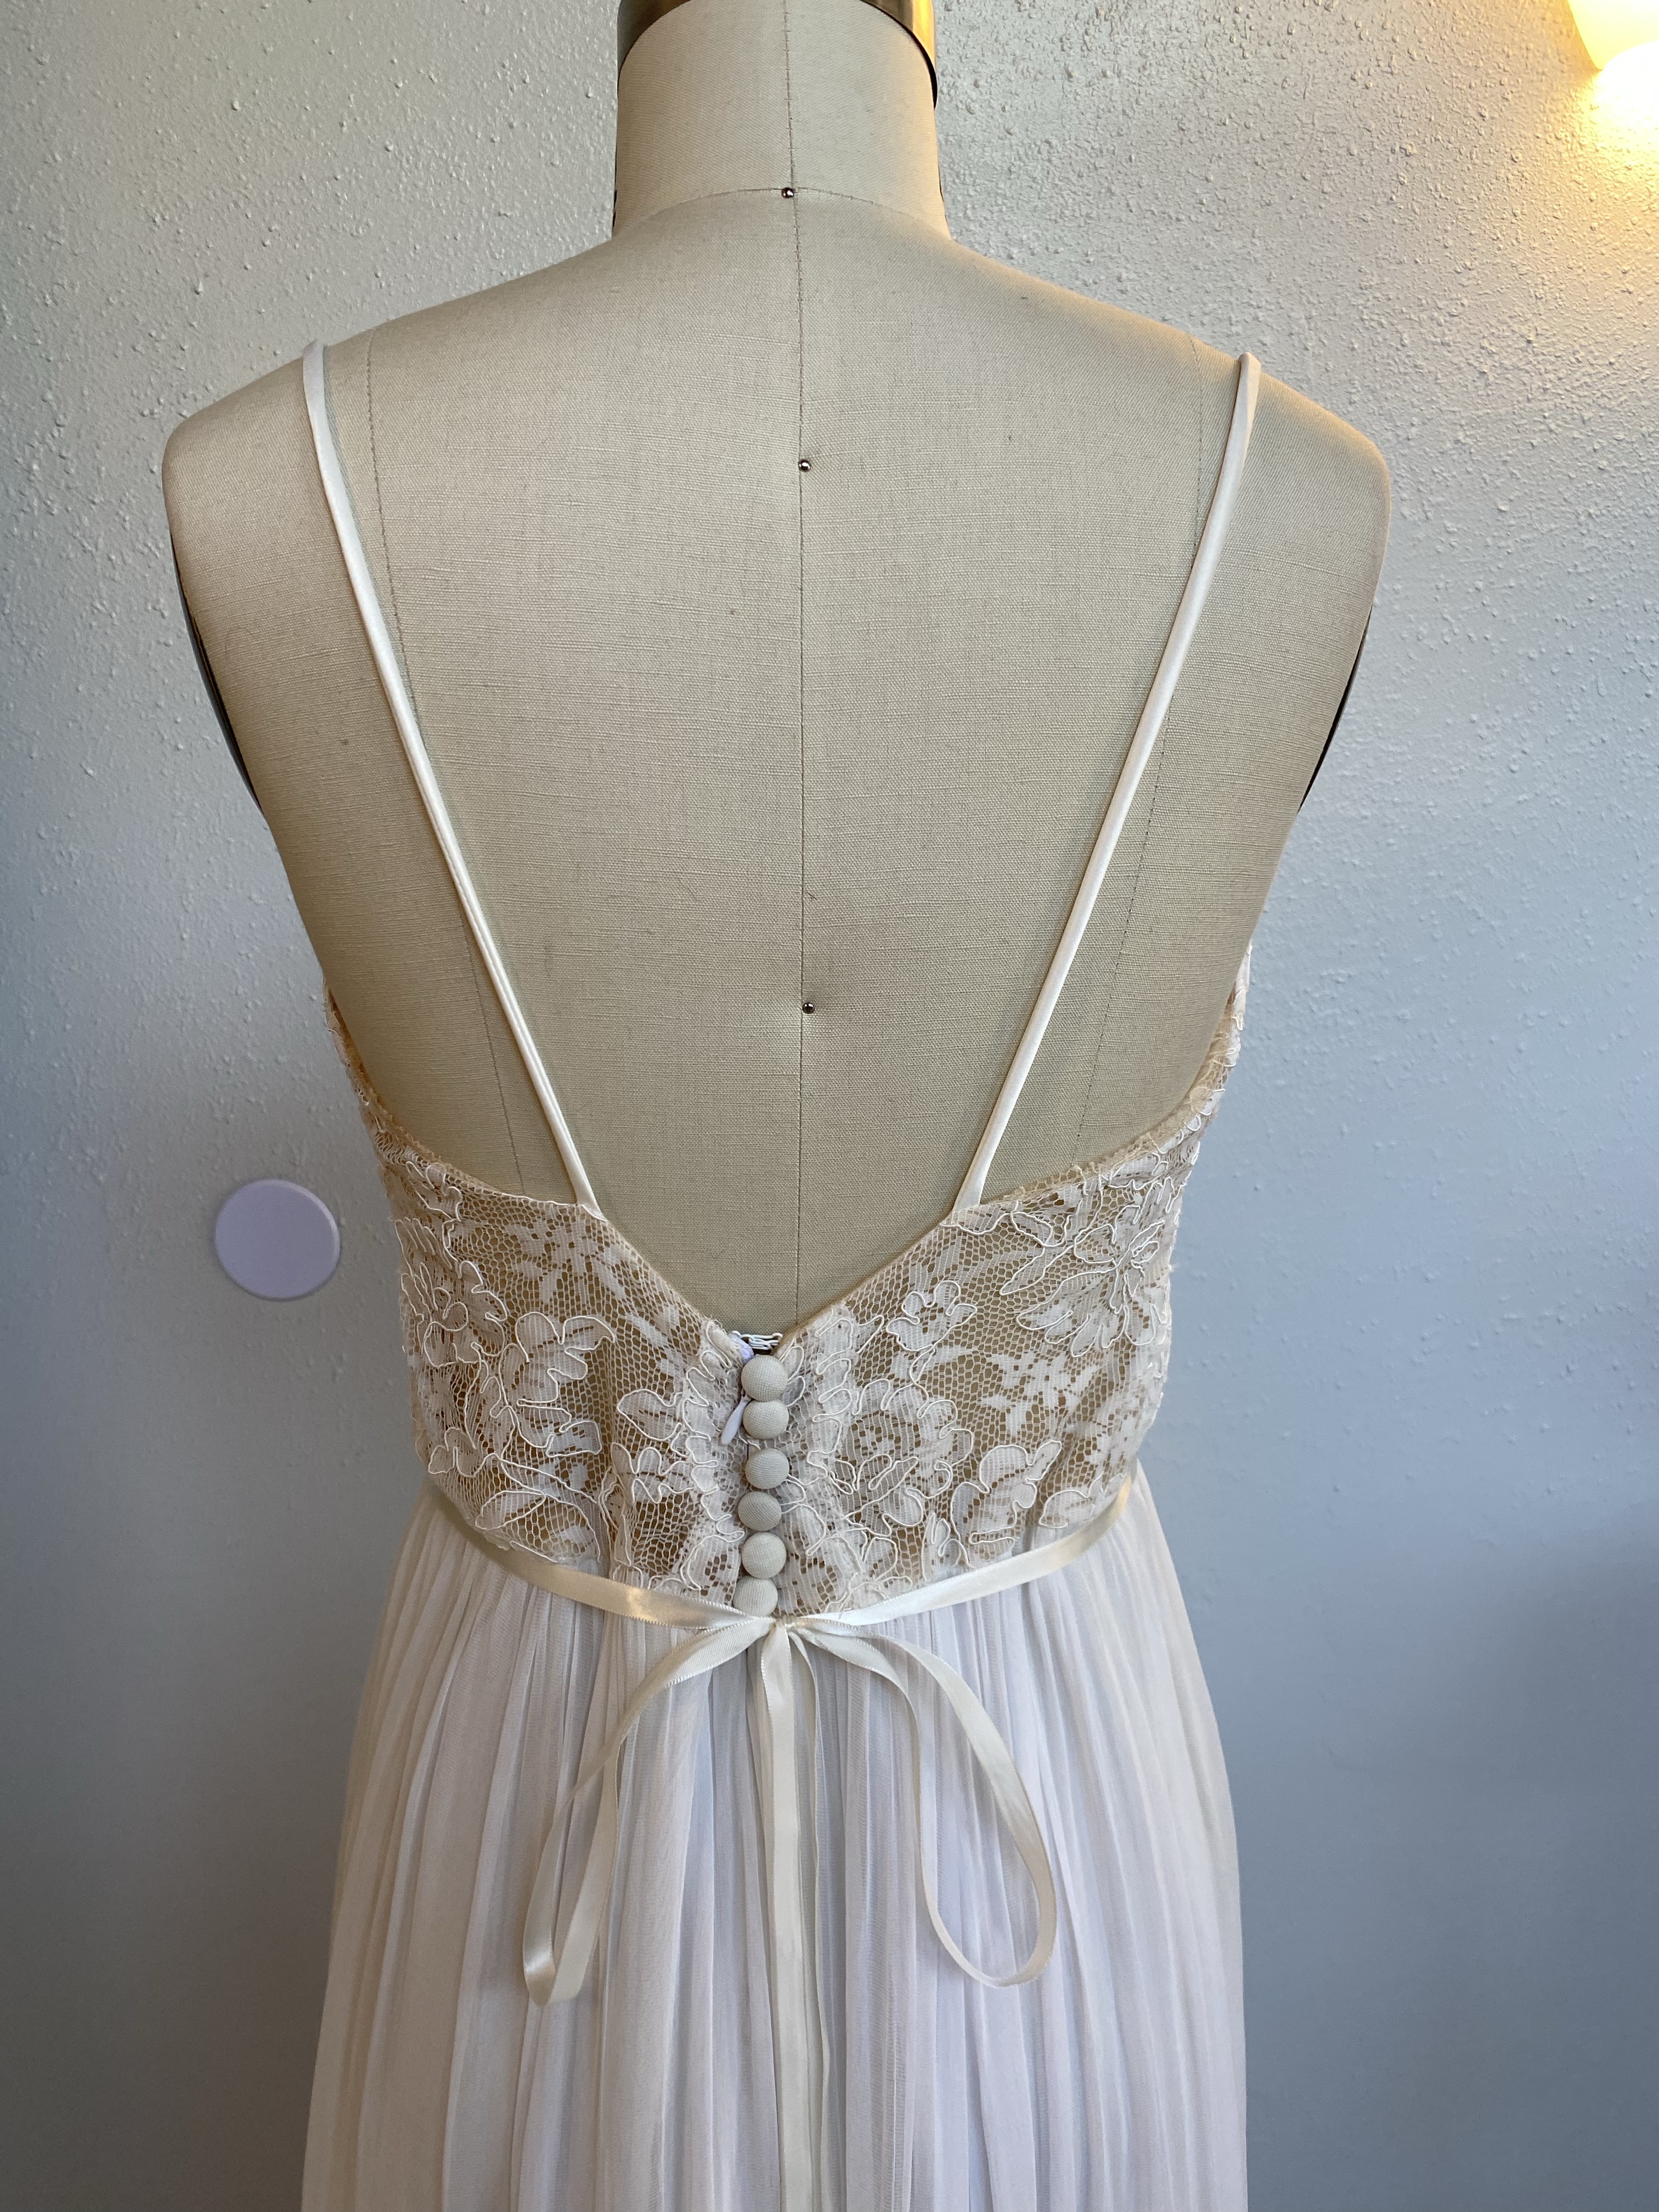
Meanwhile, Peyton had homework to do involving purchasing a new lace material that she wanted for her custom-made bodice to be attached to grandma’s skirt. She found a lovely floral lace fabric and some lining that she delivered to me to be sewn up into a fitted bodice that I had already made a muslin mock up to her liking.
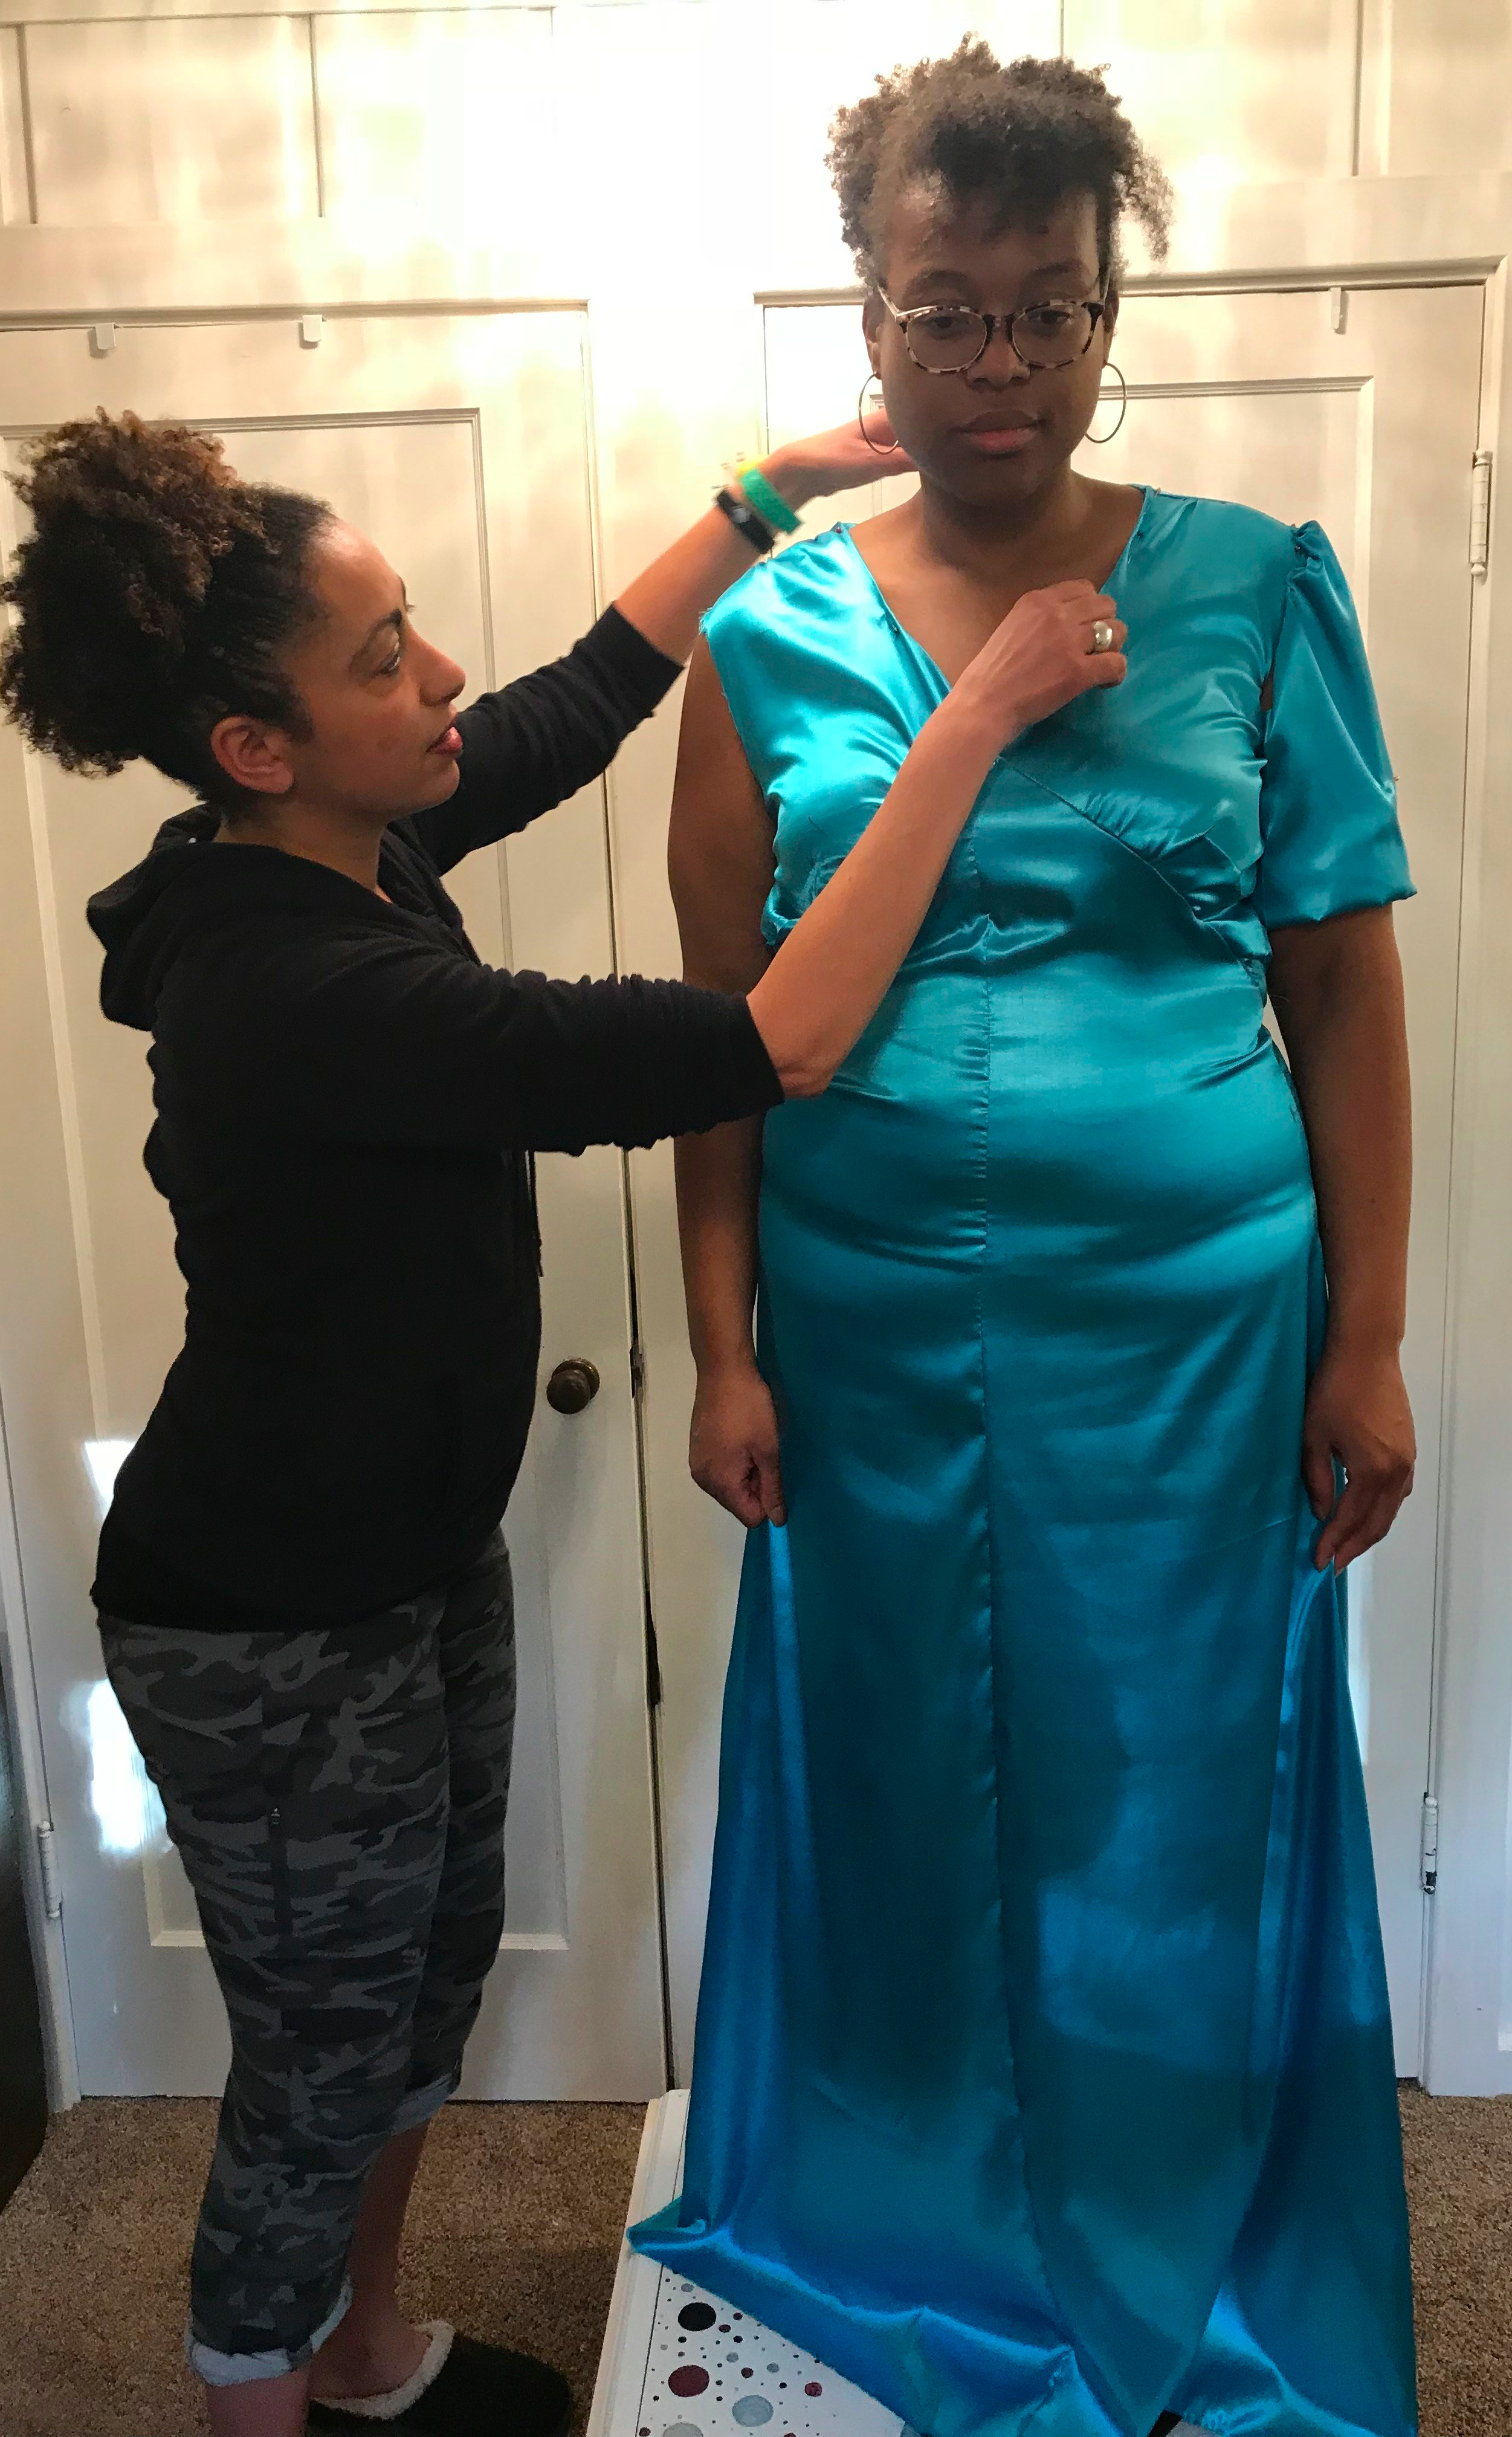
Fitting time! This is always an exciting, and totally nerve-wracking, stage in the dressmaking process. The bodice is mocked up in muslin and pinned to the skirt. So far so good!


After the fitting and approval of the work so far, I got straight into cutting out the bodice in lace and began to construct it.


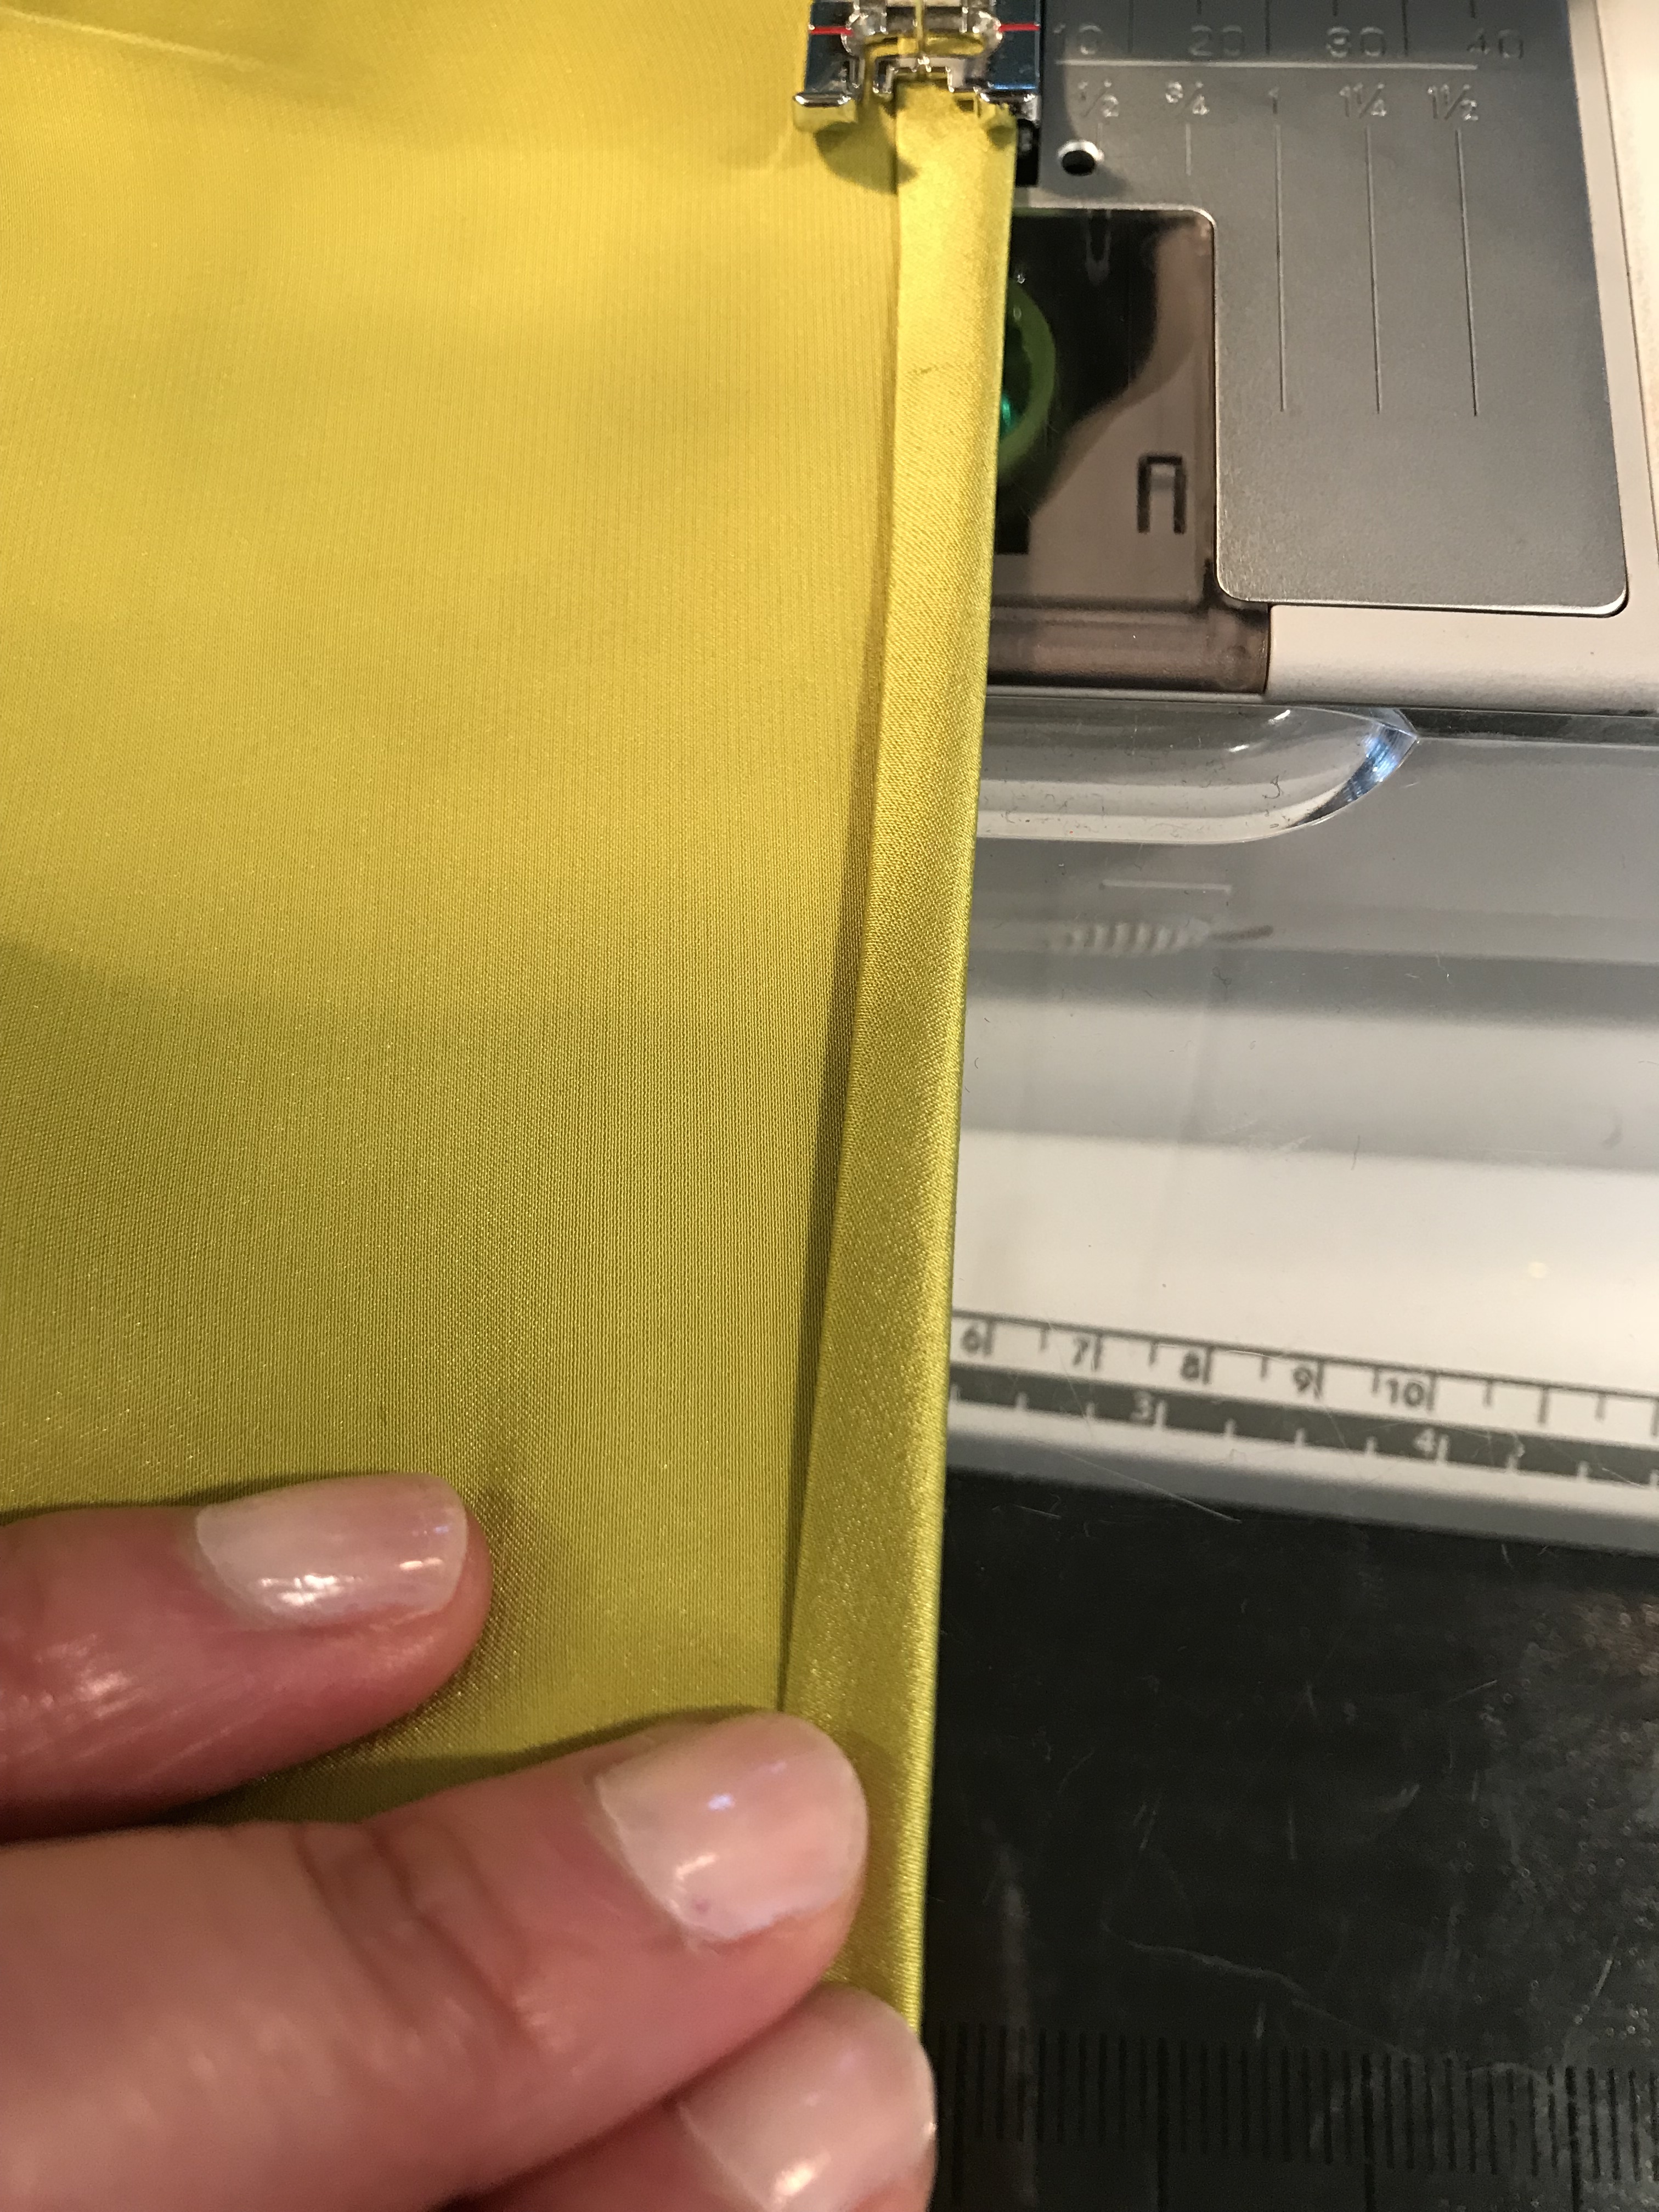
Fast forward to the dress being close to finished, I added the final touches with a new zipper, buttons from grandma’s gloves and a new little ribbon belt. I the share photos with the bride and schedule the last fittings and deadline.


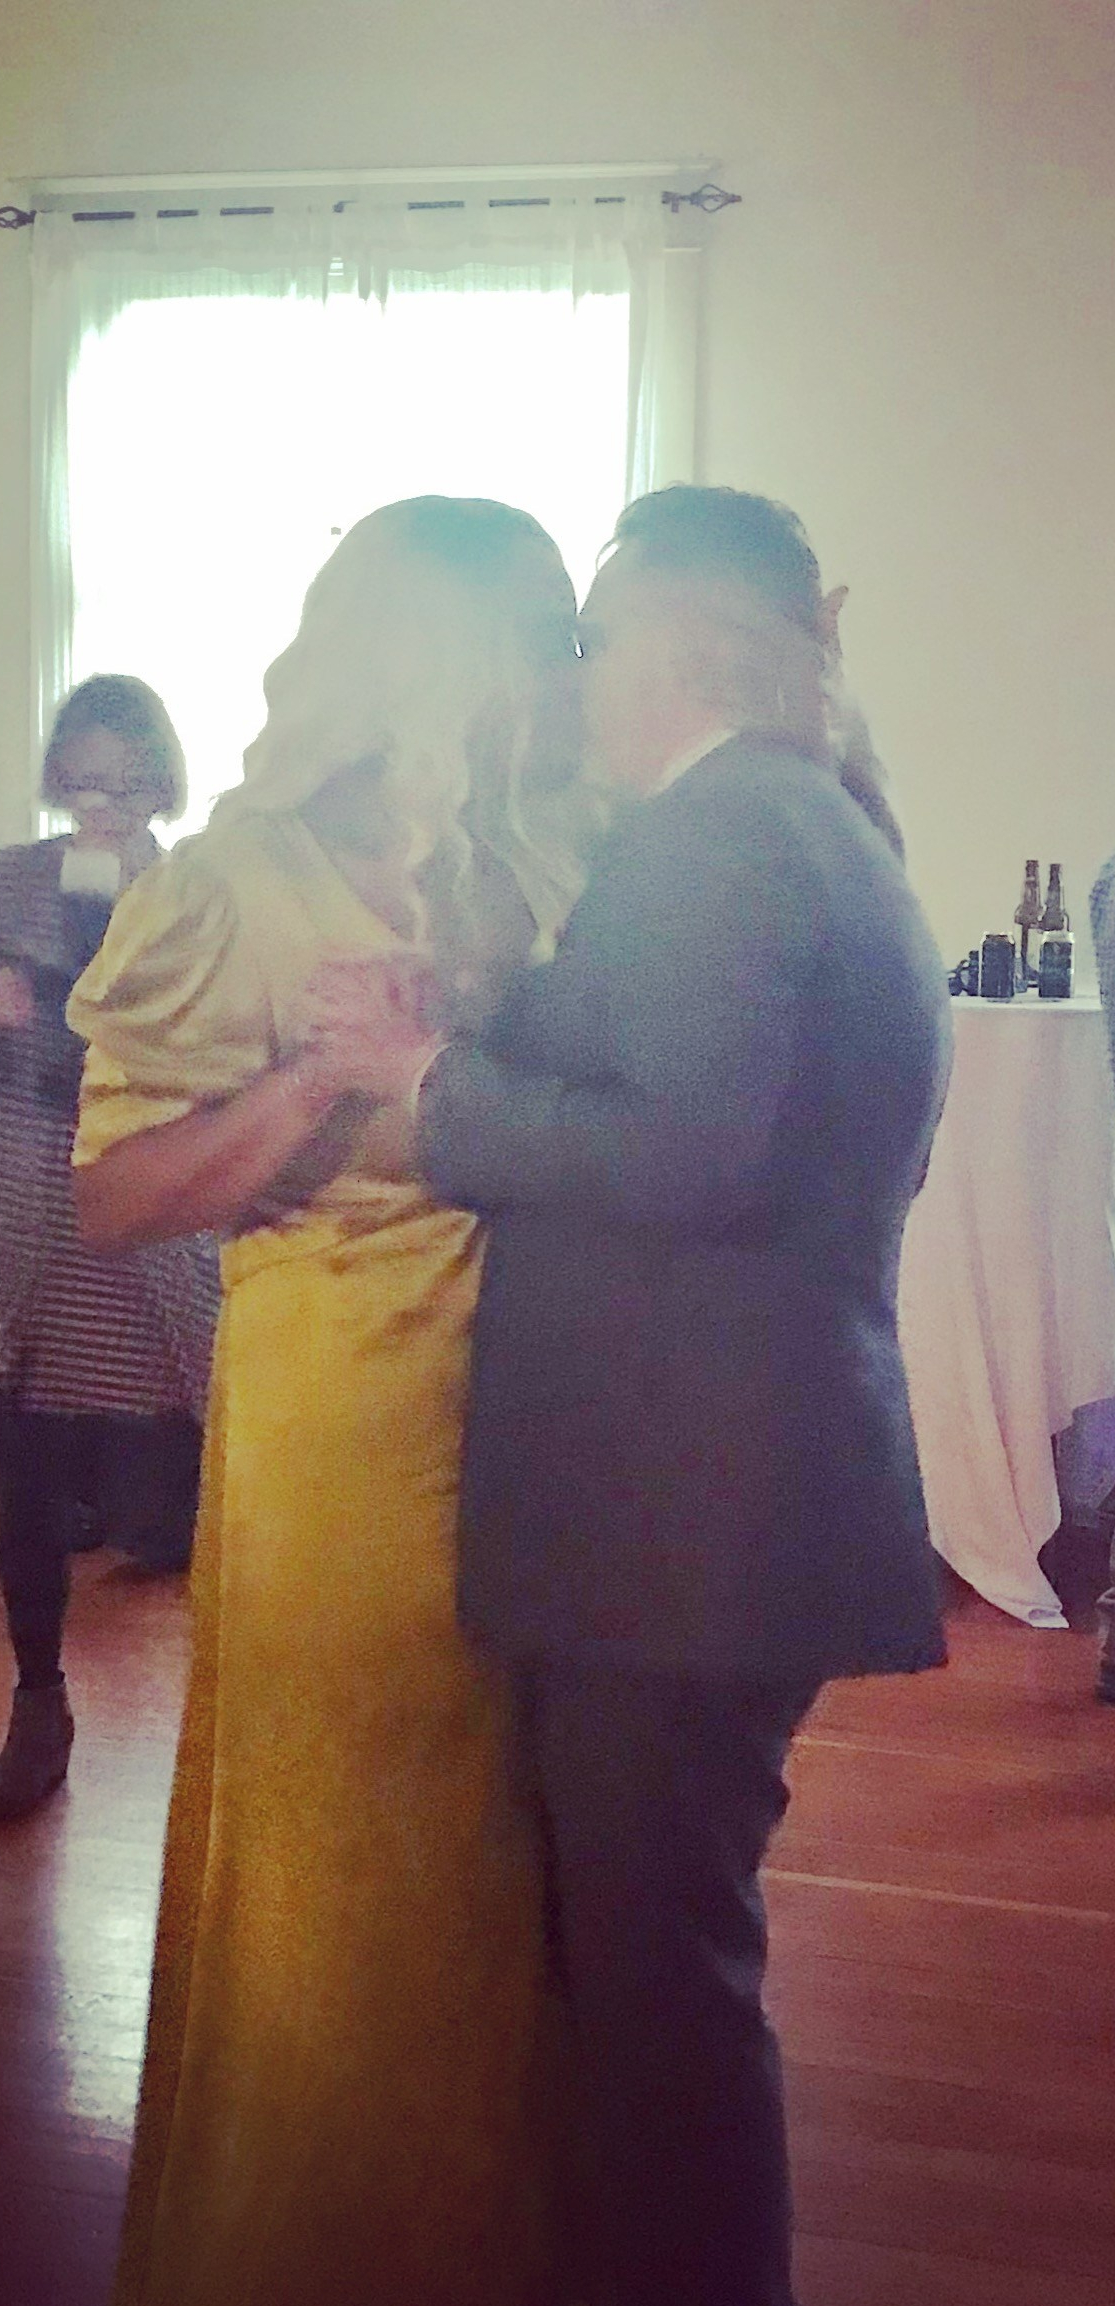
I was just so touched and honored that Peyton came to me to create this special and sentimental wedding dress for her. I loved working with her, her family and loved ones. She is a delightful and beautiful person and I am touched to have been a part of her wedding!


 Ahh, sweet, sweet love!