A Twinkle in His Eye 1955

My silk gown and reversible overskirt

This lovely creation all stemmed from a challenge. I belong to a professional sewing association, ASDP, that hosts an annual sewing challenge in conjunction with Threads Magazine.

For the 2022 Threads Challenge, we were to use a vintage pattern from the pattern archive at the University of Rhode Island as an inspiration.

I thought that this was quite fitting as both my father and I graduated from URI! My father graduated in 1954 and I was in the class of 1992. My parents met while my mother was in college at the University of Connecticut which was also in the 1950’s, so I thought I would choose a design that was popular during that era

Evening Ball Gown 1955
Dress with Overskirt

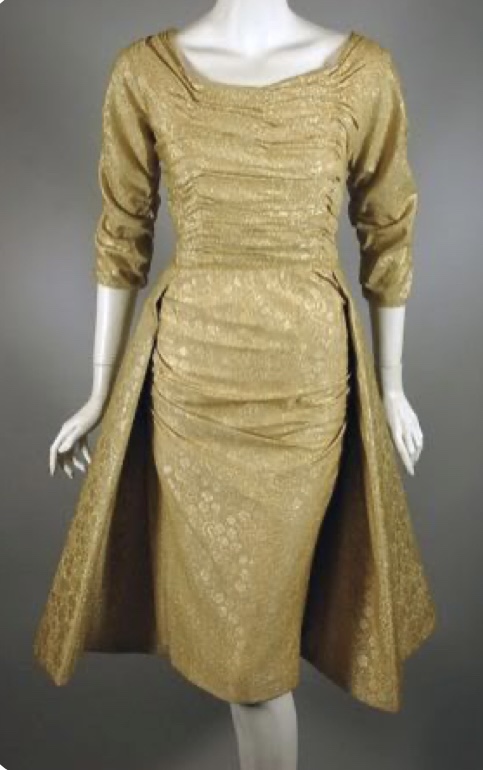
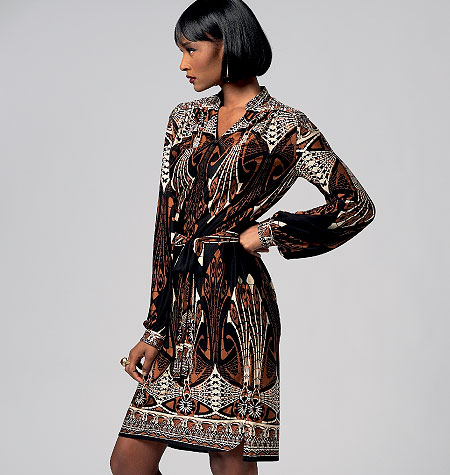
I also had this sewing pattern, the recently released version from McCalls, as well as the original pattern released in in 1955 from McCalls which I bought on eBay.

I could imagine that my mother would have worn a gown like this in her day as she was quite the stylish and elegant lady, so I kept her in mind and close to my heart as I planned out and sewed up this dress.

The original 1955 pattern release. I love the fashion illustration!
McCalls re-release of the style from their Archive Collection

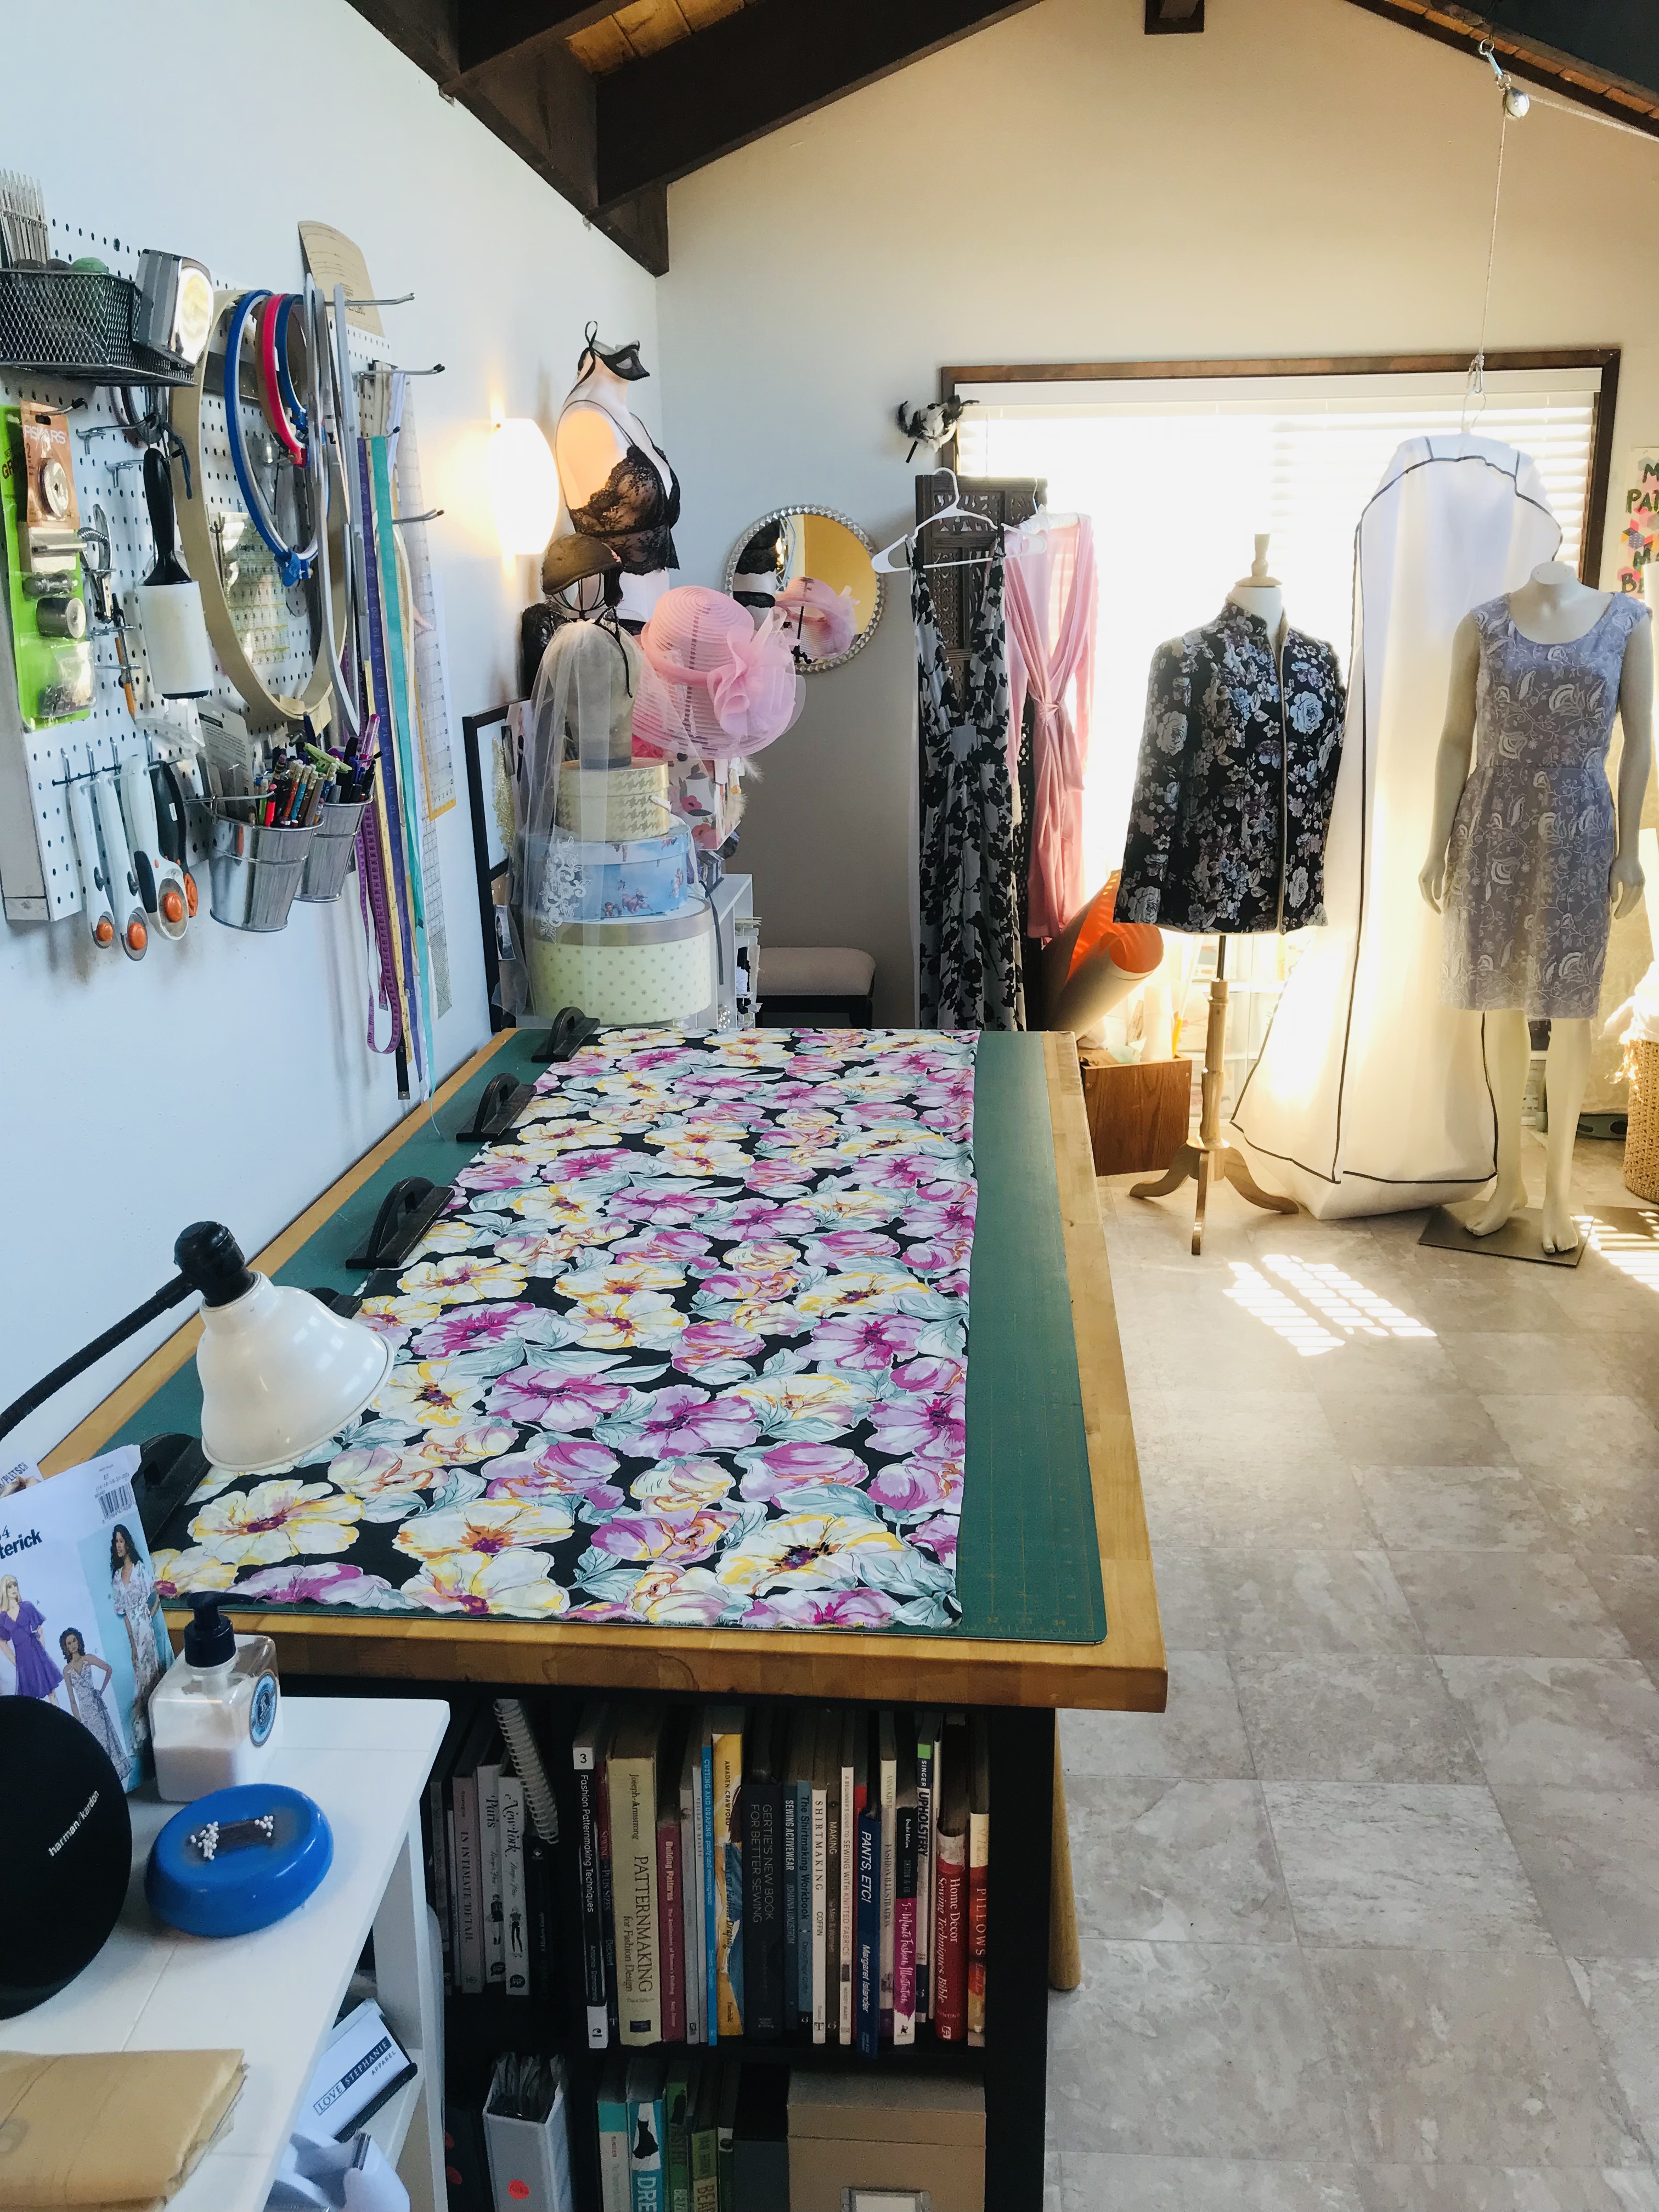
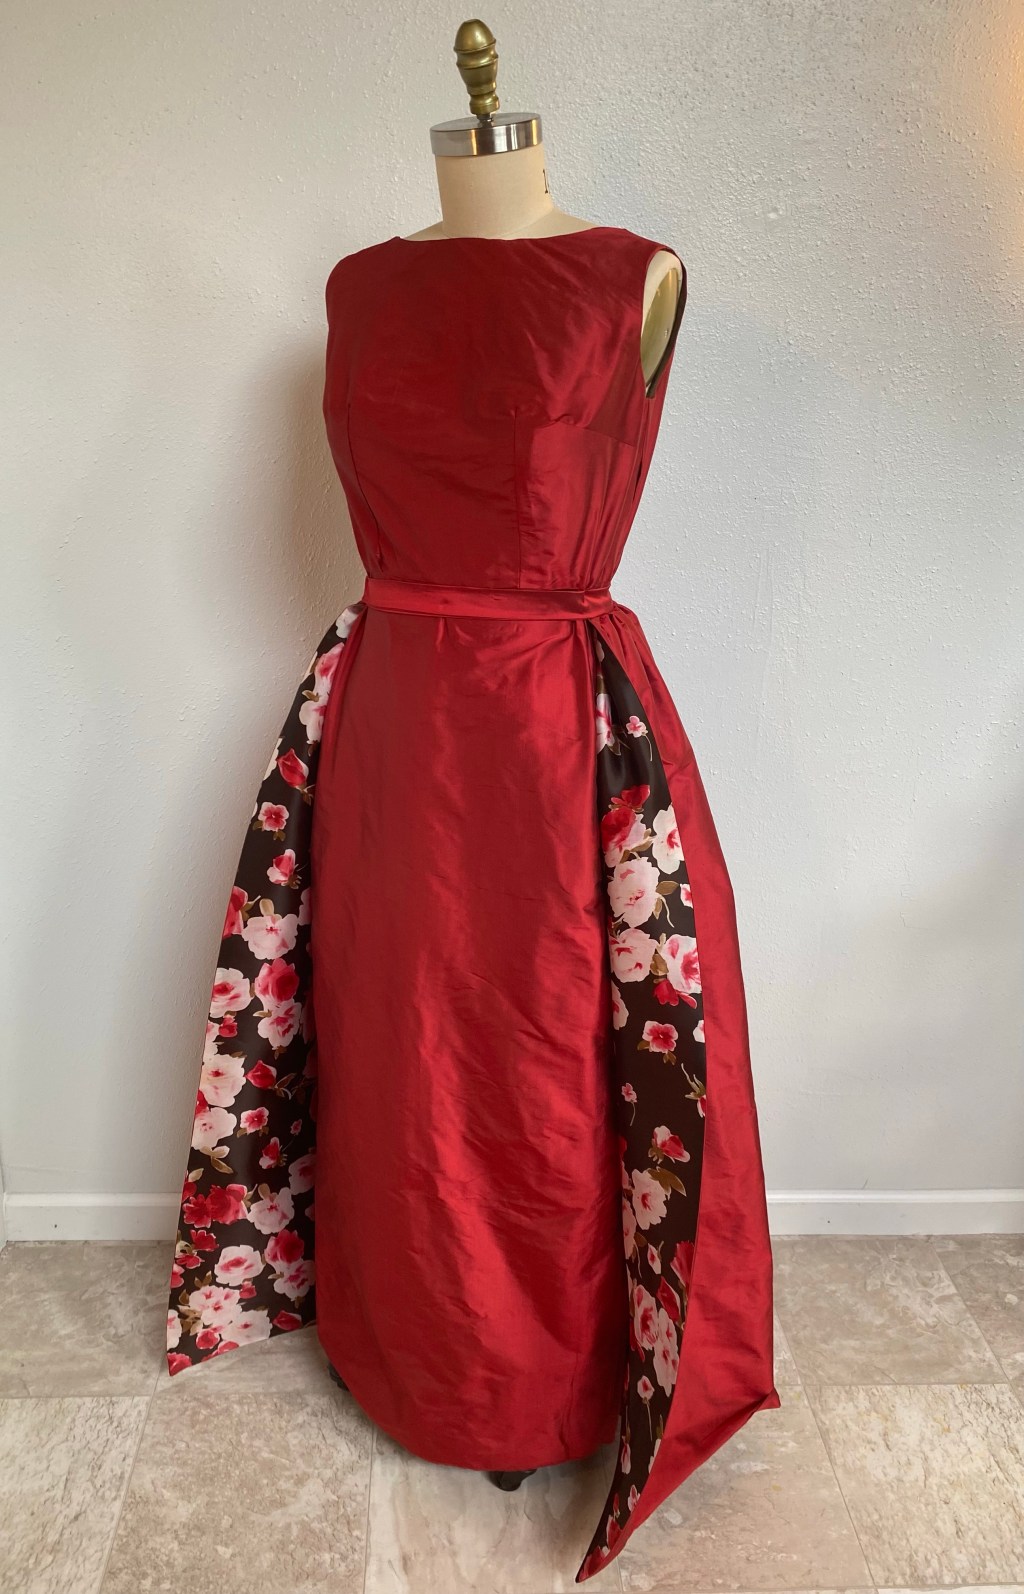
I ordered 9 yards of the silk dupioni from Mood.com to ensure I had enough for the sheath dress and the overskirt. Once the gorgeous material arrived, I went to my local favorite fabric store and purchased enough material to line the dress in silk habotai, and also line the overskirt, which is not part of the patter, but something I wanted to add to catch the eye when wearing this already eye-catching dress.

The materials and patterns

I got to work making a mock-up in muslin of the dress and asked for help with the fitting from my go-to expert Marla Kazell.

Once I was confident with the fit of the dress, I got to work cutting out the fabrics and the new version of the pattern, McCalls 7897

Ready to cut into this spendy silk!

I sewed the dress up without much issue, using the pattern instructions to follow, and making it fully lined. The pattern has you create a facing for the inside edges which I thought wasn’t good enough, and fully lining the dress would make for a nicer finish in my opinion.

The work in progress

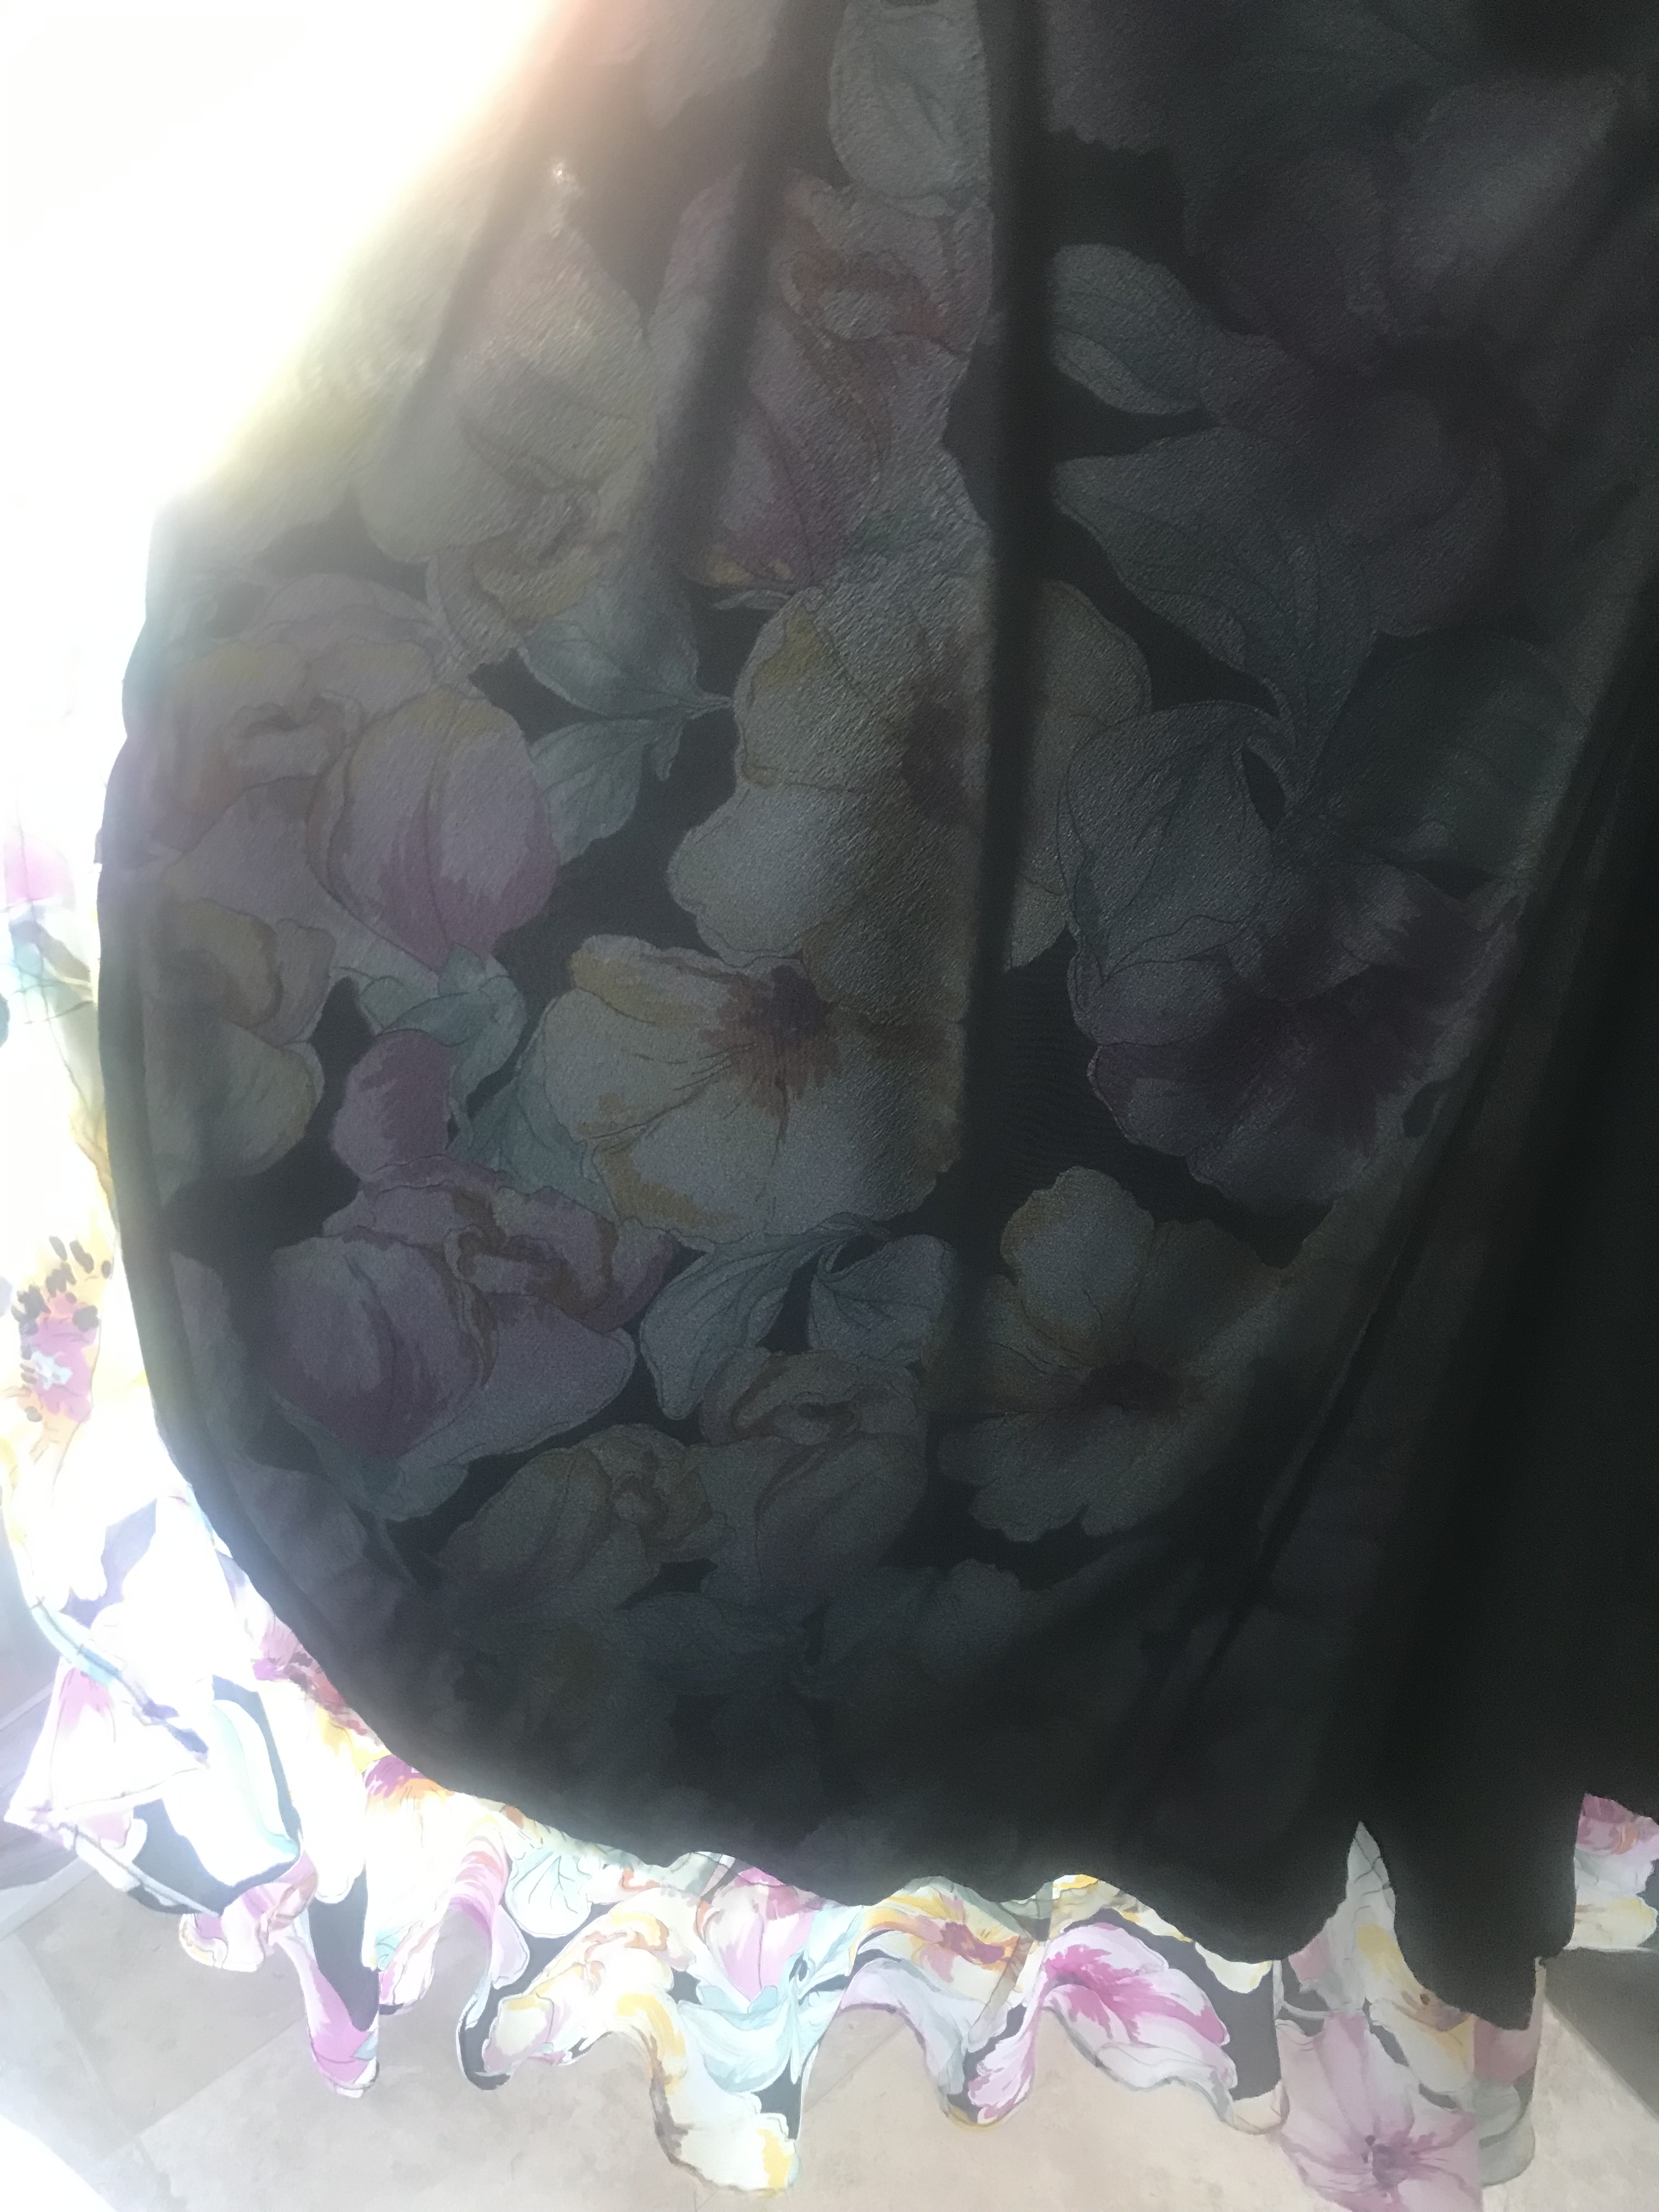
For the overskirt, I just made the printed silk organza lining out of the same pattern pieces and hemmed it to meet the outer red material before attaching it to the waistband strip.

The pattern also has a cummerbund as part of the look, but I left that off as I wanted to have the overskirt easily removable for the showcase of the garment. I have enough leftover silk to make the cummerbund, so perhaps one day I will make that as well.

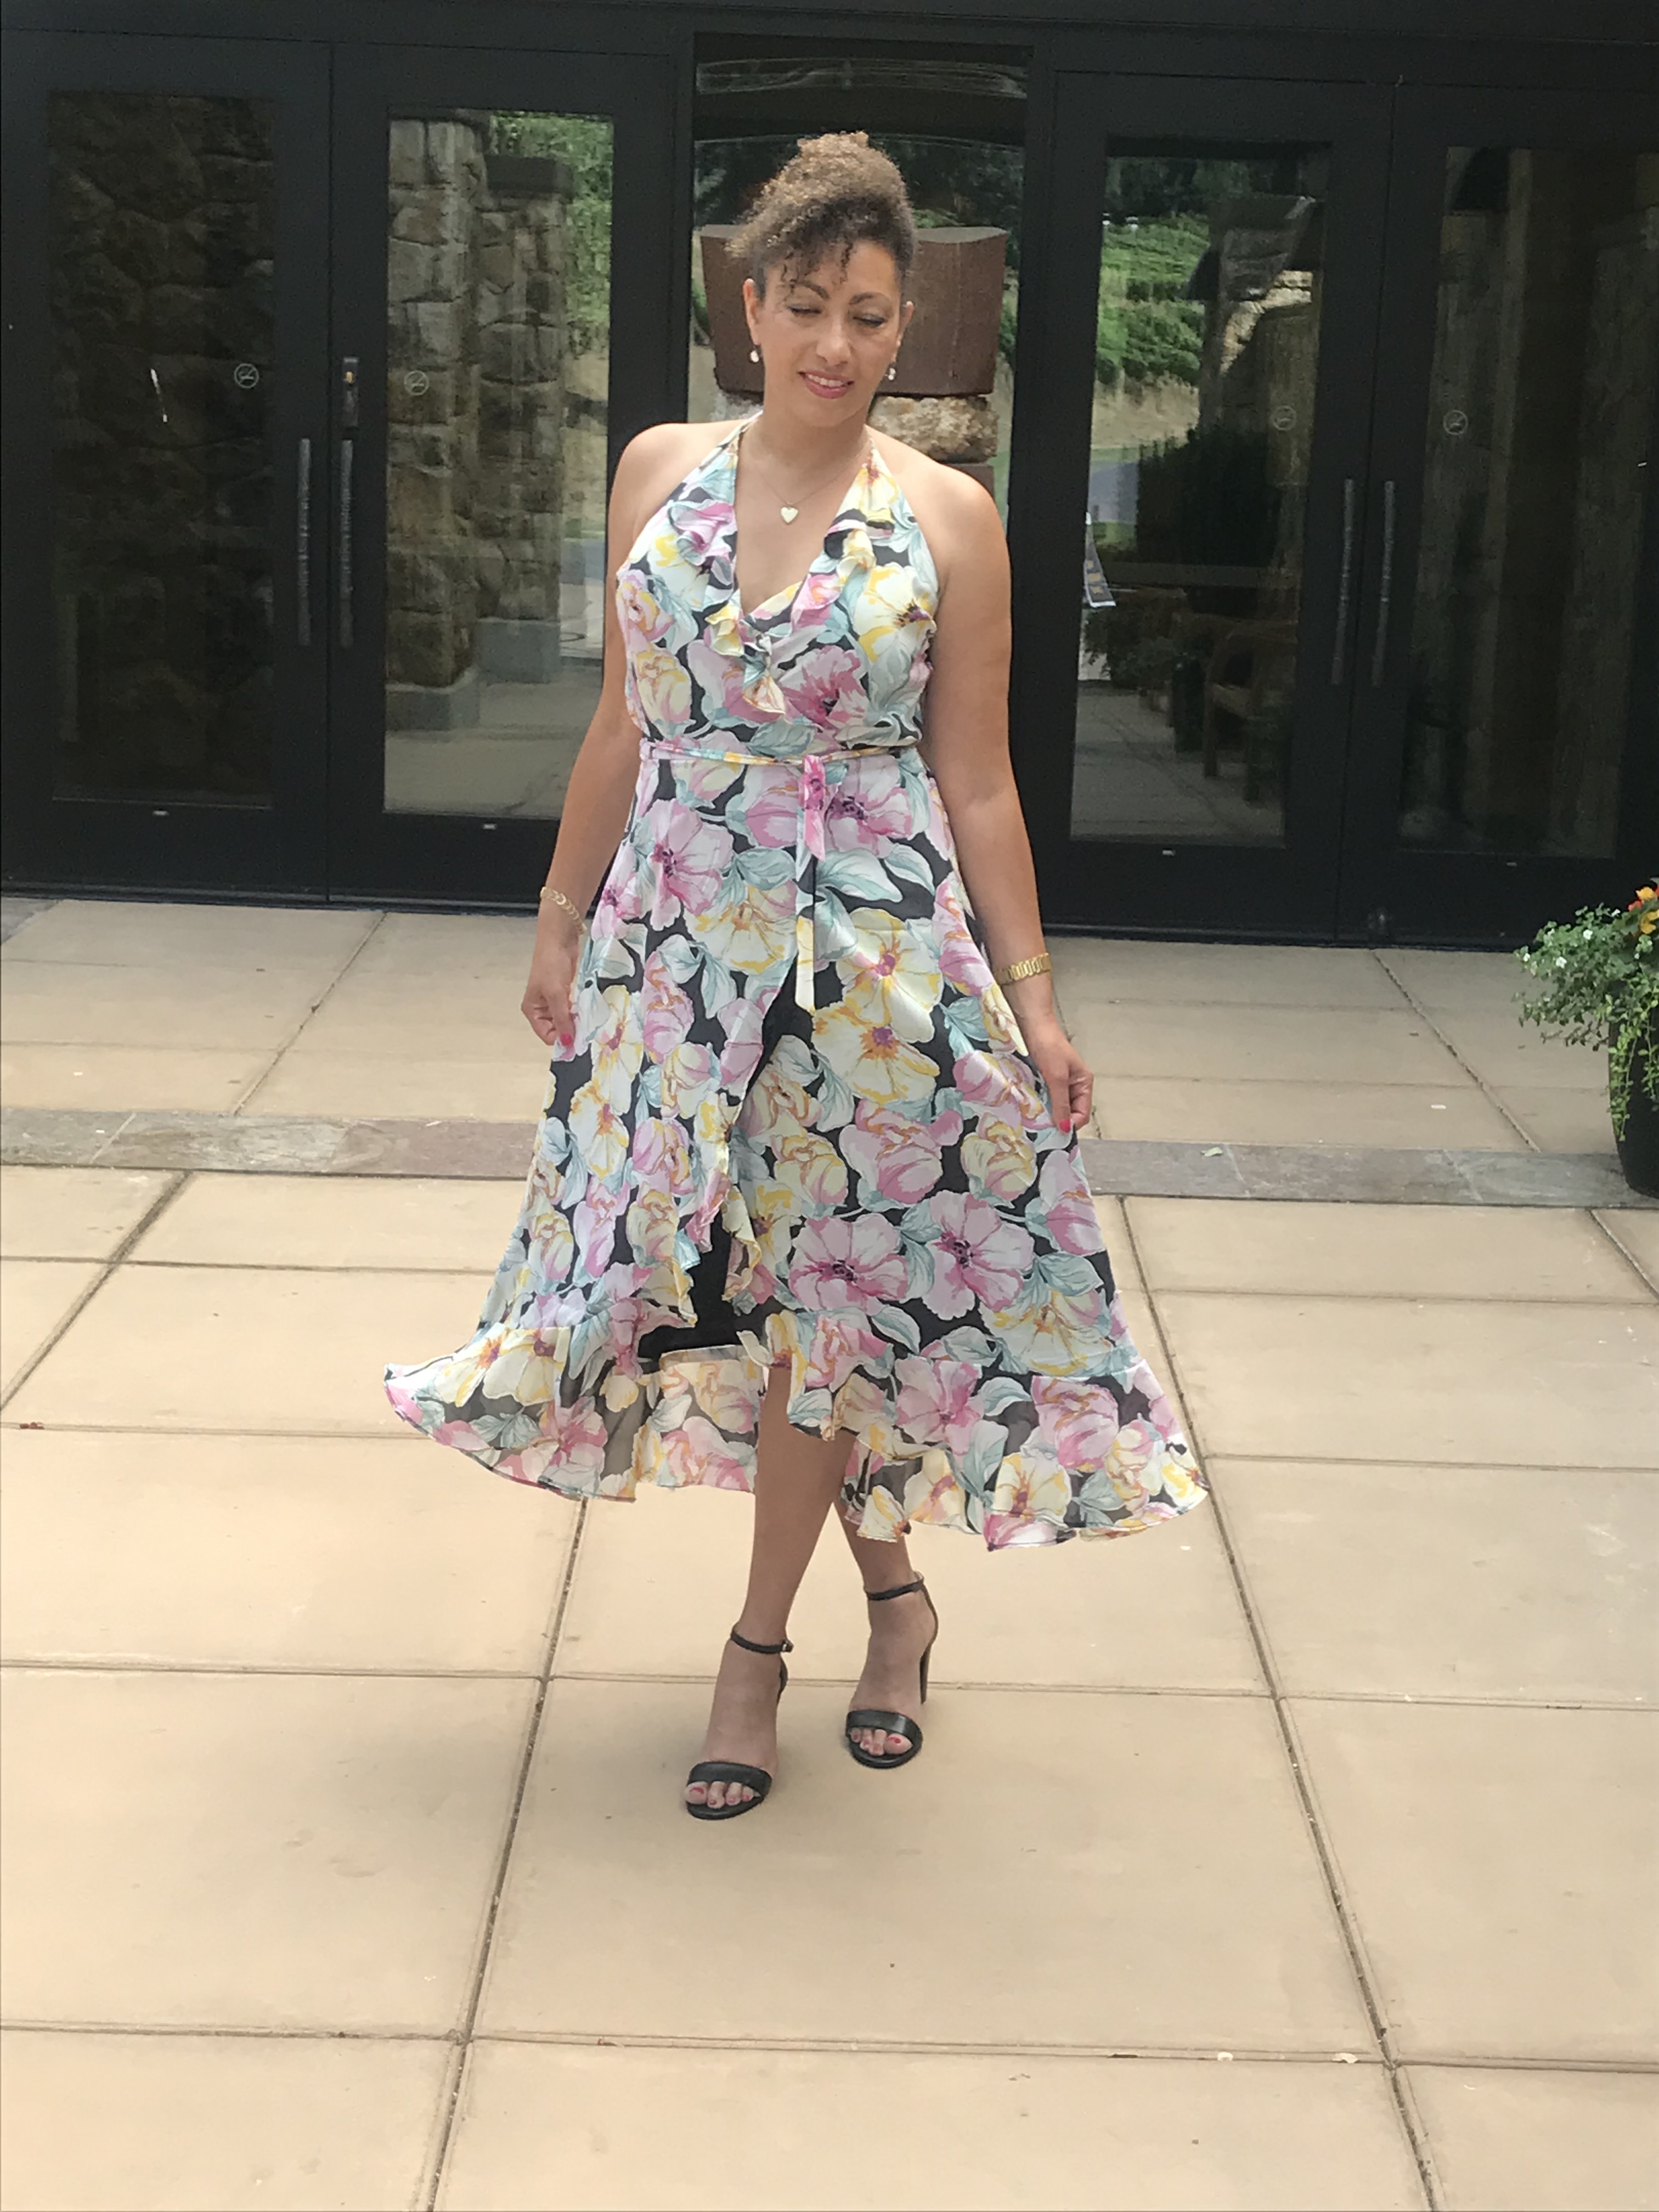
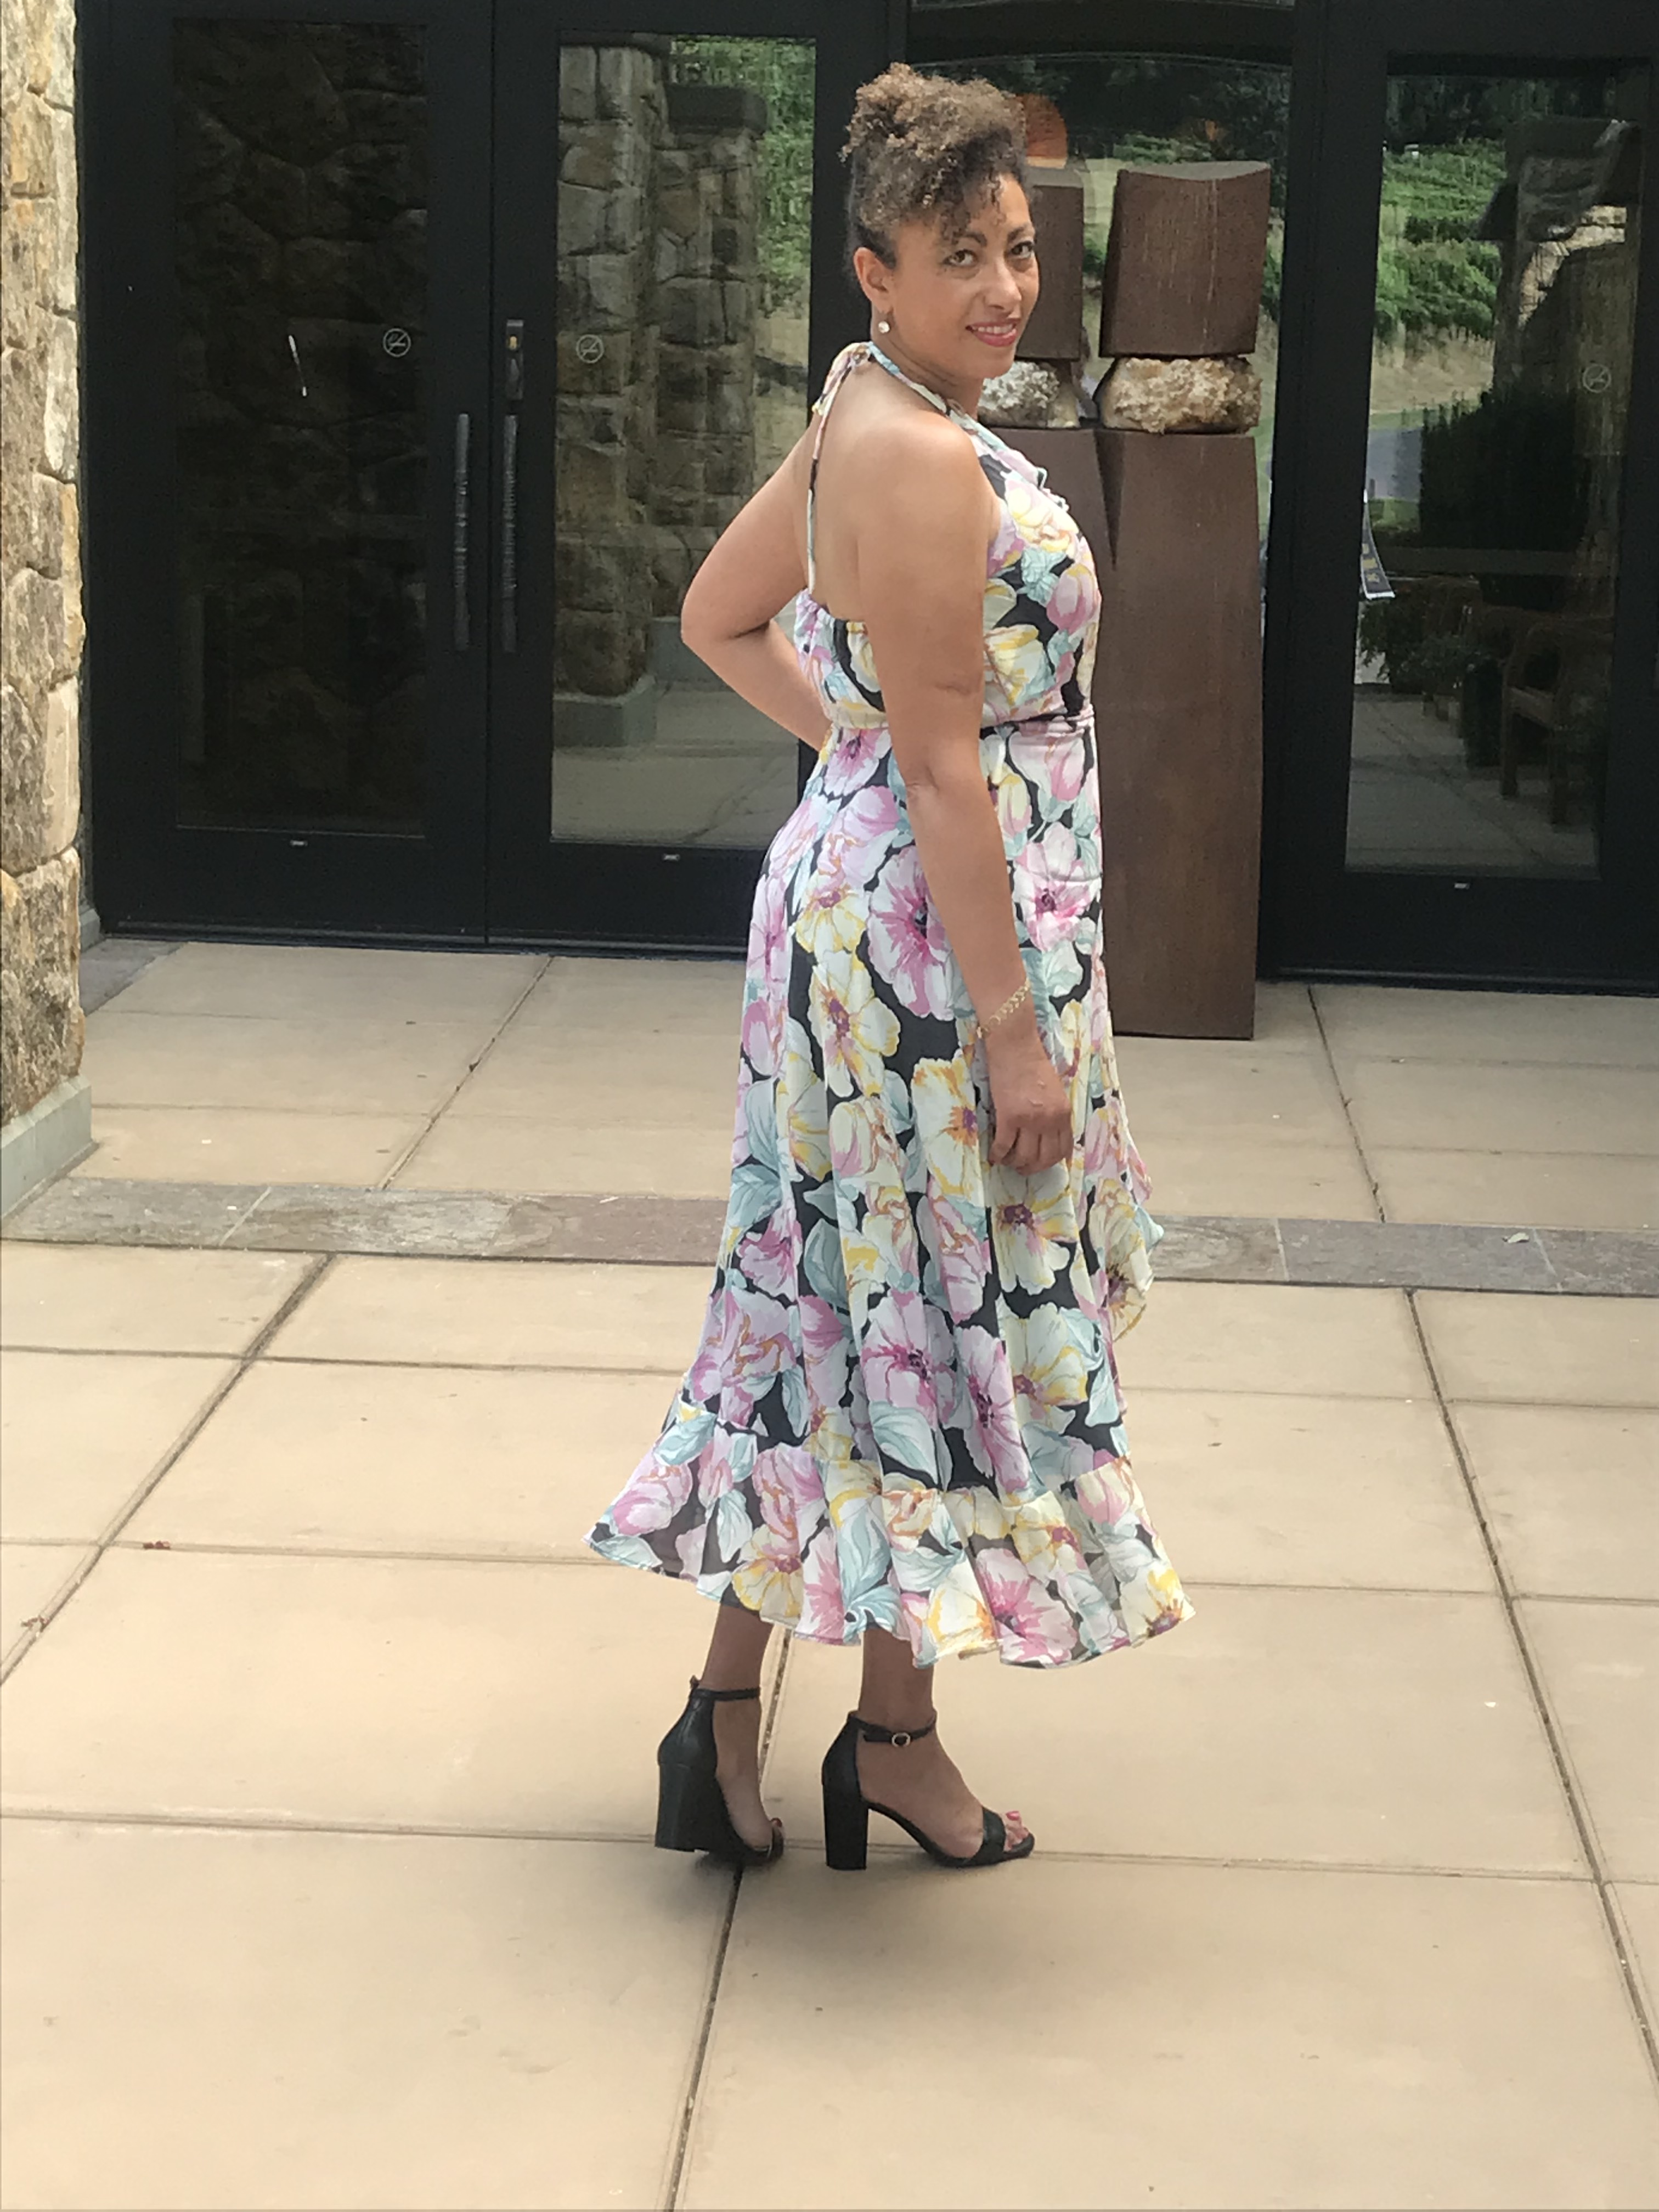
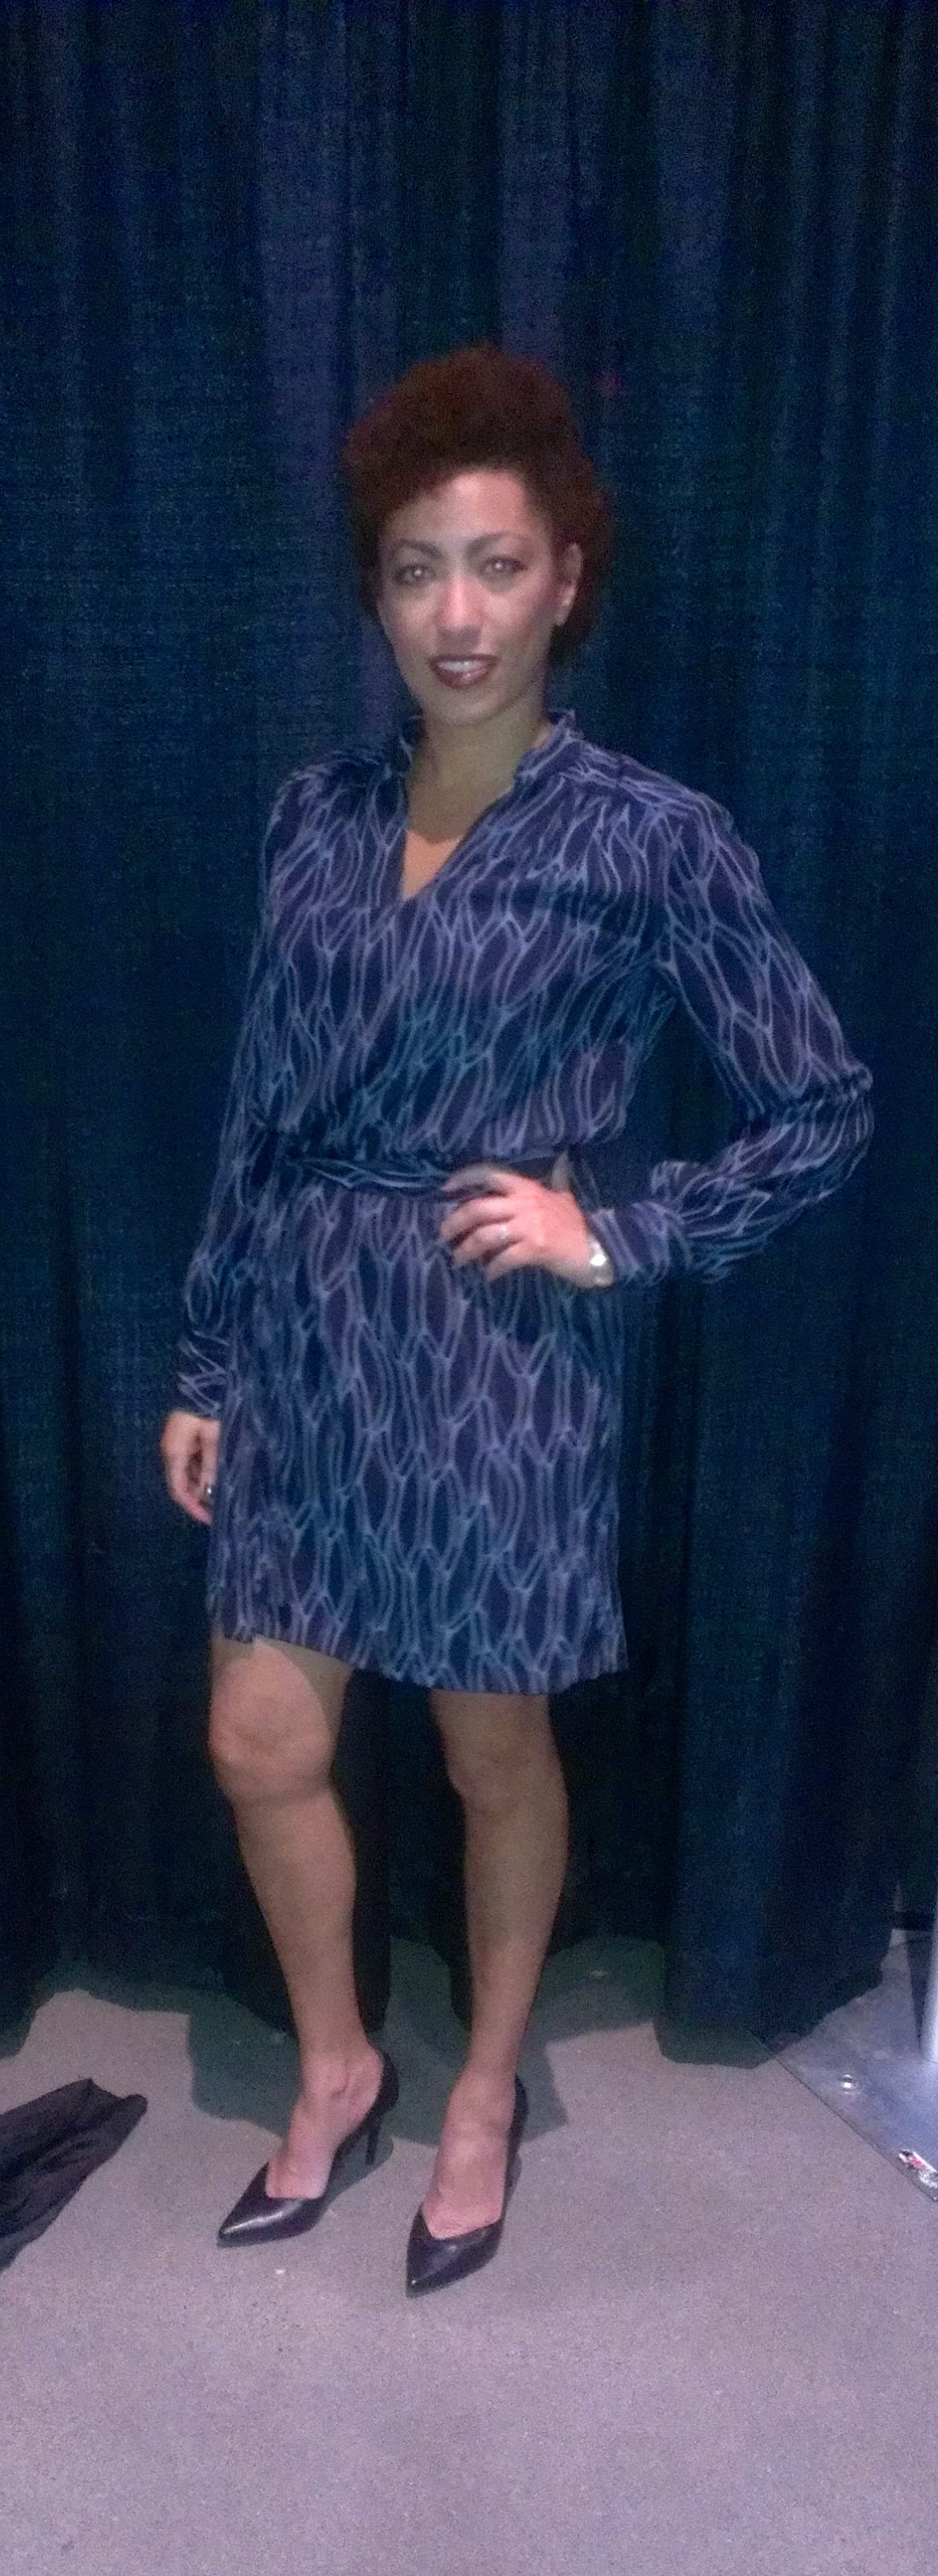
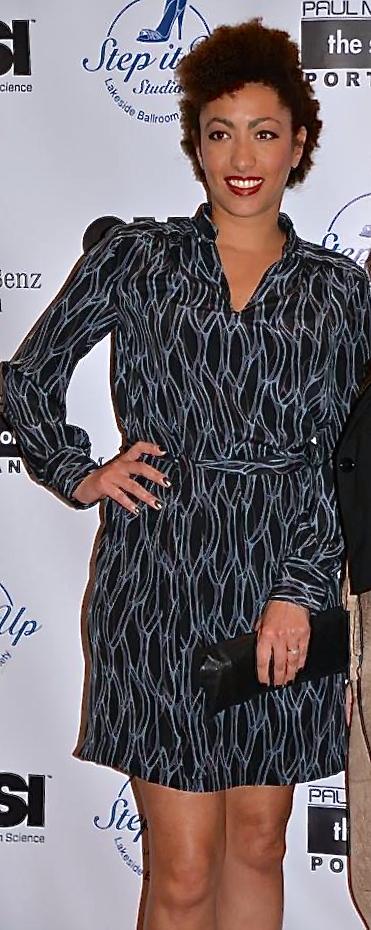
I submitted my garment into the challenge, along with photos of the finished garment, a description of the dress, and the story behind why I chose this style and pattern, to the ASDP Challenge committee. Here are some photos that I submitted to the committee:

Front of dress wit overskirt
Back of dress with overskirt, and the lining peeping out
The dress and overskirt from the side-I love the volume!
Front of the dress, with the overskirt reversed, showing off the lovely floral print!
The sheath dress on it’s own, so sleek and elegant!

After several weeks, I got a notice that my submission had been chosen as a finalist in the challenge, and I was to send in or bring the dress along with me to the ASDP conference where all of the challenge finalists would be in the fashion show and the judges and audience would choose the winner. I was overjoyed to hear this news, and excited to share my make with fellow sewing enthusiasts that would be attending the conference in Baltimore, MD in October.

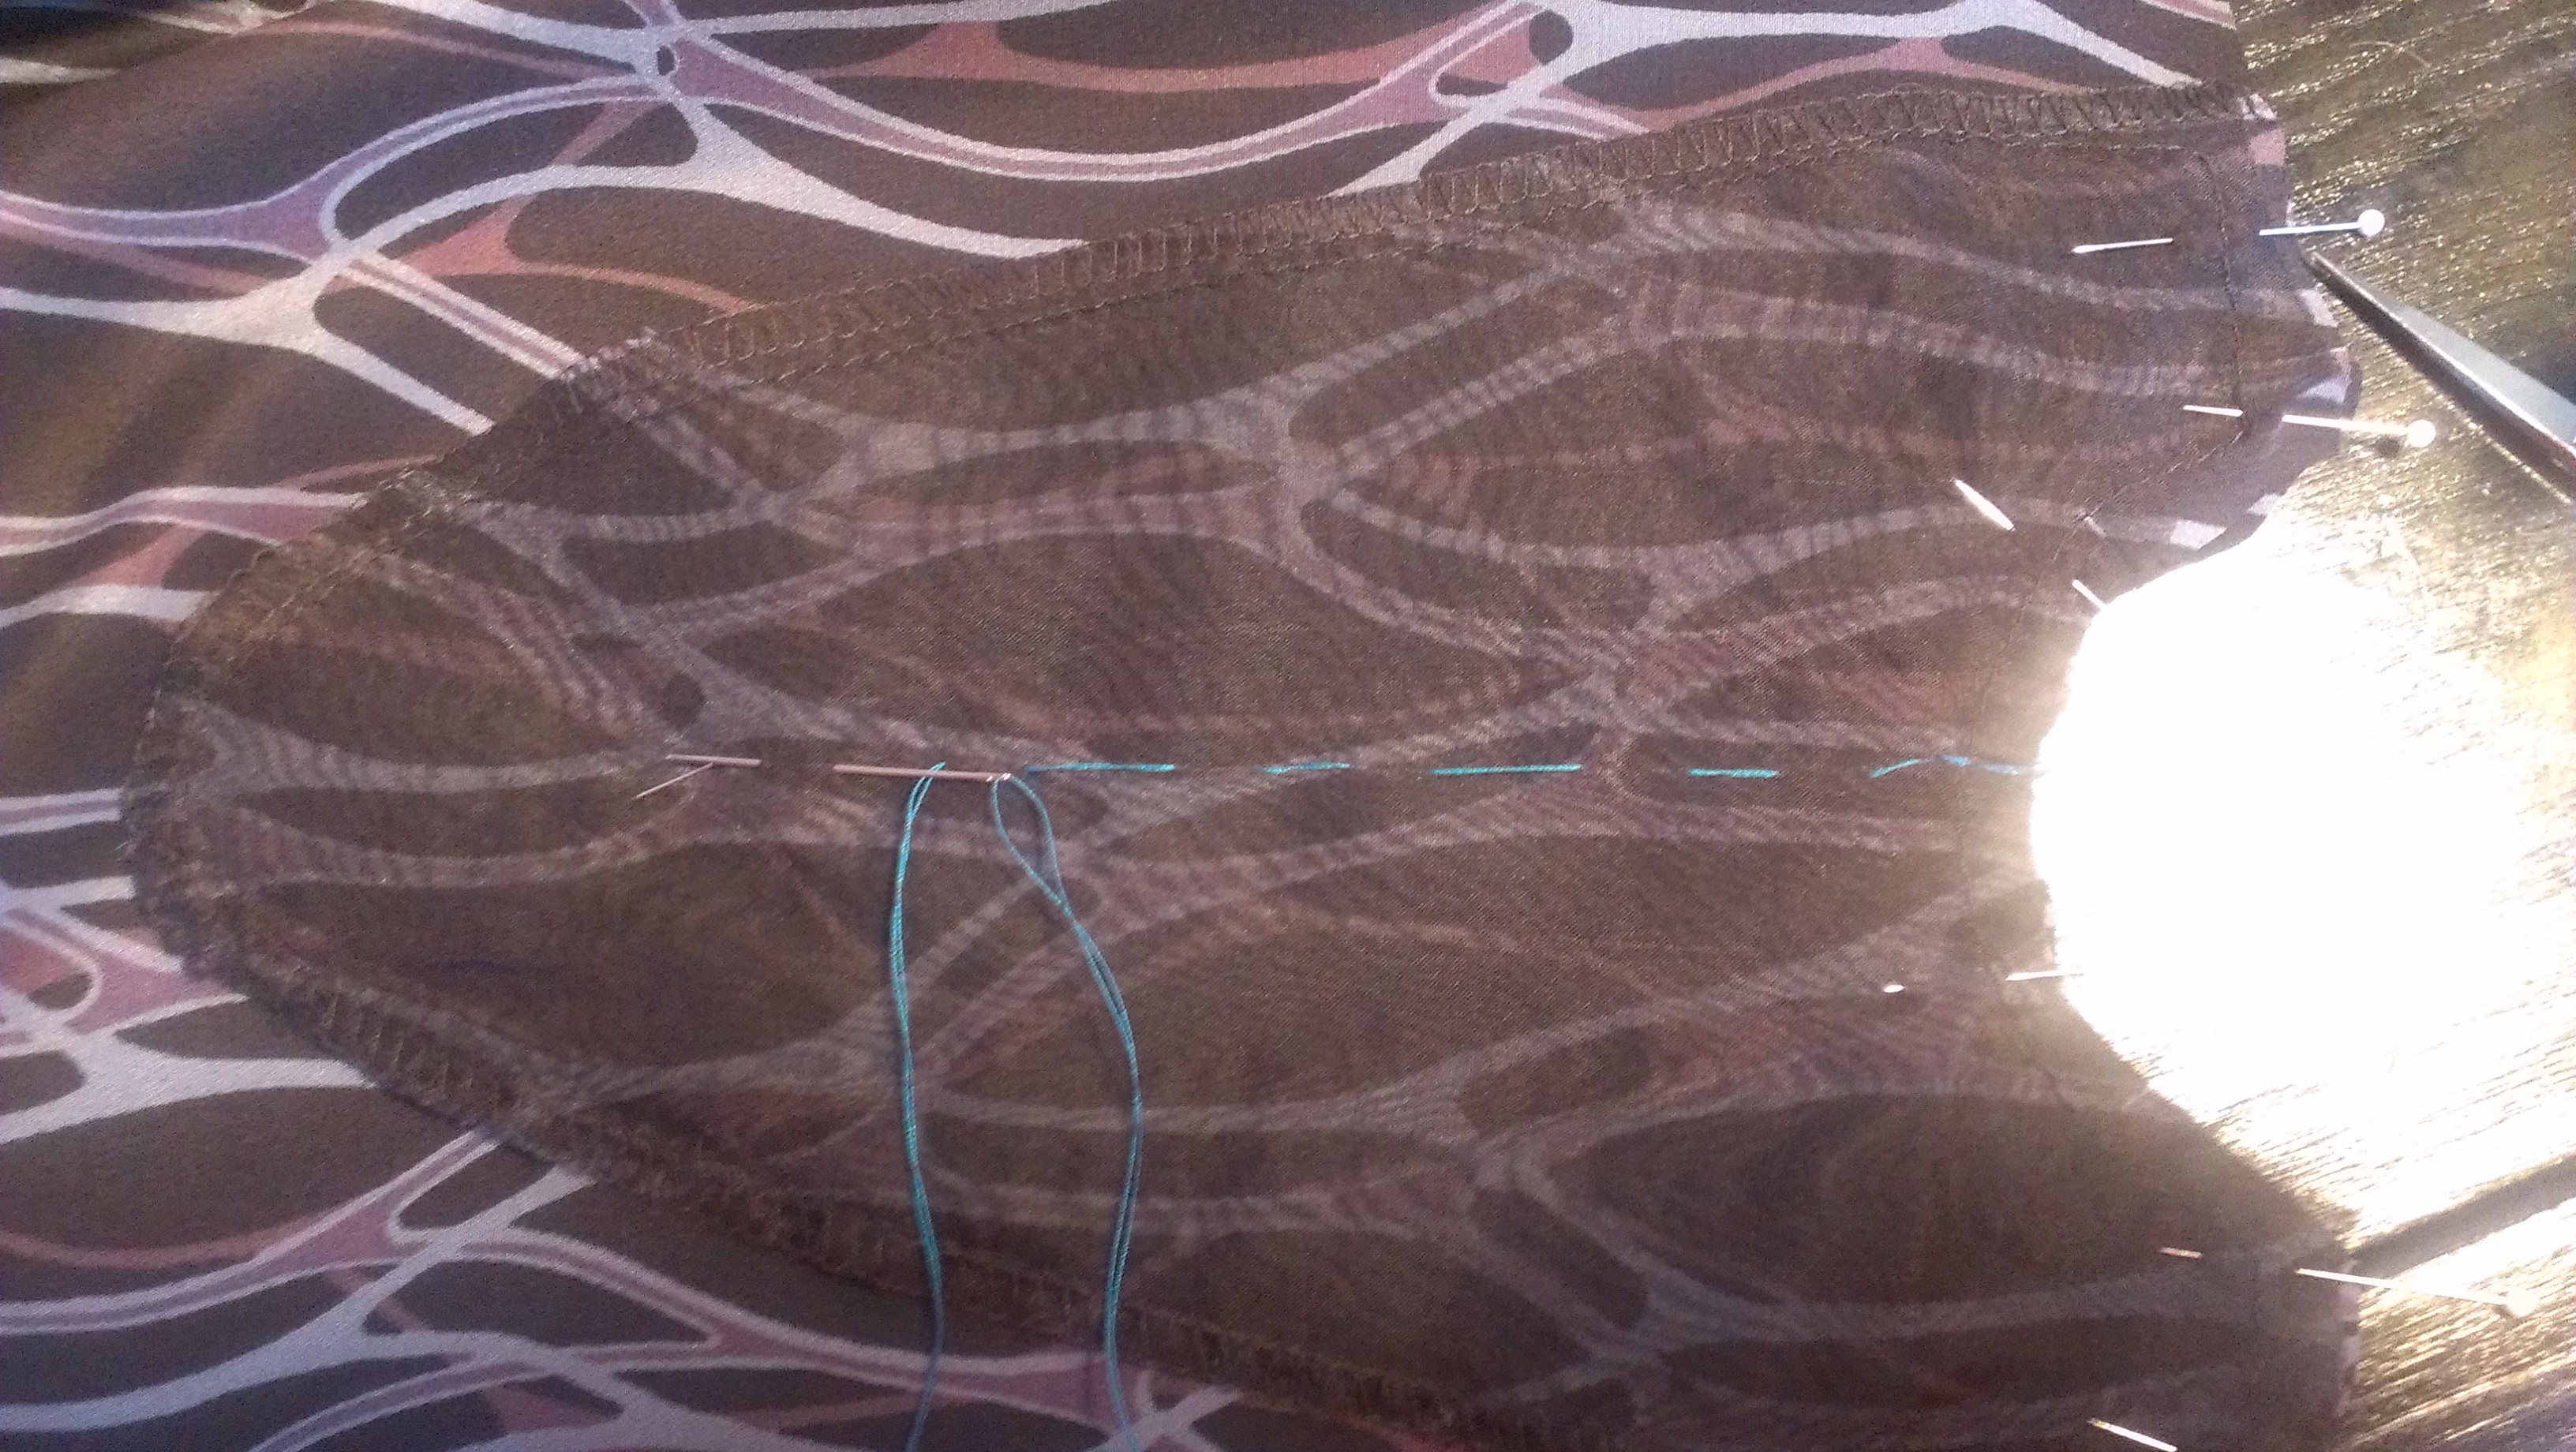
I packed the dress and overskirt in my suitcase, along with hand sewing needles, thread and a little sewing kit, and made it to the conference almost ready to submit my dress. I knew that I had to make some final sewing touches to the dress, and of course, left these to the very last minute! I still had to sew the lining down to the inside edges, at the shoulder and to the zipper, and hem the skirt lining. I did this all by hand, rushing through it in my hotel room at the very last minute, just in time to submit it to the contest committee for the final review. That, I believe, really hurt my chances of winning the challenge, as the judges of the challenge are expert seamstresses and would surely be examining my rushed and messy sewing up close.

The time came for the fashion show at the conference where dresses from past challenge winners, students and finalists from the 2022 challenge showcased their work to the audience of other conference attendees as well as anyone who wanted to attend the show. I modeled my dress, as I made it to fit myself, and got many ooh’s and ahhh’s on my completed look! I was next to last in the runway line up, standing proudly amongst some other amazing creations and works of art. I felt so honored to have been a finalist in the challenge, yet a little disappointed I didn’t win any of the challenge prizes for the work that I did.

I love my dress and am OK with not being the winner. I just wish I had snapped a photo of me wearing it or asked for a photo from the fashion show! There was a photographer there throughout the show, so I am sure I’ll get some photos of me in it eventually.

I put time and effort into my creation, and know that it wasn’t perfect, certainly not up to the standards of expert seamstresses or for the editors of a nationally published magazine such as Threads. Am I disappointed in myself? Yes, certainly, as I had the time to do a much better job with the finishings of the garment. However, I am very proud that I was chosen as a finalist, and have learned a great deal about the level of workmanship that needs to go into a project that would be chosen by a contest judge.

After the Threads challenge winner was chosen for her wonderful workmanship and design, they announced the theme of the 2023 Threads challenge for next year. This time, the challenge consists of designing a piece of outerwear that is inspired by a 2-dimensional piece of art. What an amazing challenge! Since I didn’t win this year’s challenge, I am eligible to enter the next one, so with that, I think I’ll go for it! Now, to find some inspiration and start planning what I can make…and DO IT! That’s the new challenge!

Modeling my creation!

Floral Silk Girly Dress

Whenever I have been invited to an occasion, the first thing I think of is “what am I going to wear?”. The next thing I think of is “what can I sew for myself to wear” as I love to make clothing and I love wearing things that are unique and nobody else has in their closet. From there, I pull up my pattern stash archive, pay a visit to my fabric stash (or the fabric store if I really don’t have the appropriate fabric to work with) and get started planning and sewing my outfit.

For this occasion, I was invited to a wedding of a lovely bridal alterations client who had become a friend over our many dress fittings and consultations of her beautiful wedding gown. The major part of her dress that I altered was her complicated and intricate bustle of her train that I she dreamed up and I created for her. Originally, as I fiddled and fussed to get her train bustled just right at one of her fittings, I said to her “I’ll just hide in the bushes at your wedding venue, you give me the signal when you are ready, and I’ll sneak out and help you bustle, then disappear back into the bushes and let you be on your way to the reception”. She would have none of that and insisted that I attend the wedding as her guest, and enjoy the entire ceremony plus be ready to bustle…DEAL!

So, being the alteration seamstress of honor at this wedding, I just had to have something special and handmade to wear! Not having all the time in the world to be sewing for myself with the very busy post-Covid wedding season upon us and other alterations and custom sewing client projects literally piling up in my sewing studio, I decided to make a dress that I have made before (a huge time and energy saver!) and use fabric that I had in my stash from Mill End Store in Portland, OR.

I pulled out this lovely pattern from Butterick that I had already cut out and made fit alterations to the pattern for a dress that I made a couple of years ago:

Butterick 6554 pattern

I made view C, the halter neck, ruffled and flounce dress that wraps and ties to the side.

This time around, I decided to fully line the dress (instead of using the bodice facing from the pattern), meaning I cut out the entire dress, the bodice and the skirt pieces, less the flounces, in both the outer, floral silk georgette fabric and the silk lining that I also had in my fabric stash. Cutting silk, especially sheer, floaty slippery silk, is NOT easy if you’ve ever tried. It slips all over the place and misbehaves in as many ways as it can, just to drive you nuts and practically give up before you even started. But, since it was SO pretty and soft, I did my best to battle it and tackle it into submission, knowing in the end it was going to be incredible and worth it all.

The silk draped so innocently on my dress form
Anchored down and ready to cut!

So the sewing begins!

Making a tiny hem to the ruffled edge

It all went pretty well and the fact that I had made it before, I knew what to expect from the pattern instructions.

The most difficult and time consuming part was making the narrow hem on the long outside edge of the flounce that would be attached at the bottom of the skirt. Check out this pattern piece that is over 110 inches long. Yikes!

After tackling that beast, the dress was nearly done and I could start to see the light at the end of the tunnel.

Having a major deadline to hit, and other clients banging down my door and begging me to help them with their last-minute bridal requests, I finished up my dress and just got ‘er done.

One last thing I added to the dress was lightweight foam bra cups sewn into the bodice lining as that sheer stuff certainly wasn’t going to hide my bits. Thank goodness I had some on hand in my supply stash and I was able to swiftly hand sew them into my dress, no problem! Confidence boosters for boobs-horray!

Bra cups sewn in saved any wardrobe malfunctions!

I just have to share the insides of the dress with the lovely silk lining!

Here I cheated and used my serger to attach the waist of the bodice to the skirt and hide the raw edges.
The skirt lining that ends just above the flounce

So off we went to the wedding, leaving enough time to stop at one of our favorite spots in the wine country of the Willamette Valley in Oregon, The Allison Inn and Spa, to snap some photos and have a glass of champagne and a light cheese plate before the wedding. Perfect!

Let’s go up there, that’s where the champagne is served!
The lovely snack we shared over a glass of wine and champagne!
Watch that breeze!

As much as I enjoy the entire process of making a new dress, it feels so good to be done with this one, wear it to a fun wedding (and not have to hide in the bushes!) and hang it up on my wardrobe for another occasion.

Until next time, cheers!

Vogue 8847 Silk Crepe Shirtdress

Vogue 8847 in Silk Crepe de Chine

Vogue 8847 in Silk Crepe de Chine

I made up this nice shirt dress in a nice Liberty silk crepe de chine print using Vogue 8847 pattern (now out print unfortunately).

Vogue 8847 pattern photo

Vogue 8847 pattern photo

Vogue 8847 line drawing

Vogue 8847 line drawing

It was not too bad of a pattern to sew, it took me a couple of weeks over weekends and evenings after work. The pattern features a stand up collar, open placket, self-lined yoke, long sleeve gathered into a barrel cuff and self belt. I chose to not add the pockets because the fabric I used was pretty light and delicate, and I thought that the pockets would just weigh down the dress, especially if I had my hands in them.

I made View A essentially for the collar style and the length of the dress, modifying the hem to be just straight across instead of curved at the front, split at the sides and straight at the back as the pattern features.

I added 2 inches to the front and back pattern pieces of the dress in order to have enough length in the torso and for the dress to “blouse” when I belted it:

Added 2" in length to the front and back pattern pieces

Added 2″ in length to the front and back pattern pieces

I cut out the pattern pieces of the dress as best I could, not really following the pattern cutting layout for view A, which calls for an insane amount of fabric, essentially 6-7 yards of fabric, if using a border print. I just went by view B to estimate the amount of fabric to purchase, more like 3 1/2 yards of 45″ wide material.

Instead of using sew-in or fusible interfacing, I used silk organza to interface the front facing and the collar. This was a great suggestion from the sales associate at Josephine’s Dry Goods, the wonderful fabric store where I purchased the material.

used in the front facing and collar pieces

silk organza used in the front facing and collar pieces as interfacing

I used hand basting with silk thread to baste the front facing to the front of the dress:

front facing basting stitches to mark the cutting line

front facing basting stitches to mark the cutting line

One part of the instructions were missing, the step between 11 and 12, where you are to sew the yoke back to the yoke front, attaching the front of the dress to the back of the dress, so that is something to take note of.

It took some time and careful pinning to get the gathers at the yoke just right:

Using many pins to gather the yoke.

I love how this dress turned out and am quite happy with the results! It is a lovely, casual yet elegant dress to wear and I just love this Liberty printed silk!

Back view of Vogue 8847 dress

Back view of Vogue 8847 dress

Side view of dress

Side view of dress

This dress reminds me of some dress styles that I have been saving in my sewing inspiration files like these:

Joie "Marlola" silk shirtdress $358

Joie “Marlola” silk shirtdress $358

Open placket dress Zulily

Open placket dress Zulily

DVF Silk Freya dress $398

Diane von Furstenberg Silk Freya dress $398

Printed shirt dress

Piperline Collection printed silk gathered shirtdress with pockets

I am sure I will get a lot of wear out of this dress, and would be more than willing to make it again:

V8847 side front

V8847 side front

IMAG3373

This photo really makes the fabric look blue!

Wearing my new silk dress!

Wearing my new silk dress!

Me enjoying my new fabulous silk dress!

Me enjoying my new fabulous silk dress!