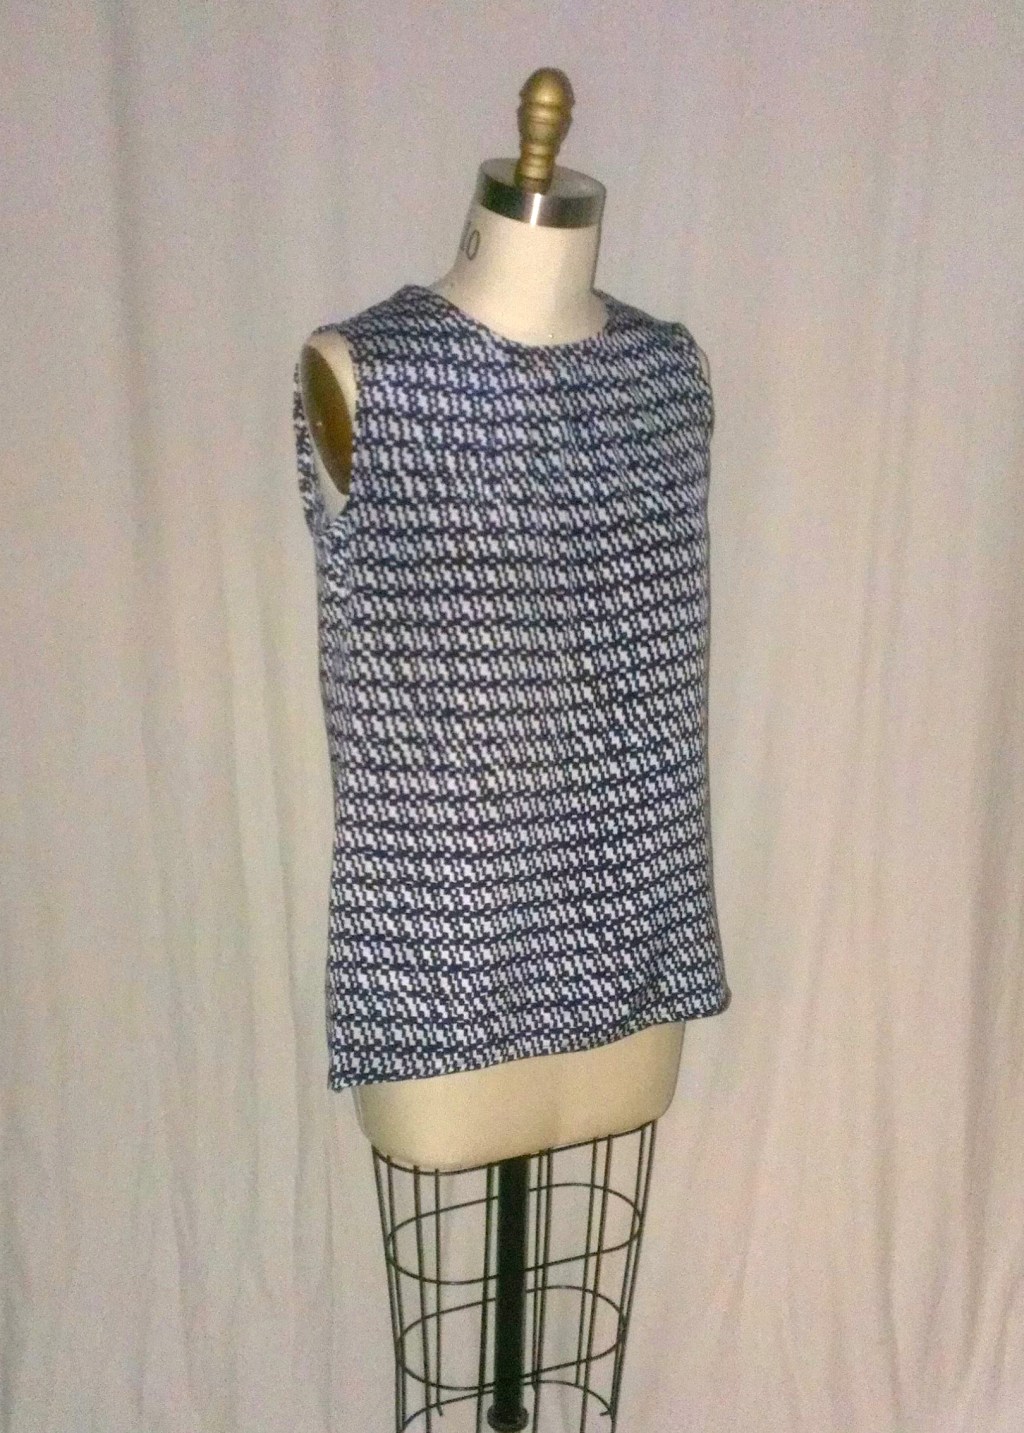
I felt the itch to sew up something quick and easy to wear, so I made up this little silk top using Simplicity 1253 pattern and some lovely Derek Lam printed silk/lycra fabric:
Simplicity 1253 top in Derek Lam printed silkSimplicity 1253 in Derek Lam designer silk
This little top pattern took just a couple of days of on and off sewing time and under 2 yards of fabric. It features a pleated front, hi/low hem and a neck band.
Front neck pleat detail
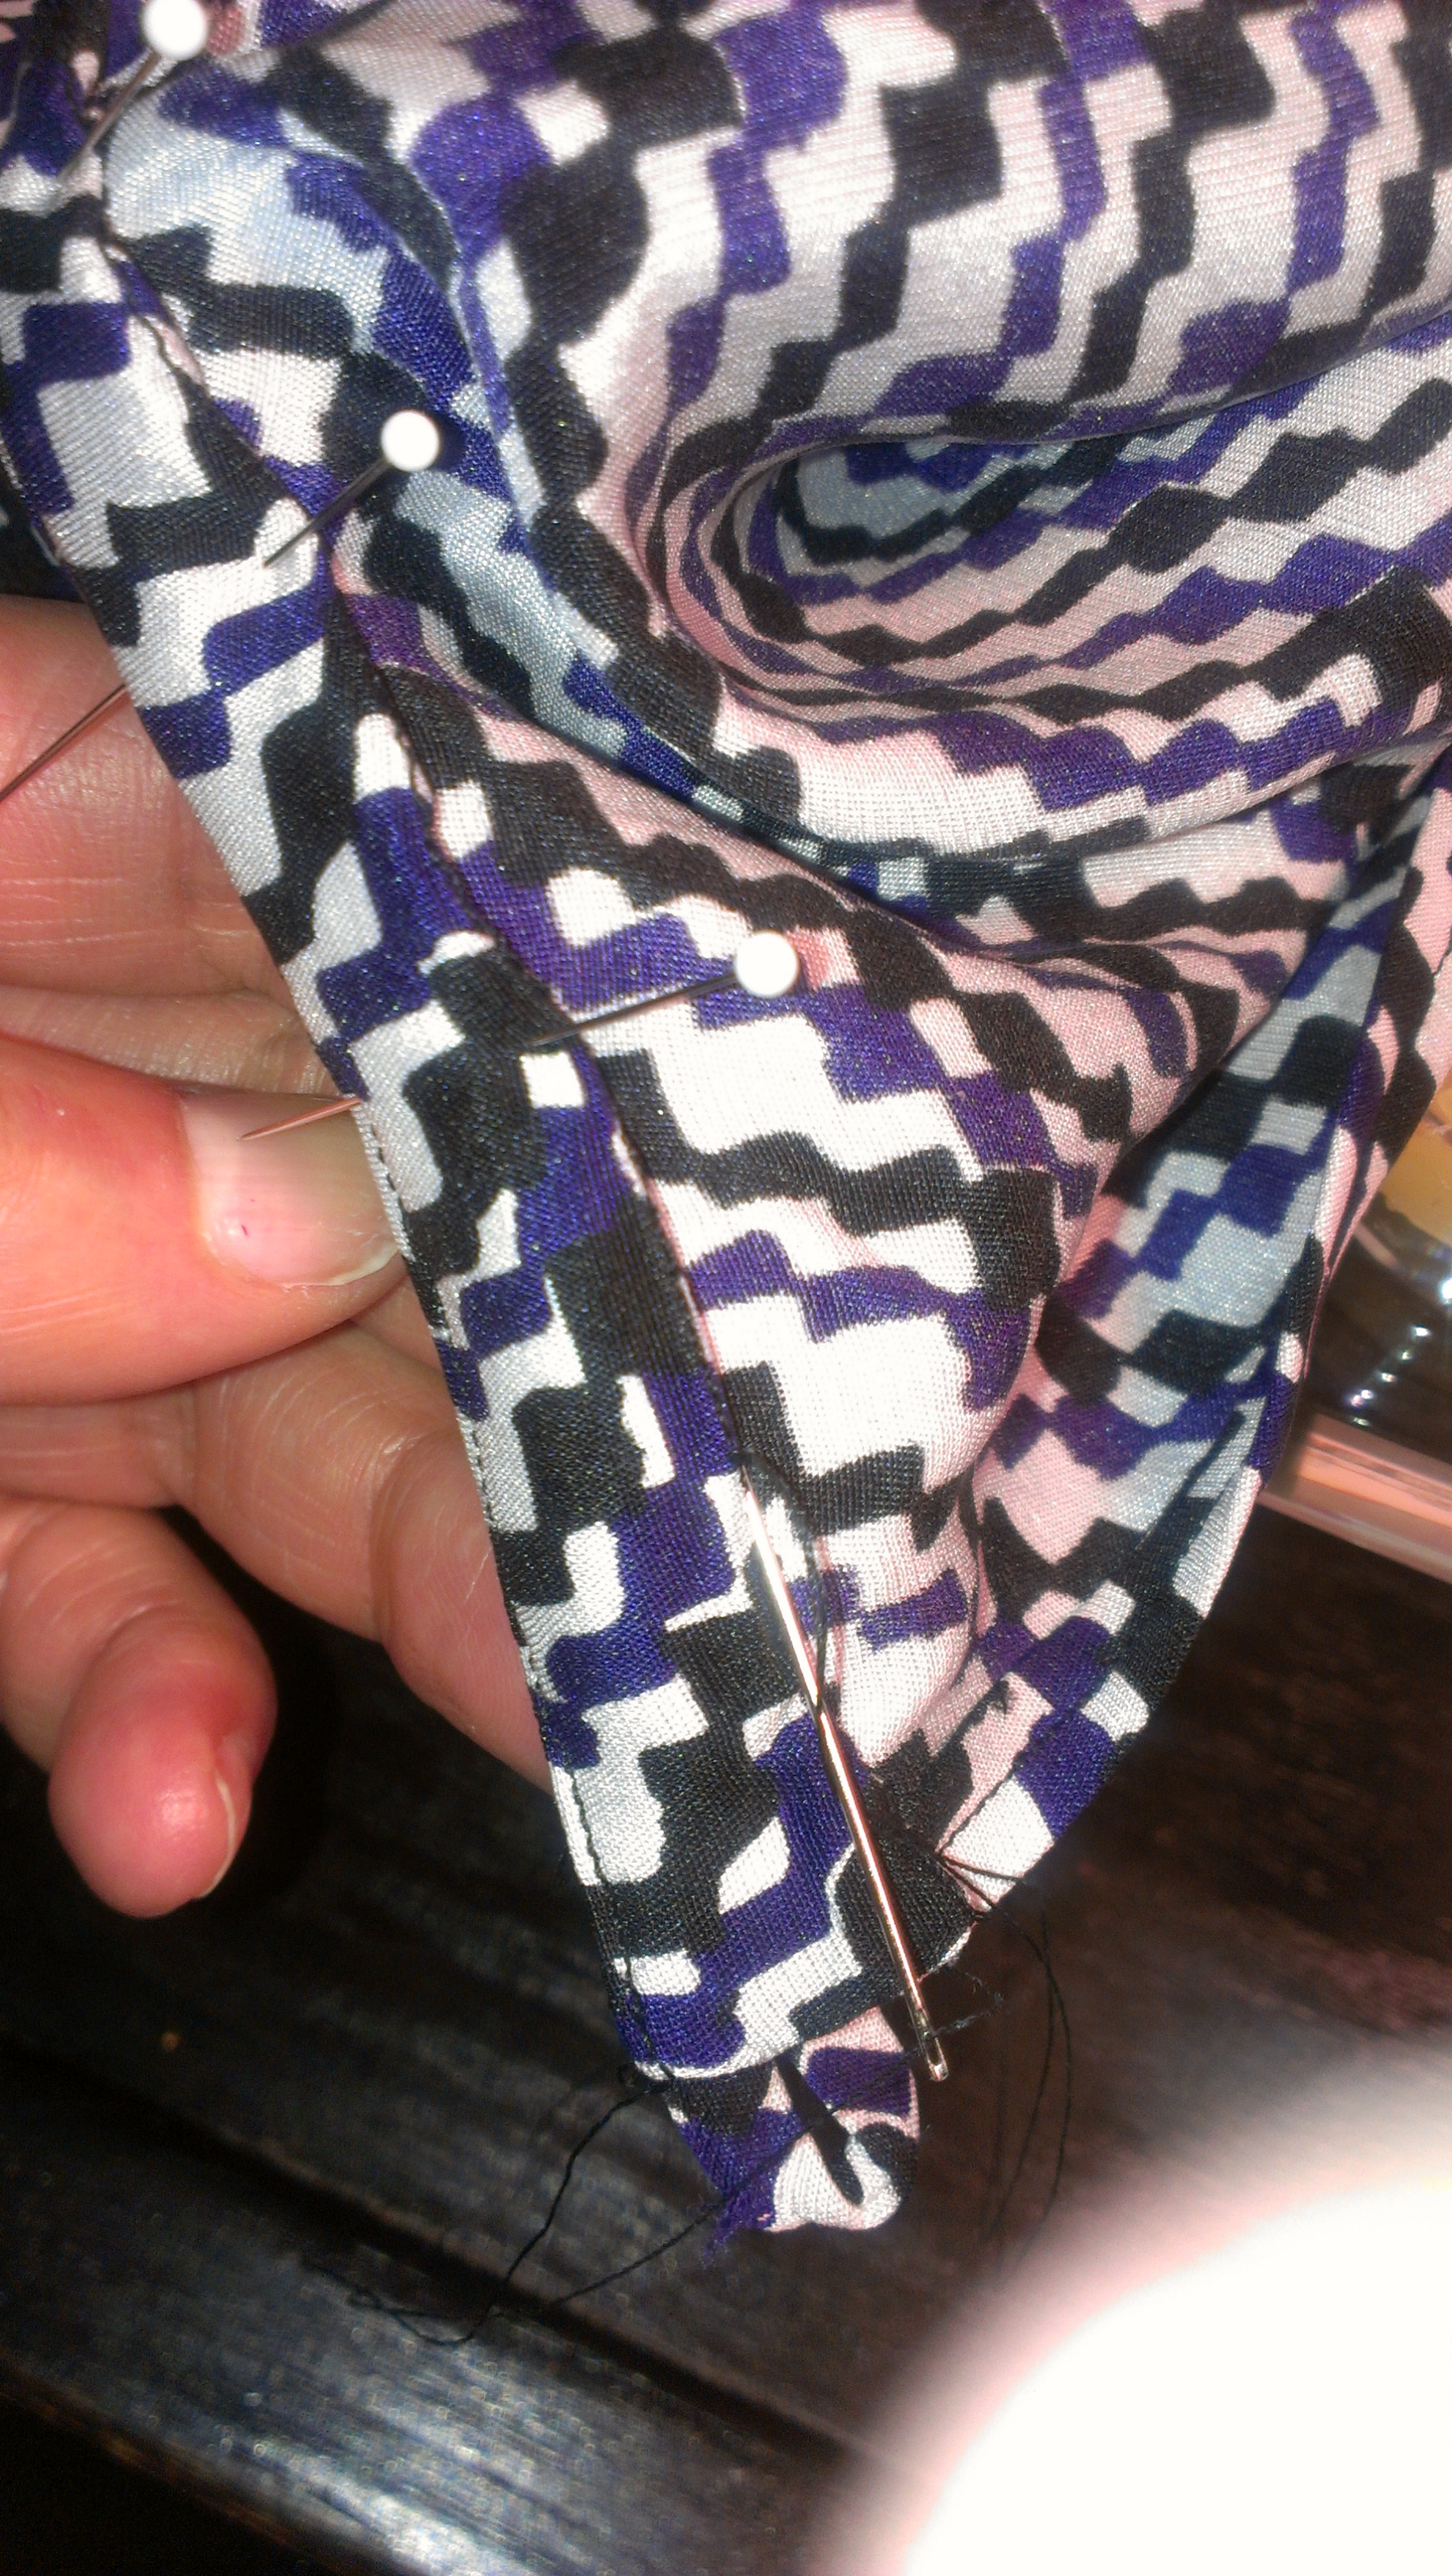
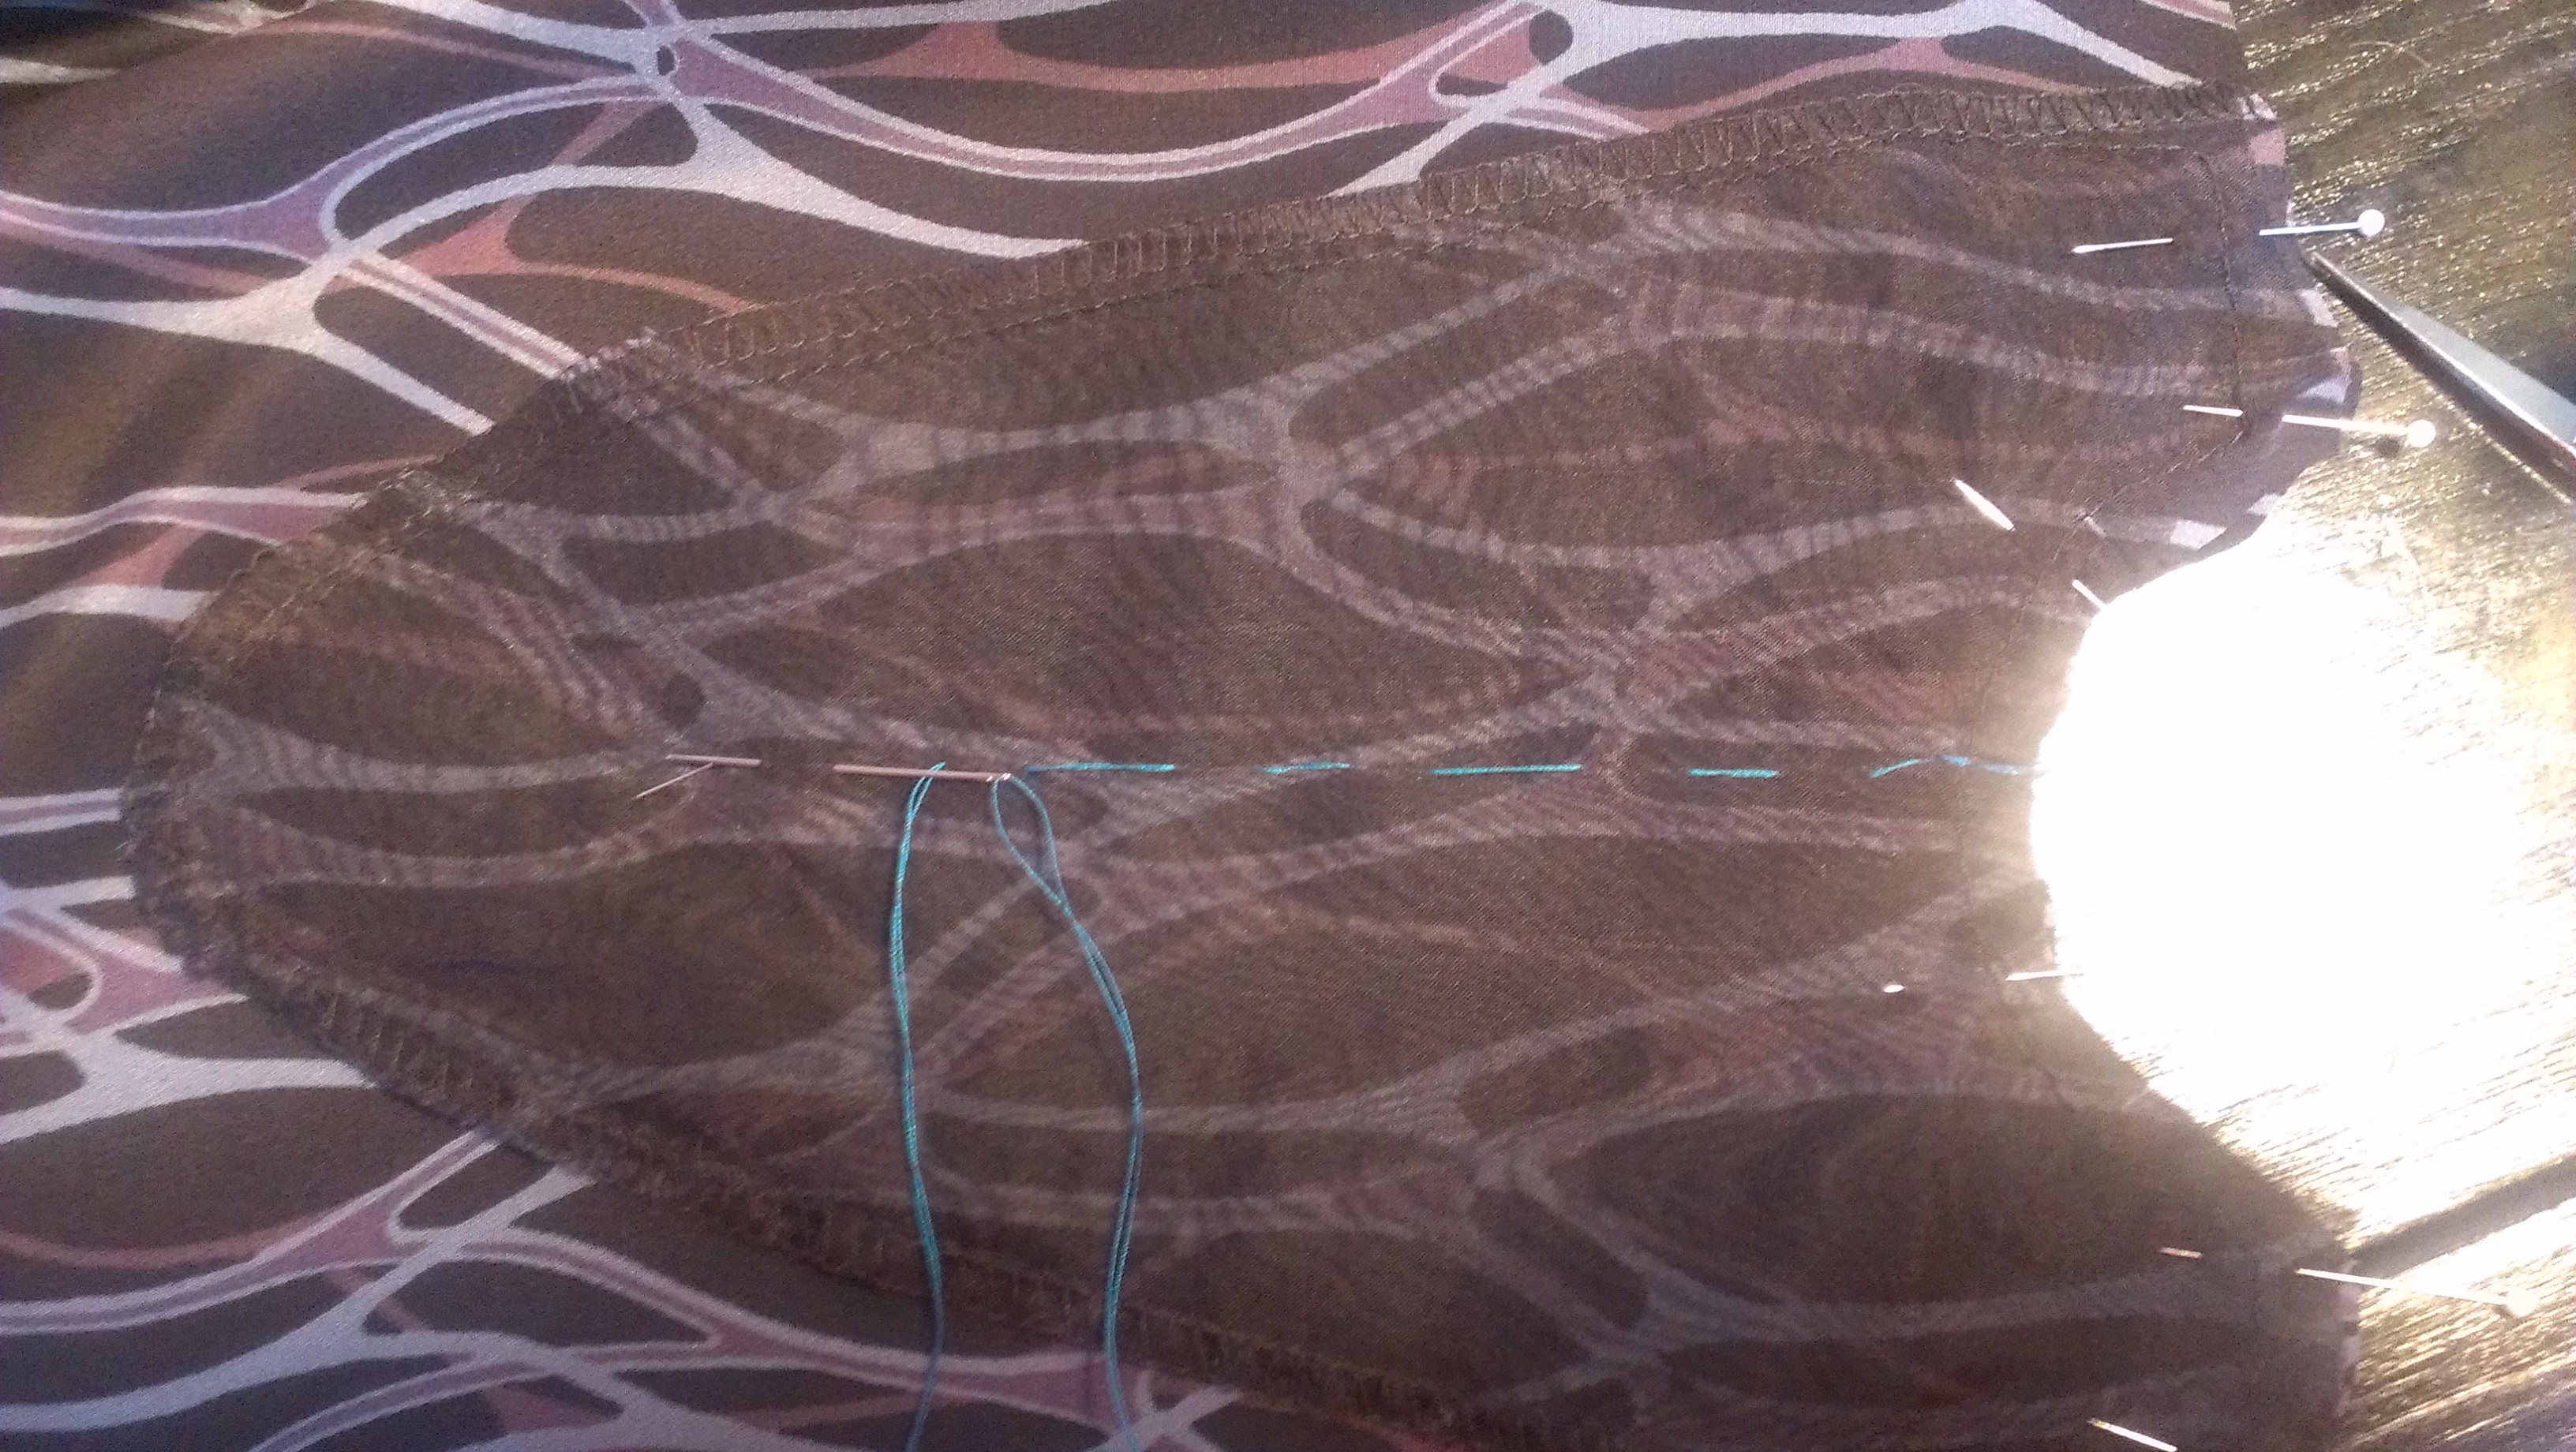
The neck band took a little time to sew on, as I chose to sew the inside enclosing seam by hand instead of the stitch in the ditch method that the pattern has you do. This method NEVER turns out well for me, so I just take out my needle, thread and thimble and get to work hand sewing:
Slip stitching the inside of the neck band by hand
There is a little keyhole opening in the back with a loop and button closure which is a nice little feature:
back of top with loop and button closure
I like to layer these little silk tops under jackets and cardigans or on their own:
My new top layered under a jacket
I almost always have inspiration styles after which I try to model my sewing projects:
Joie “Corette” printed silk tank $158Joie printed silk tank top
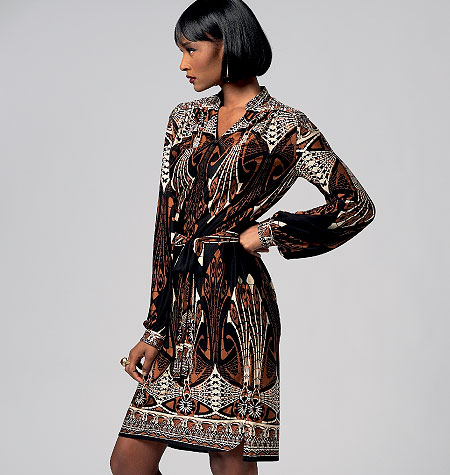
I made up this nice shirt dress in a nice Liberty silk crepe de chine print using Vogue 8847 pattern (now out print unfortunately).
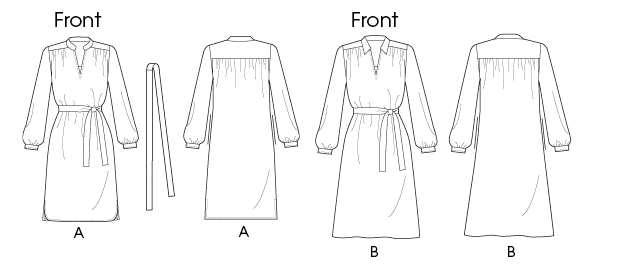
Vogue 8847 pattern photoVogue 8847 line drawing
It was not too bad of a pattern to sew, it took me a couple of weeks over weekends and evenings after work. The pattern features a stand up collar, open placket, self-lined yoke, long sleeve gathered into a barrel cuff and self belt. I chose to not add the pockets because the fabric I used was pretty light and delicate, and I thought that the pockets would just weigh down the dress, especially if I had my hands in them.
I made View A essentially for the collar style and the length of the dress, modifying the hem to be just straight across instead of curved at the front, split at the sides and straight at the back as the pattern features.
I added 2 inches to the front and back pattern pieces of the dress in order to have enough length in the torso and for the dress to “blouse” when I belted it:
Added 2″ in length to the front and back pattern pieces
I cut out the pattern pieces of the dress as best I could, not really following the pattern cutting layout for view A, which calls for an insane amount of fabric, essentially 6-7 yards of fabric, if using a border print. I just went by view B to estimate the amount of fabric to purchase, more like 3 1/2 yards of 45″ wide material.
Instead of using sew-in or fusible interfacing, I used silk organza to interface the front facing and the collar. This was a great suggestion from the sales associate at Josephine’s Dry Goods, the wonderful fabric store where I purchased the material.
silk organza used in the front facing and collar pieces as interfacing
I used hand basting with silk thread to baste the front facing to the front of the dress:
front facing basting stitches to mark the cutting line
One part of the instructions were missing, the step between 11 and 12, where you are to sew the yoke back to the yoke front, attaching the front of the dress to the back of the dress, so that is something to take note of.
It took some time and careful pinning to get the gathers at the yoke just right:
I love how this dress turned out and am quite happy with the results! It is a lovely, casual yet elegant dress to wear and I just love this Liberty printed silk!
Back view of Vogue 8847 dressSide view of dress
This dress reminds me of some dress styles that I have been saving in my sewing inspiration files like these: