Tag: Butterick Patterns

  • A Dressy Coat That Makes A Statement

    A Dressy Coat That Makes A Statement

    Nicole is a special client who heard about me through word of mouth (one of the best ways to gain new business in my opinion!). She reached out to me, sending me a message on Instagram, looking to have a coat custom made for her. She knows how to sew, which is so incredibly flattering that she asked me to do this project, however did not want to take on this big of a project for herself and felt it best to leave it to an expert.

    She wanted a dressy coat to wear this winter as for her job she appears in court at times and attends executive meetings often and wanted a really nice coat to wear that makes a statement and can make the outfit, so to speak.

    I was so excited that she asked me to take on the task! I got to work right away finding out what her desires were, finding inspirational photos and images, searching through patterns, and creating a PowerPoint presentation much like a mood board to present to her over an online zoom meeting.

    Girl Boss prepped and ready for the Design Meeting on Zoom

    I like to do these presentations for clients to show them my thought process and what I am able to achieve for them. I include images, features and benefits of patterns I have chosen, fabrics, key dates, deadlines and a working timeline, and my estimated price, all in one presentation. We go over the slides, discuss the options and make decisions together. Then I take that information and get to work. It works out great for me as I can organize my thoughts and demonstrate what I can do for them, and my clients love it and feel that I take them seriously and really care about making their project special and personal.

    After going through her inspirations, patterns and examples of coats that I have made, Nicole decided on this dressy coat pattern that came out in Fall 2021 from Butterick Patterns:

    Butterick 6868 coat pattern

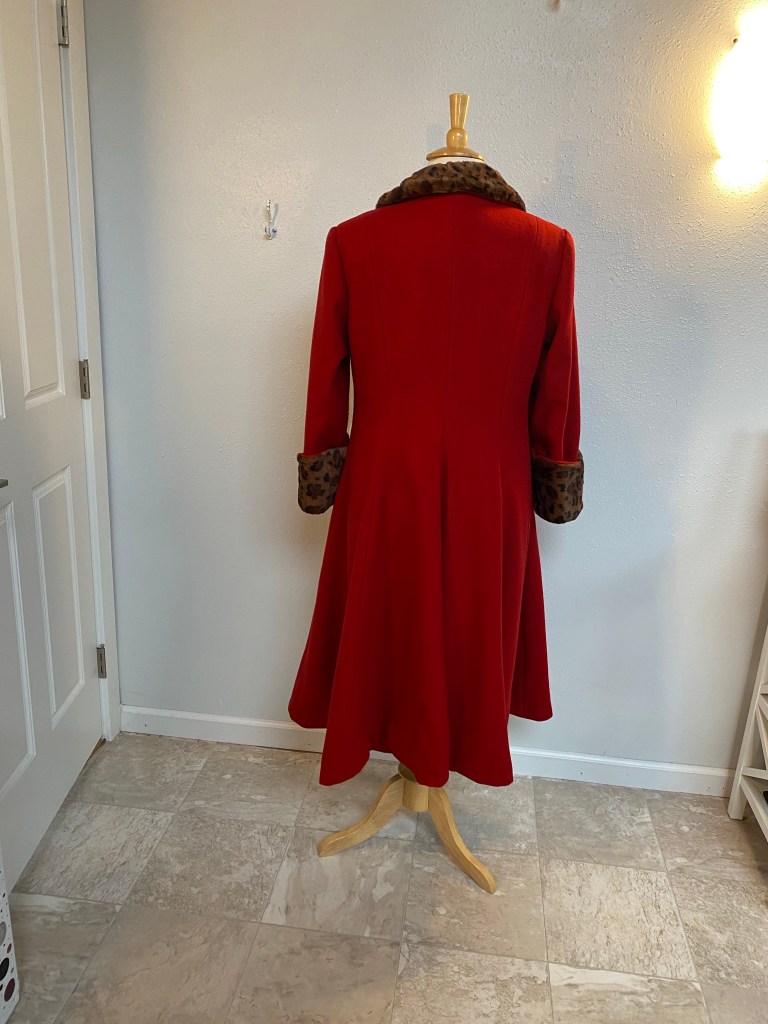
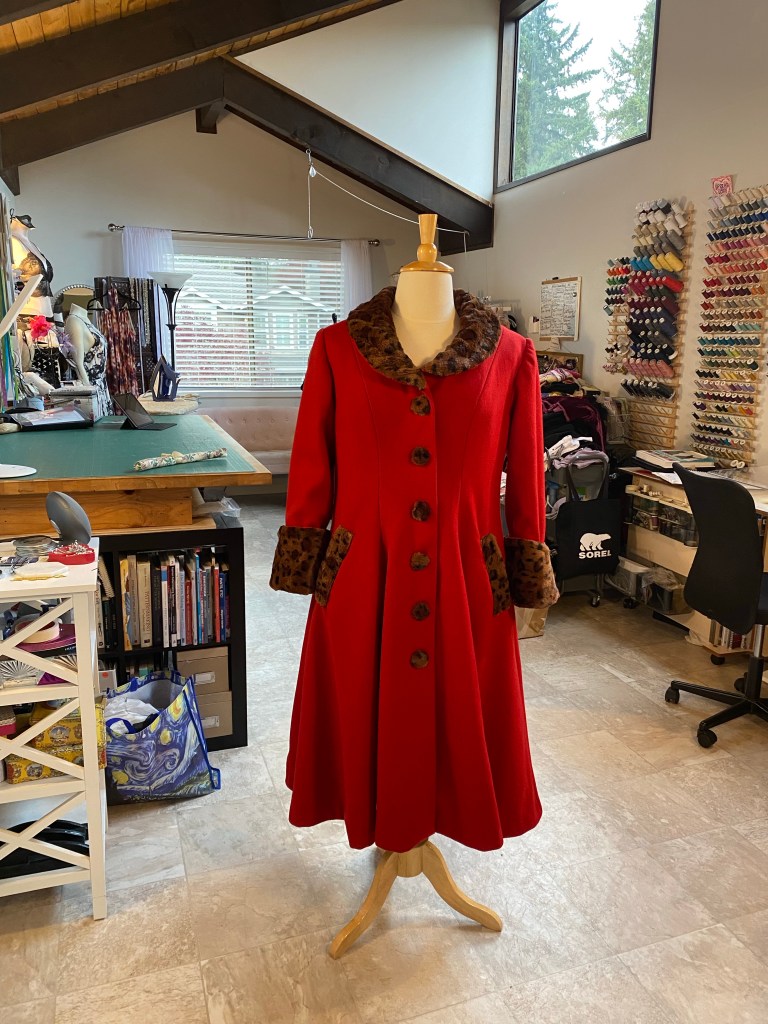
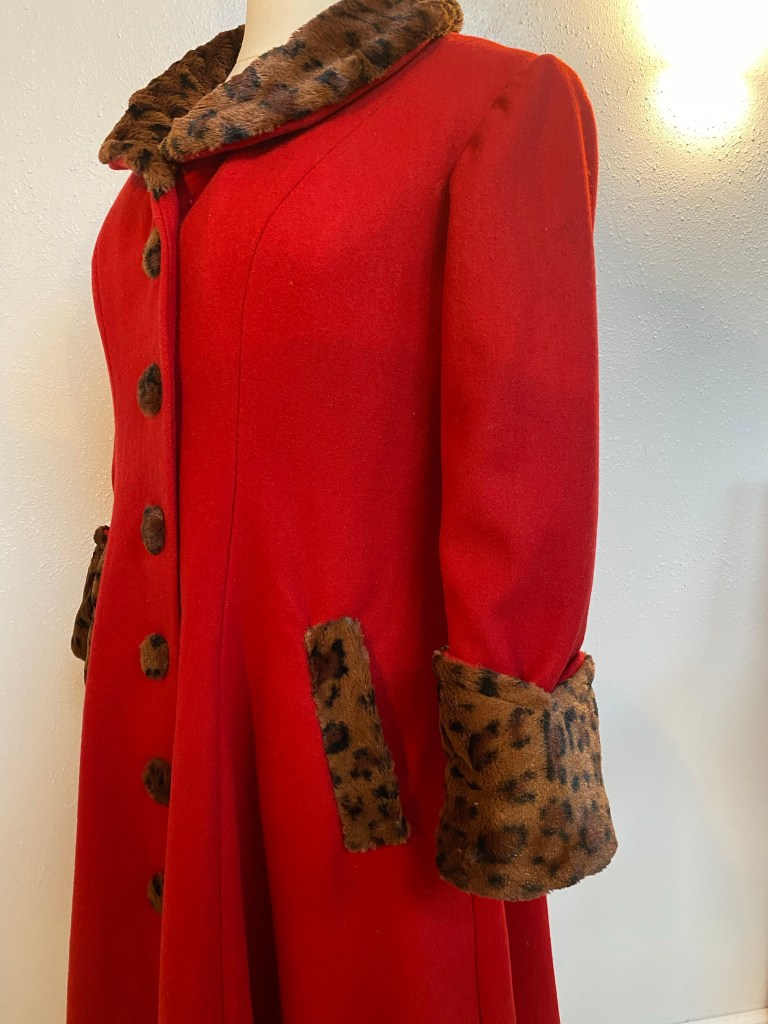
    I love this pattern! It features lovely fit and flare princess seams in the front and back of the coat, creating a vintage-inspired swingy look. The shawl collar, angled sleeve cuffs, welt pocket flaps and covered buttons are made in a contrast fabric for an elegant touch.

    The line art for Butterick 6868 View A

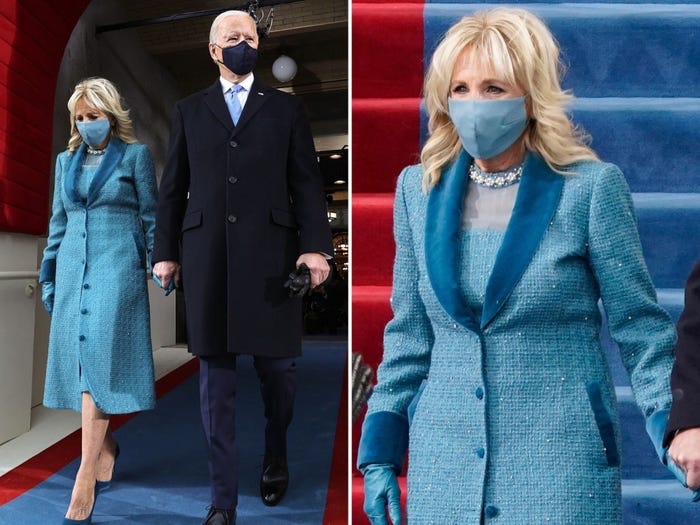
    This style of coat is reminiscent of the beautiful coat and matching dress that Jill Biden wore for the Presidential Inauguration. Her elegant outfit was designed by Gabriella Hearst and is now featured at the Smithsonian along with her other outfits worn on that day:

    Jill Biden wears a dressy coat and matching dress designed by Gabriella Hearst on Inauguration Day January 2021

    After taking Nicole’s measurements, purchasing the pattern and cutting out the pattern pieces, I made up a muslin mock up of the pattern and had Nicole come and try it on. She wanted the neckline raised a few inches, so this was nice to get and idea of how that would look:

    Although it sort of looks like a lab coat, the pattern fits pretty well just out of the envelope!
    The princess seams really create a lovely shape over her figure

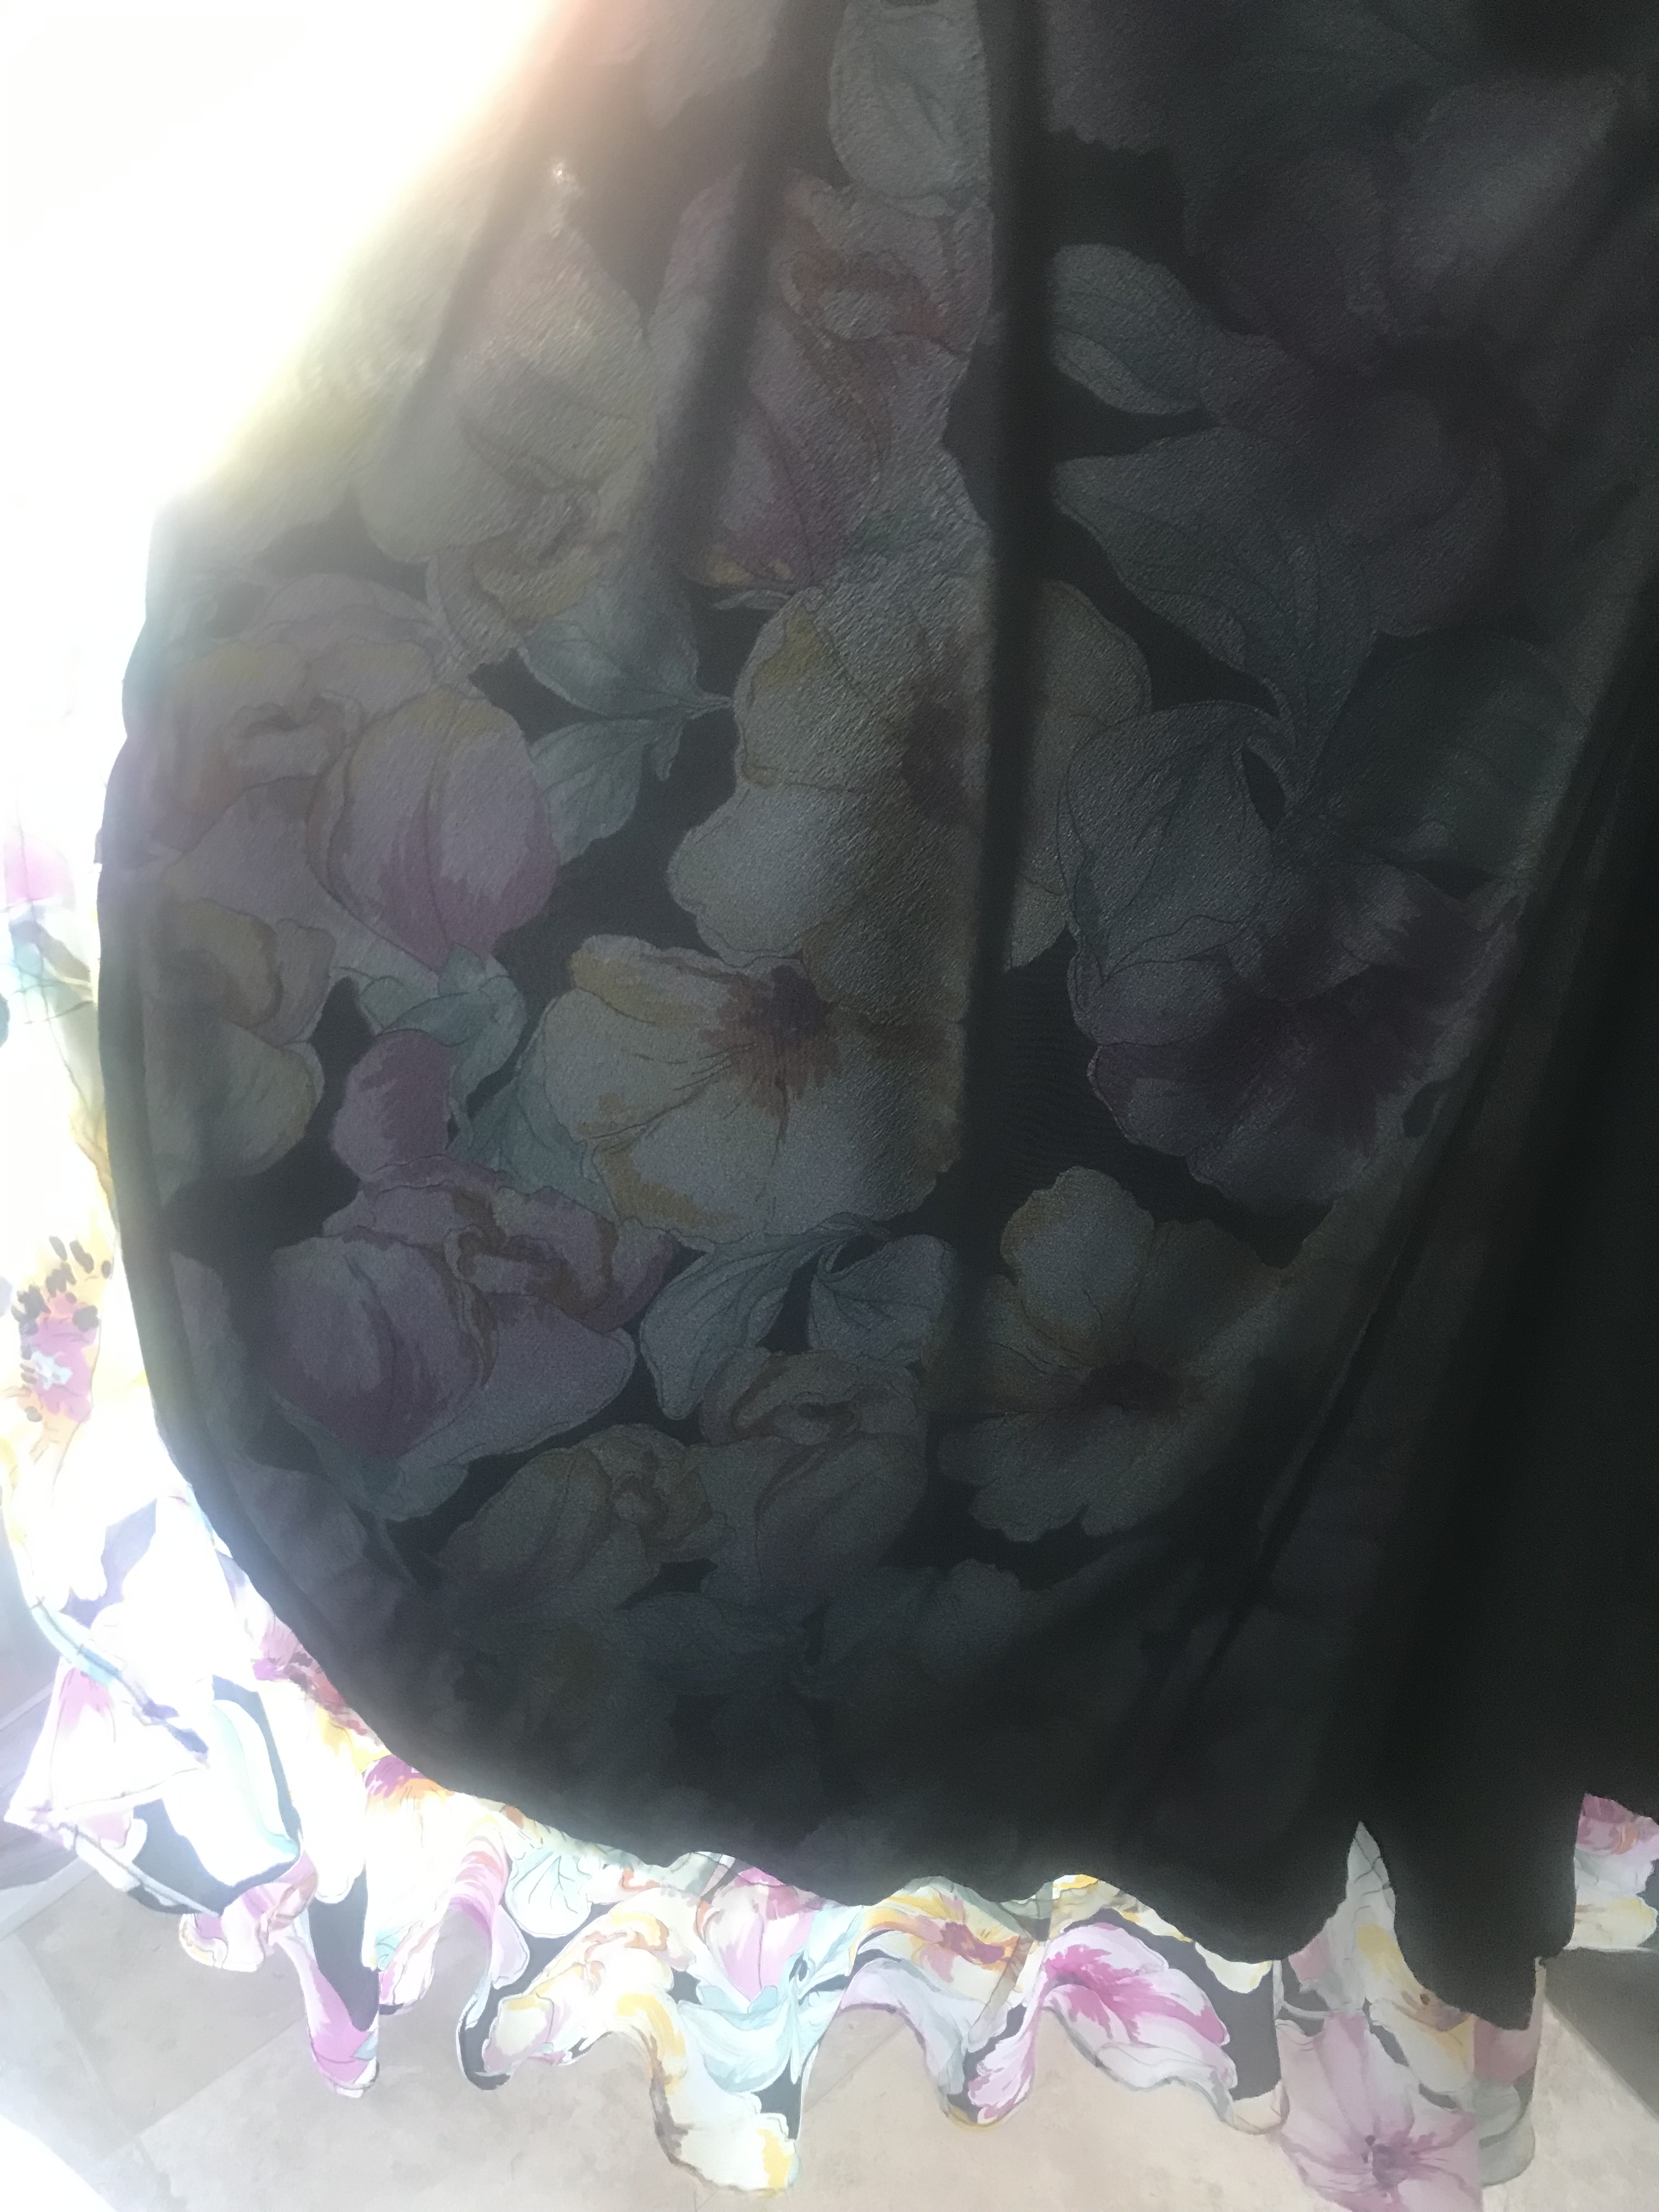
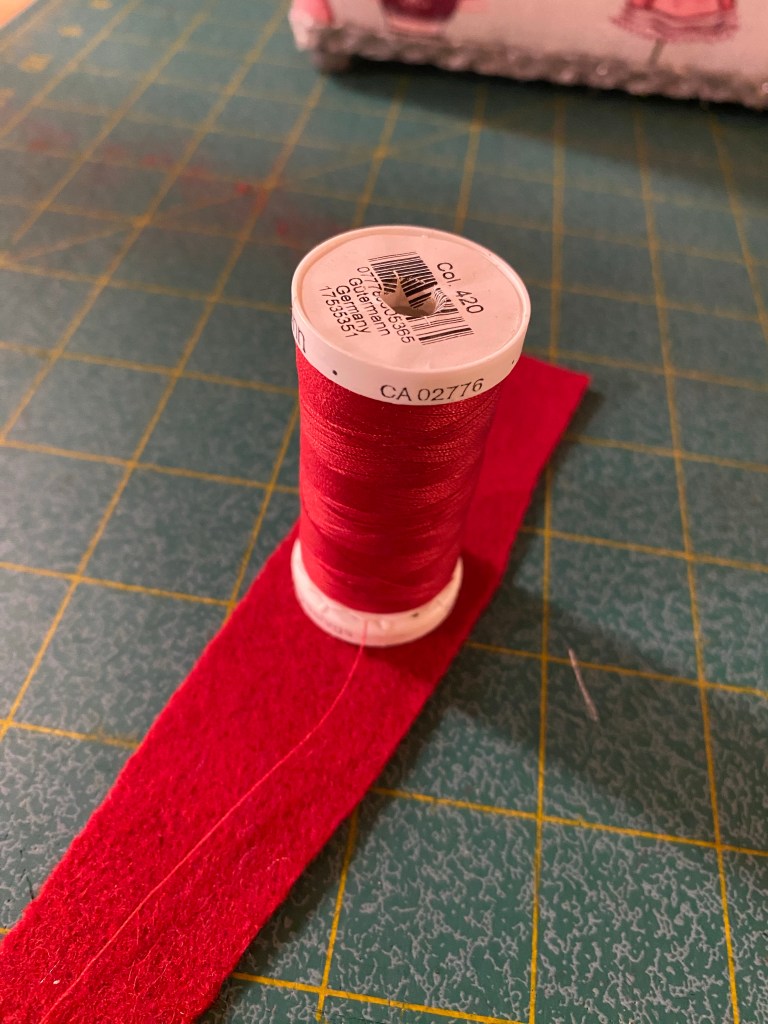
    Nicole attended the Sewing and Quilting Expo in Puyallup, WA and purchased a beautiful cherry red wool yardage for her coat. She brought me the whole bolt, and we also went fabric shopping together, choosing the lining and contrast trim fabric for the design. She chose a lovely animal printed faux fur for the contrast trim and a caramel brown rayon for the lining. So elegant!

    Color matching the thread to the coat material

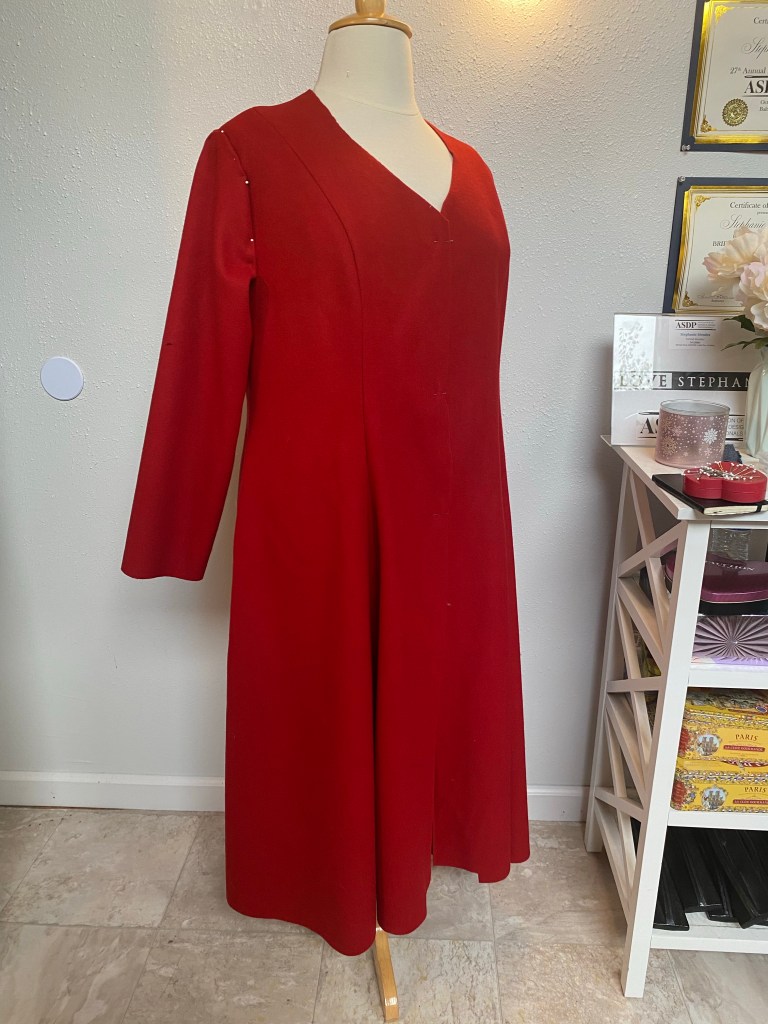
    After the fitting of the muslin mock-up and making a few tweaks to the pattern, I cut out and sewed up the main shell of the coat for her to try on for fit and to see the coat partially made:

    The coat partially made, ready for a quick fitting

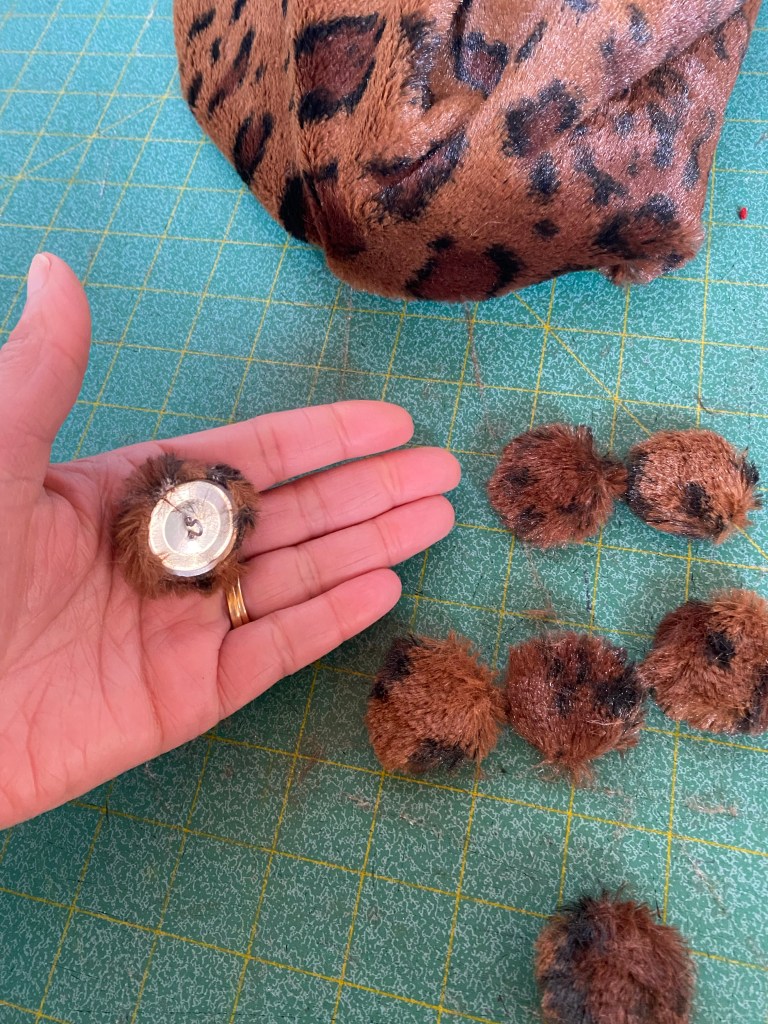
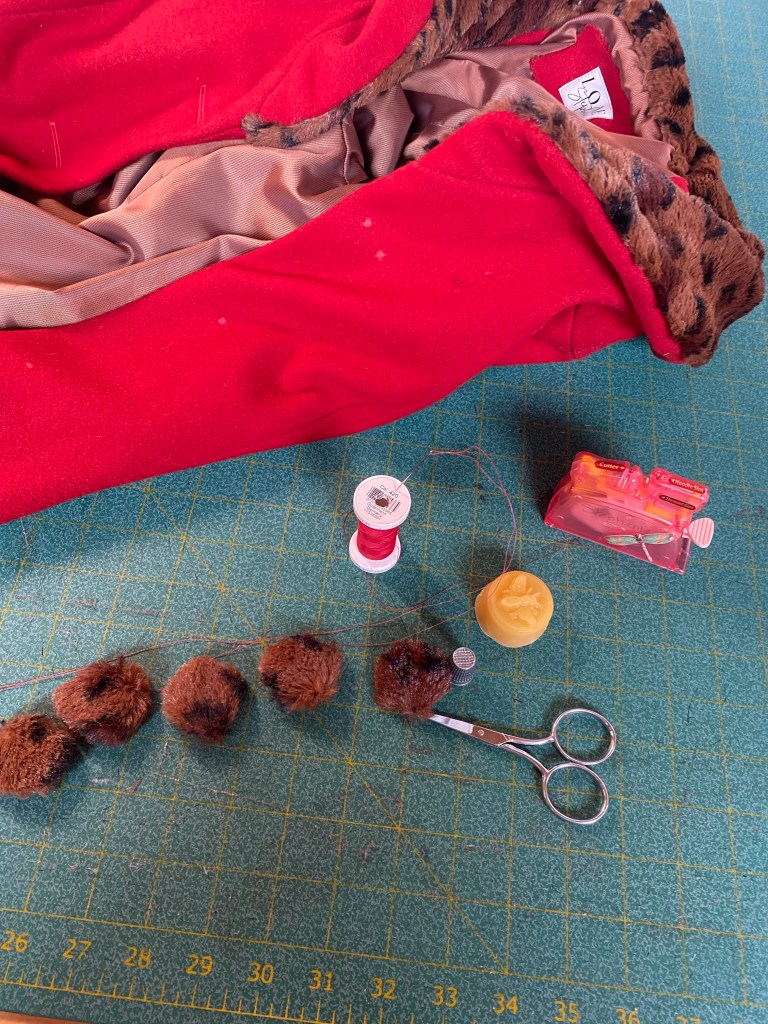
    Once Nicole was good with the progress, I set up my sewing machine and got to work finishing the coat. Hours were spent cutting the lining, constructing the collar, cuffs and pocket welts out of the faux fur (that stuff makes a huge mess and gets everywhere!) and making the cute covered buttons:

    The fur covered buttons look like little fuzzy critters!

    I installed the welt pockets which I think were the most difficult part of the coat. They had to be at the same exact spot on the coat, and the same exact size and shape to look right. Cutting into the fabric right on the outside of the panel of the coat was nerve wracking to say the least! There is NO room for error and you can’t “un cut” it to correct any mistakes.

    The fur trim looks SO good, but is definitely a pain to work with

    The fabric is heavy and thick, leaving bulky seams to deal with and the need to hand sew in many spots to have the best results.

    Sewing on the covered buttons was challenging!

    My favorite part of making custom clothing for clients are the special touches I like to add to the project. For Nicole, I added a faux leather piping trim to the inside of the coat between the facing and the lining. This adds no purpose to the construction, just a little finishing touch and pop of color and texture to the inside of the coat:

    Black piping added to the inside of the coat sandwiched between the lining and the facing
    Sewing the lining hem by hand took about an hour, but so worth it!

    Since I wanted to add another personal touch to the coat and I have the right machinery and plenty of thread, I decided to add a fancy embroidered monogram to the inside lining at the back of the coat, a secret little feature that she will see every time she slips on this beauty:

    An embroidered monogram inside the coat for that special touch

    After months of work, hours spent sewing by machine and by hand, and physically managing this big project, it turned out beautifully and I am proud as well as excited to hand it off for her to wear and enjoy!

    Her lovely coat is complete!
    The shape is so elegant, timeless and tailored
    She’s ready for her entrance!
  • Floral Silk Girly Dress

    Floral Silk Girly Dress

    Whenever I have been invited to an occasion, the first thing I think of is “what am I going to wear?”. The next thing I think of is “what can I sew for myself to wear” as I love to make clothing and I love wearing things that are unique and nobody else has in their closet. From there, I pull up my pattern stash archive, pay a visit to my fabric stash (or the fabric store if I really don’t have the appropriate fabric to work with) and get started planning and sewing my outfit.

    For this occasion, I was invited to a wedding of a lovely bridal alterations client who had become a friend over our many dress fittings and consultations of her beautiful wedding gown. The major part of her dress that I altered was her complicated and intricate bustle of her train that I she dreamed up and I created for her. Originally, as I fiddled and fussed to get her train bustled just right at one of her fittings, I said to her “I’ll just hide in the bushes at your wedding venue, you give me the signal when you are ready, and I’ll sneak out and help you bustle, then disappear back into the bushes and let you be on your way to the reception”. She would have none of that and insisted that I attend the wedding as her guest, and enjoy the entire ceremony plus be ready to bustle…DEAL!

    So, being the alteration seamstress of honor at this wedding, I just had to have something special and handmade to wear! Not having all the time in the world to be sewing for myself with the very busy post-Covid wedding season upon us and other alterations and custom sewing client projects literally piling up in my sewing studio, I decided to make a dress that I have made before (a huge time and energy saver!) and use fabric that I had in my stash from Mill End Store in Portland, OR.

    I pulled out this lovely pattern from Butterick that I had already cut out and made fit alterations to the pattern for a dress that I made a couple of years ago:

    Butterick 6554 pattern

    I made view C, the halter neck, ruffled and flounce dress that wraps and ties to the side.

    This time around, I decided to fully line the dress (instead of using the bodice facing from the pattern), meaning I cut out the entire dress, the bodice and the skirt pieces, less the flounces, in both the outer, floral silk georgette fabric and the silk lining that I also had in my fabric stash. Cutting silk, especially sheer, floaty slippery silk, is NOT easy if you’ve ever tried. It slips all over the place and misbehaves in as many ways as it can, just to drive you nuts and practically give up before you even started. But, since it was SO pretty and soft, I did my best to battle it and tackle it into submission, knowing in the end it was going to be incredible and worth it all.

    The silk draped so innocently on my dress form
    Anchored down and ready to cut!

    So the sewing begins!

    Making a tiny hem to the ruffled edge

    It all went pretty well and the fact that I had made it before, I knew what to expect from the pattern instructions.

    The most difficult and time consuming part was making the narrow hem on the long outside edge of the flounce that would be attached at the bottom of the skirt. Check out this pattern piece that is over 110 inches long. Yikes!

    After tackling that beast, the dress was nearly done and I could start to see the light at the end of the tunnel.

    Having a major deadline to hit, and other clients banging down my door and begging me to help them with their last-minute bridal requests, I finished up my dress and just got ‘er done.

    One last thing I added to the dress was lightweight foam bra cups sewn into the bodice lining as that sheer stuff certainly wasn’t going to hide my bits. Thank goodness I had some on hand in my supply stash and I was able to swiftly hand sew them into my dress, no problem! Confidence boosters for boobs-horray!

    Bra cups sewn in saved any wardrobe malfunctions!

    I just have to share the insides of the dress with the lovely silk lining!

    Here I cheated and used my serger to attach the waist of the bodice to the skirt and hide the raw edges.
    The skirt lining that ends just above the flounce

    So off we went to the wedding, leaving enough time to stop at one of our favorite spots in the wine country of the Willamette Valley in Oregon, The Allison Inn and Spa, to snap some photos and have a glass of champagne and a light cheese plate before the wedding. Perfect!

    Let’s go up there, that’s where the champagne is served!
    The lovely snack we shared over a glass of wine and champagne!
    Watch that breeze!

    As much as I enjoy the entire process of making a new dress, it feels so good to be done with this one, wear it to a fun wedding (and not have to hide in the bushes!) and hang it up on my wardrobe for another occasion.

    Until next time, cheers!