Making a fashion collection has always been a dream of mine. I did a small collection while in a fashion design program at Portland Fashion Institute (then called Portland Sewing) back in 2015, which was a great experience and a lot of work, however it was not even close to this amount of work, time and organization than this most recent undertaking. Also, when I look at other big designers collections and the unbelievable amount of time, money and effort it must take to do such a show, mine pales in comparison.
None the less, this was one of my biggest undertakings to date. I began by entering as a designer and signing the contract for FashionXT back in March for the show happening in October. Once I signed the contract and paid my submission fee, there was no going back.
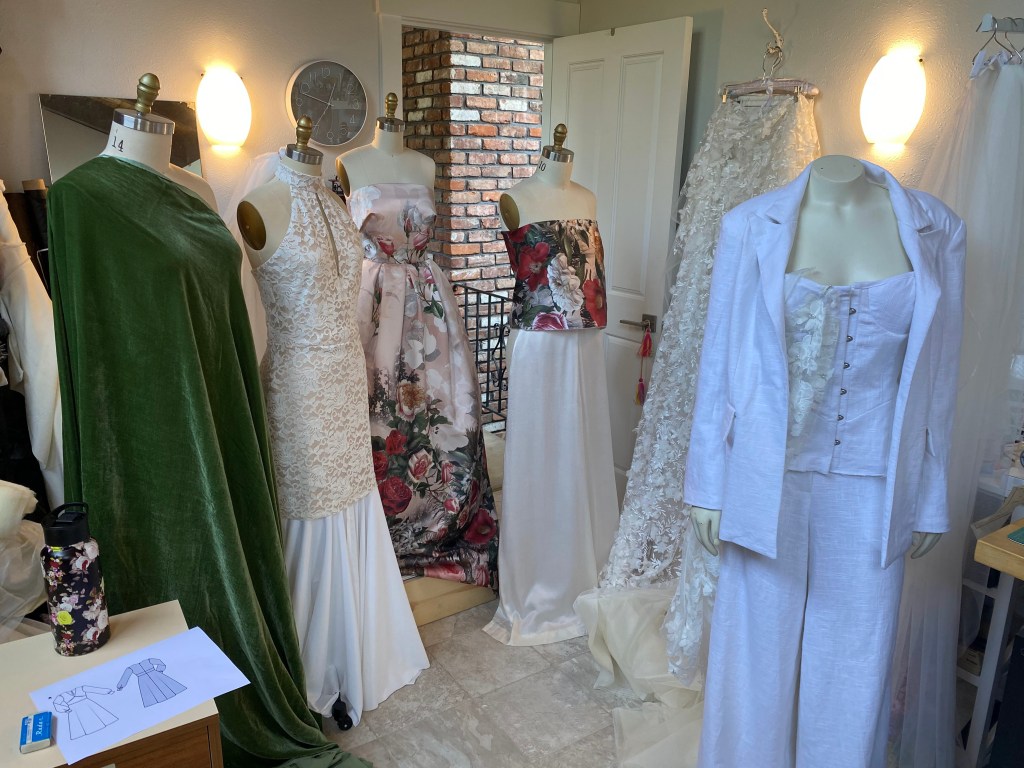
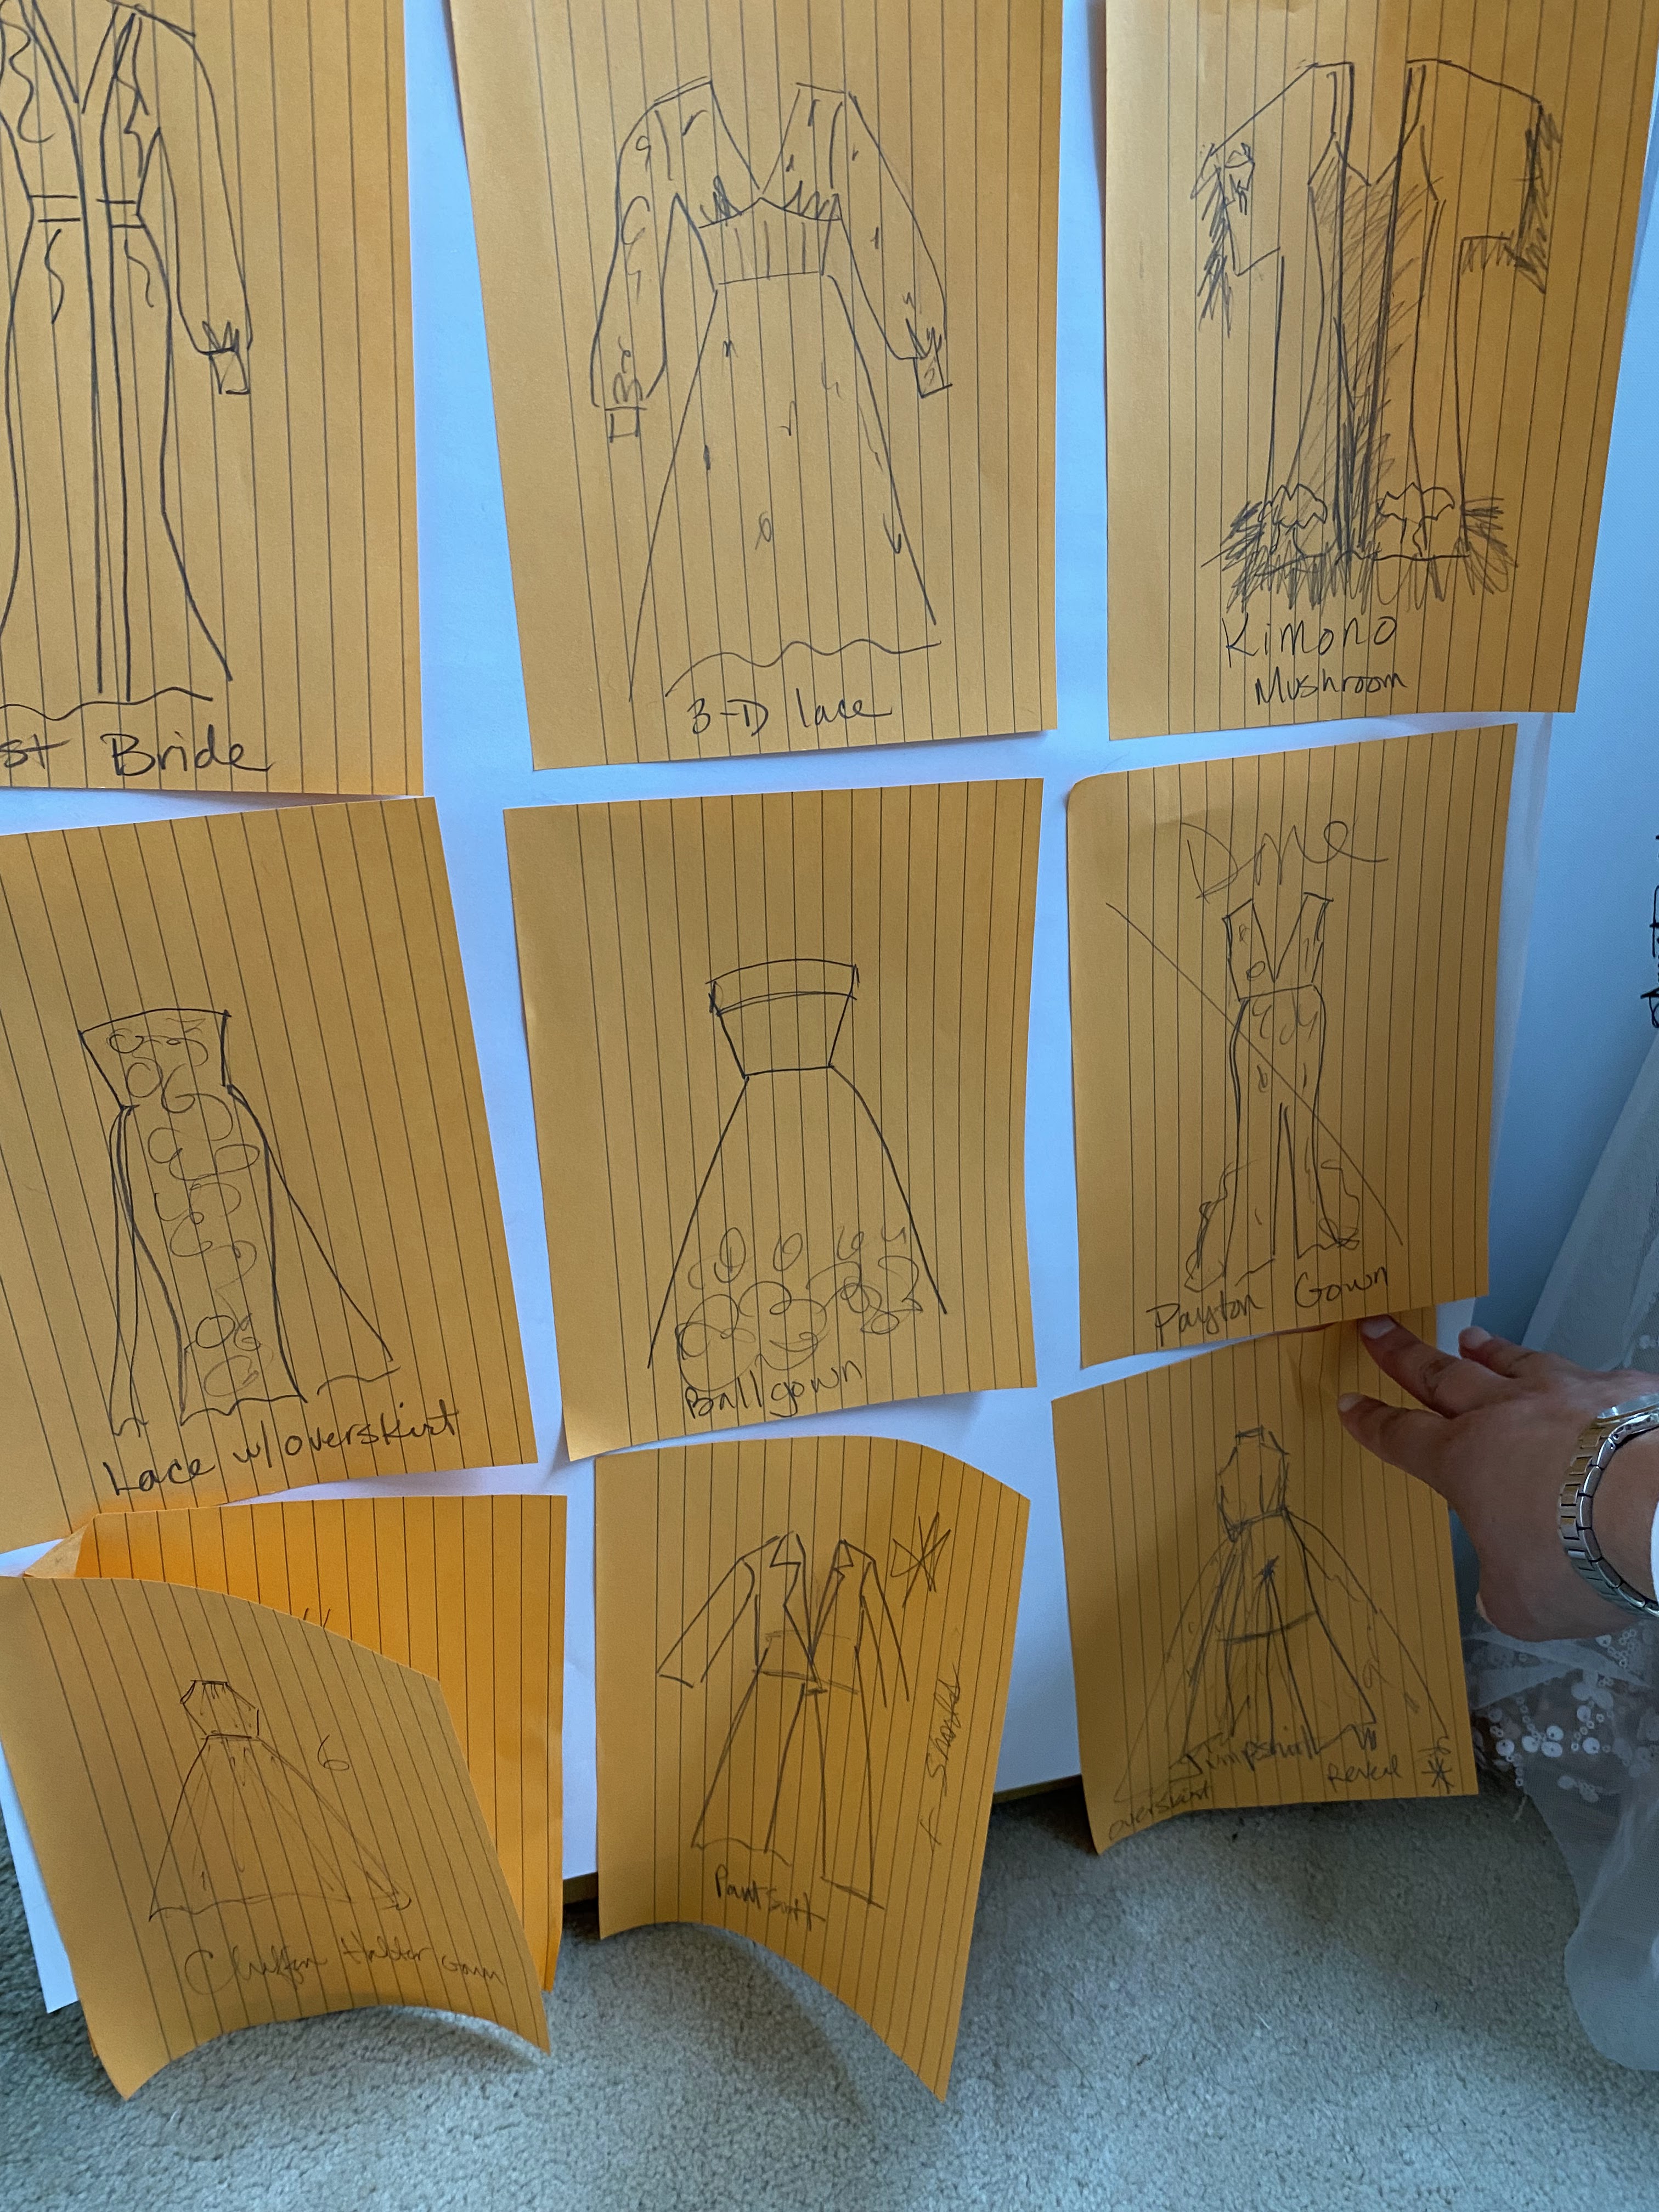
Then the real work began! I asked a few friends if they would be willing to be my little support team, there to bounce ideas off of, help me make decisions, keep on track, and stay motivated. Early on, I held a meeting with them and shared my ideas and concepts for what I was going to make for the collection. I had some wonderful fabrics already, enough yardage of each fabric to make a big dress or a suit, and some style ideas already swimming in my head that I was dying to make up. I came up with a little line plan with simple sketches and brought my fabrics to show & tell over a brunch meeting, no husbands invited!
I sat down with my calendar and made a plan. I figured I had to make about a dress a week in order to meet the deadline of the show, then broke the days of the week into more goals and tasks, all because I know how much of a procrastinator I am, and always underestimate the time needed to make something.
Flash forward to show time, I nailed it in terms of timing! I was done with everything a couple of days before the show, and had the time to do any final sewing tasks, carefully steam out and pack up each dress and the accessories, and have them ready to transport to the show venue. I could relax, enjoy the night before the show, drink some wine, get a good night’s sleep, and really focus on my successes and on the Big Day the next day.

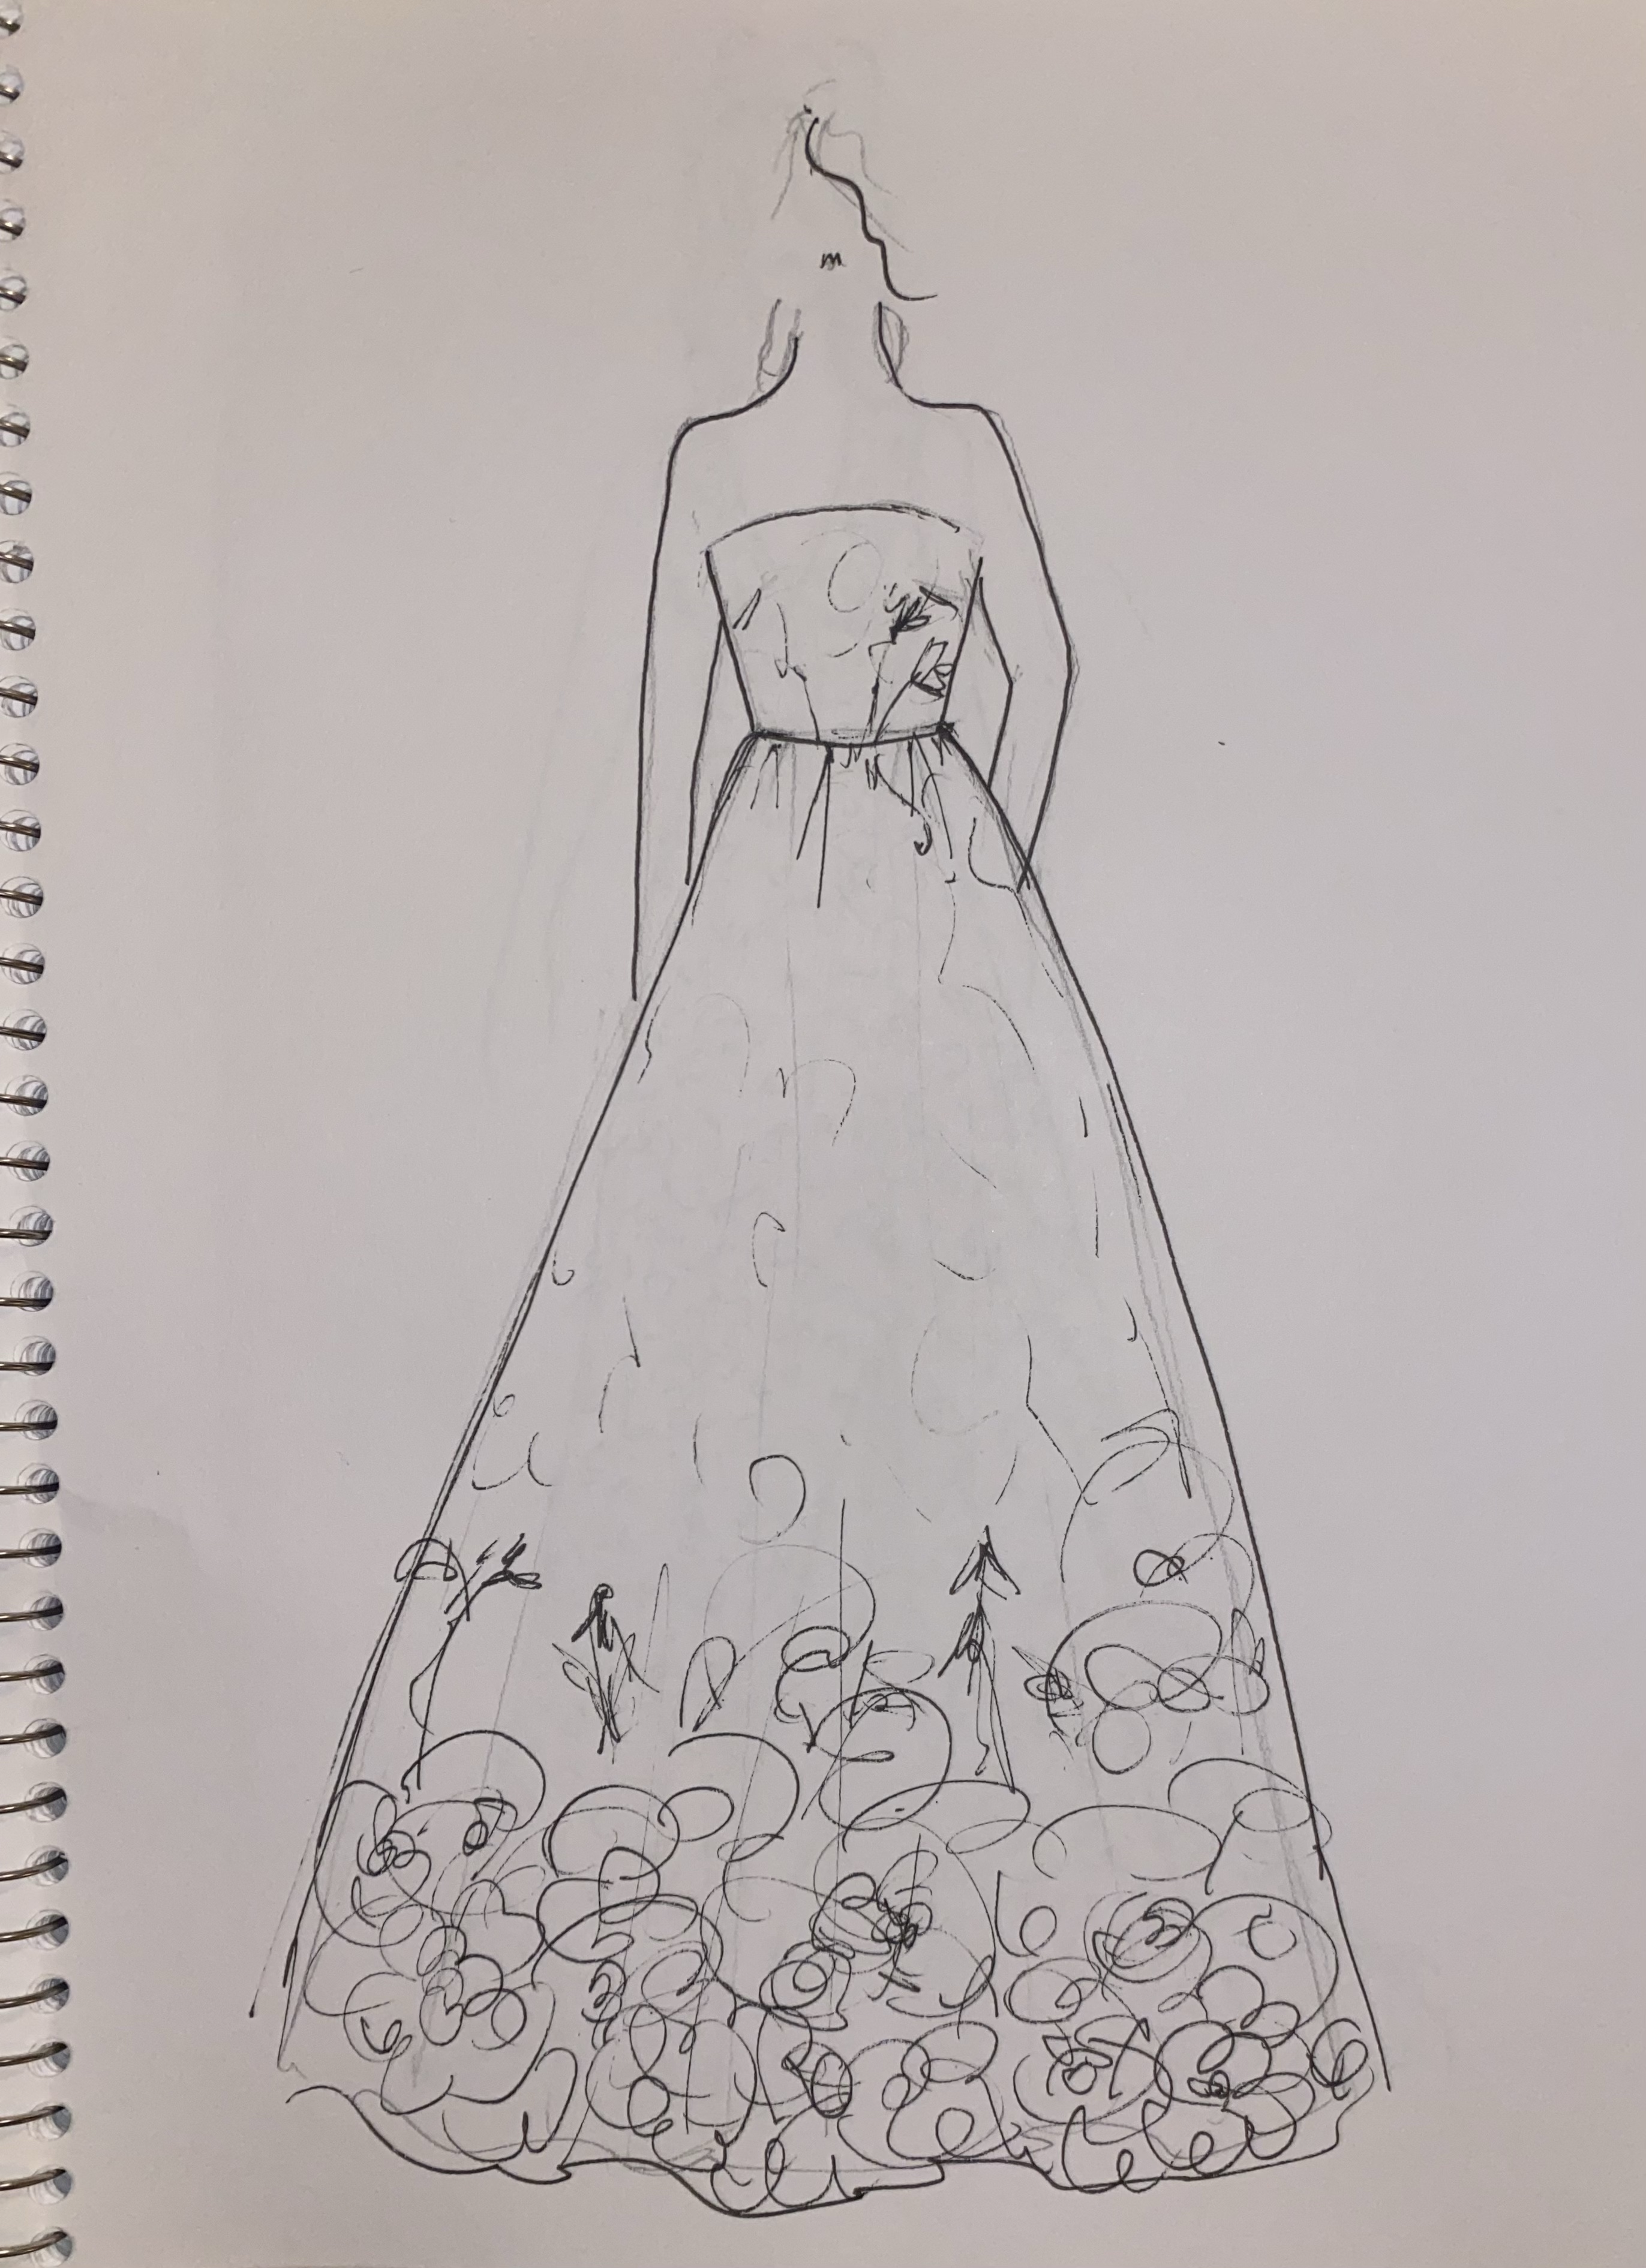
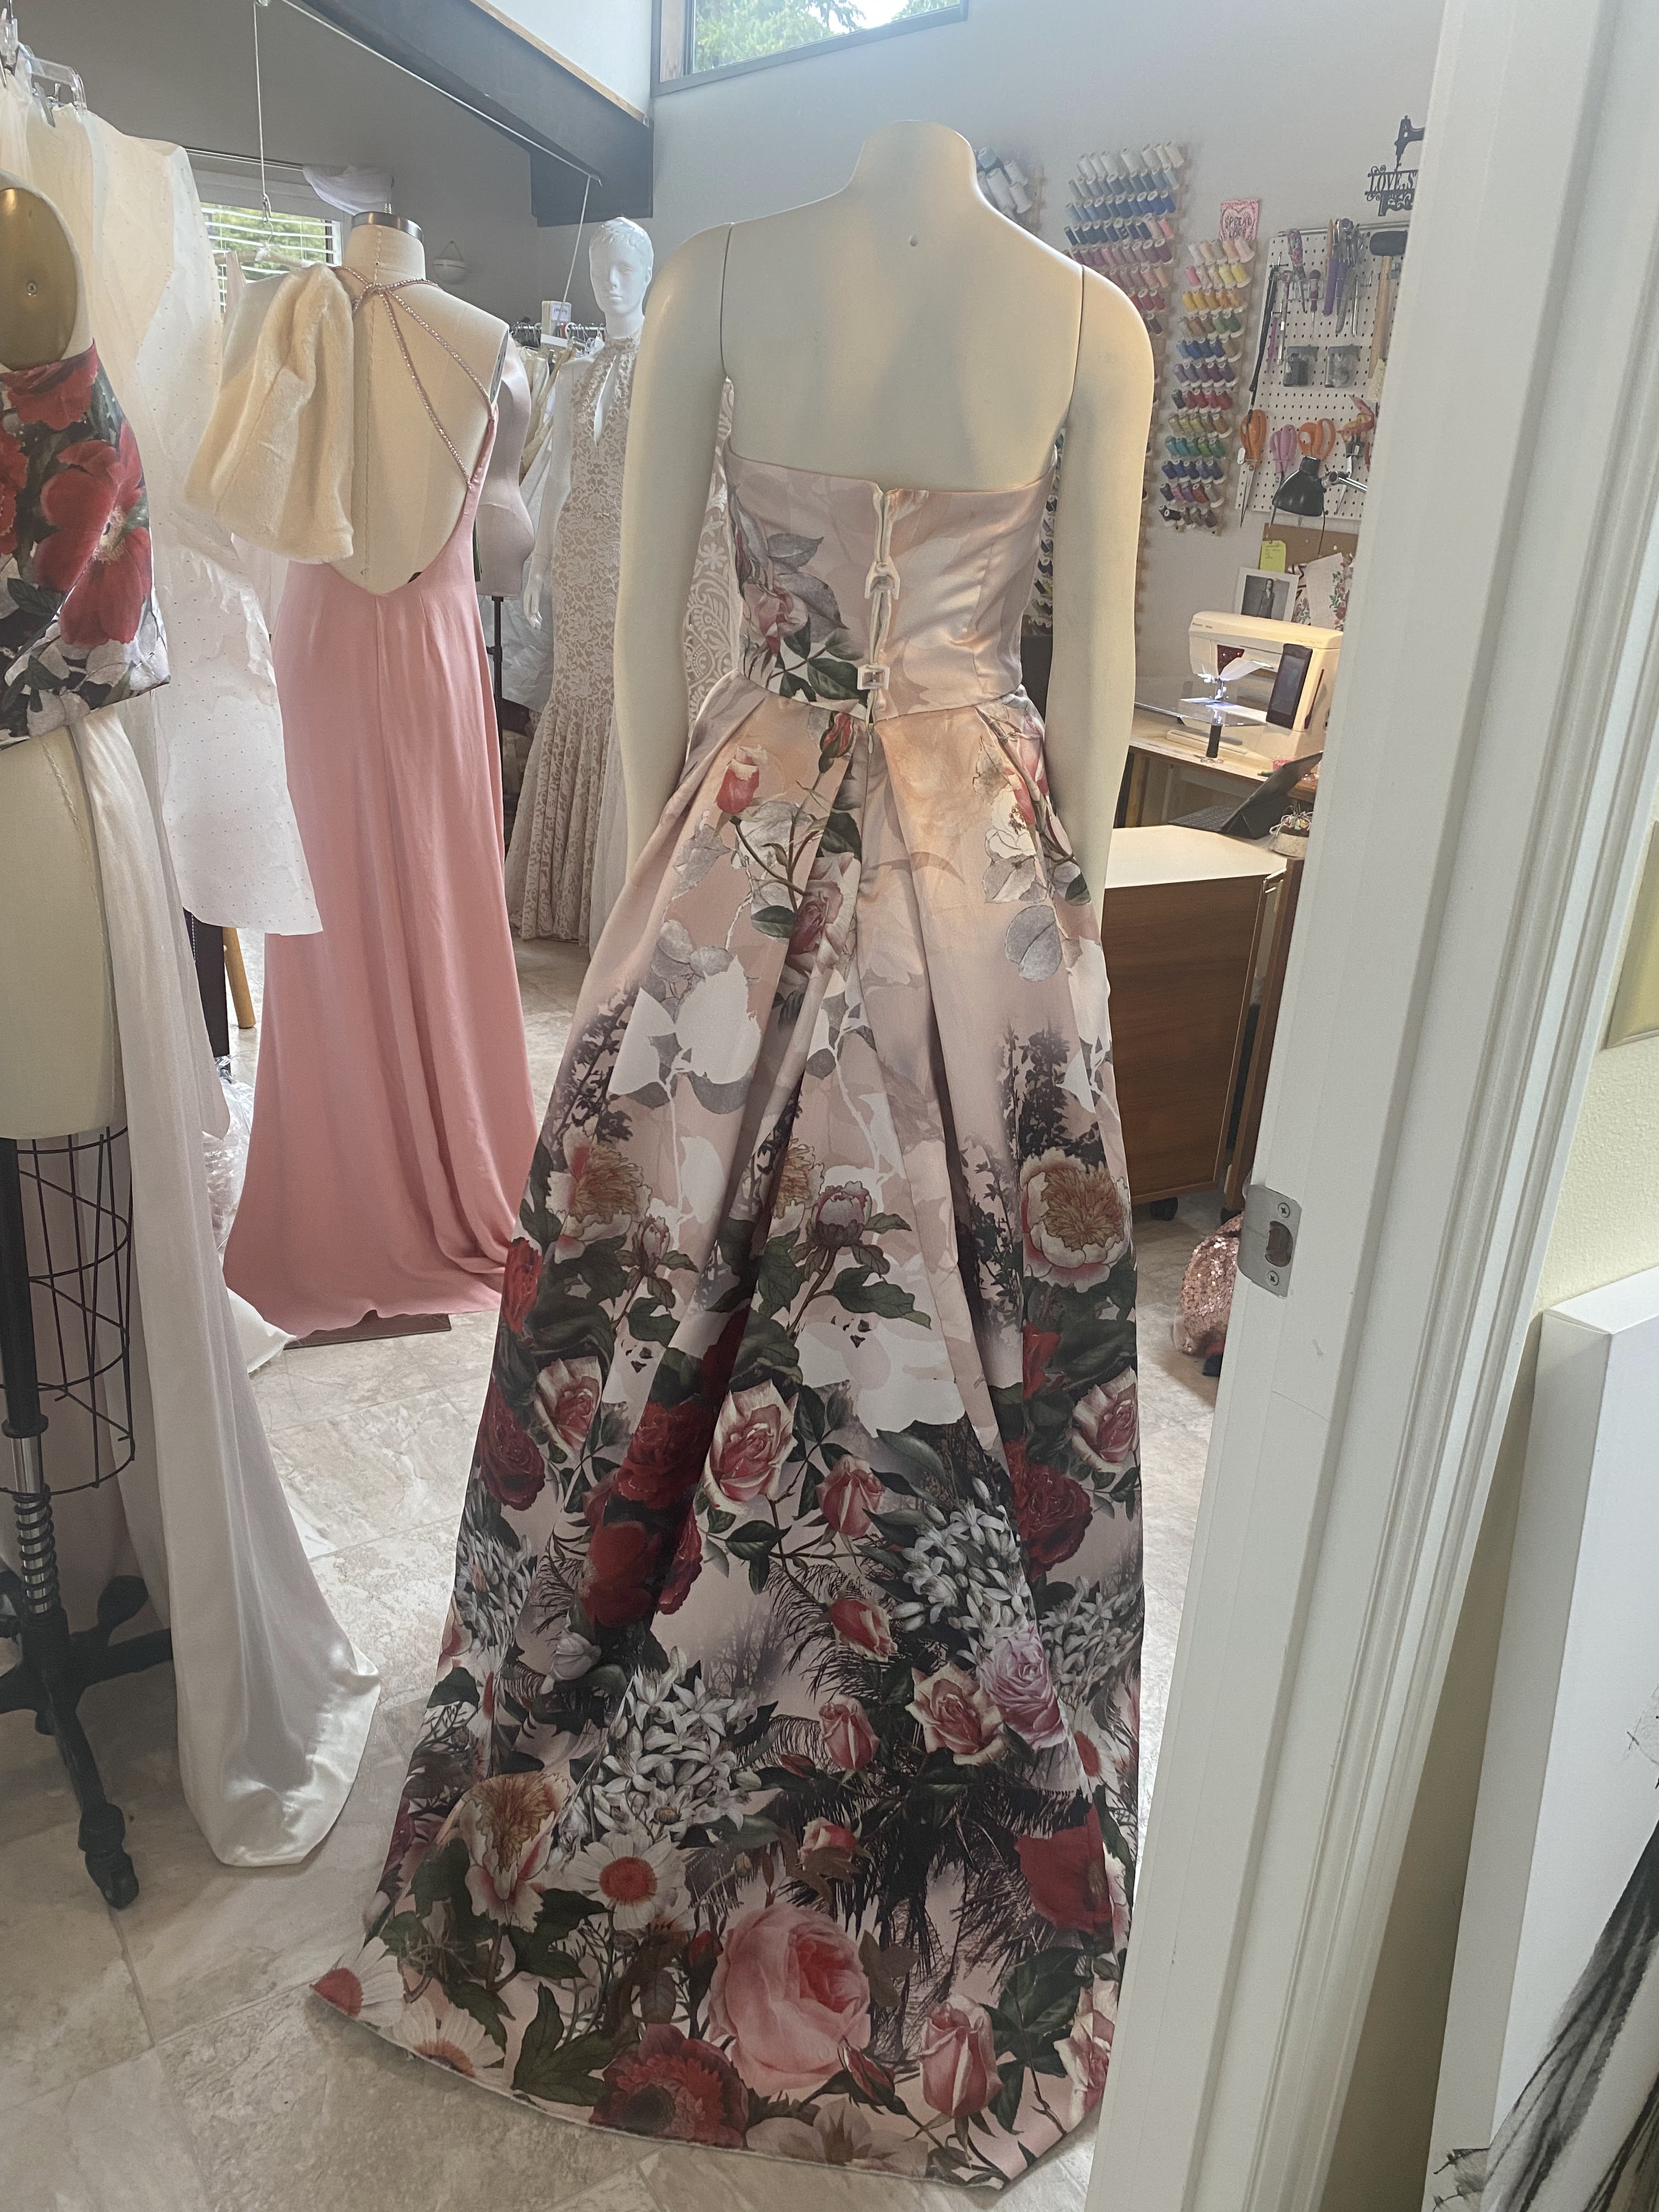
Back to the time being…then began the actual work of editing down to what makes sense, what flows together in a collection, and sticking to a theme. I began to conceptualize the collection with the one fabric that really spoke to me, a floral printed mikado (a type of satin) that I had purchased from Mood Designer Fabrics a few years ago. I just loved the colors and the “growing” effect of the print. I thought it would be a wonderful, big ball gown with a big skirt to show off the fabric. Hence, the Floral Garden Bridal Collection was born!
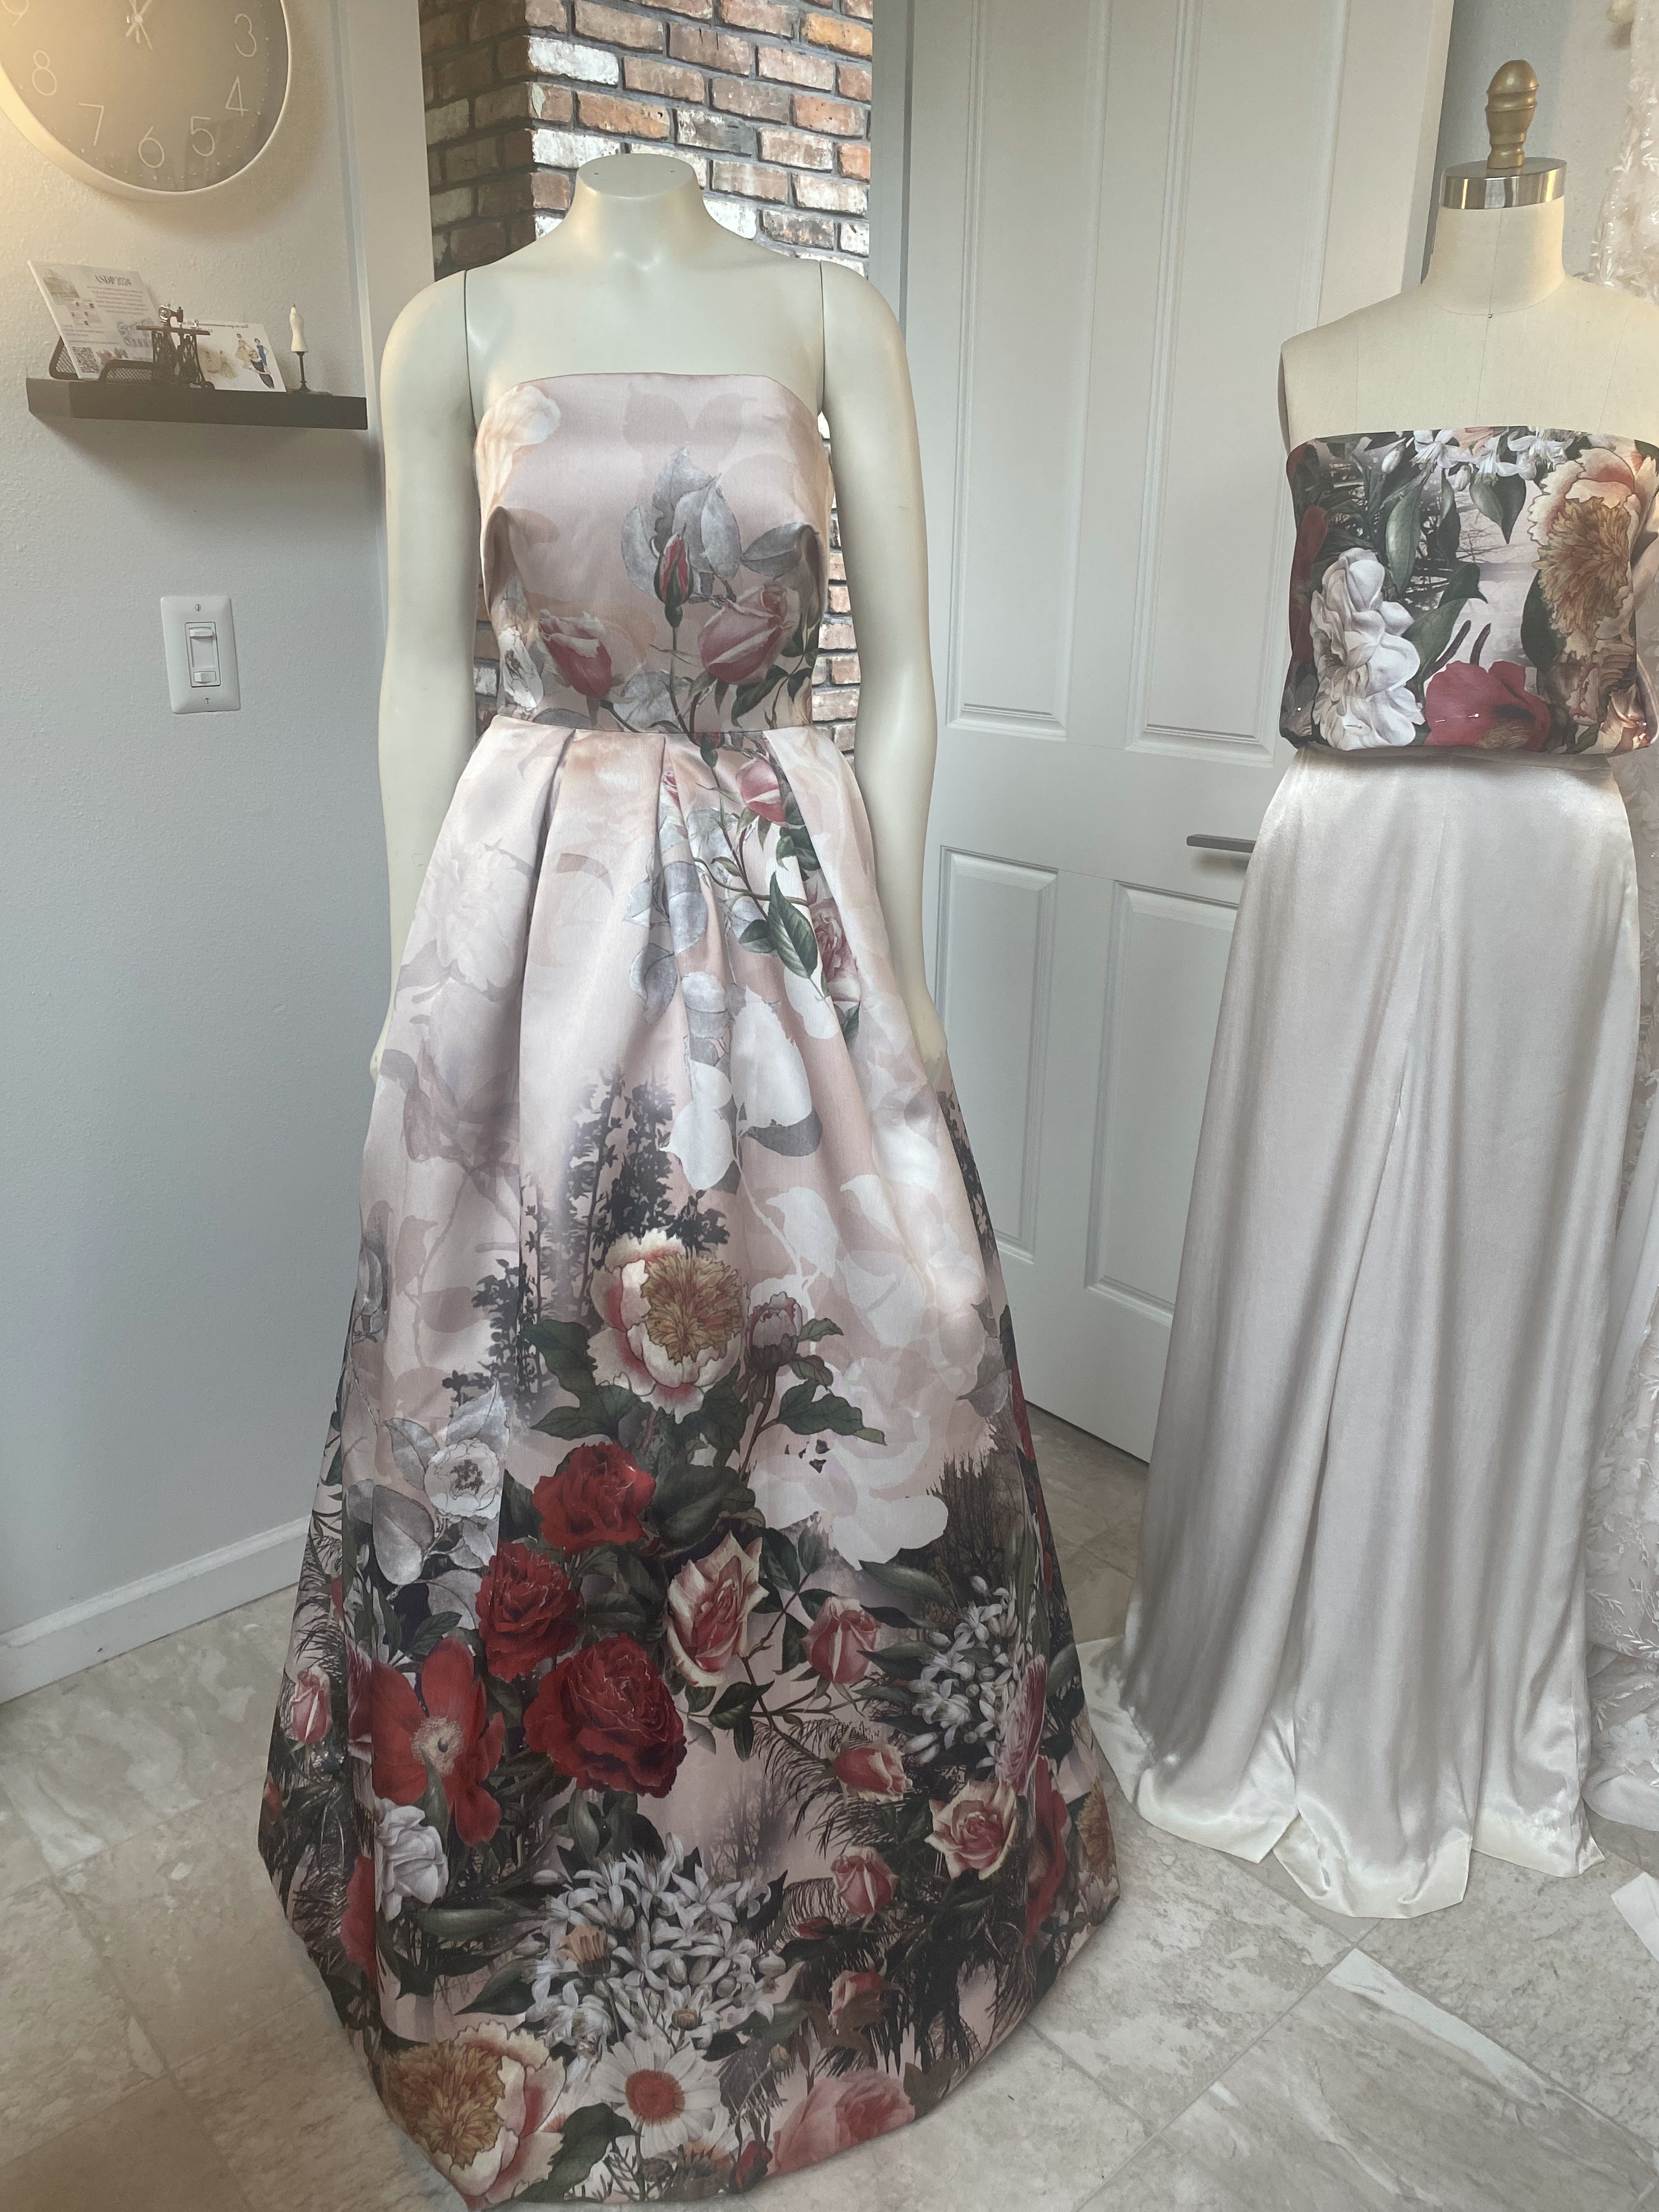
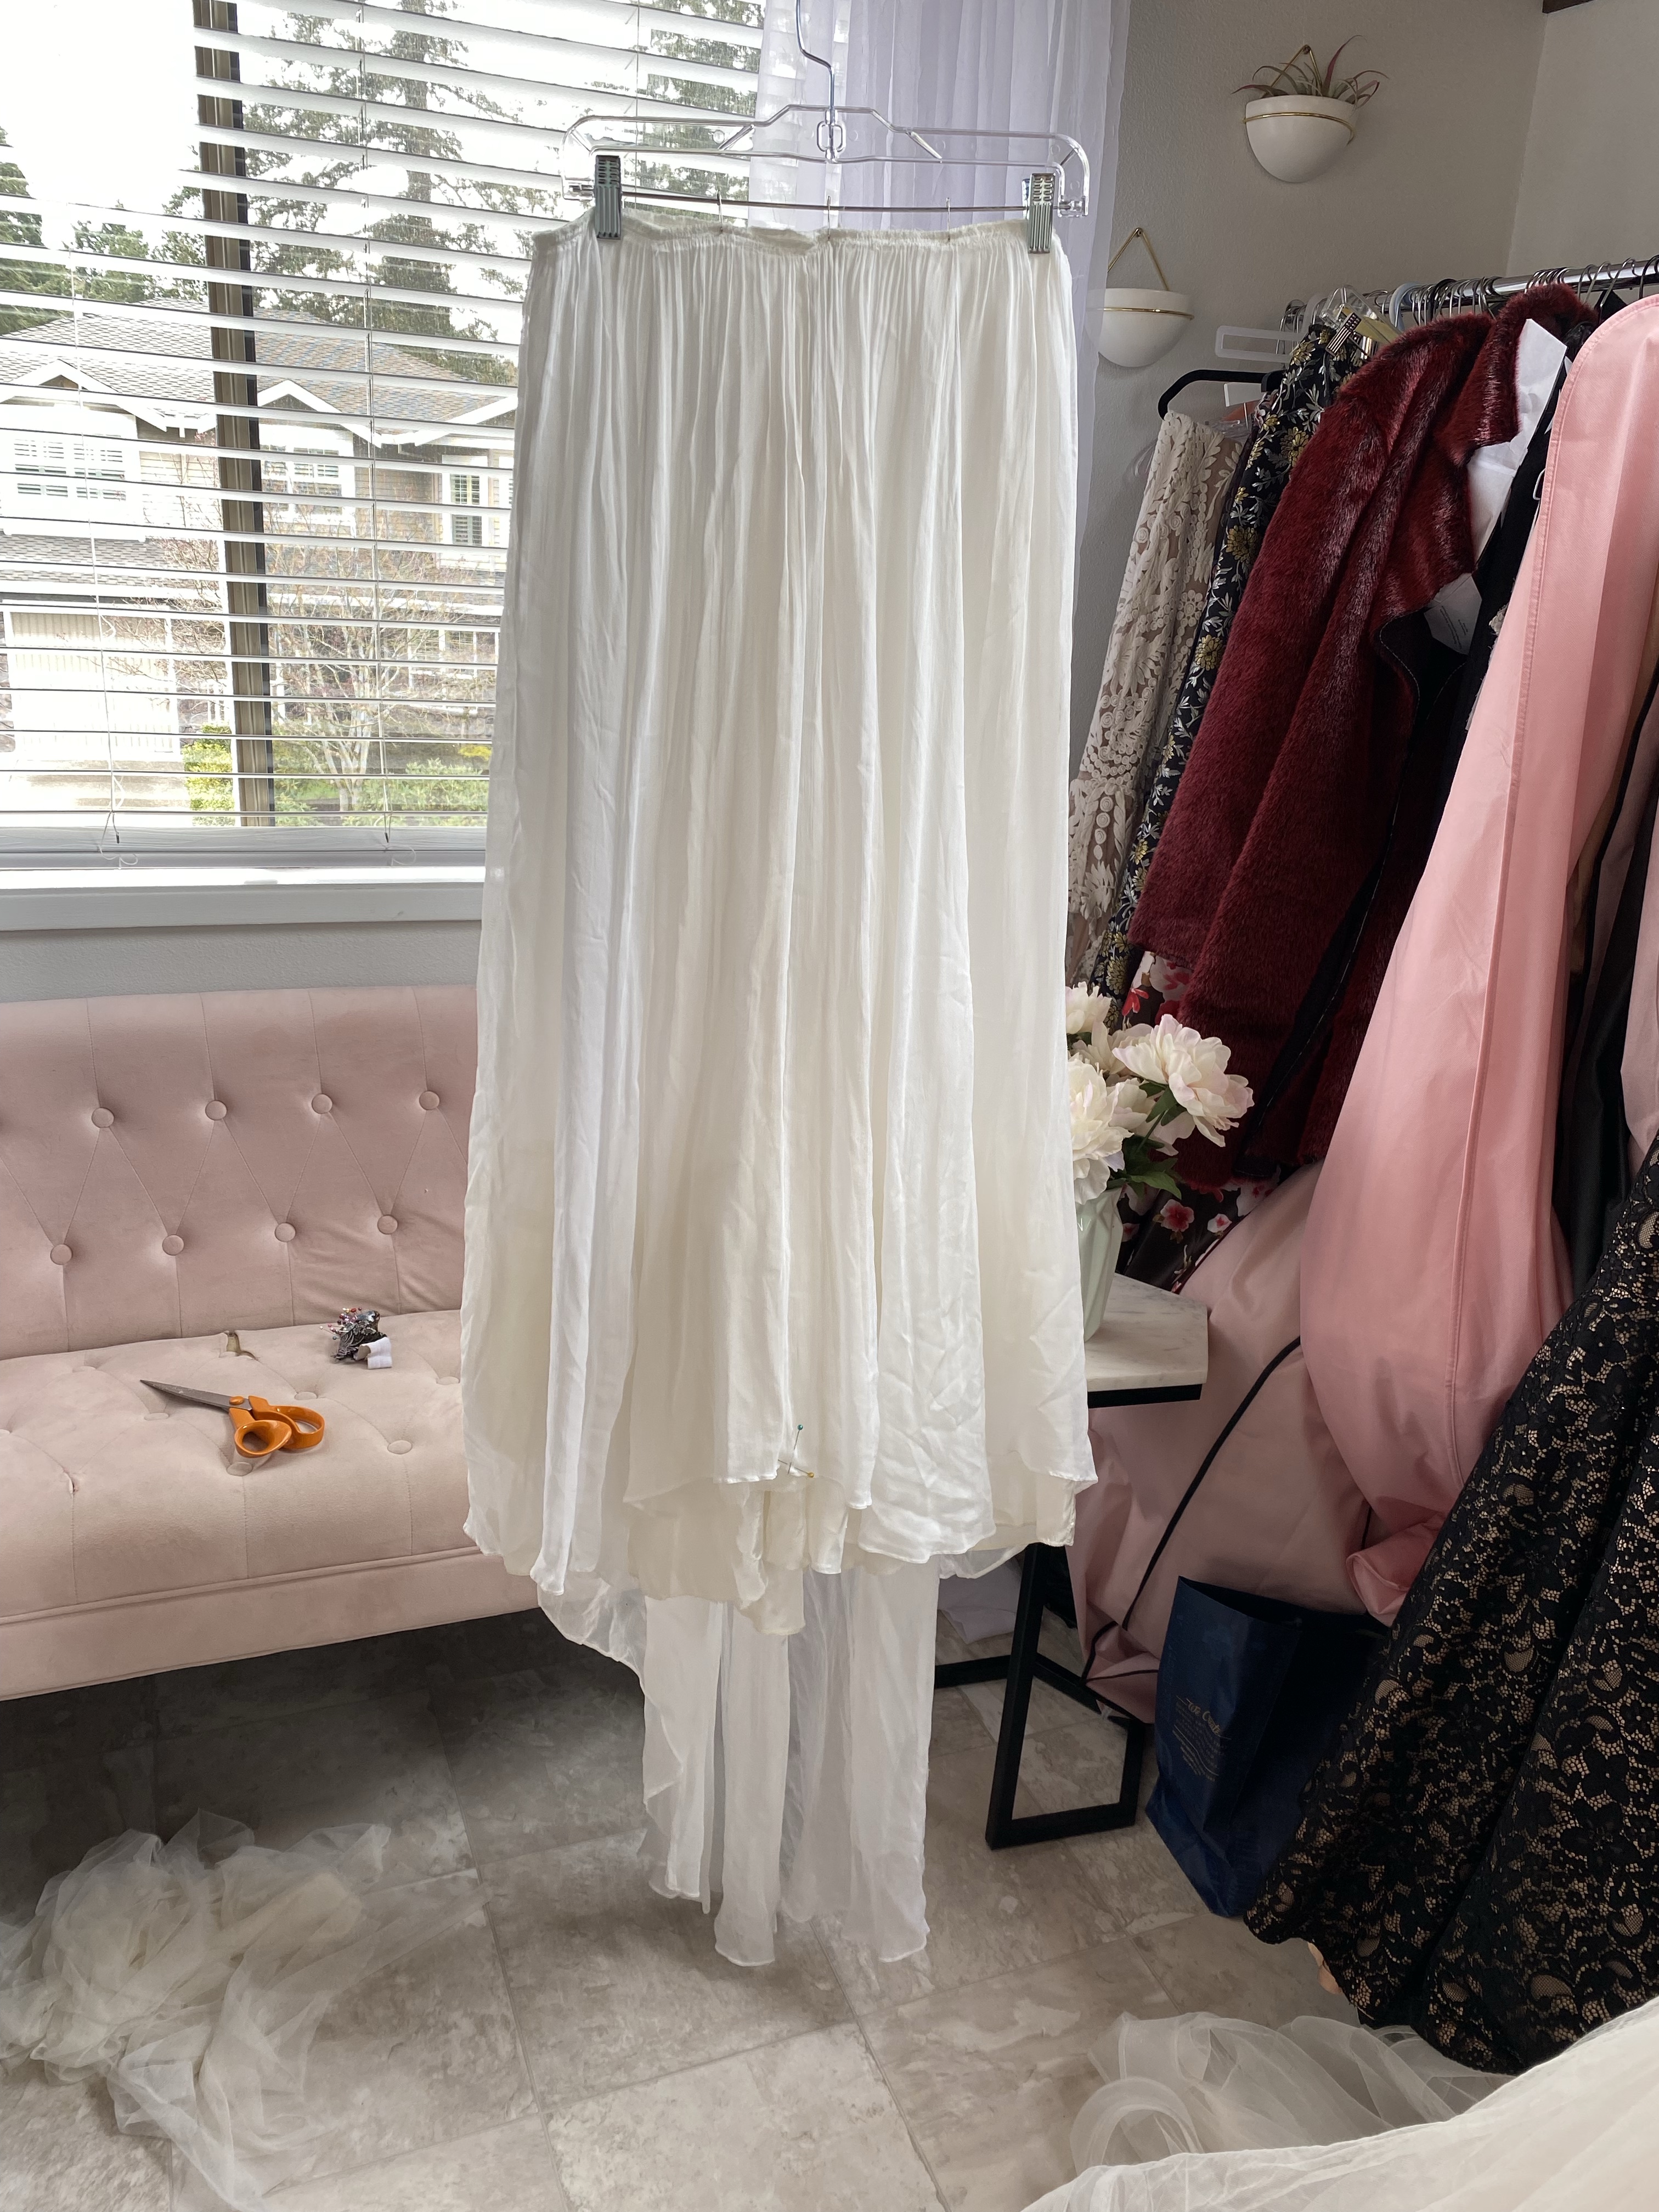
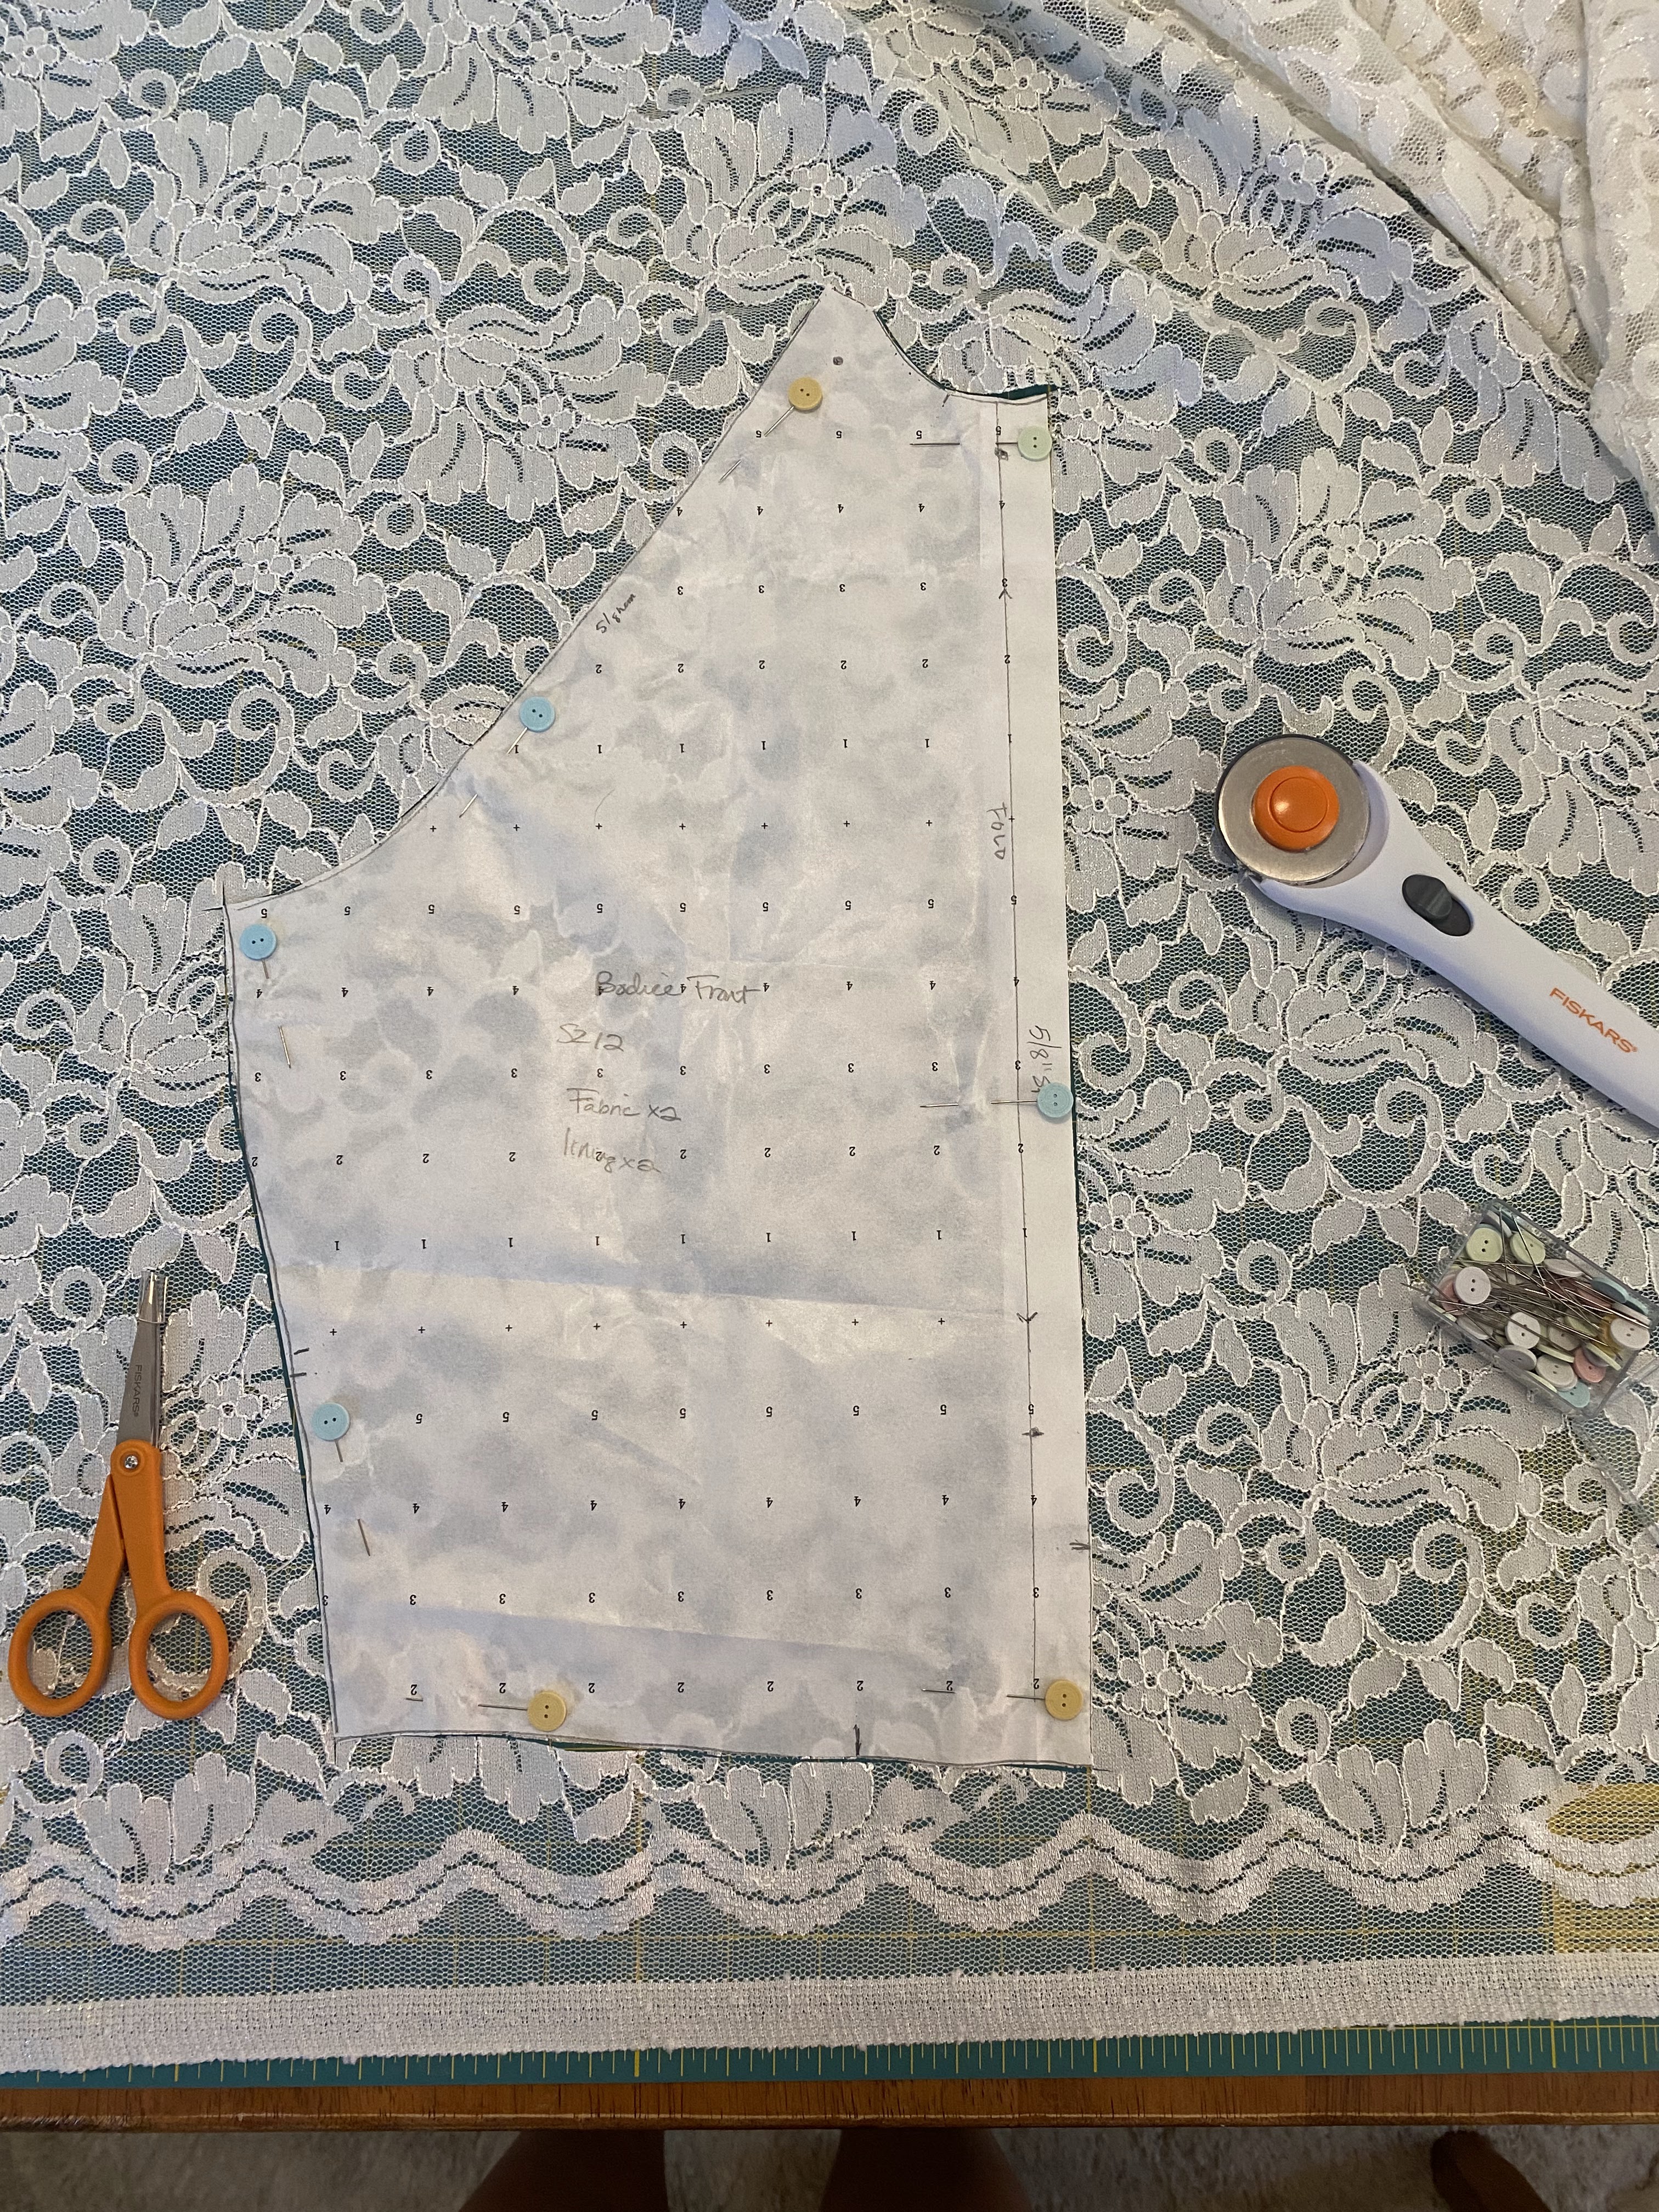
I made the gown with a strapless bodice, doing a folded side pleat instead of a dart or princess seams to ensure I didn’t have to cut into the fabric and break up the print. I used boning and interfacing inside as a layer to act as support, and also lined in a lovely ivory satin. The skirt was made by draping it on a dress form, creating large pleats and adding a triangular-shaped godet to the back of the skirt so that it formed a wider circle at the hem. I added side seam pockets as well, just for fun and convenience for the wearer. Also, I added a waist stay inside the gown, a belt-like support made using a sturdy piece of ribbon, sewn to the inside of the dress, worn snugly around the wearer’s waist and fastens with a hook & eye. This helps to support the weight of the skirt and helps to keep a strapless dress from falling down. I used a store-bought petticoat under the gown to support the bell shape.
The rest of the collection was all meant to circle back to this ballgown by use of a color pulled out from the print, or a shape from a flower. I made edits to my original line up, taking away a few ideas that didn’t really “go”, and adding a few that made sense to fill in the gaps.
One outfit that didn’t truly tie back to the dress was the white linen pantsuit and corset that I made. I made this outfit as I wanted to create alternatives for the modern bride to choose from, and figured a bride might not want a dress, or the ceremony is happening at the courthouse or she might want it for an event before or after the wedding yet still want to feel special and stand out.
For this outfit, I purchased an entire bolt of white linen from Joann Fabrics and chose to use a few commercial patterns that I have been wanting to make, the kind of patterns that are advanced level of sewing and take quite a lot of tailoring and couture sewing techniques to be successful.
The first pattern I tackled was the blazer jacket using Vogue 1870 view A:
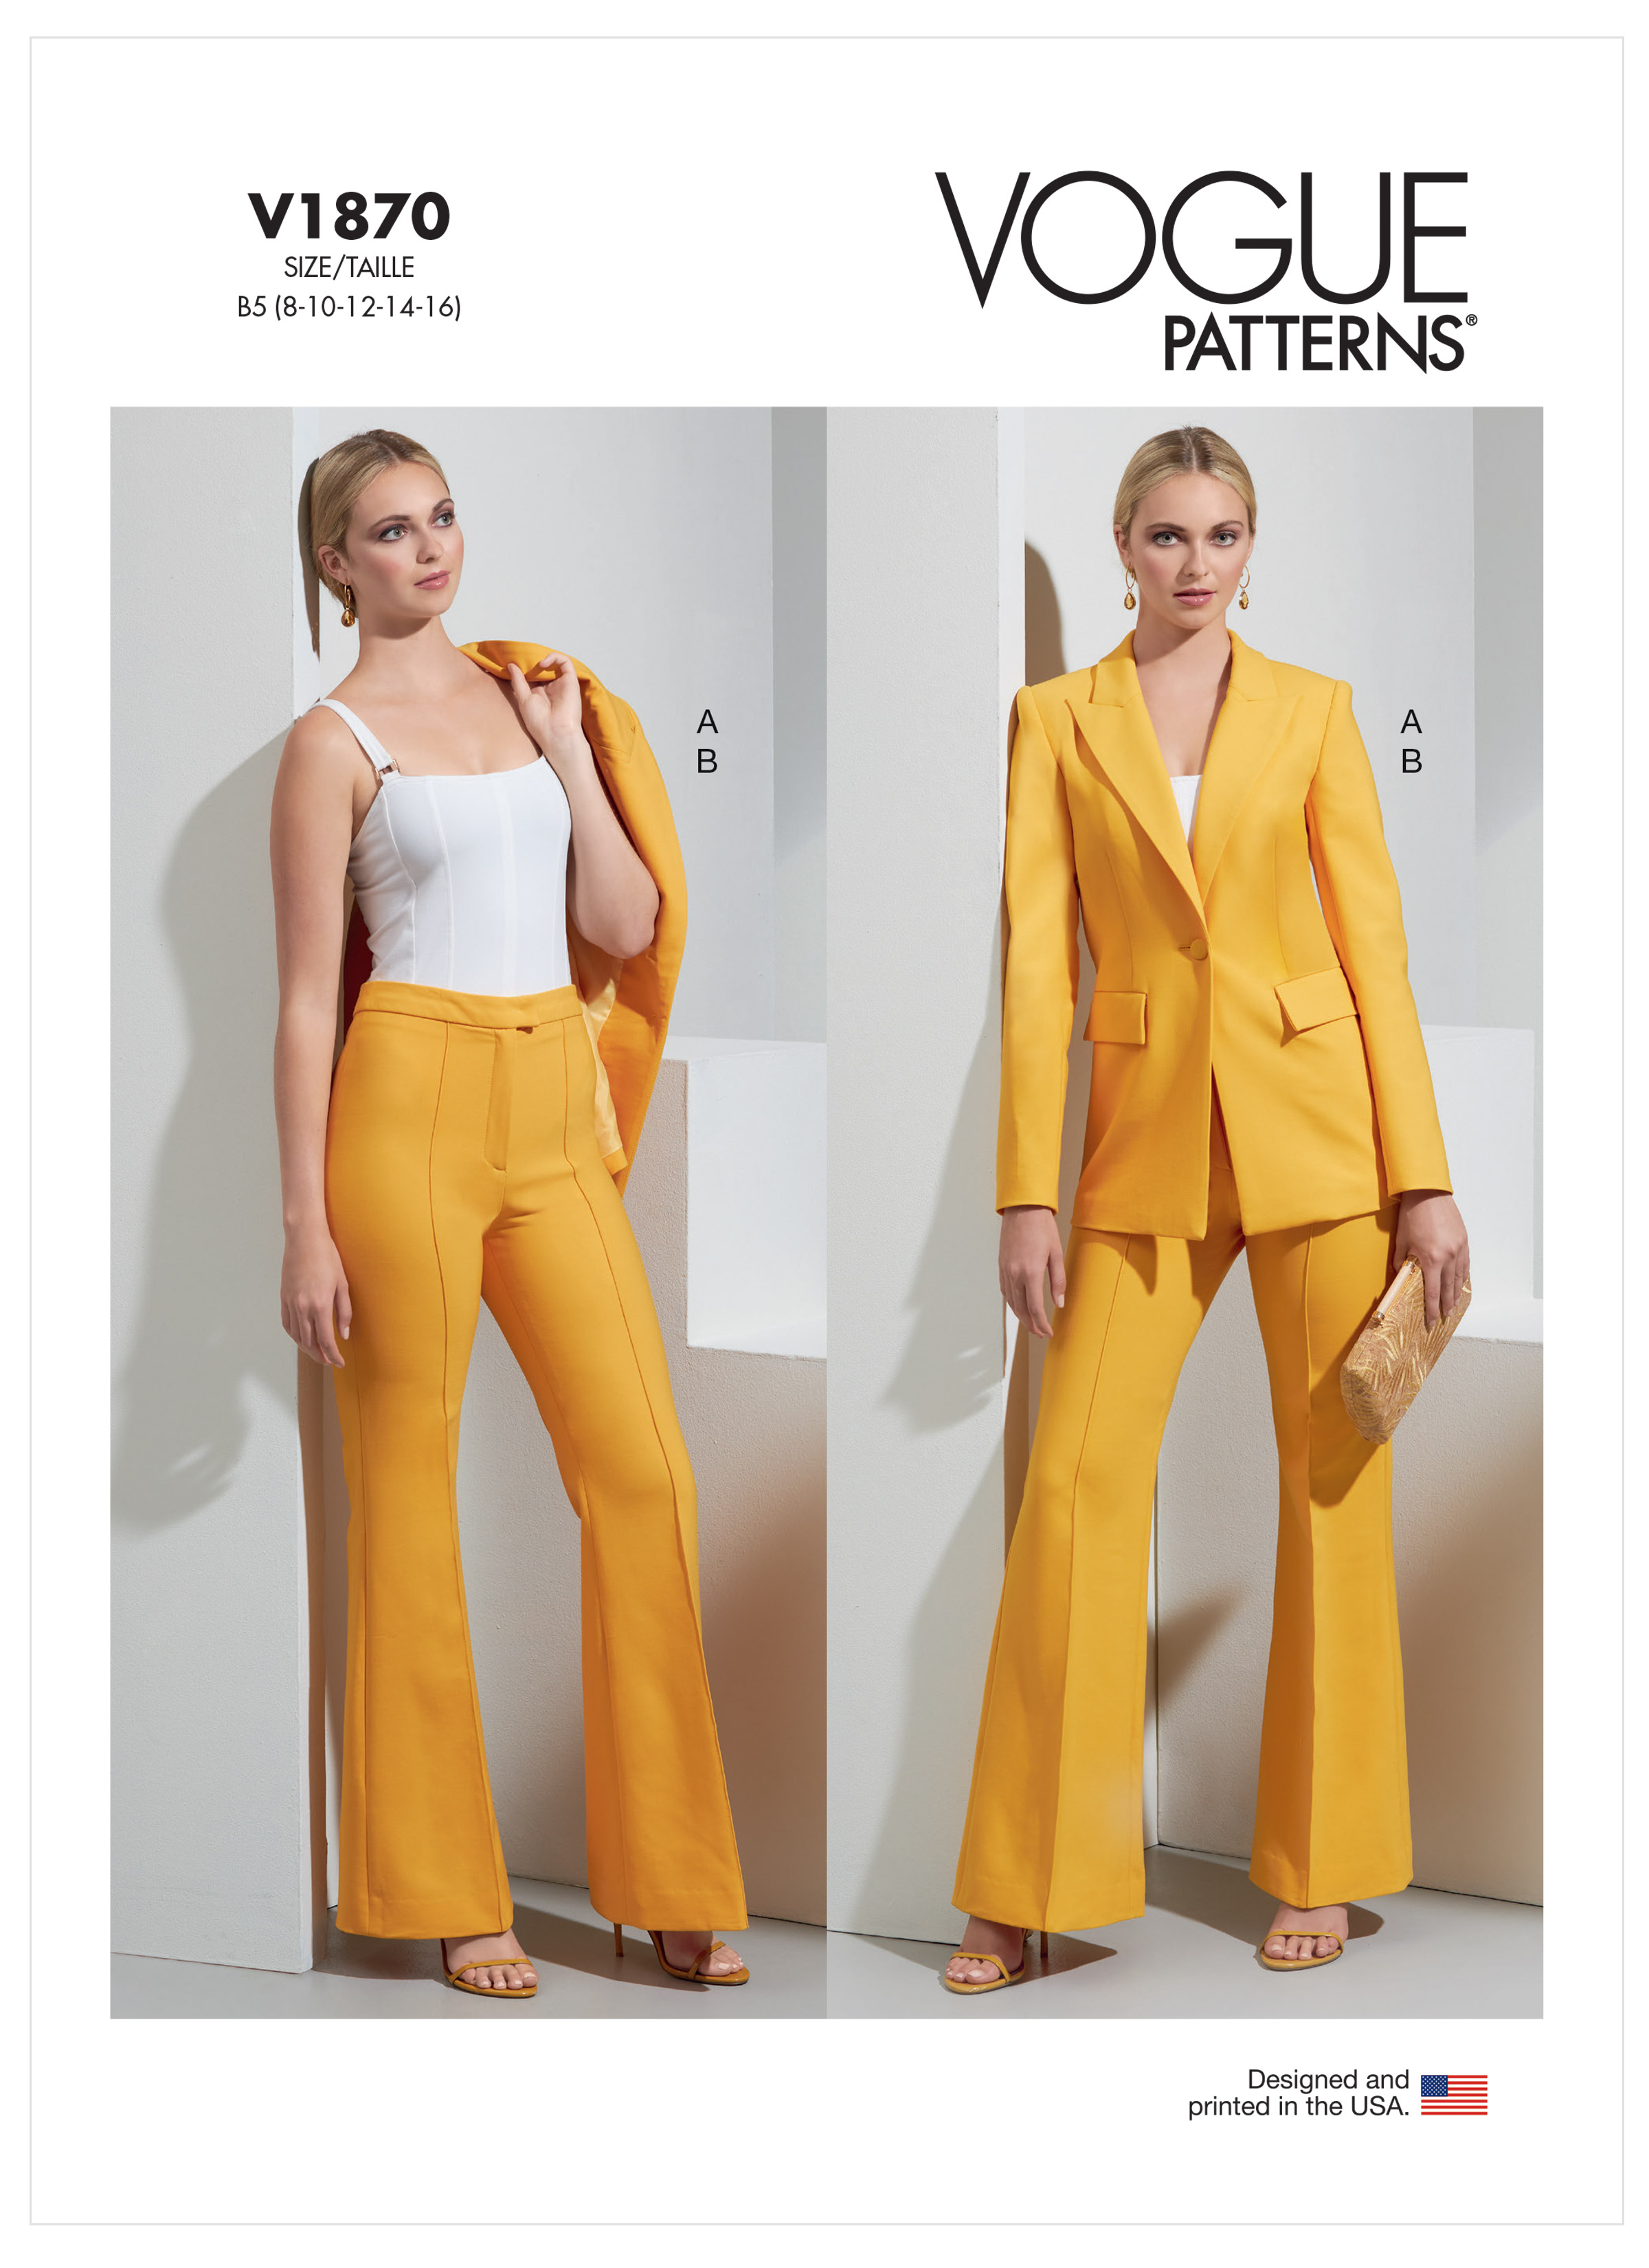

This pattern was a beast to make, but it turned out so sharp and really great looking! It’s fully lined with welt pockets and 2-piece sleeves. I’m pretty sure it is most likely a designer knock-off such as Gucci but I can’t be certain. Either way, I absolutely love it!
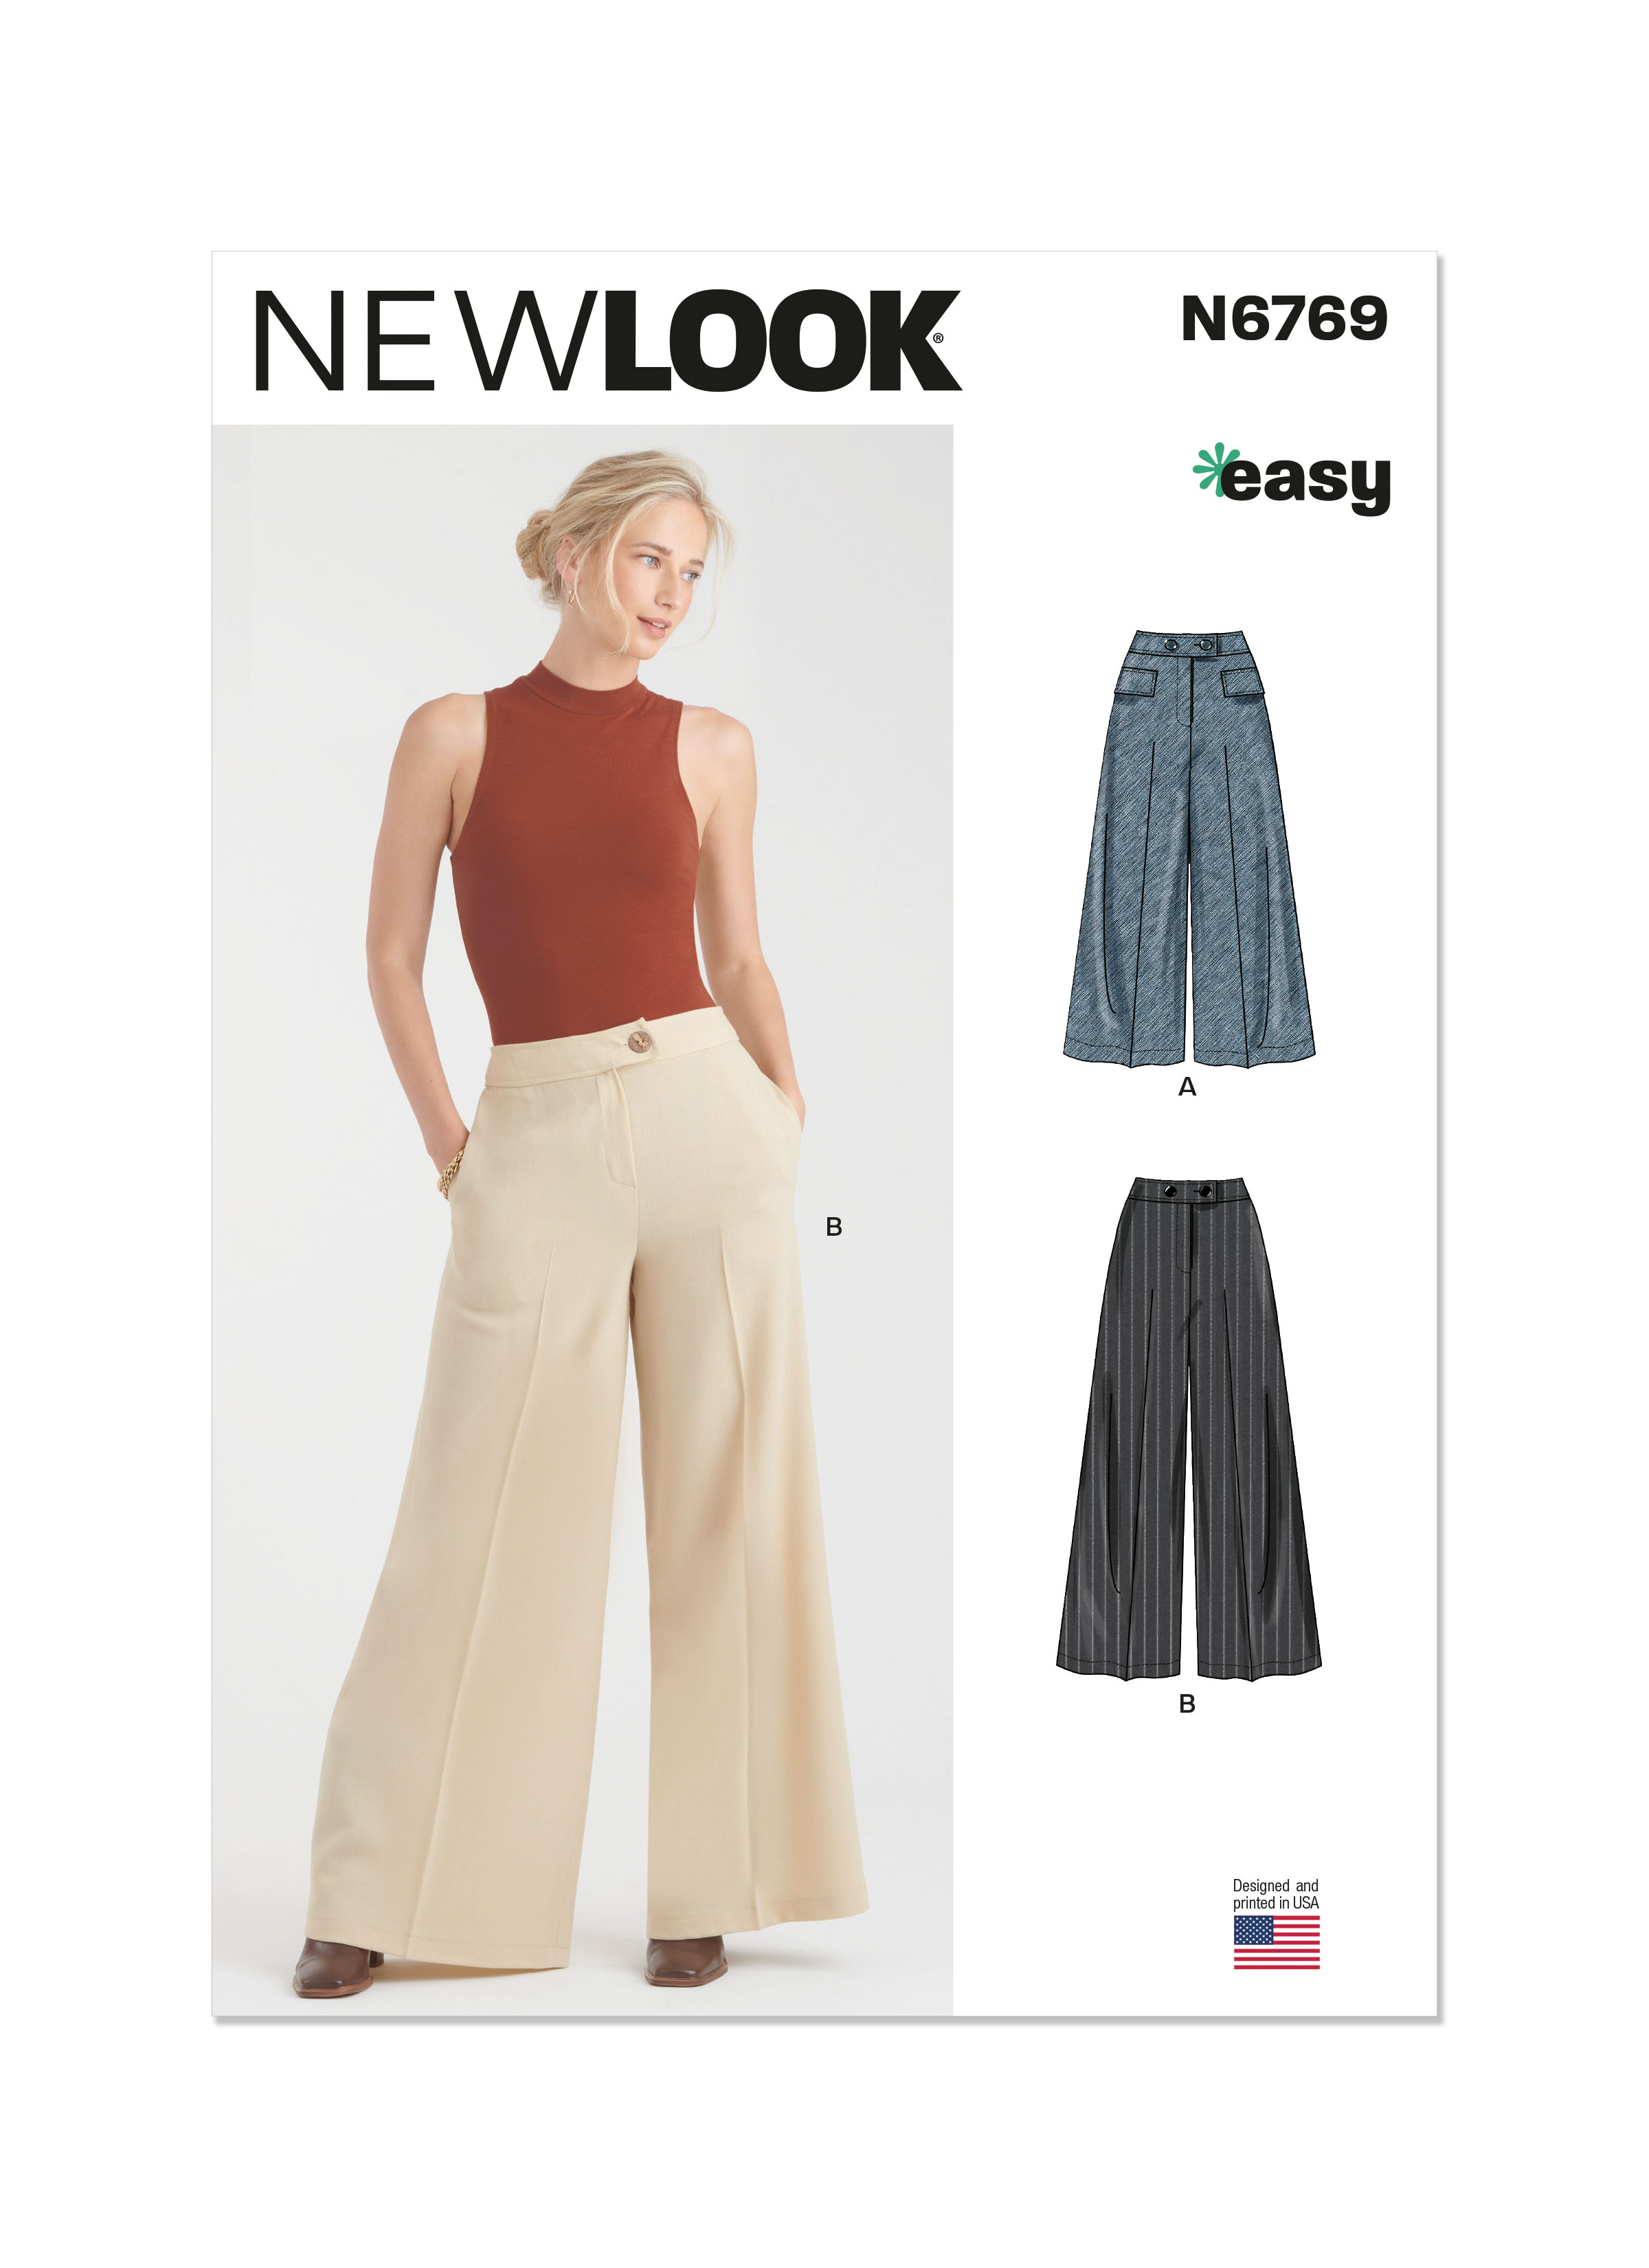
Once the jacket was complete, I went on to make the wide leg trousers. I used New Look 6769 pattern for the pants. Nothing crazy. I was going for simple, tailored and elegant with the wide leg and pockets, plus this pattern was super easy to sew. A nice refresher between to tough ones:
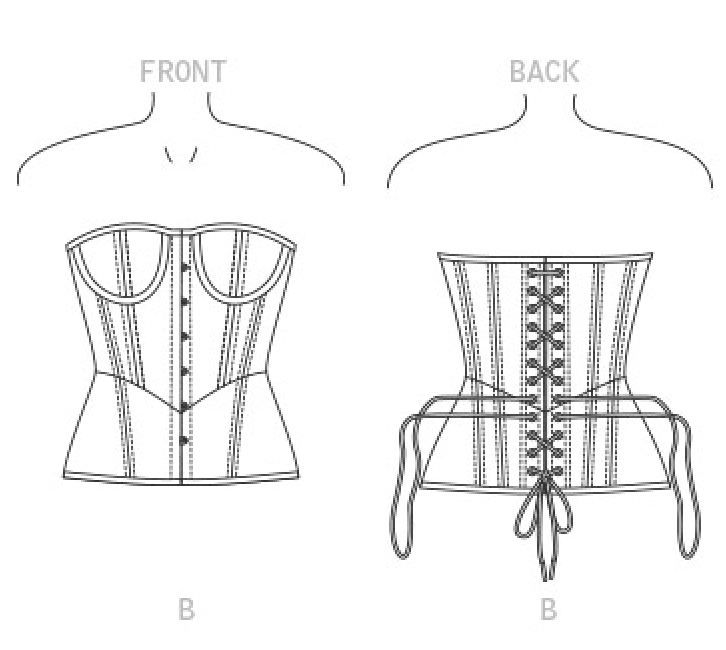
Then came the hard part: the corset. A zillion pattern pieces to keep track and labeled; the linen outer layer, the lining and the interfacing. Plus making the underwire and boning channels, and the bias strip that encased the upper and lower edges of the corset, and adding the front busk. Then there came the rivets! Ugh, lots of rivets. There are many, many corset sewing patterns out there to choose from, however I tortured myself by using an an advanced pattern, again by Vogue.


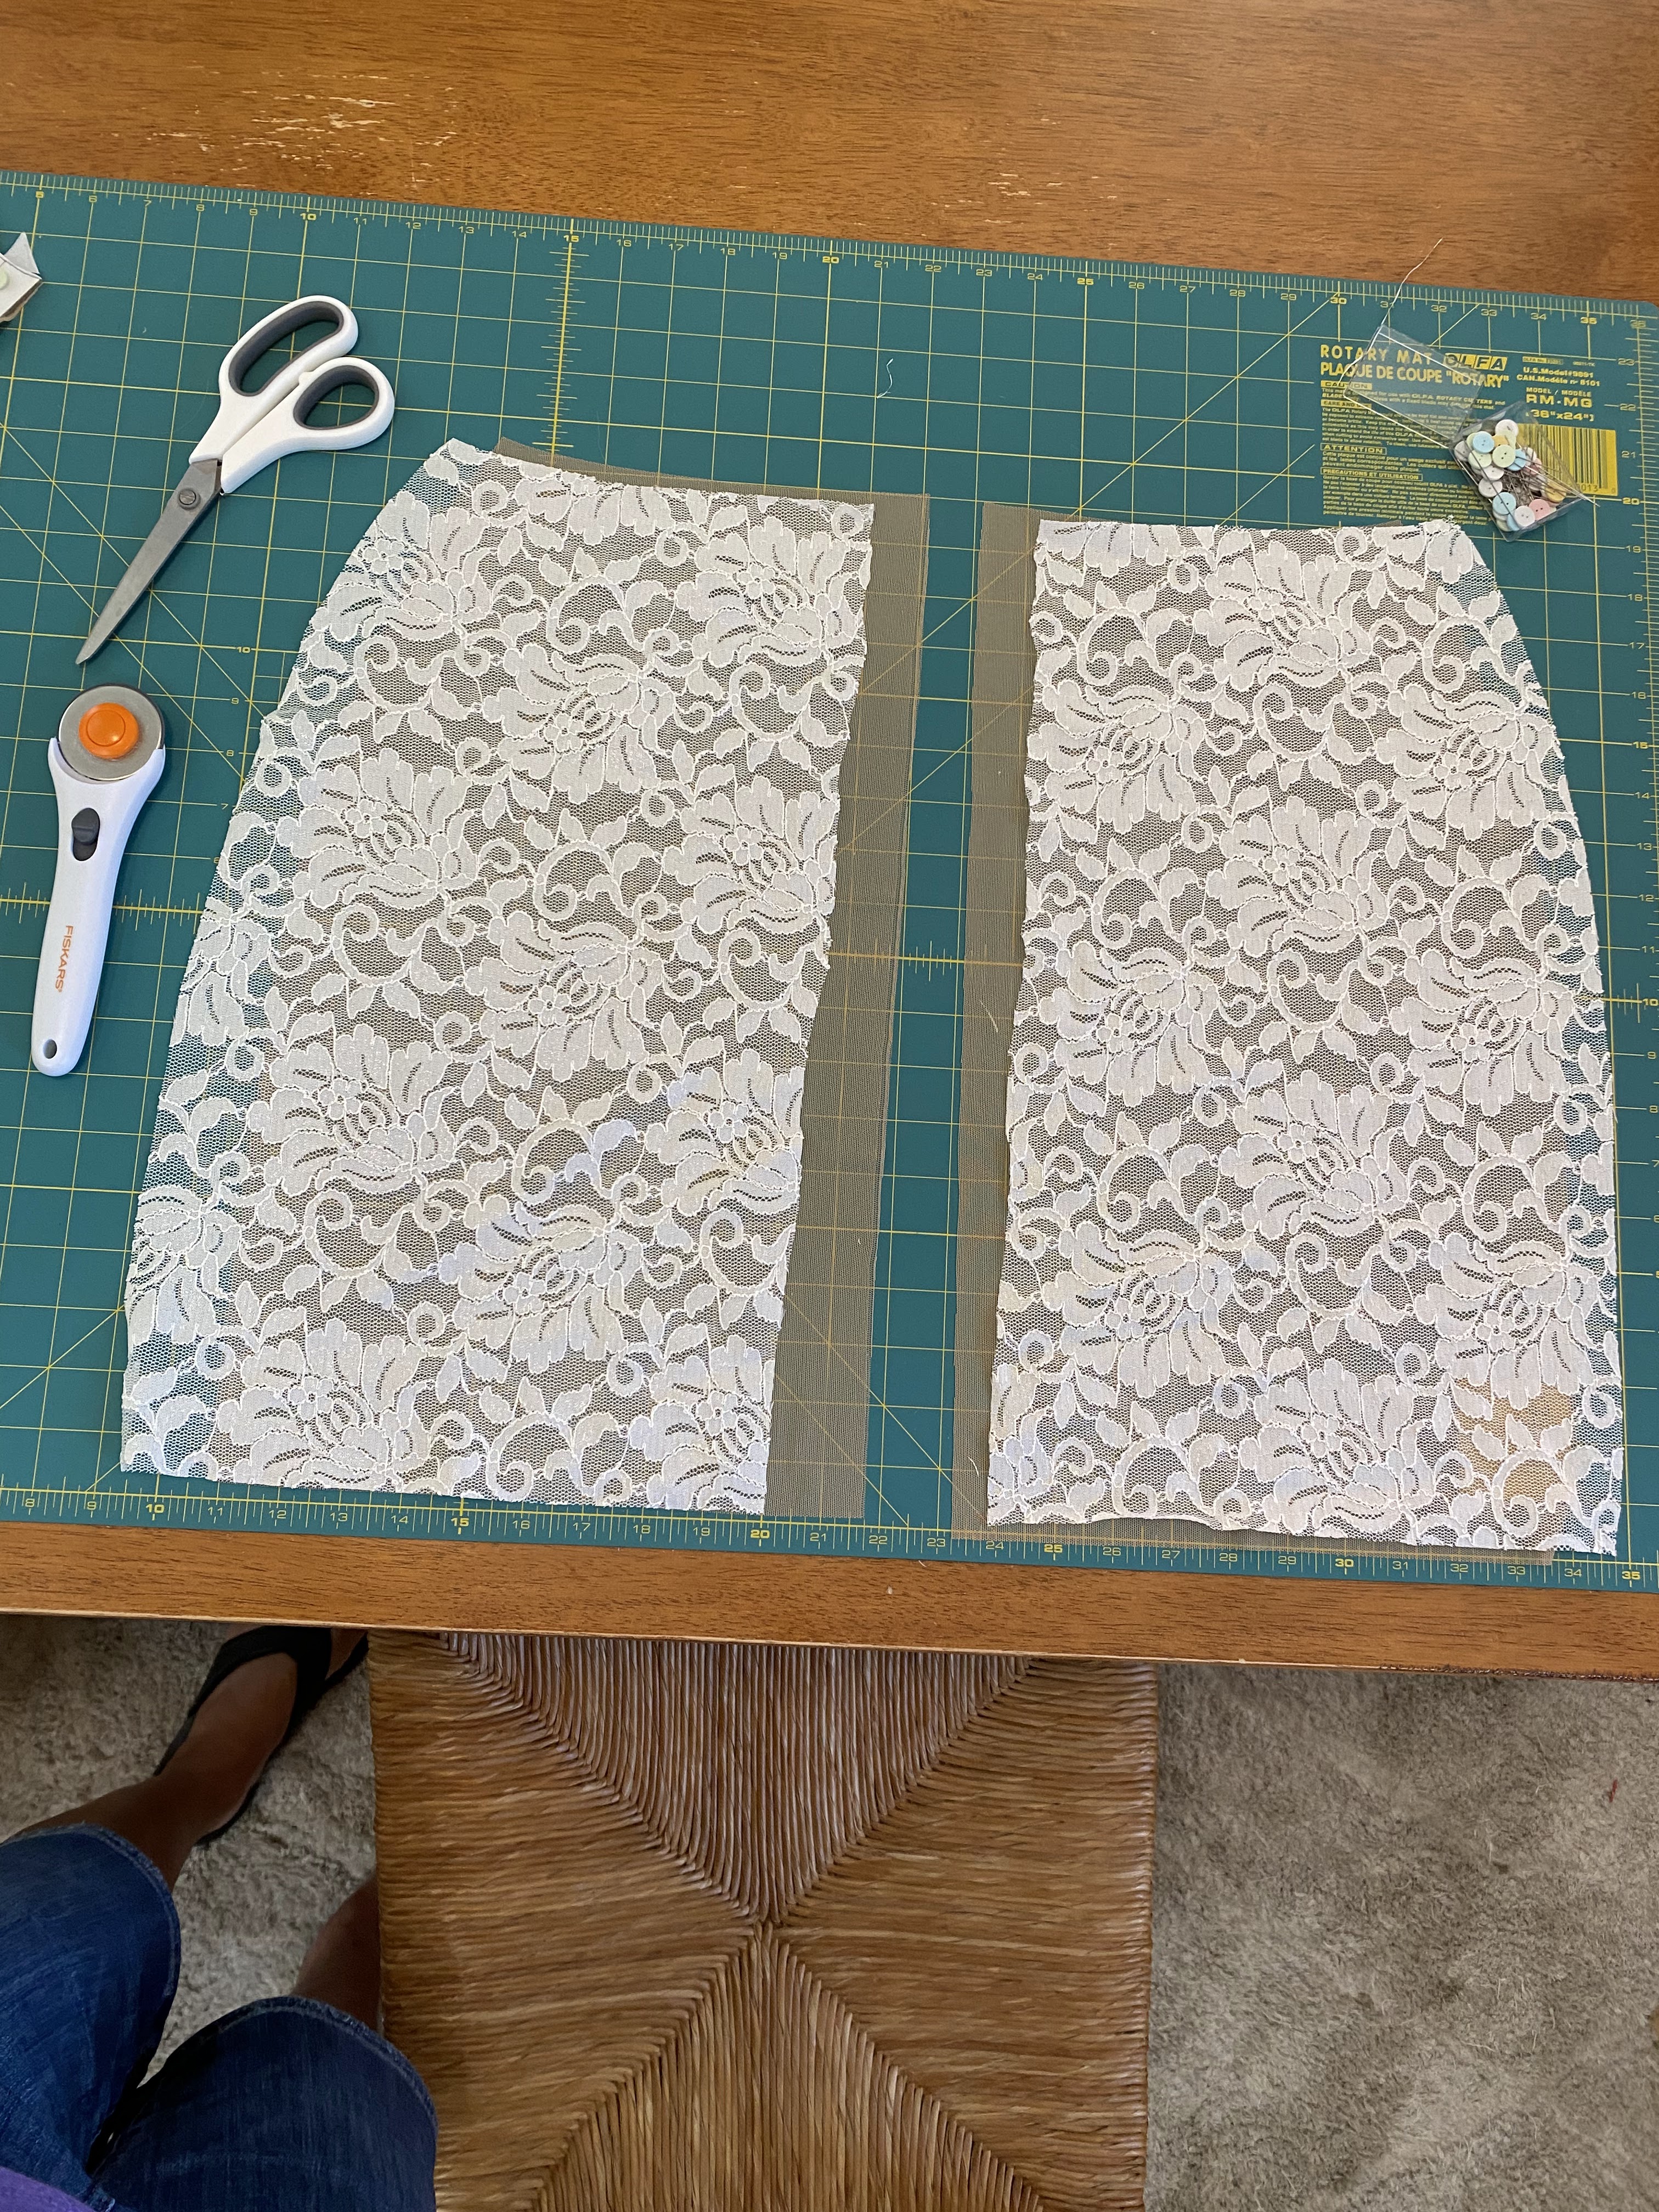
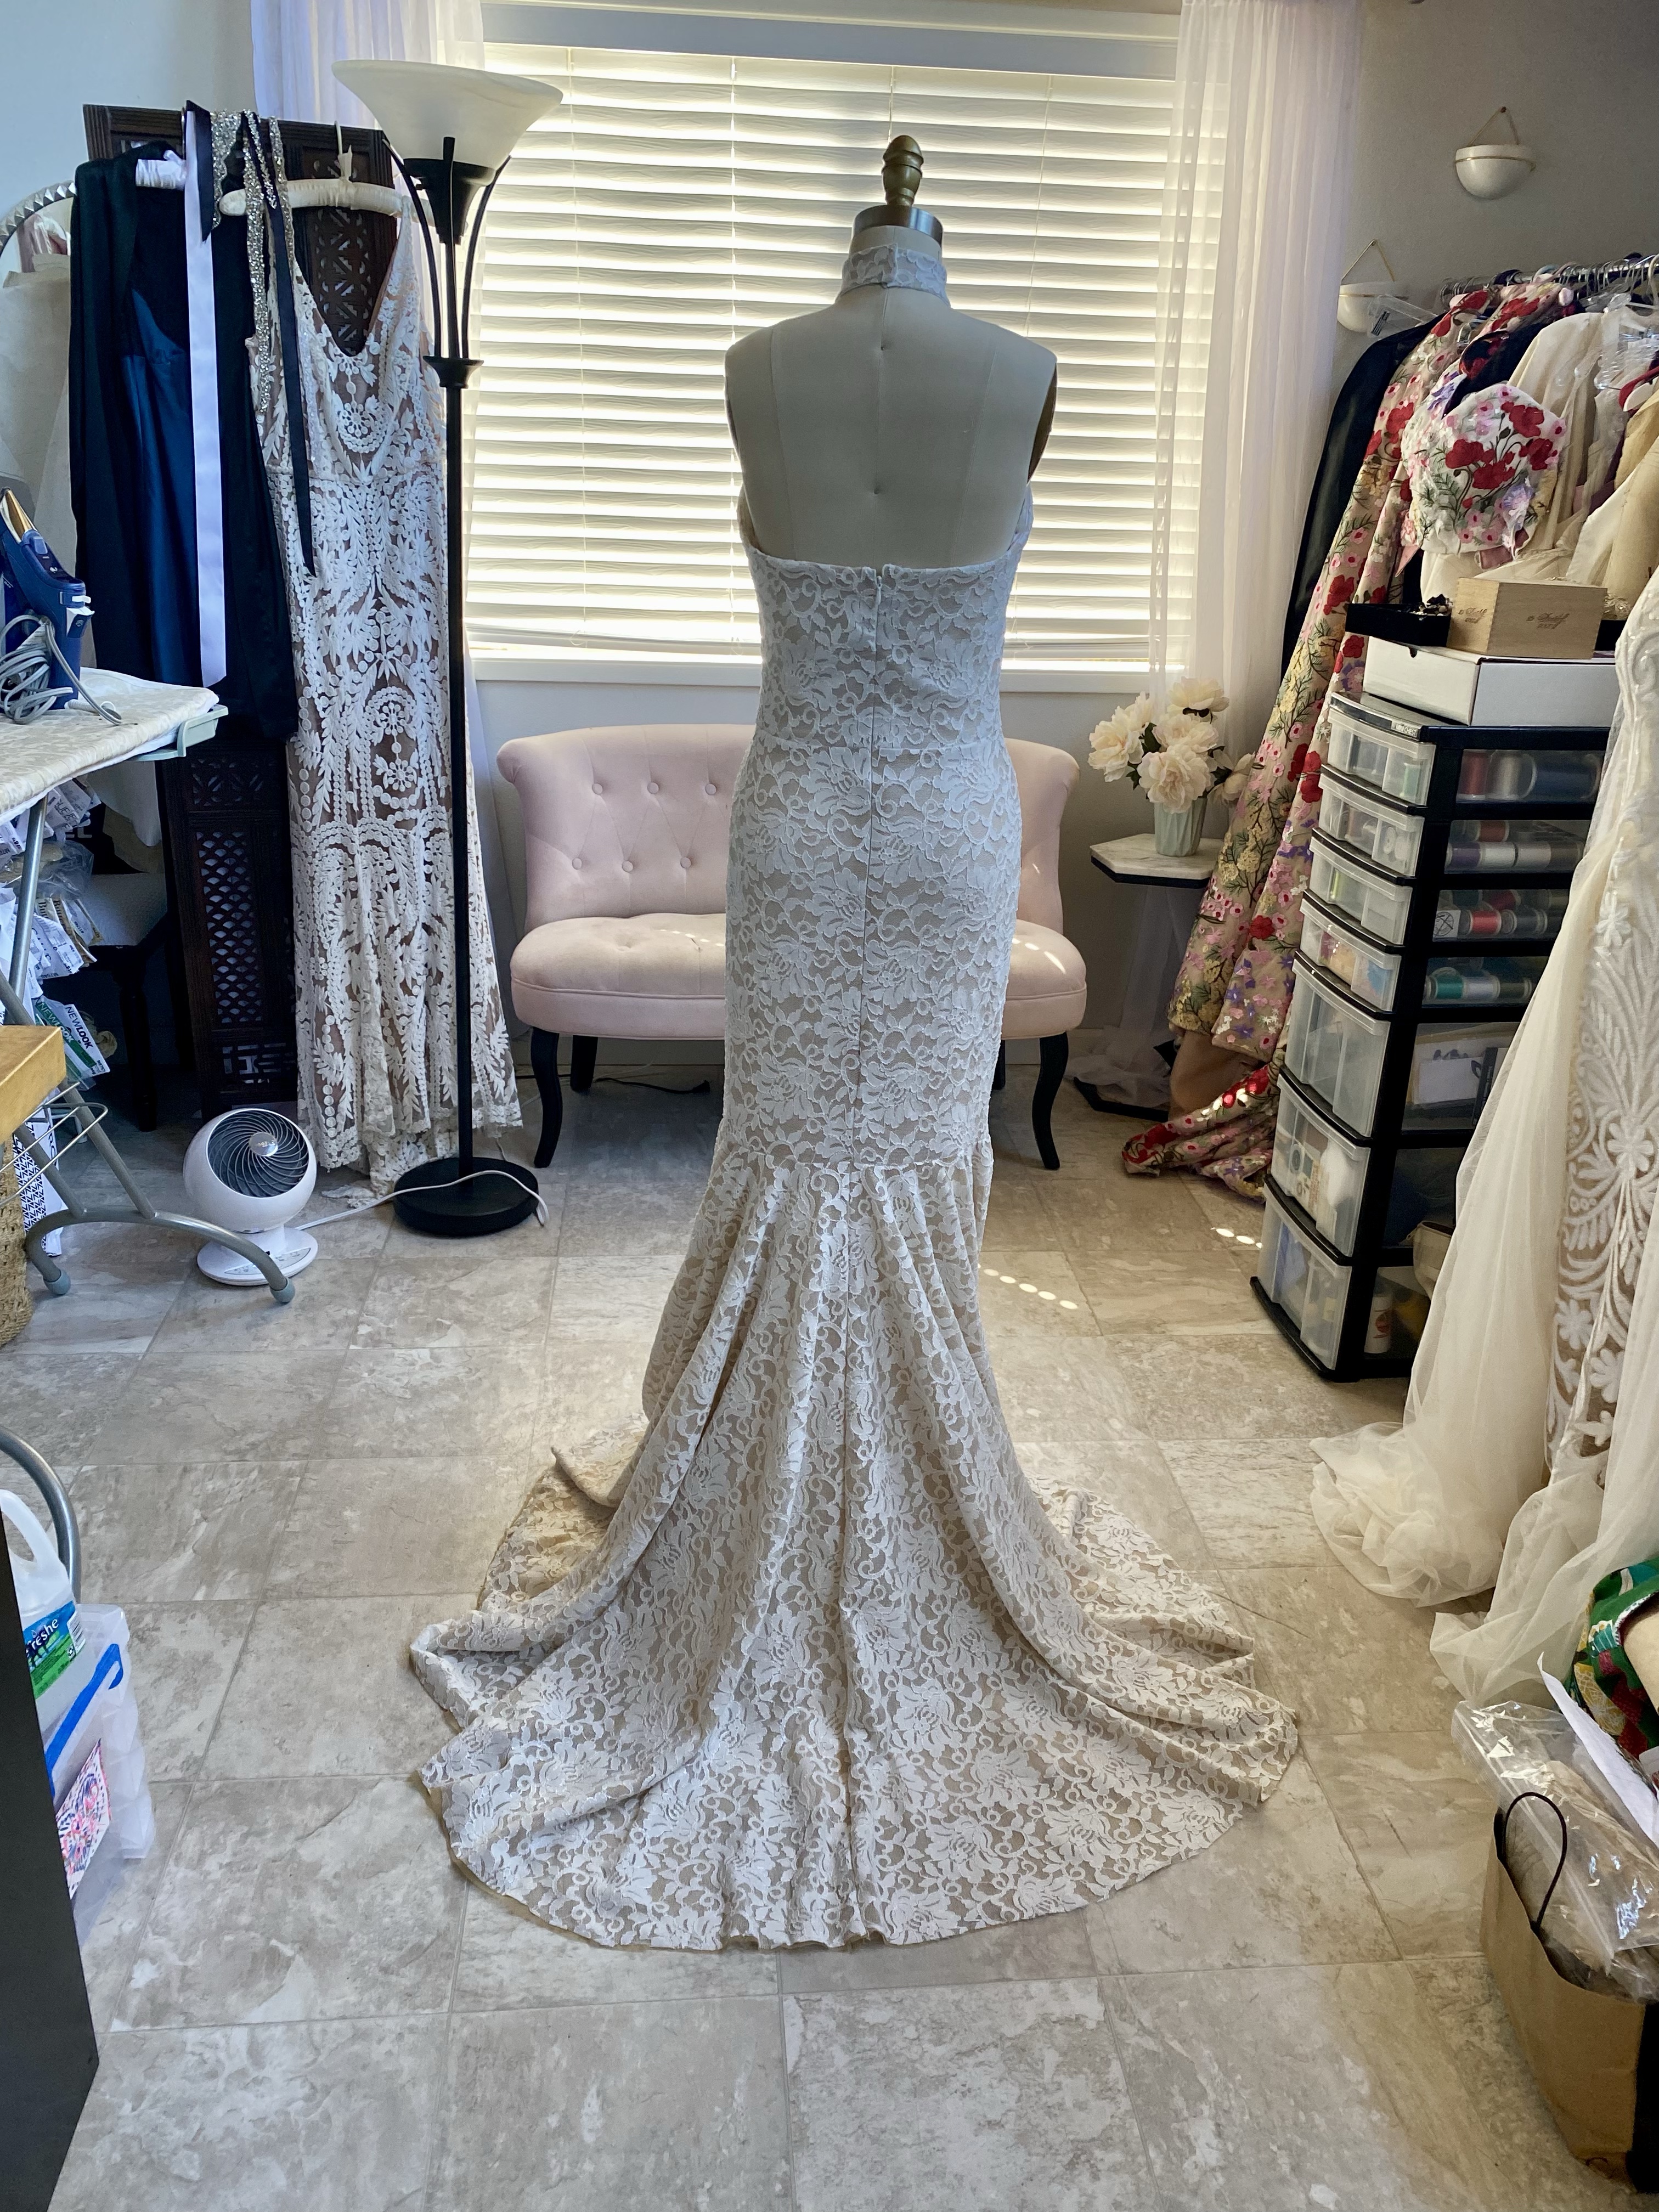
Next in line was the lace mermaid gown! I wanted to make a fitted, sexy dress, all in lace for the collection. I had many yards of this relatively inexpensive stretch lace in my fabric stash that would be perfect for this style. It’s not the highest quality lace, but I had already purchased it and it would do for the collection. It’s 100% polyester, so I decided to throw it in the laundry (gentle cycle) and see what happened. Well, it turned out just fine and softened up the fabric a bit, plus got rid of the slightly “plastic” smell.
I used this pattern from McCalls 7569 as a base and made many modifications, mostly to the interior construction of the dress and not as much as the style:


I won’t bore you with ALL of the sewing jargon, details and construction modifications I did to make the dress from this pattern, but I will say that I made it MUCH better than the pattern instructed the sewist to do, and it turned out far better than I expected it to!

OK, for all you fellow sewing geeks out there, maybe just a quick list of how I made the dress differently from the original pattern:
- I added a center back seam so I could put in a zipper
- Fully lined and underlined the gown
- Raised the center front keyhole neckline 4″ (too much boobage rarely looks good to me)
- Added a dart to the back pattern pieces
- Raised the skirt higher onto the bodice at the waistline
- Added built-in bra cups
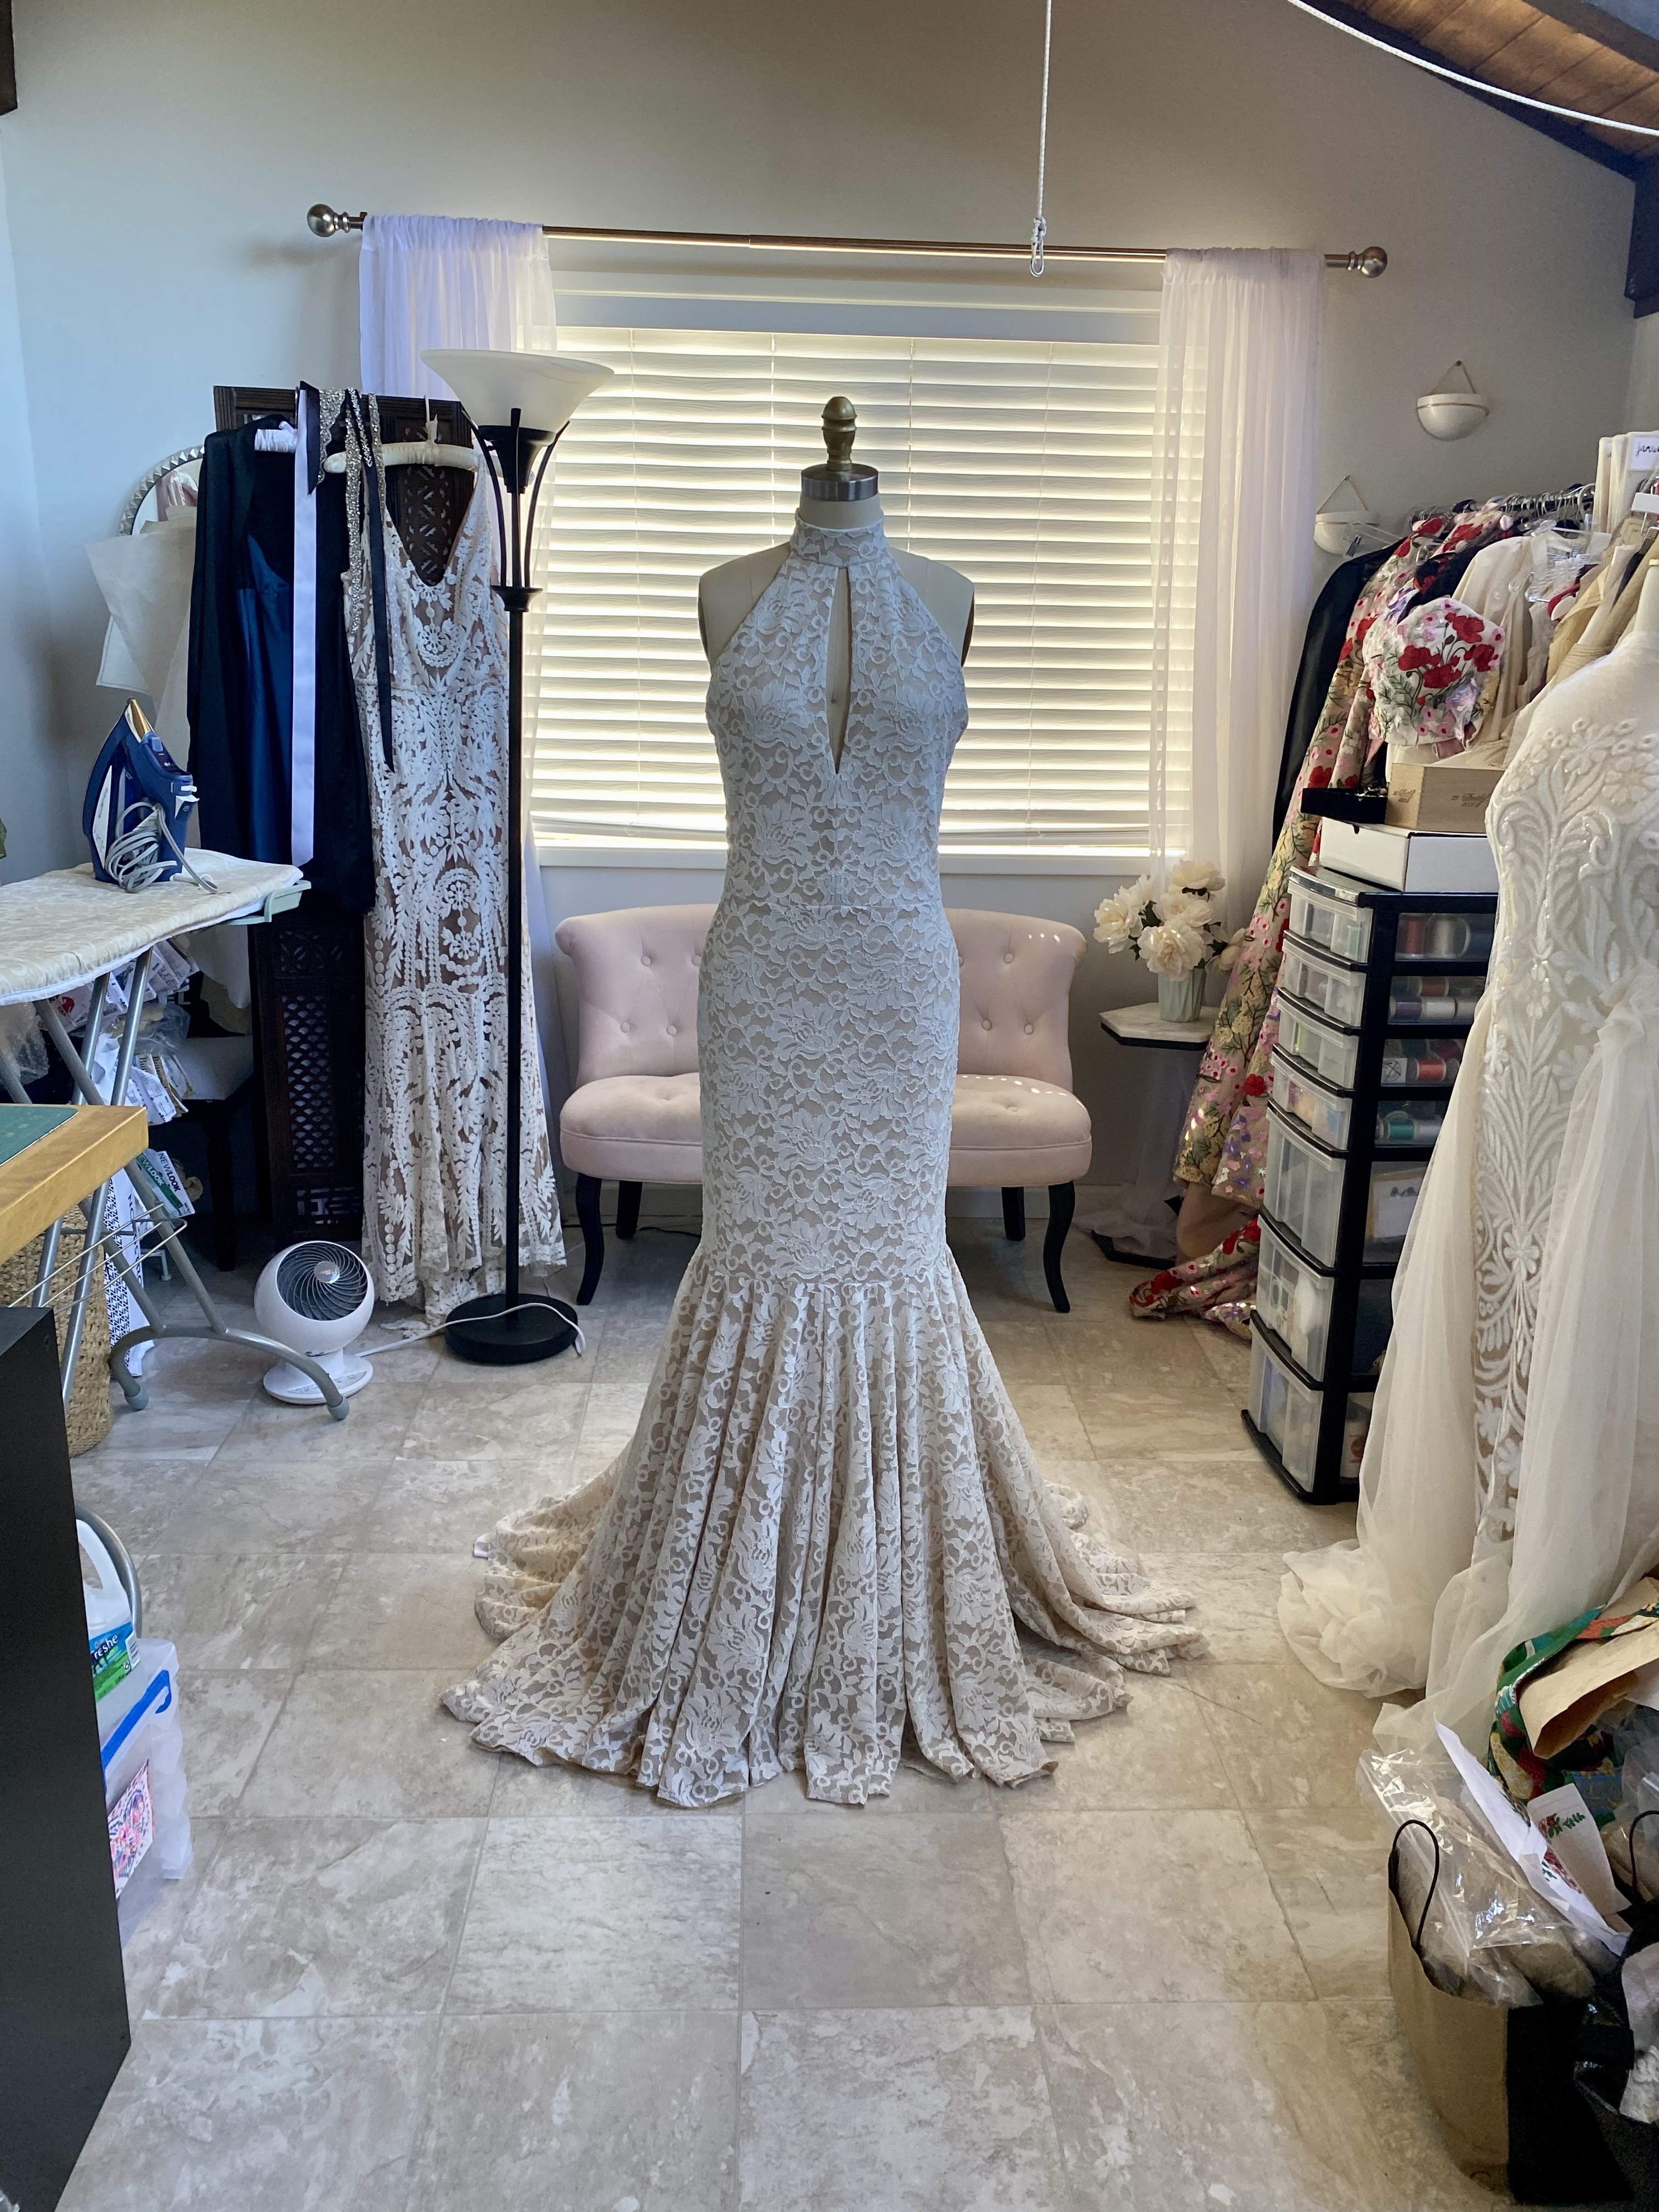
The following photos are from the dress nearly complete, yet I later made more changes to the fit once I had the model fitting (stay tuned for part 2 of this post).
Next up, as I did my best to make these garments and complete them as much as possible before moving on to the next one, is the Flutter gown.

I wanted to create a gown with movement and romance, one that would appear to float on the bride. I had this lovely 3-dimentional mesh lace with sequins and little chiffon petals that looked like butterflies. I bought this fabric on clearance at Joann Fabrics over a year ago and knew I how I wanted to use it.
In order to make the color and shading of the fabric that I had better coordinate with the colors of the collection, essentially going back to the colors of the floral printed mikado, I decided to use a peach toned organza as a backing to the lace, creating a softer tone under the bright white of the lace. You can somewhat see what I am talking about in this photo where I layered the fabrics and draped them on my dressform:

I got to cutting out the 4 layers of this gown: the lace, the peach organza underlining, and 2 layers of a soft chiffon-like poly to be lining. That was a LOT of cutting, especially difficult were the large pattern pieces of the skirt and back of the skirt with a slight train. Keeping track of the pieces was important as they looked alike, especially the skirt front and side front pieces. I used a Burda sewing pattern to begin with, but made so many changes to it that I can’t really call it that pattern anymore.

I wanted to use the same pattern again for another dress in the collection. I did this for two reasons: one was to create cohesion in the lineup, and the other, to save time. The cohesion helps the eye to recognize the similarity amongst the garments. I made essentially the same dress again, using a completely different fabric and lining. Most people probably would not recognize that the dresses come from the same pattern, but they may notice a familiarity.
For the Flutter gown, I ended up adding sleeves, so it looks oven more similar to the Forest Bride gown, but the two fabrics really make them unique.


These two gowns were some of my favorites from the collection! I just love how the dress hugs the torso and waist, then gently flows over the rest of the body. The long slit in the skirt allows her to walk easily and exposes the beautiful lining. The sleeves are romantic bell shape (Forest also has a cuff at the end of the sleeve), and protects her from a chilly evening in the garden. I made a point to make these gowns with really nice details including lovely linings, luxurious materials, and matching hair accessories.
Speaking of the amazing headpieces made by my amazing intern Robbyn, there is so much to say, I have to save it for it’s own section. So, stay tuned for more on the wonderful handmade hair accessories and hats later!
The beautiful Stella came next!

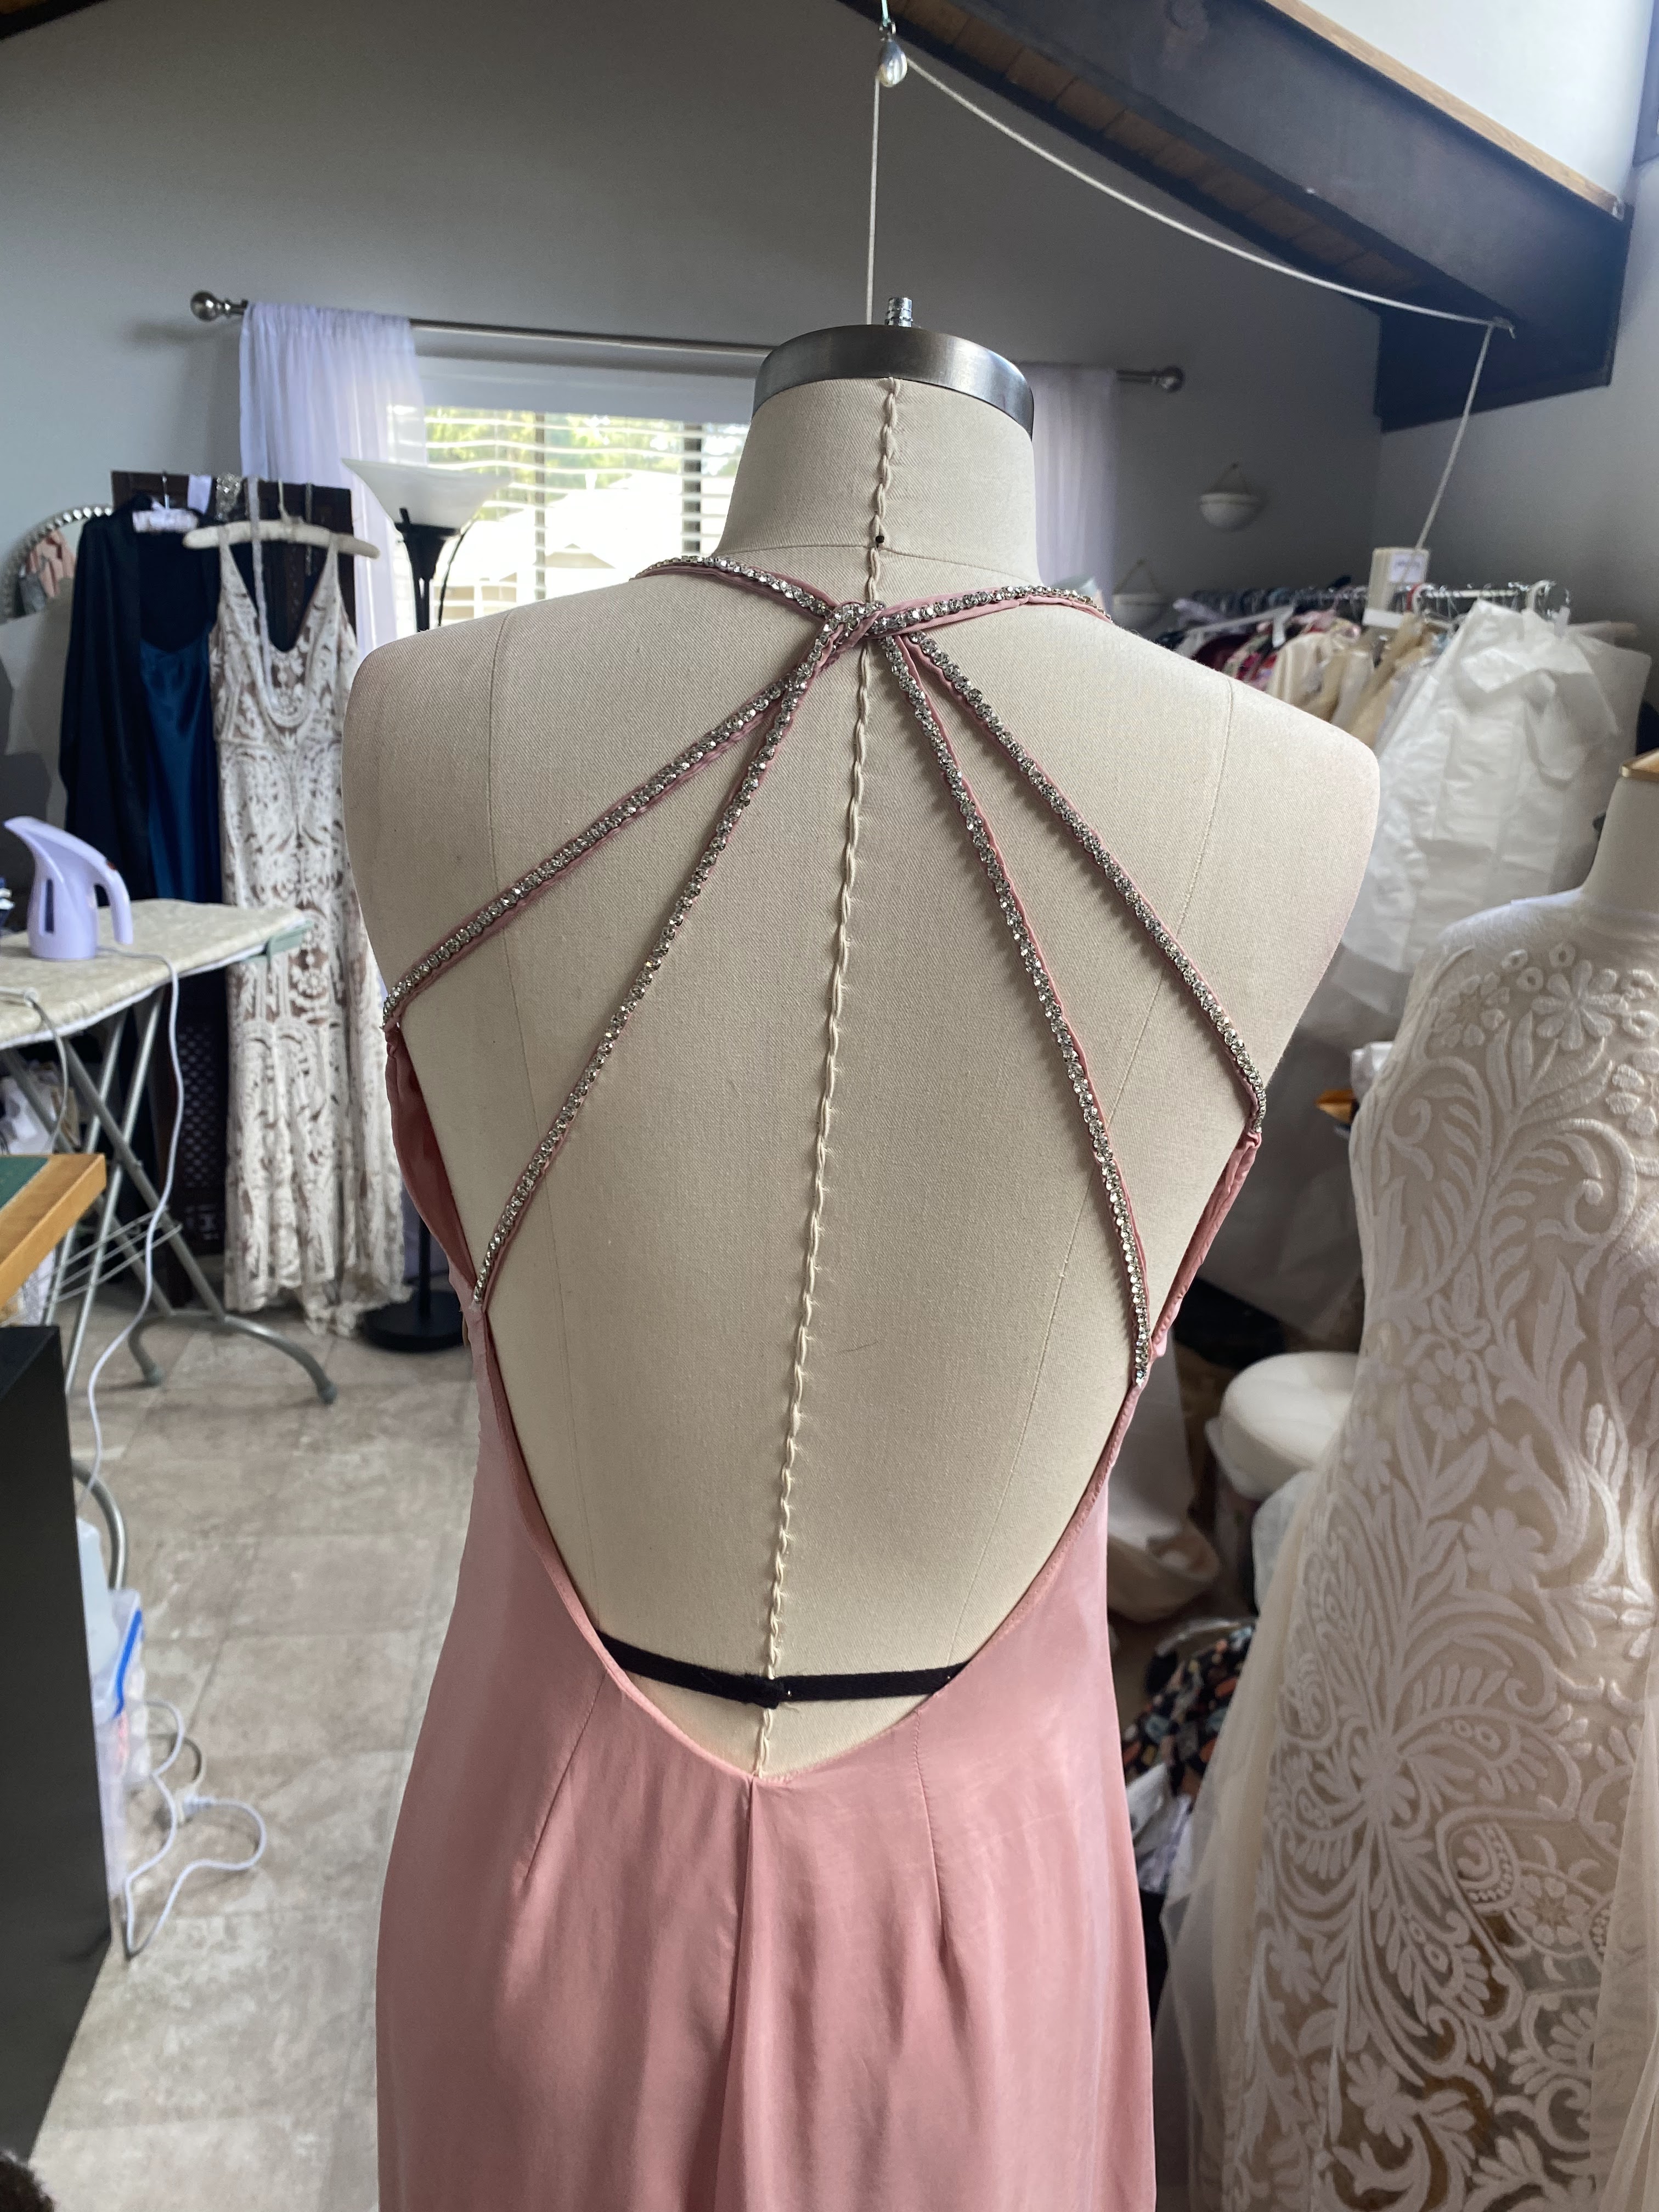
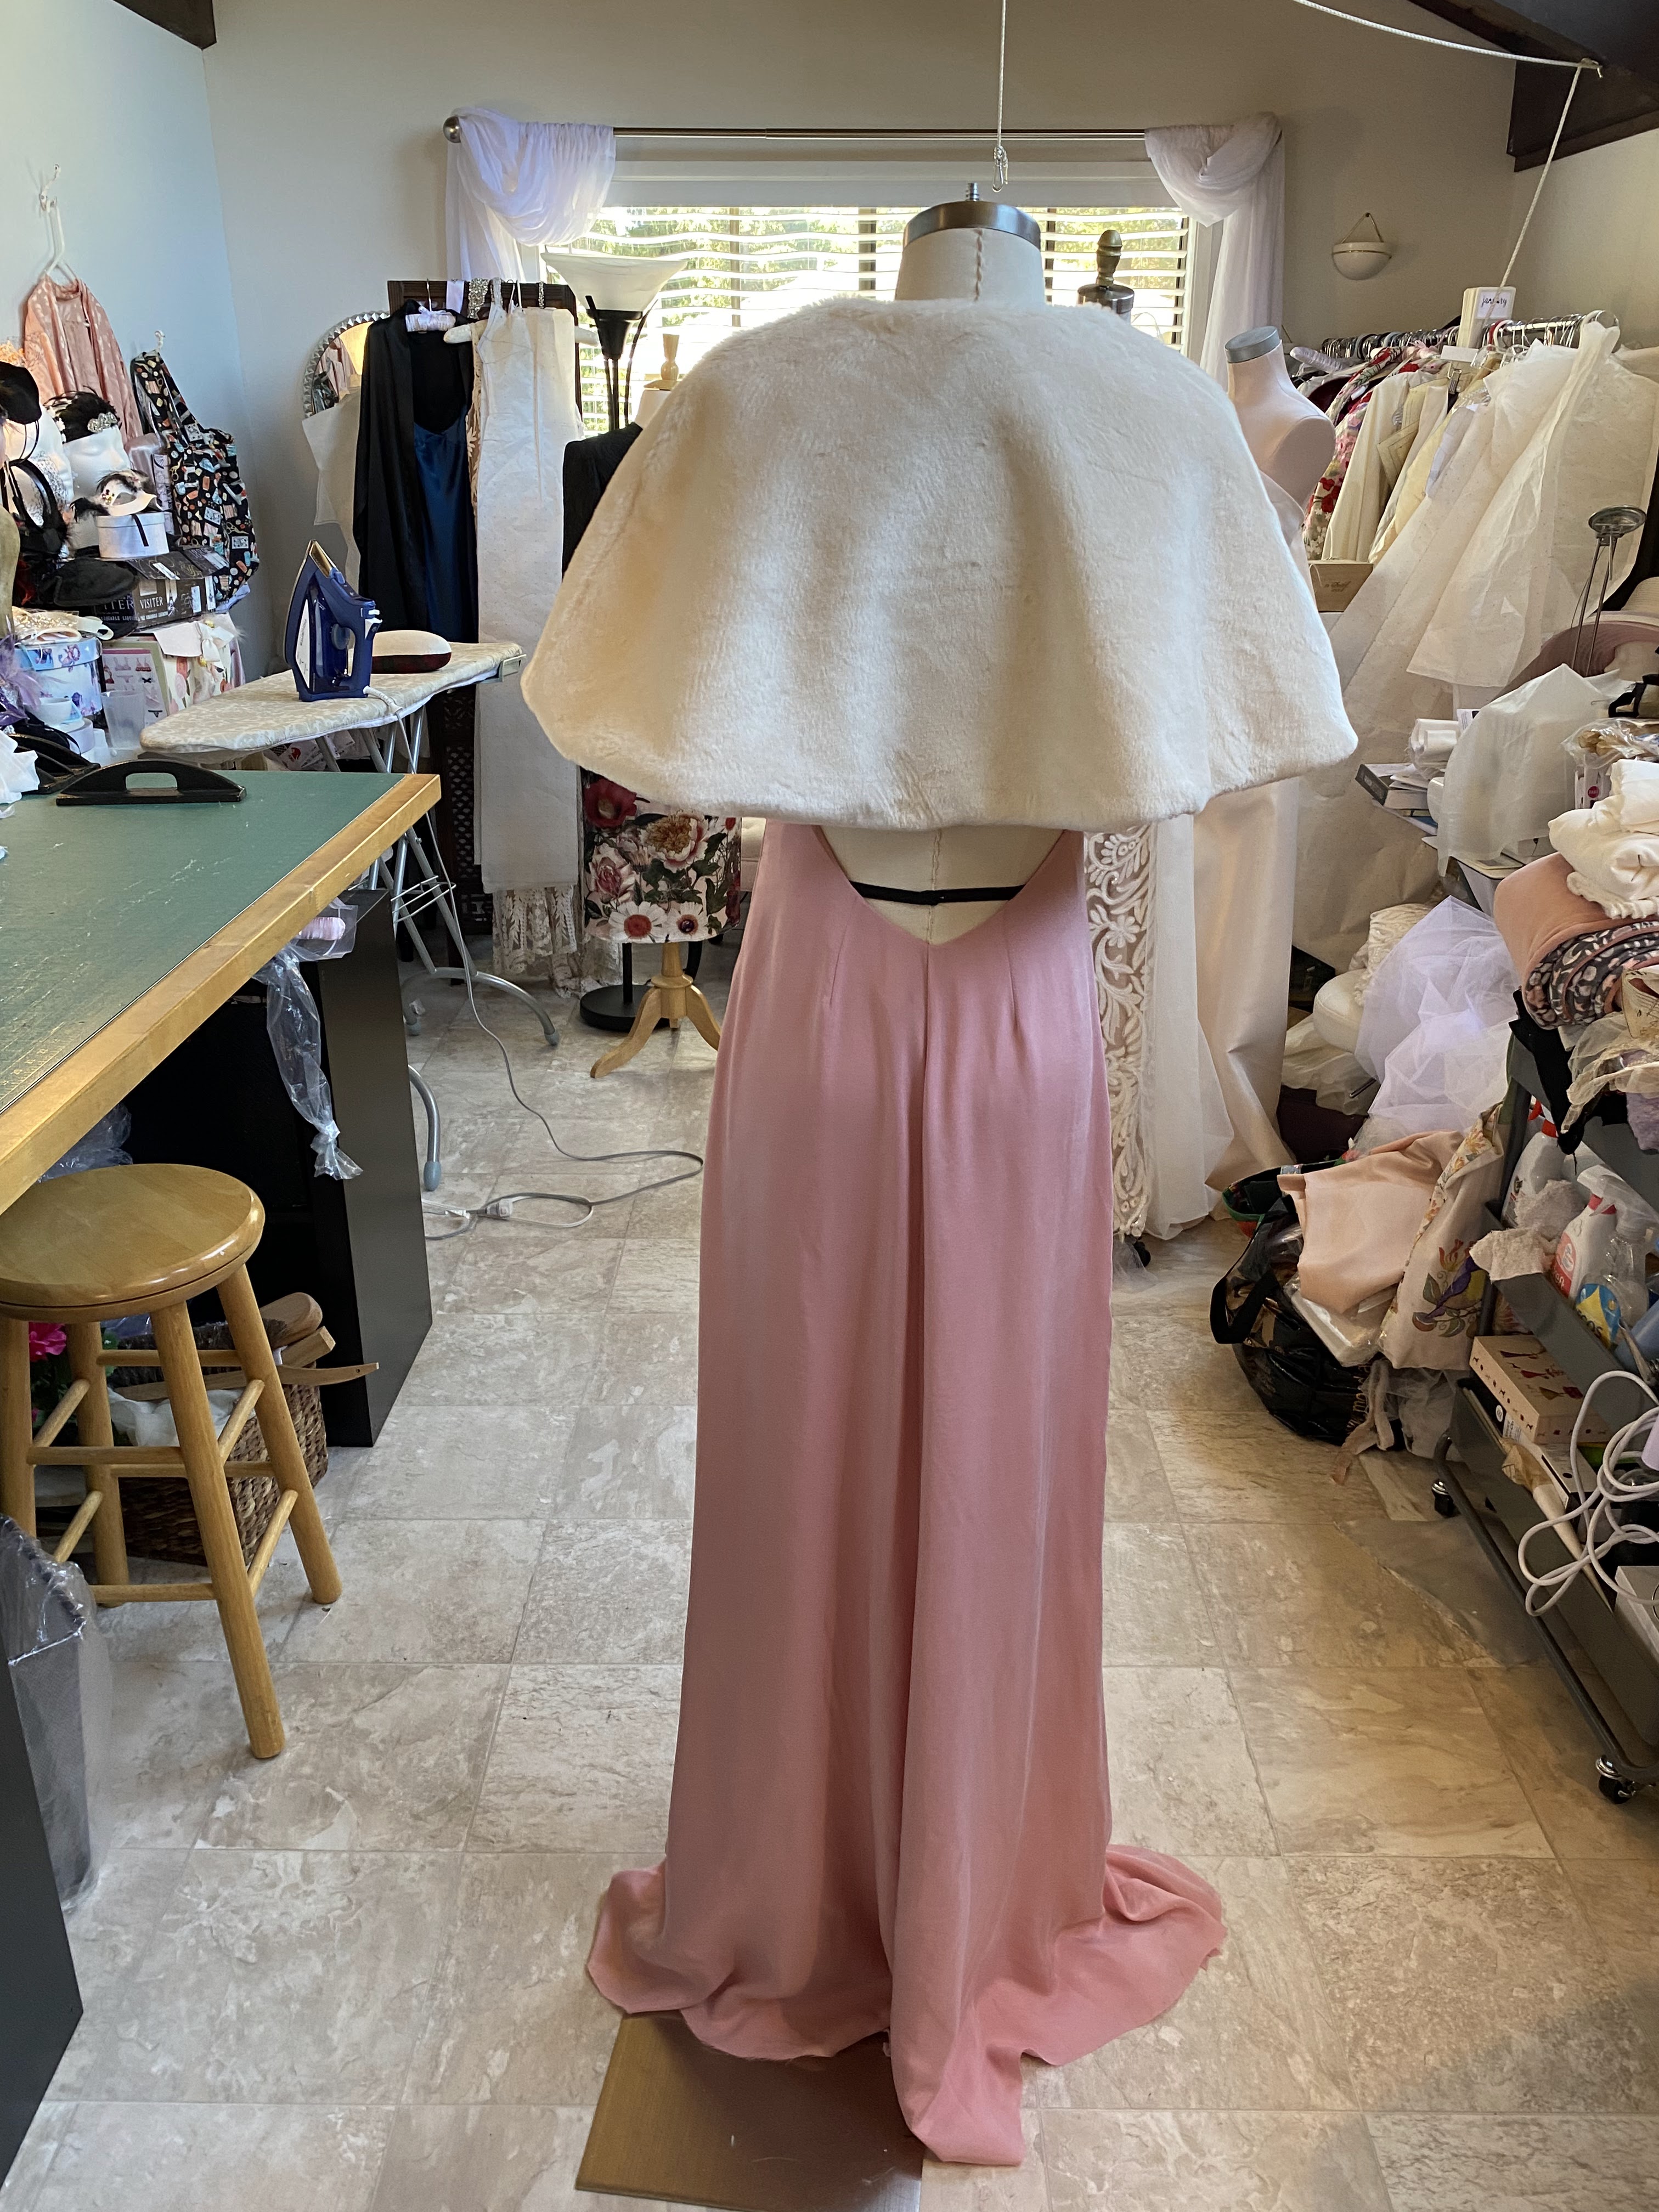
I wanted a sexy slip dress style for the collection, and thought I already have plenty of white dresses, why not have some pink for a pop of color. I brought a large swatch of my floral printed ball gown fabric to the fabric store, pulled out one of the colors from the print, and purchased 6 yards of material plus 5 yards of rhinestone trim for the straps.
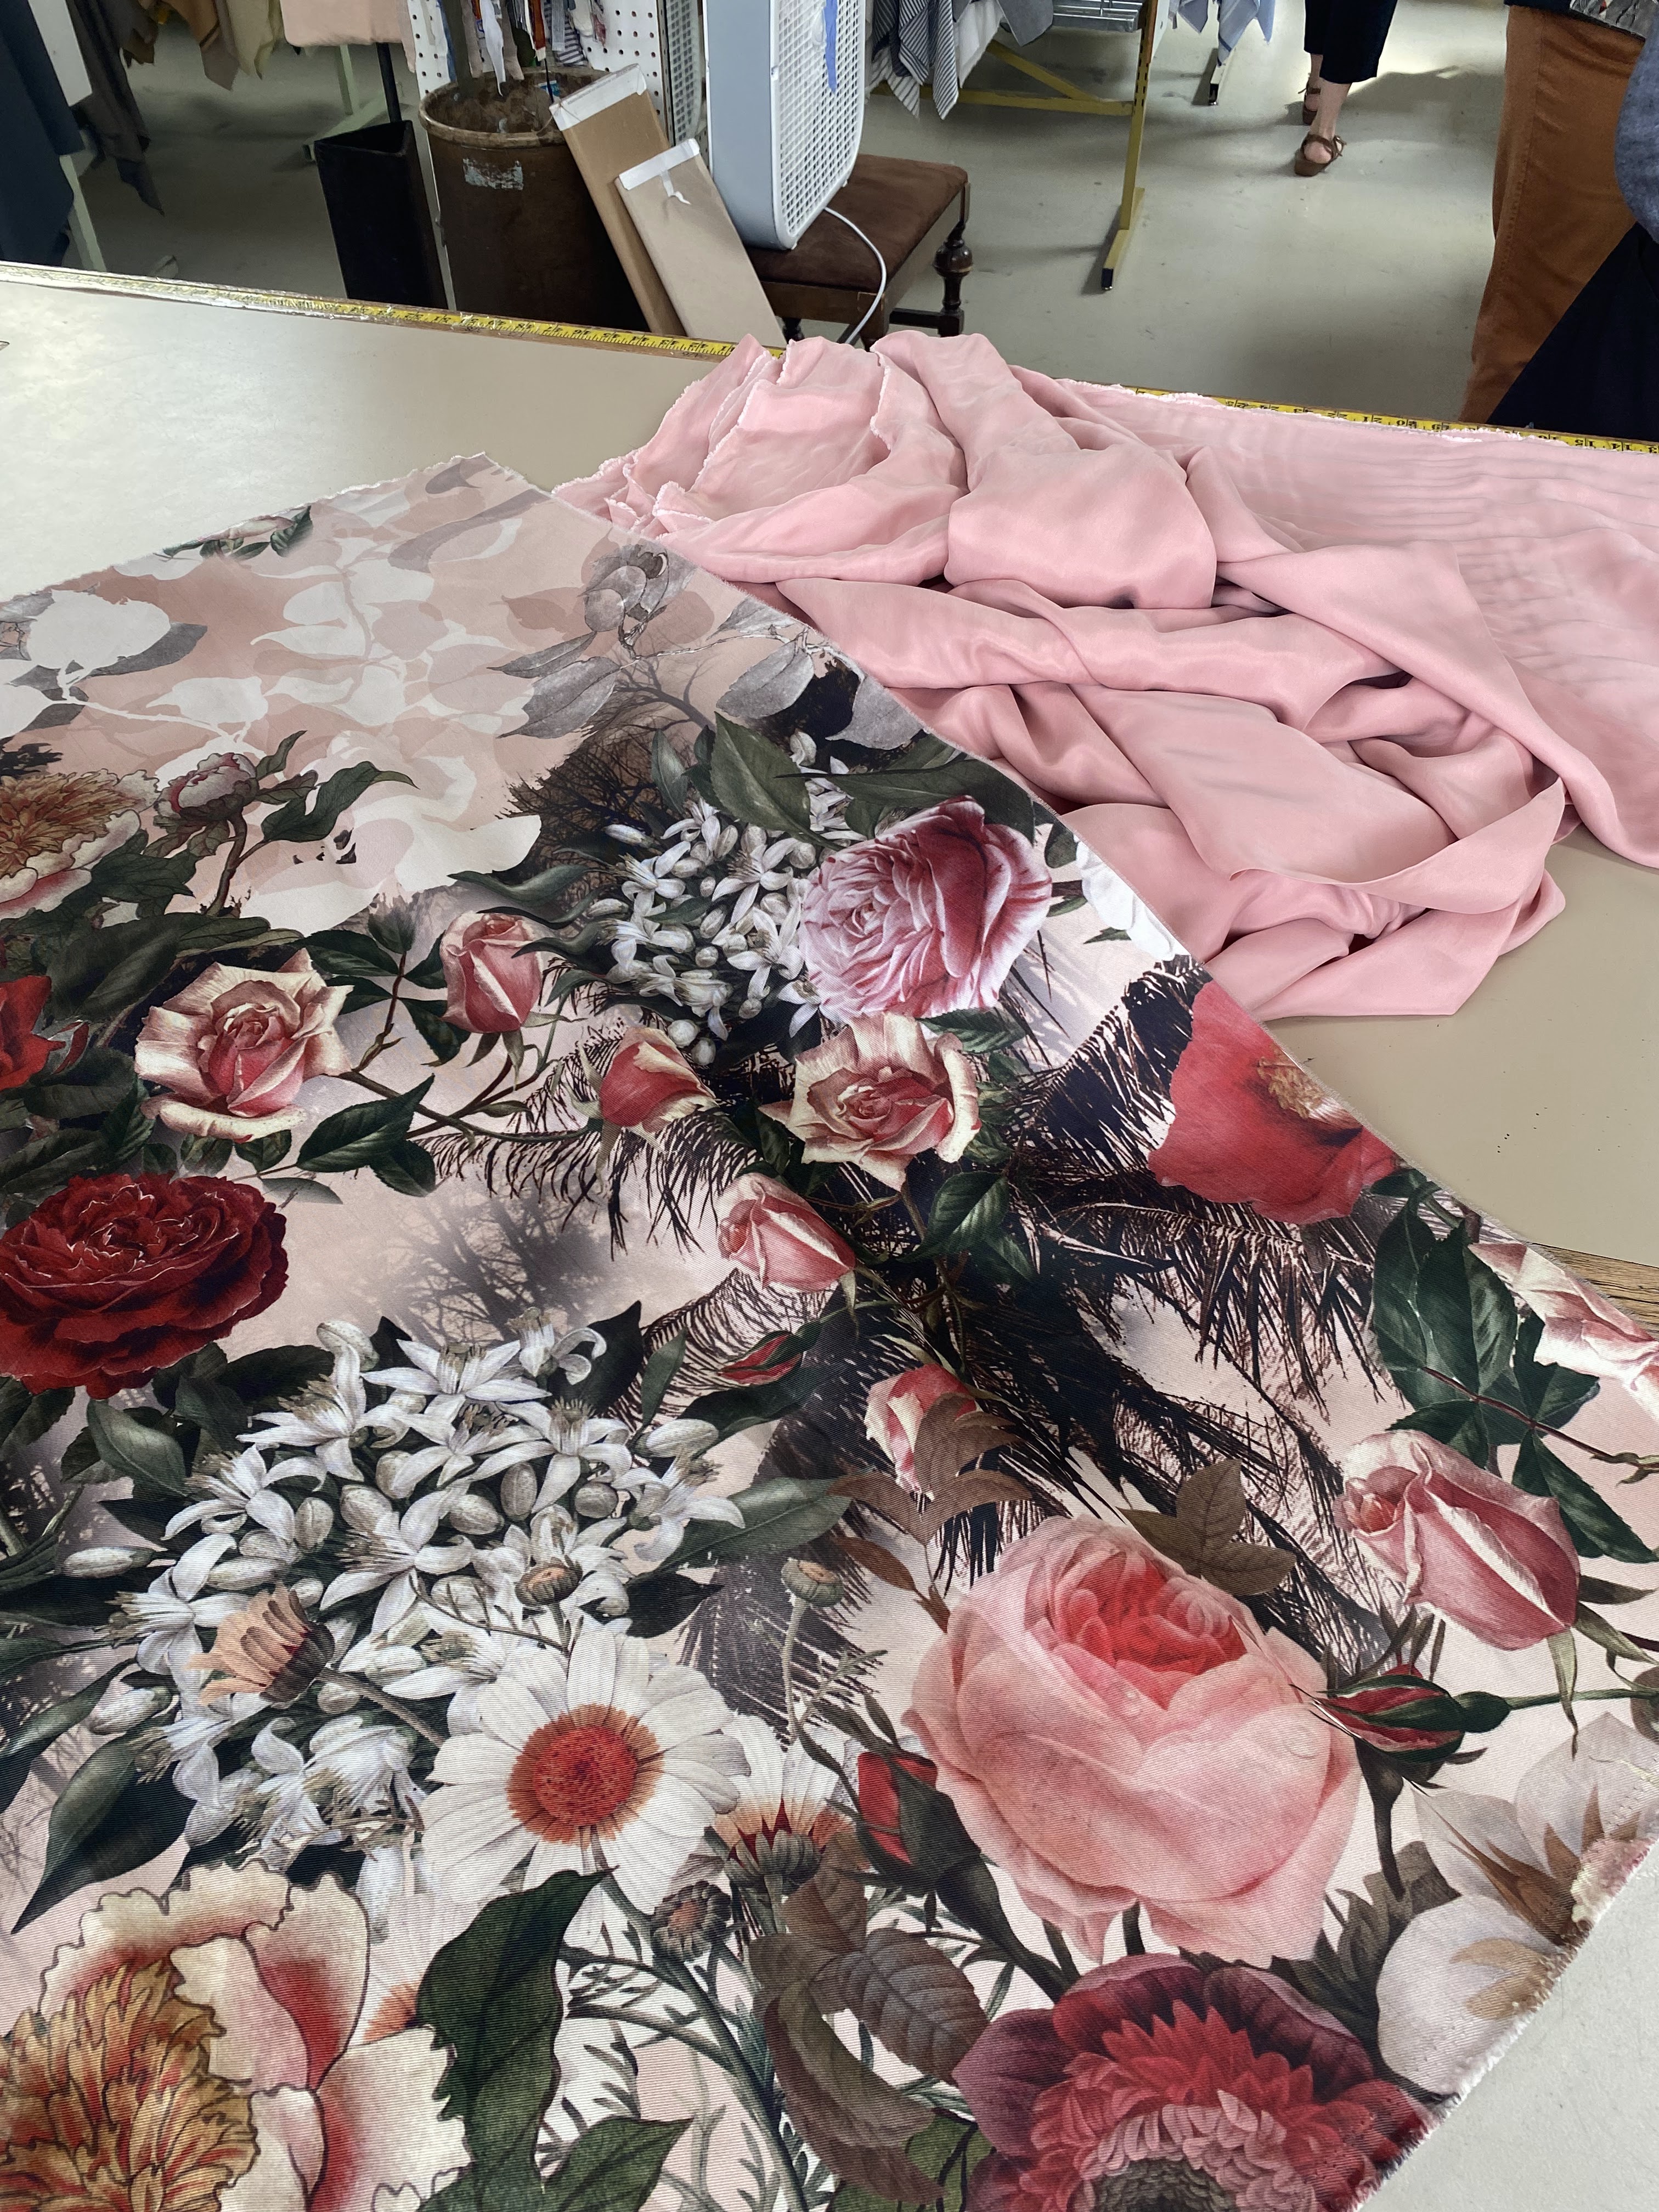
Pink looks really good on most skin tones, and this fabric is a super soft sand washed rayon that mimics silk in the best way, perfect for a slip dress! I actually would have loved to have a few bridal nightwear lounge slip and robe sets to show, but not enough time for that! Next time!
I made this dress using another commercial pattern, this time a Simplicity pattern from the late ’90’s or early 2000’s, which I’ve had in my pattern collection for years (decades perhaps?):
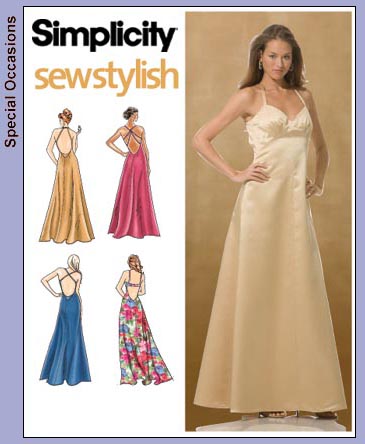
I love the design details of this dress pattern, especially the back with the low cut of it and the beautiful strappy details. So to bring this lovely gown up to what I was looking for to add to the collection I made a few adjustments to the pattern.
- I skimmed out the sides of the skirt part of the dress to make it more body hugging (figure flattering) and not the A-line shape that hangs from the waist as the photo suggests.
- I lengthened the hemline and added more of a slight train to the back of the dress (who doesn’t like a little train drama, right?).
- I fully lined the dress instead of making a facing around the neckline. I hate facings and would rather make it fully lined (fellow dressmakers catch my drift).
- The rhinestones! The gorgeous, beautiful rhinestone trim was a pain in the butt to sew on to each strap, but it looks SO pretty! Totally worth the extra 4 hours to hand sew…


The back of this gown is so lovely!
I wanted to include some accessories with the collection, giving the potential wearer options. I opted to make a little faux fur shrug (a cape-like little jacket type of garment) to cover her shoulders in case of a little chill in the air (personally, I hate being cold and always have a jacket or cardigan on hand just in case…):

Once Stella and her shrug were complete, it was time to move on to the next look in the lineup and keep up with the pace of my timeline.
I wanted to have options for a bride, and find that dressy jumpsuits are appealing to many. I wanted to create something romantic and flowy in a lovely swishy fabric.
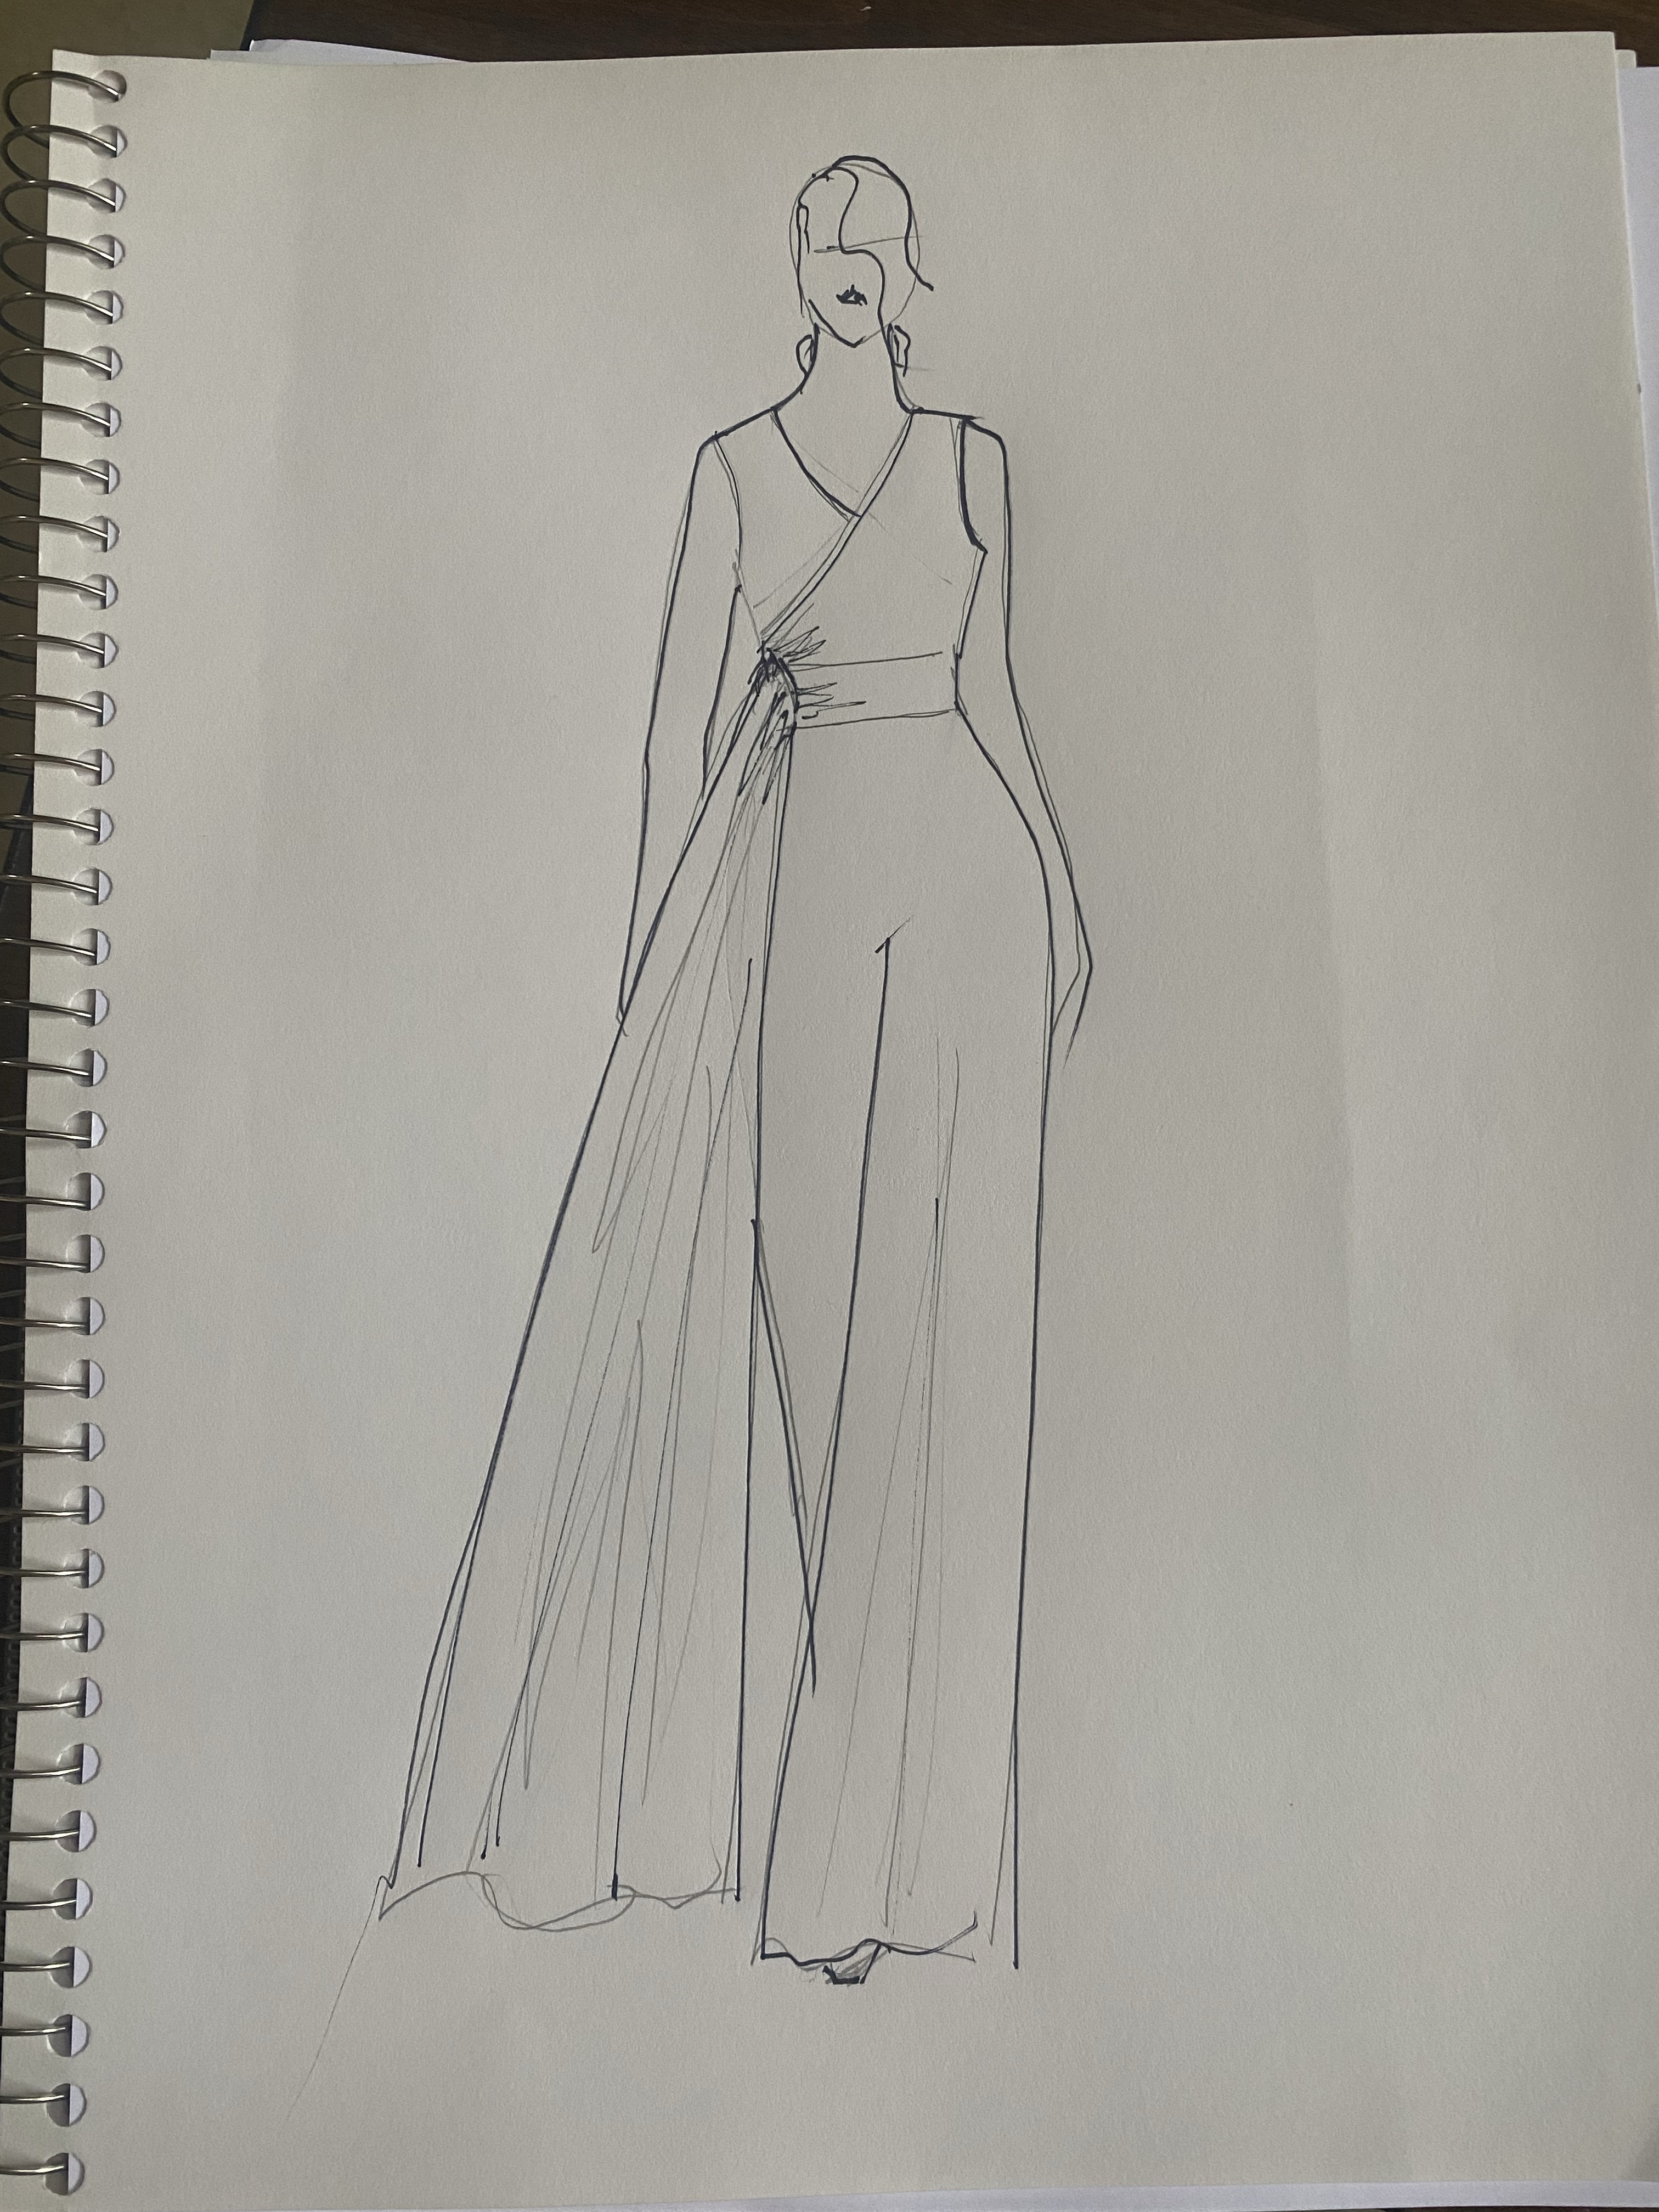
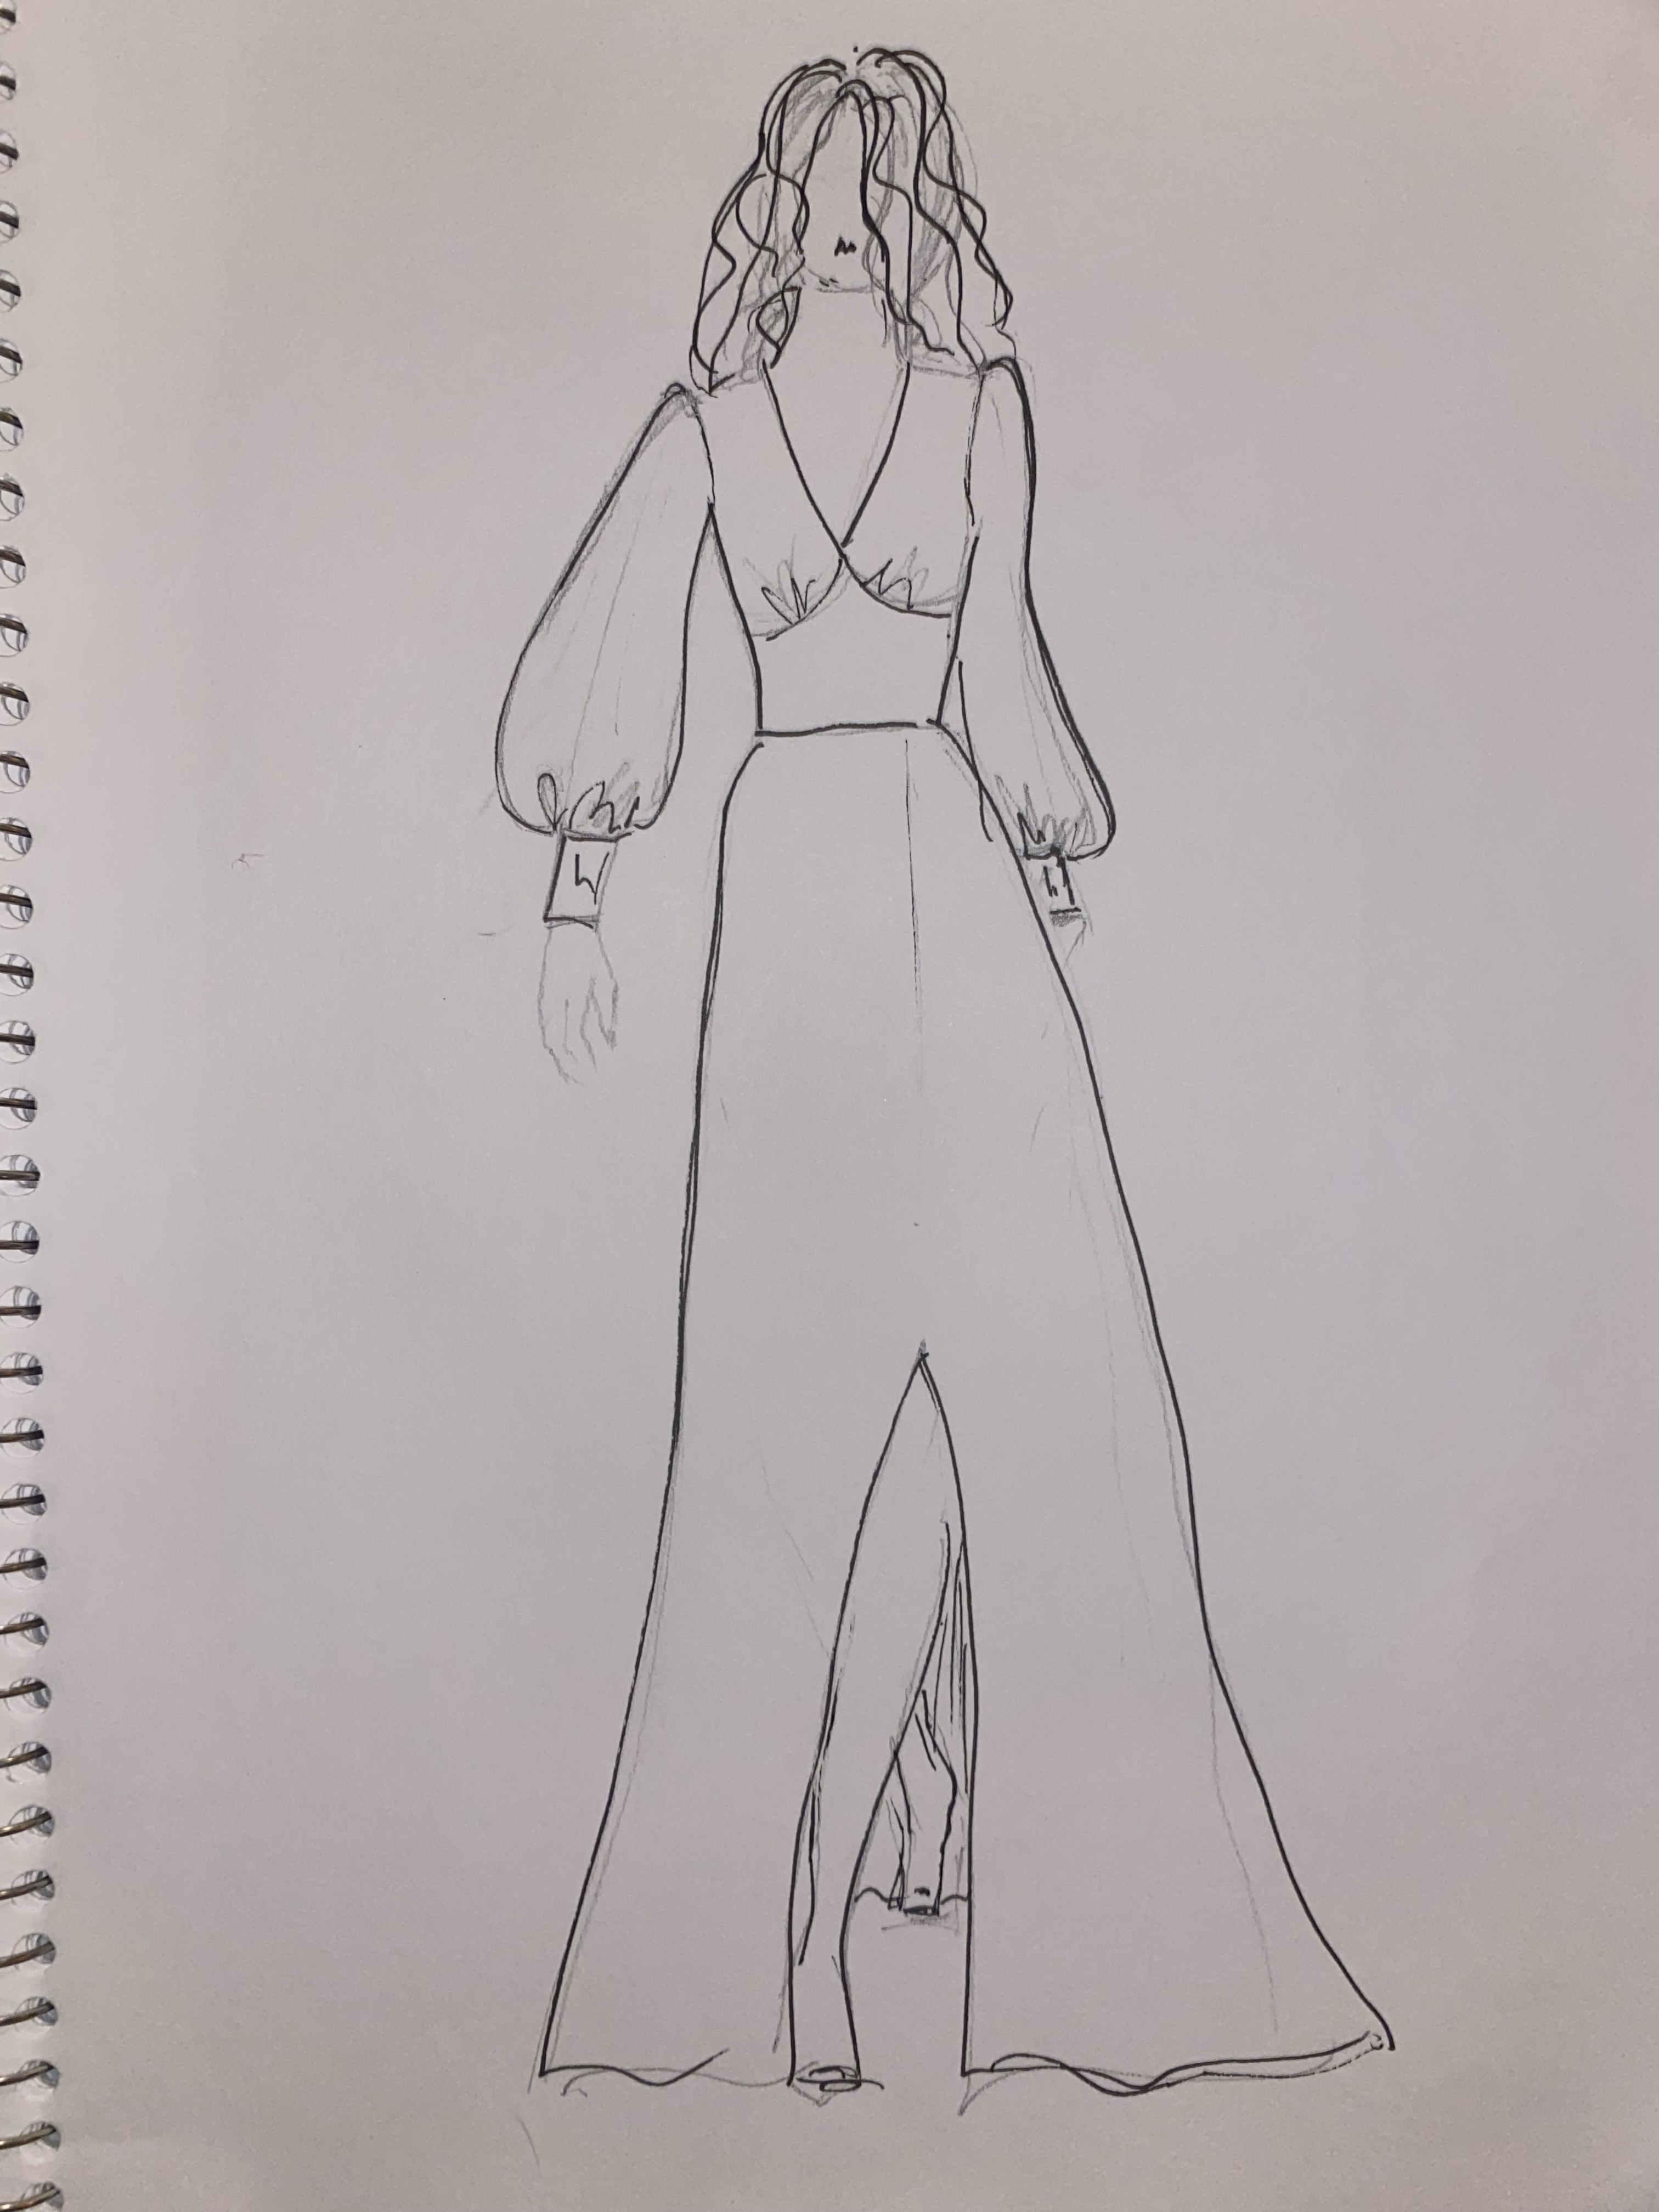
This illustration is one of many that I did with the vision of a bridal, or dressy, jumpsuit as an option. I love a simple bodice, defined waist, and a wide leg pant. I added a big side sash detail for drama and to act as sort of a train.
When choosing a pattern for this, I went for one I had in my collection, McCall’s 8313, to create the look:
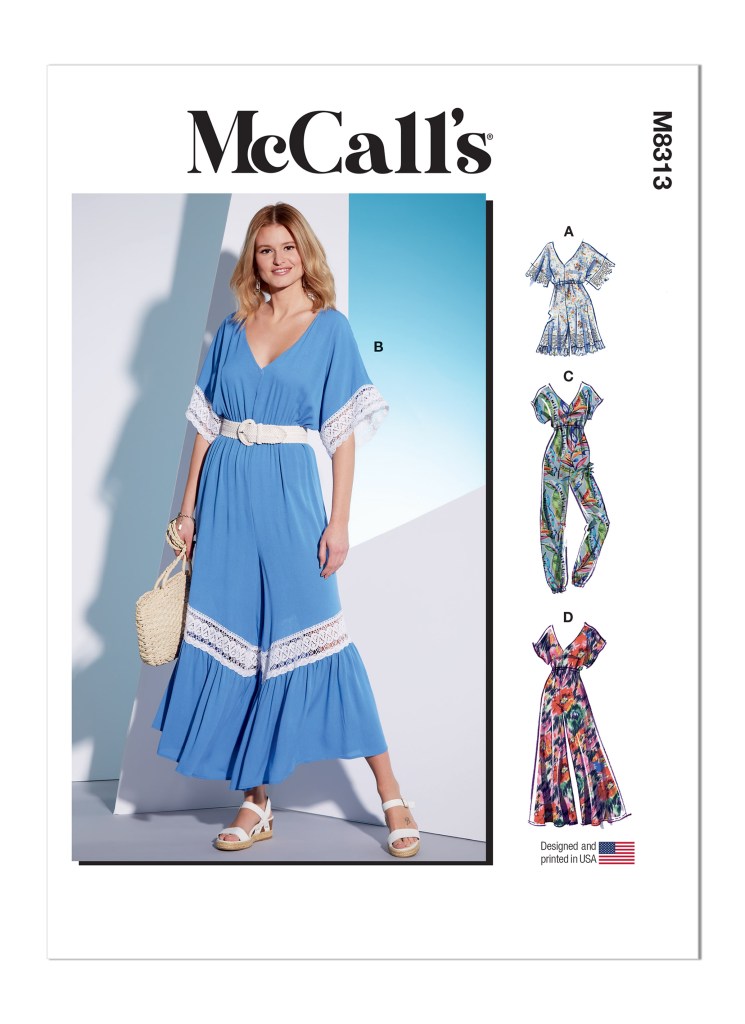
The pattern envelope really isn’t exciting or inspirational…
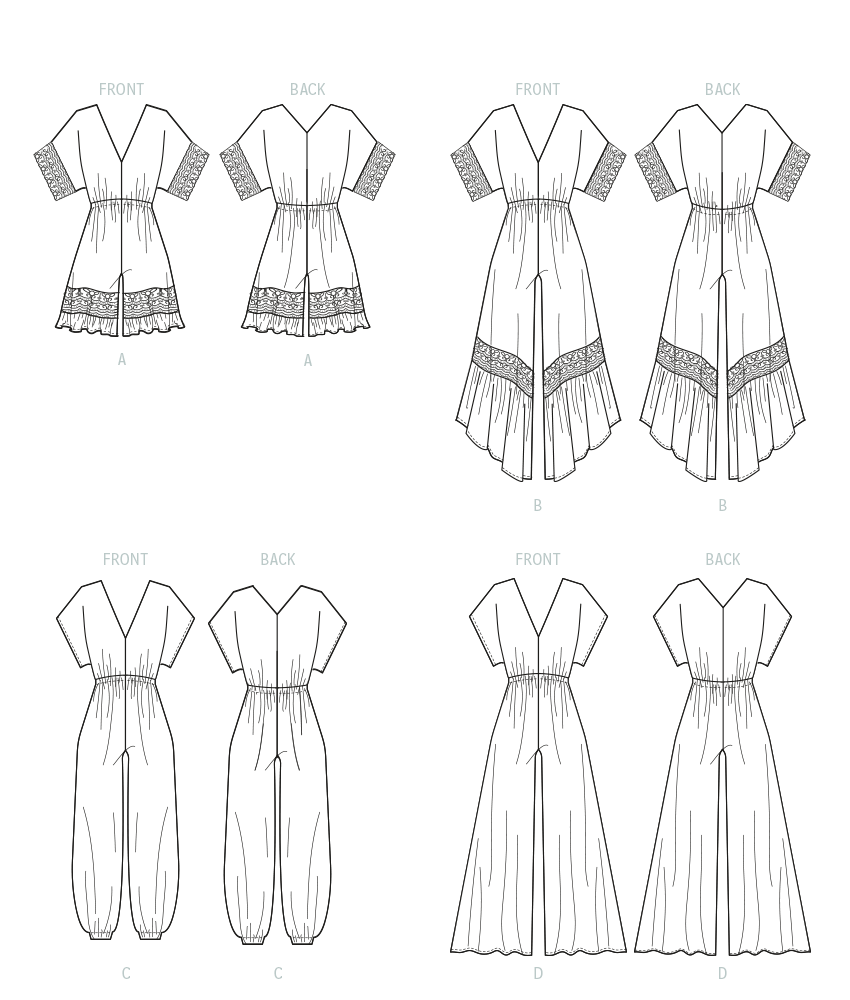
The line drawings are also not the greatest, however view D would work for me
Of course, I made changes to the pattern including cutting the front bodice out on the fold instead of having a center front seam. Also I fully lined the entire jumpsuit to avoid seeing through the garment and to give it a more “luxe” feel. I made a matching sash and slapped on some of my embellished tulle to act as a detachable train.


As much as I wanted this jumpsuit to be really amazing and create a “wow!” moment, it turned out to be my least favorite in the collection if I’m honest. It just didn’t turn out as well as I wanted it to. Sure, it was fine and worked out for a look, it just wasn’t as refined and elegant as I hoped it would be, but I didn’t have time to start all over with it and make a different one, so it would just have to do. Meh…
The next dress I totally procrastinated on cutting out and making, however was one of my favorite concepts and really lovely fabric choice. I named it Laticia as I felt the fabric reminded me of a lattice feature that you would see as part of the décor in a beautiful garden:

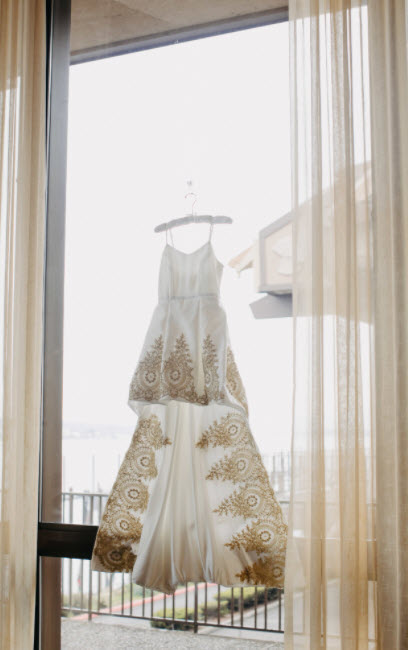
I wanted to have one option in my collection with an overskirt as I love the idea of a transformation in the bridal outfit. She could wear the overskirt for walking down the isle, then remove the overskirt and reveal a lovely sheath dress underneath for the reception. Genius!

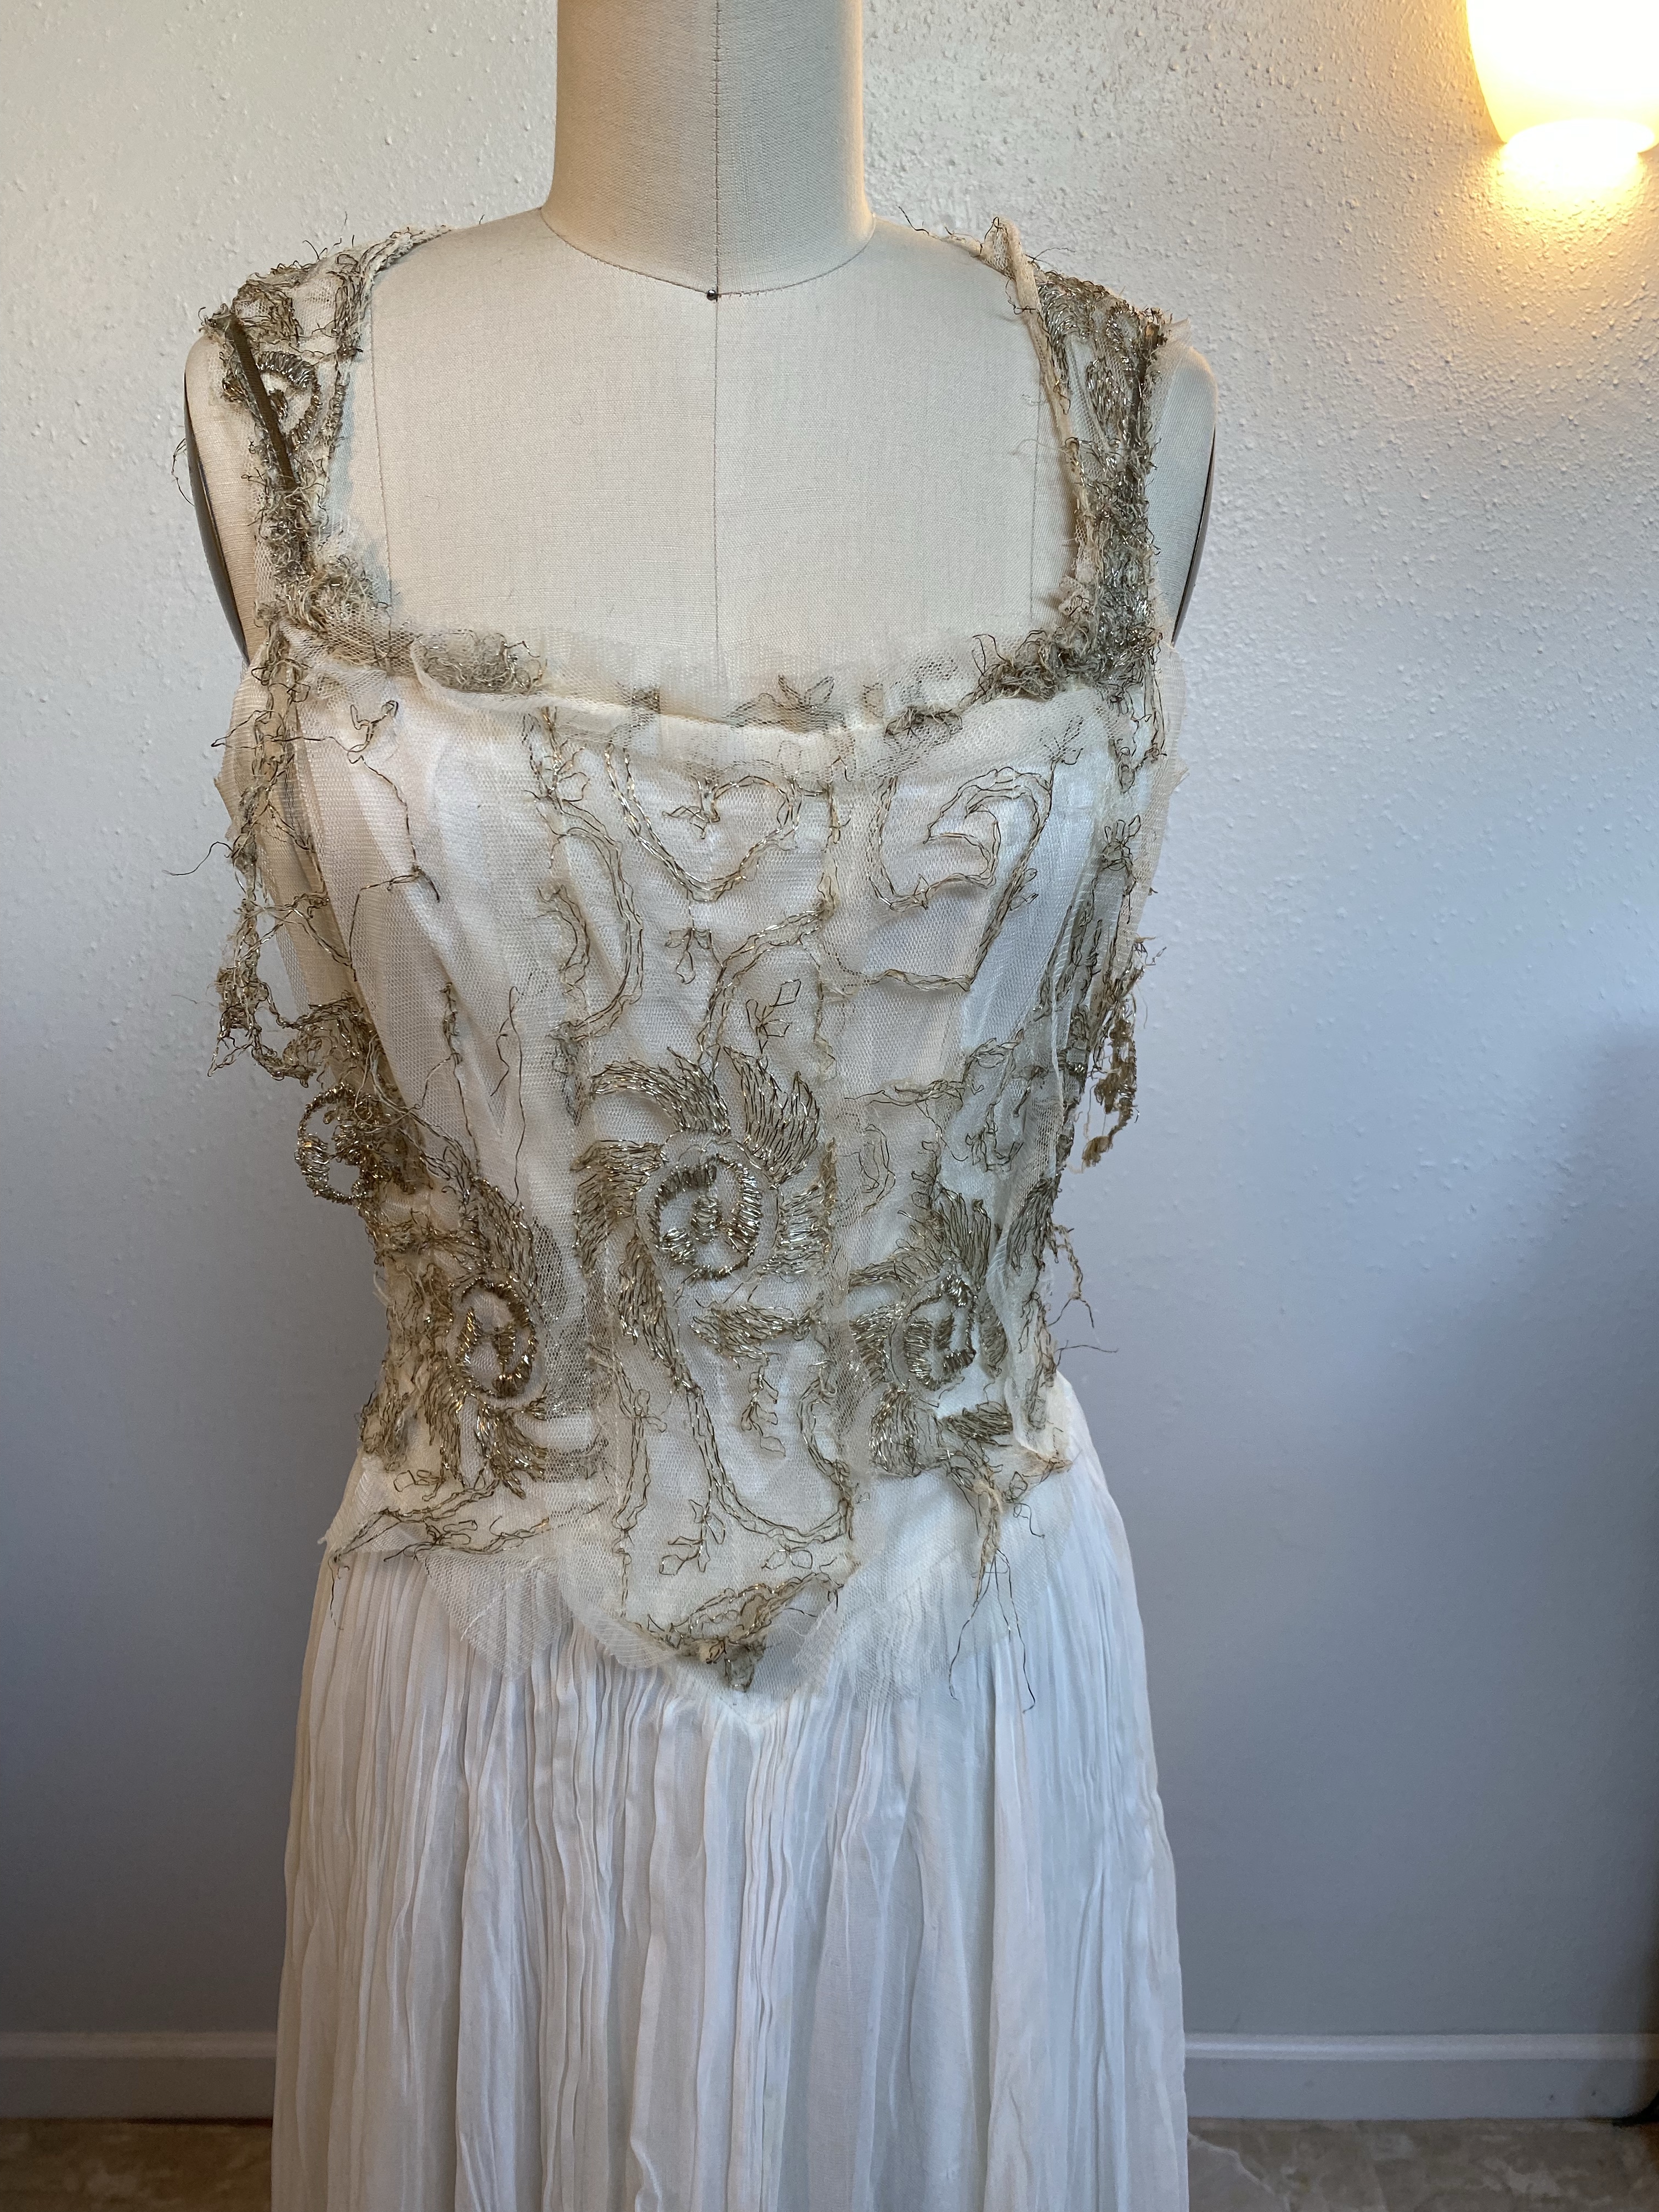
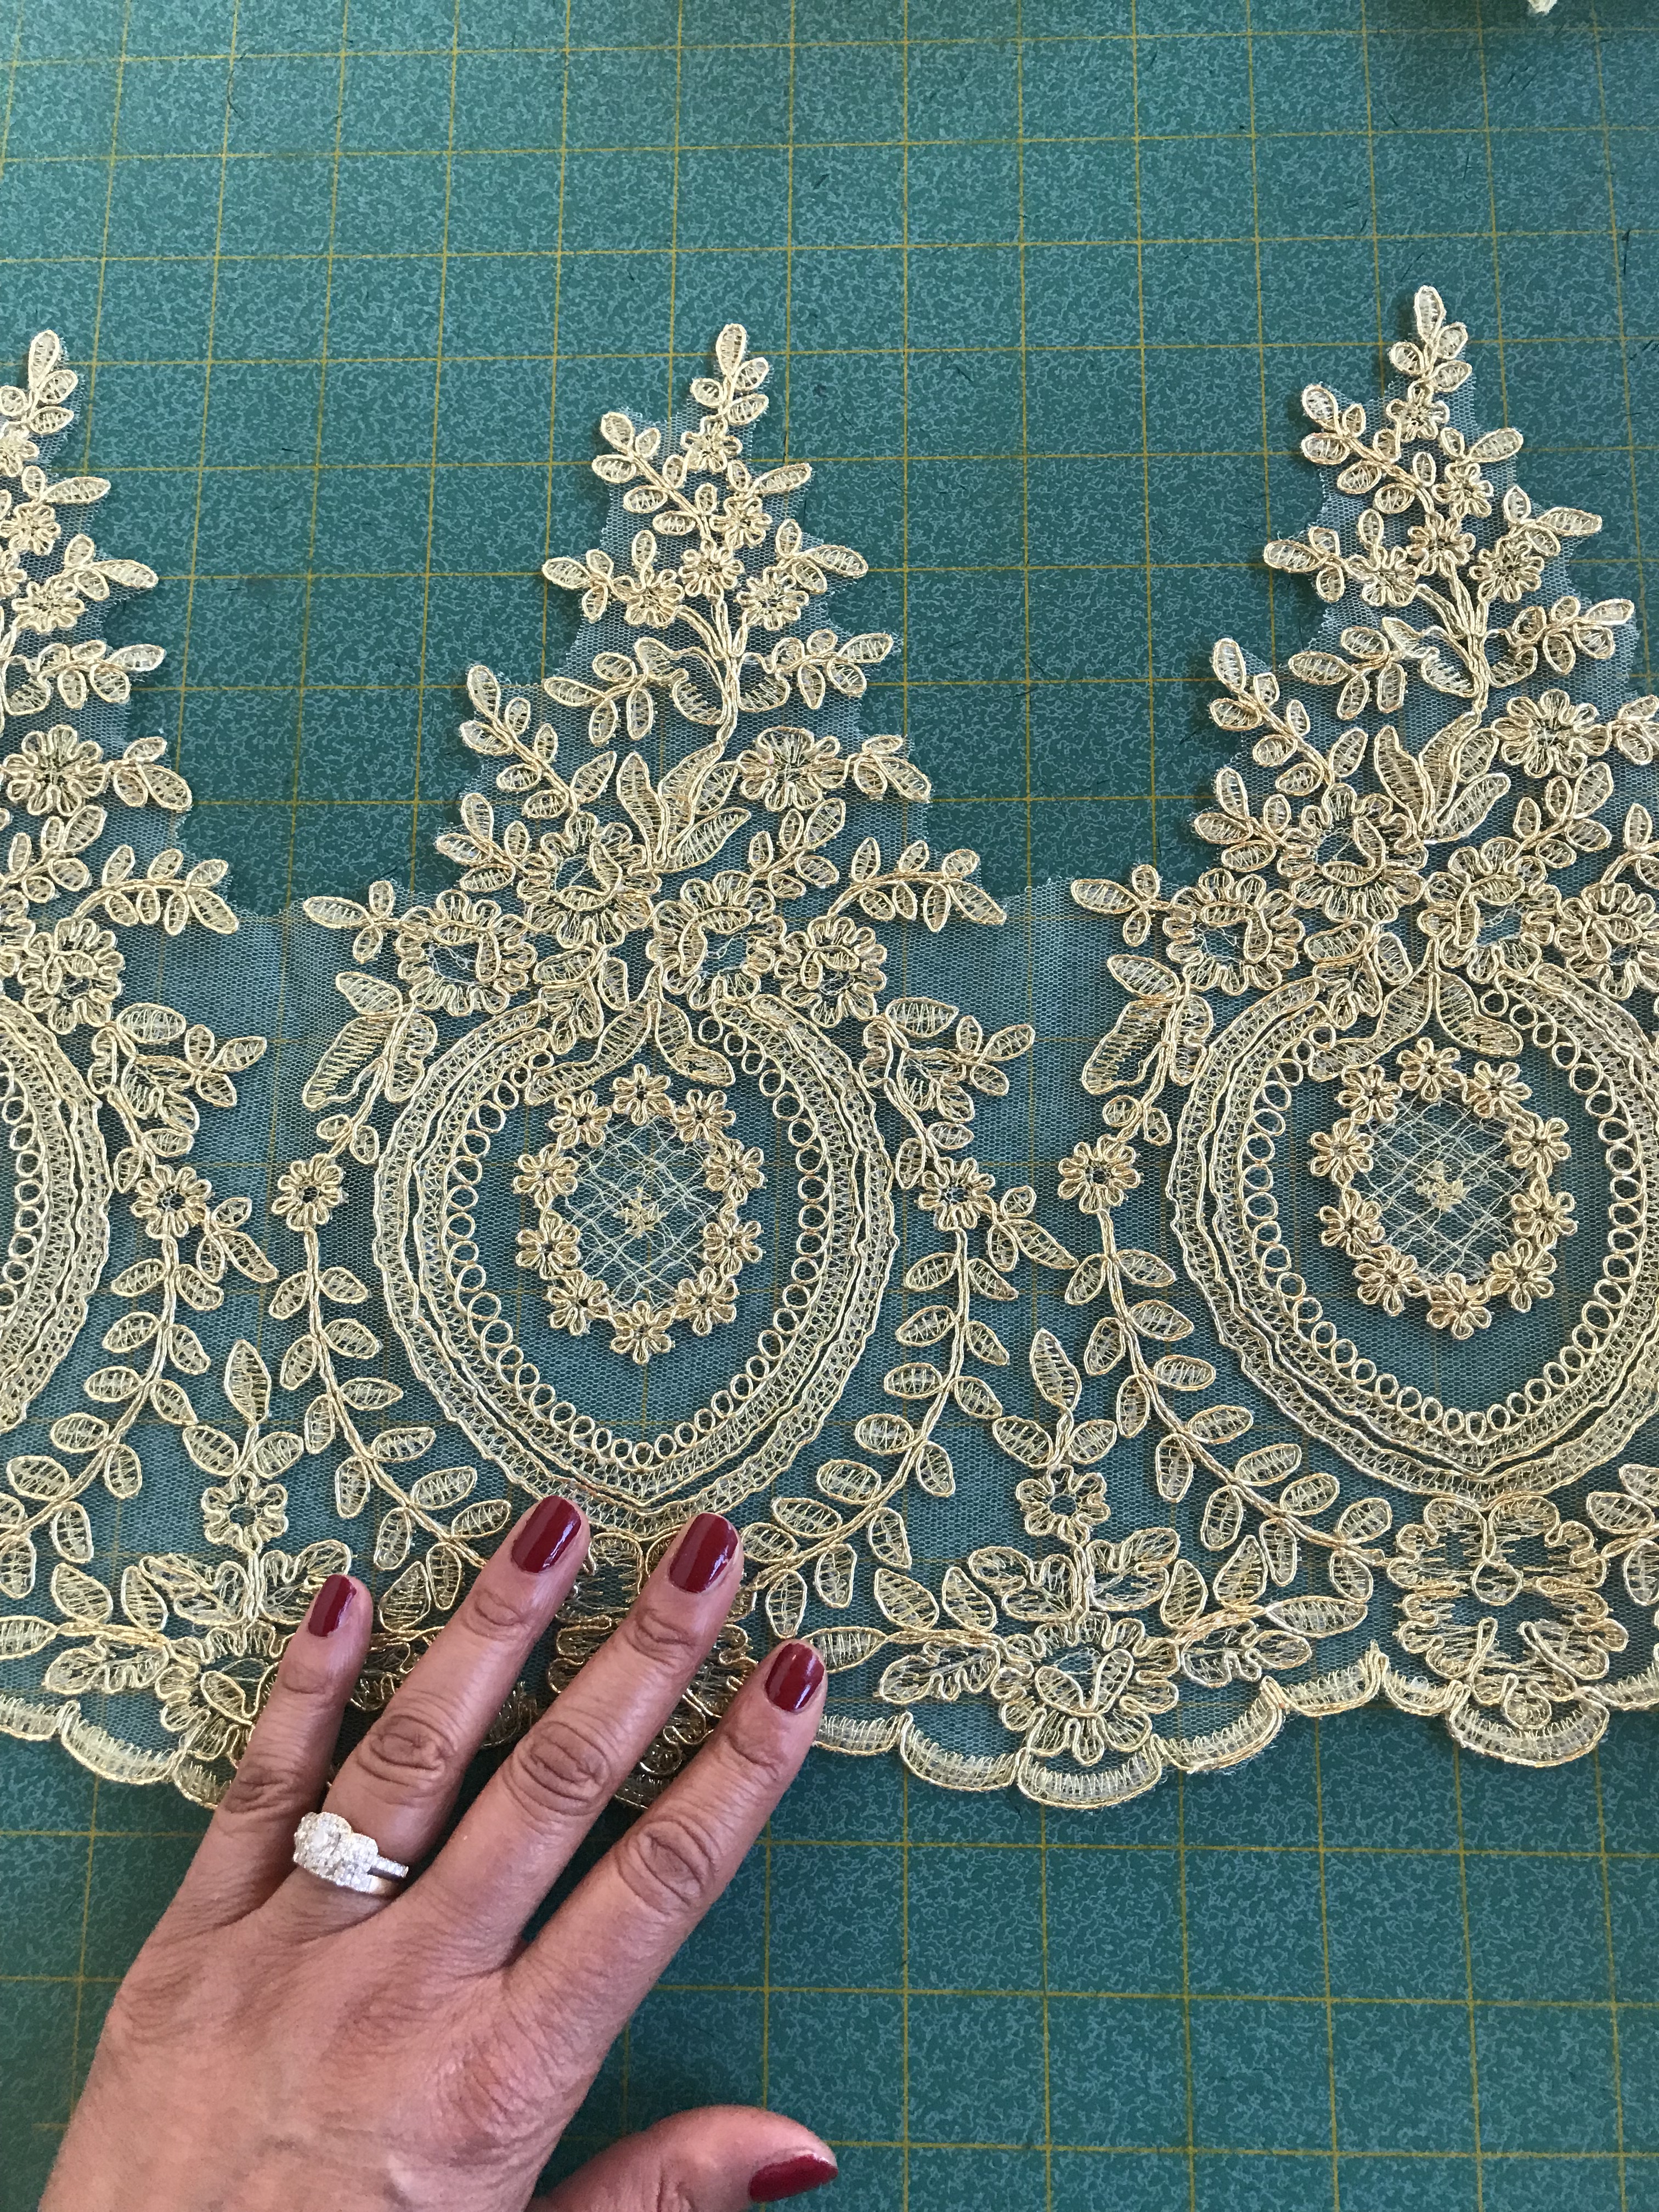
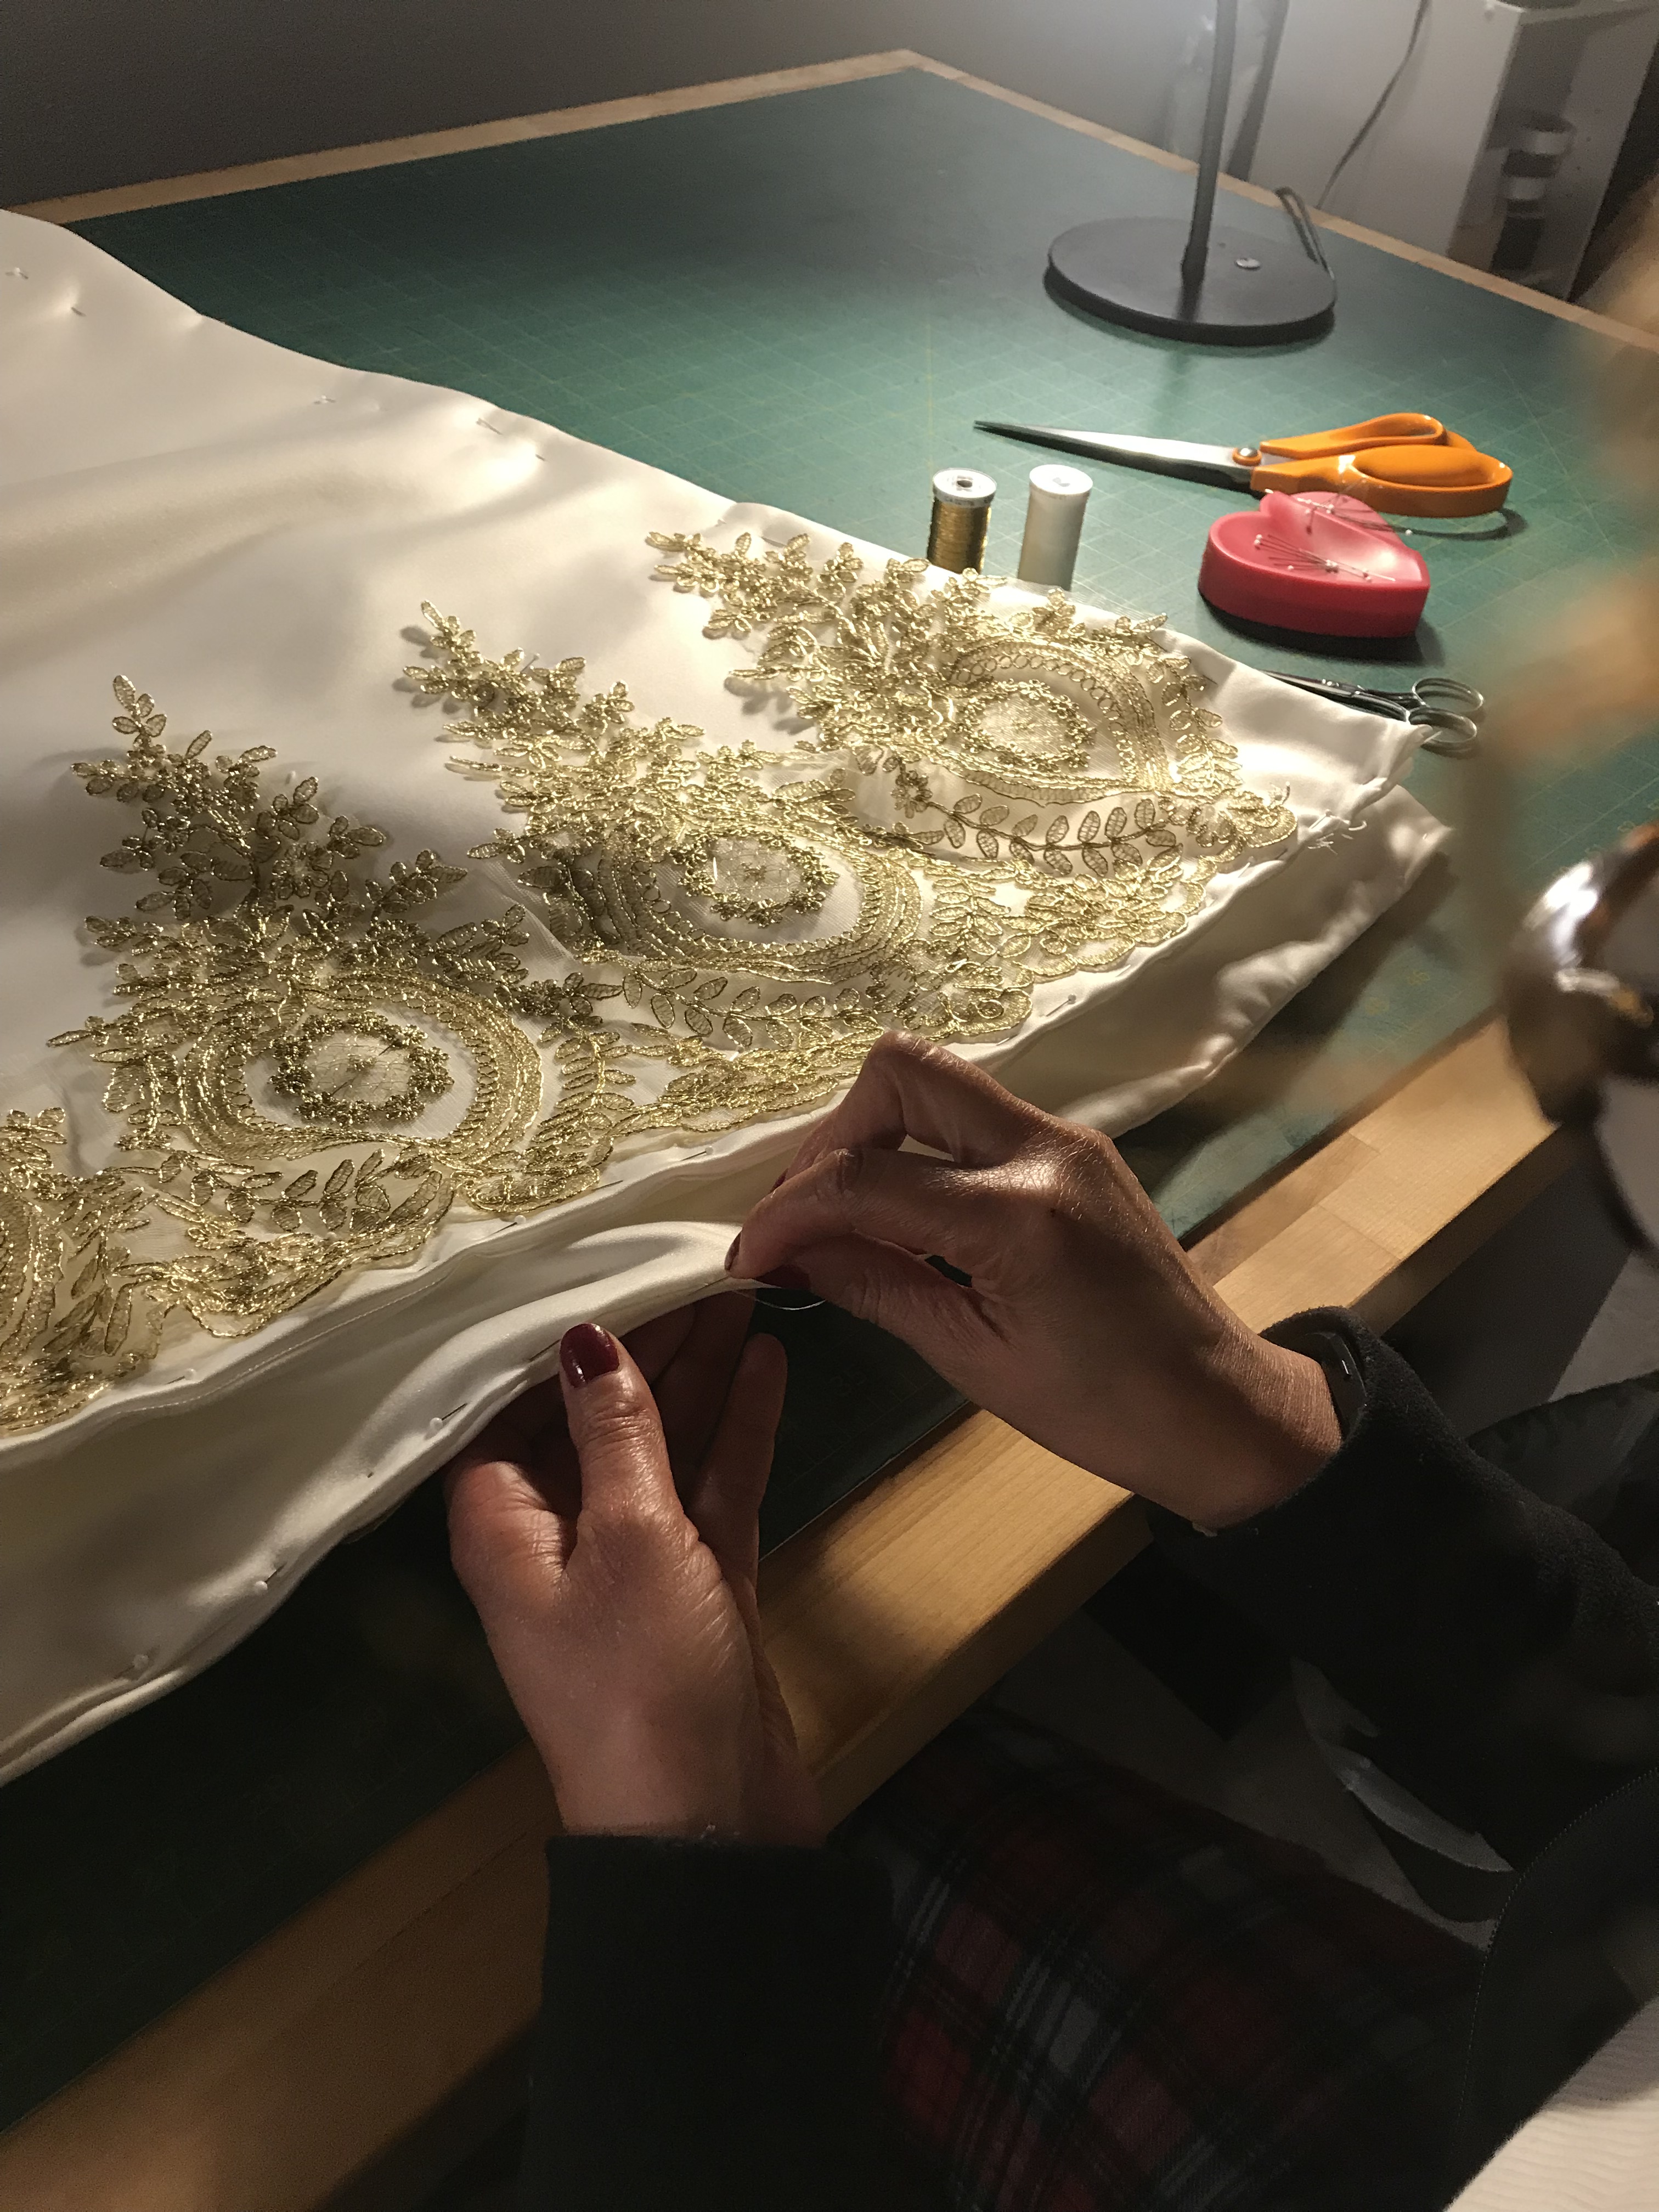
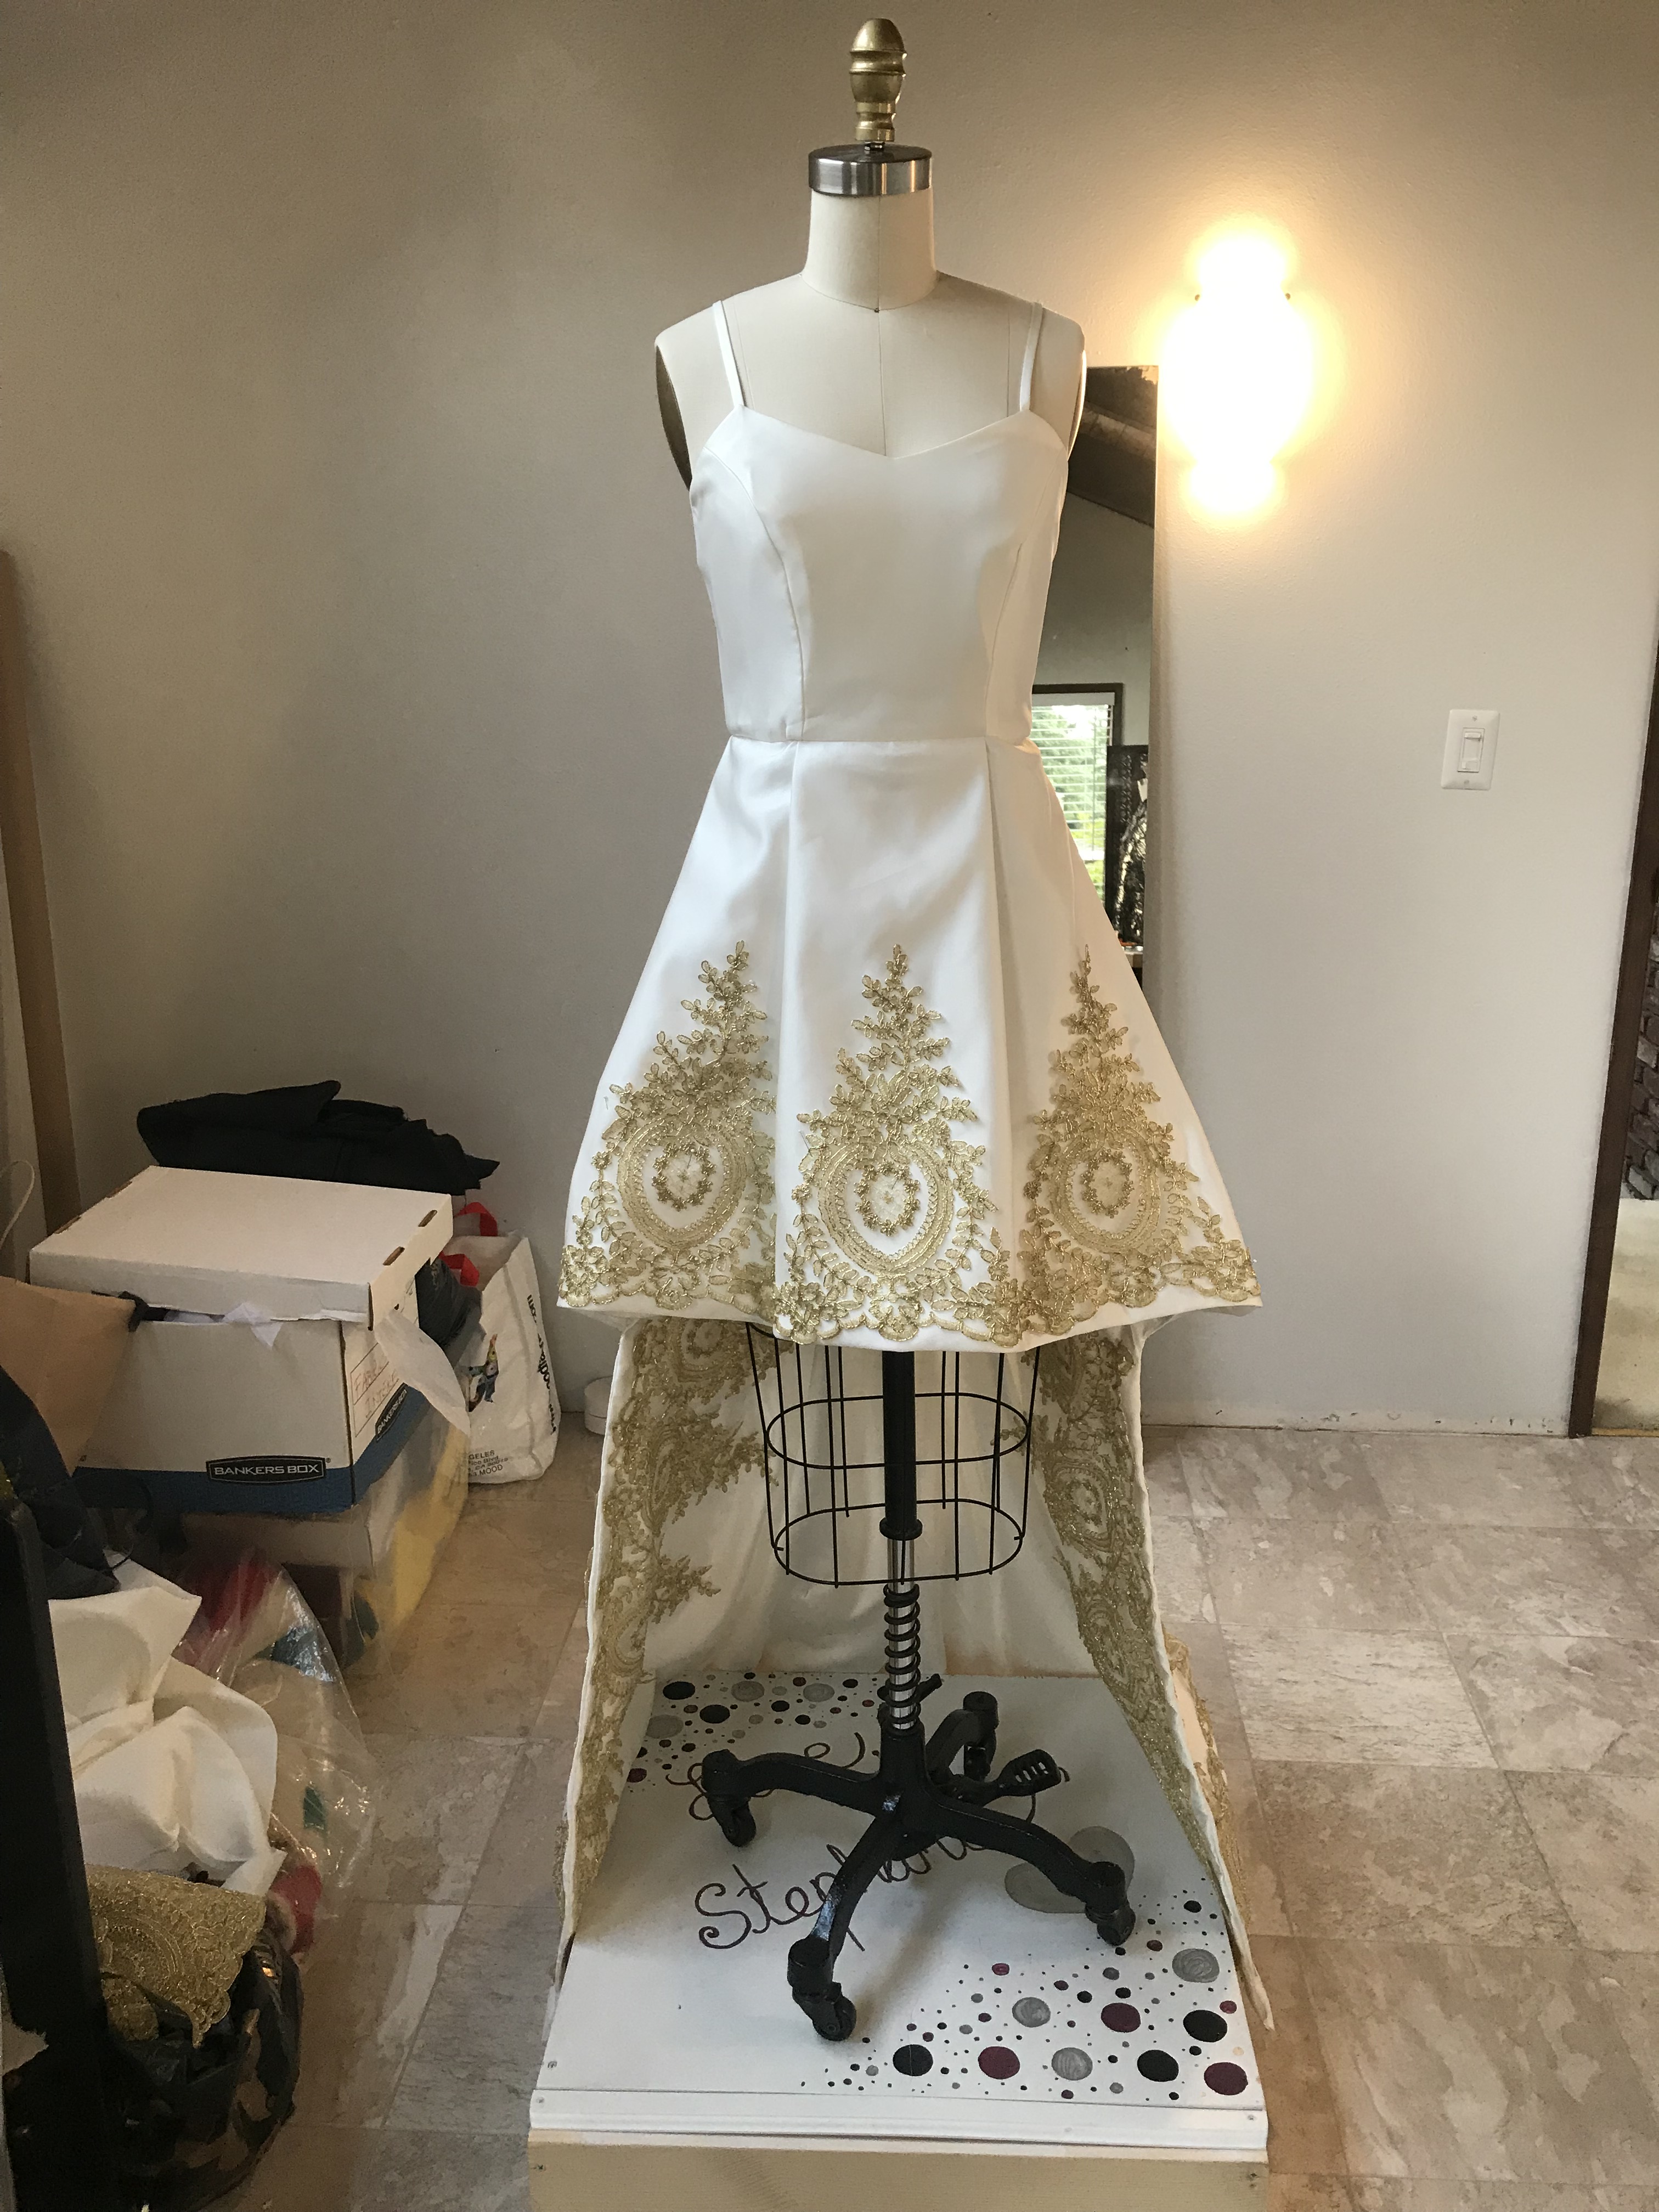
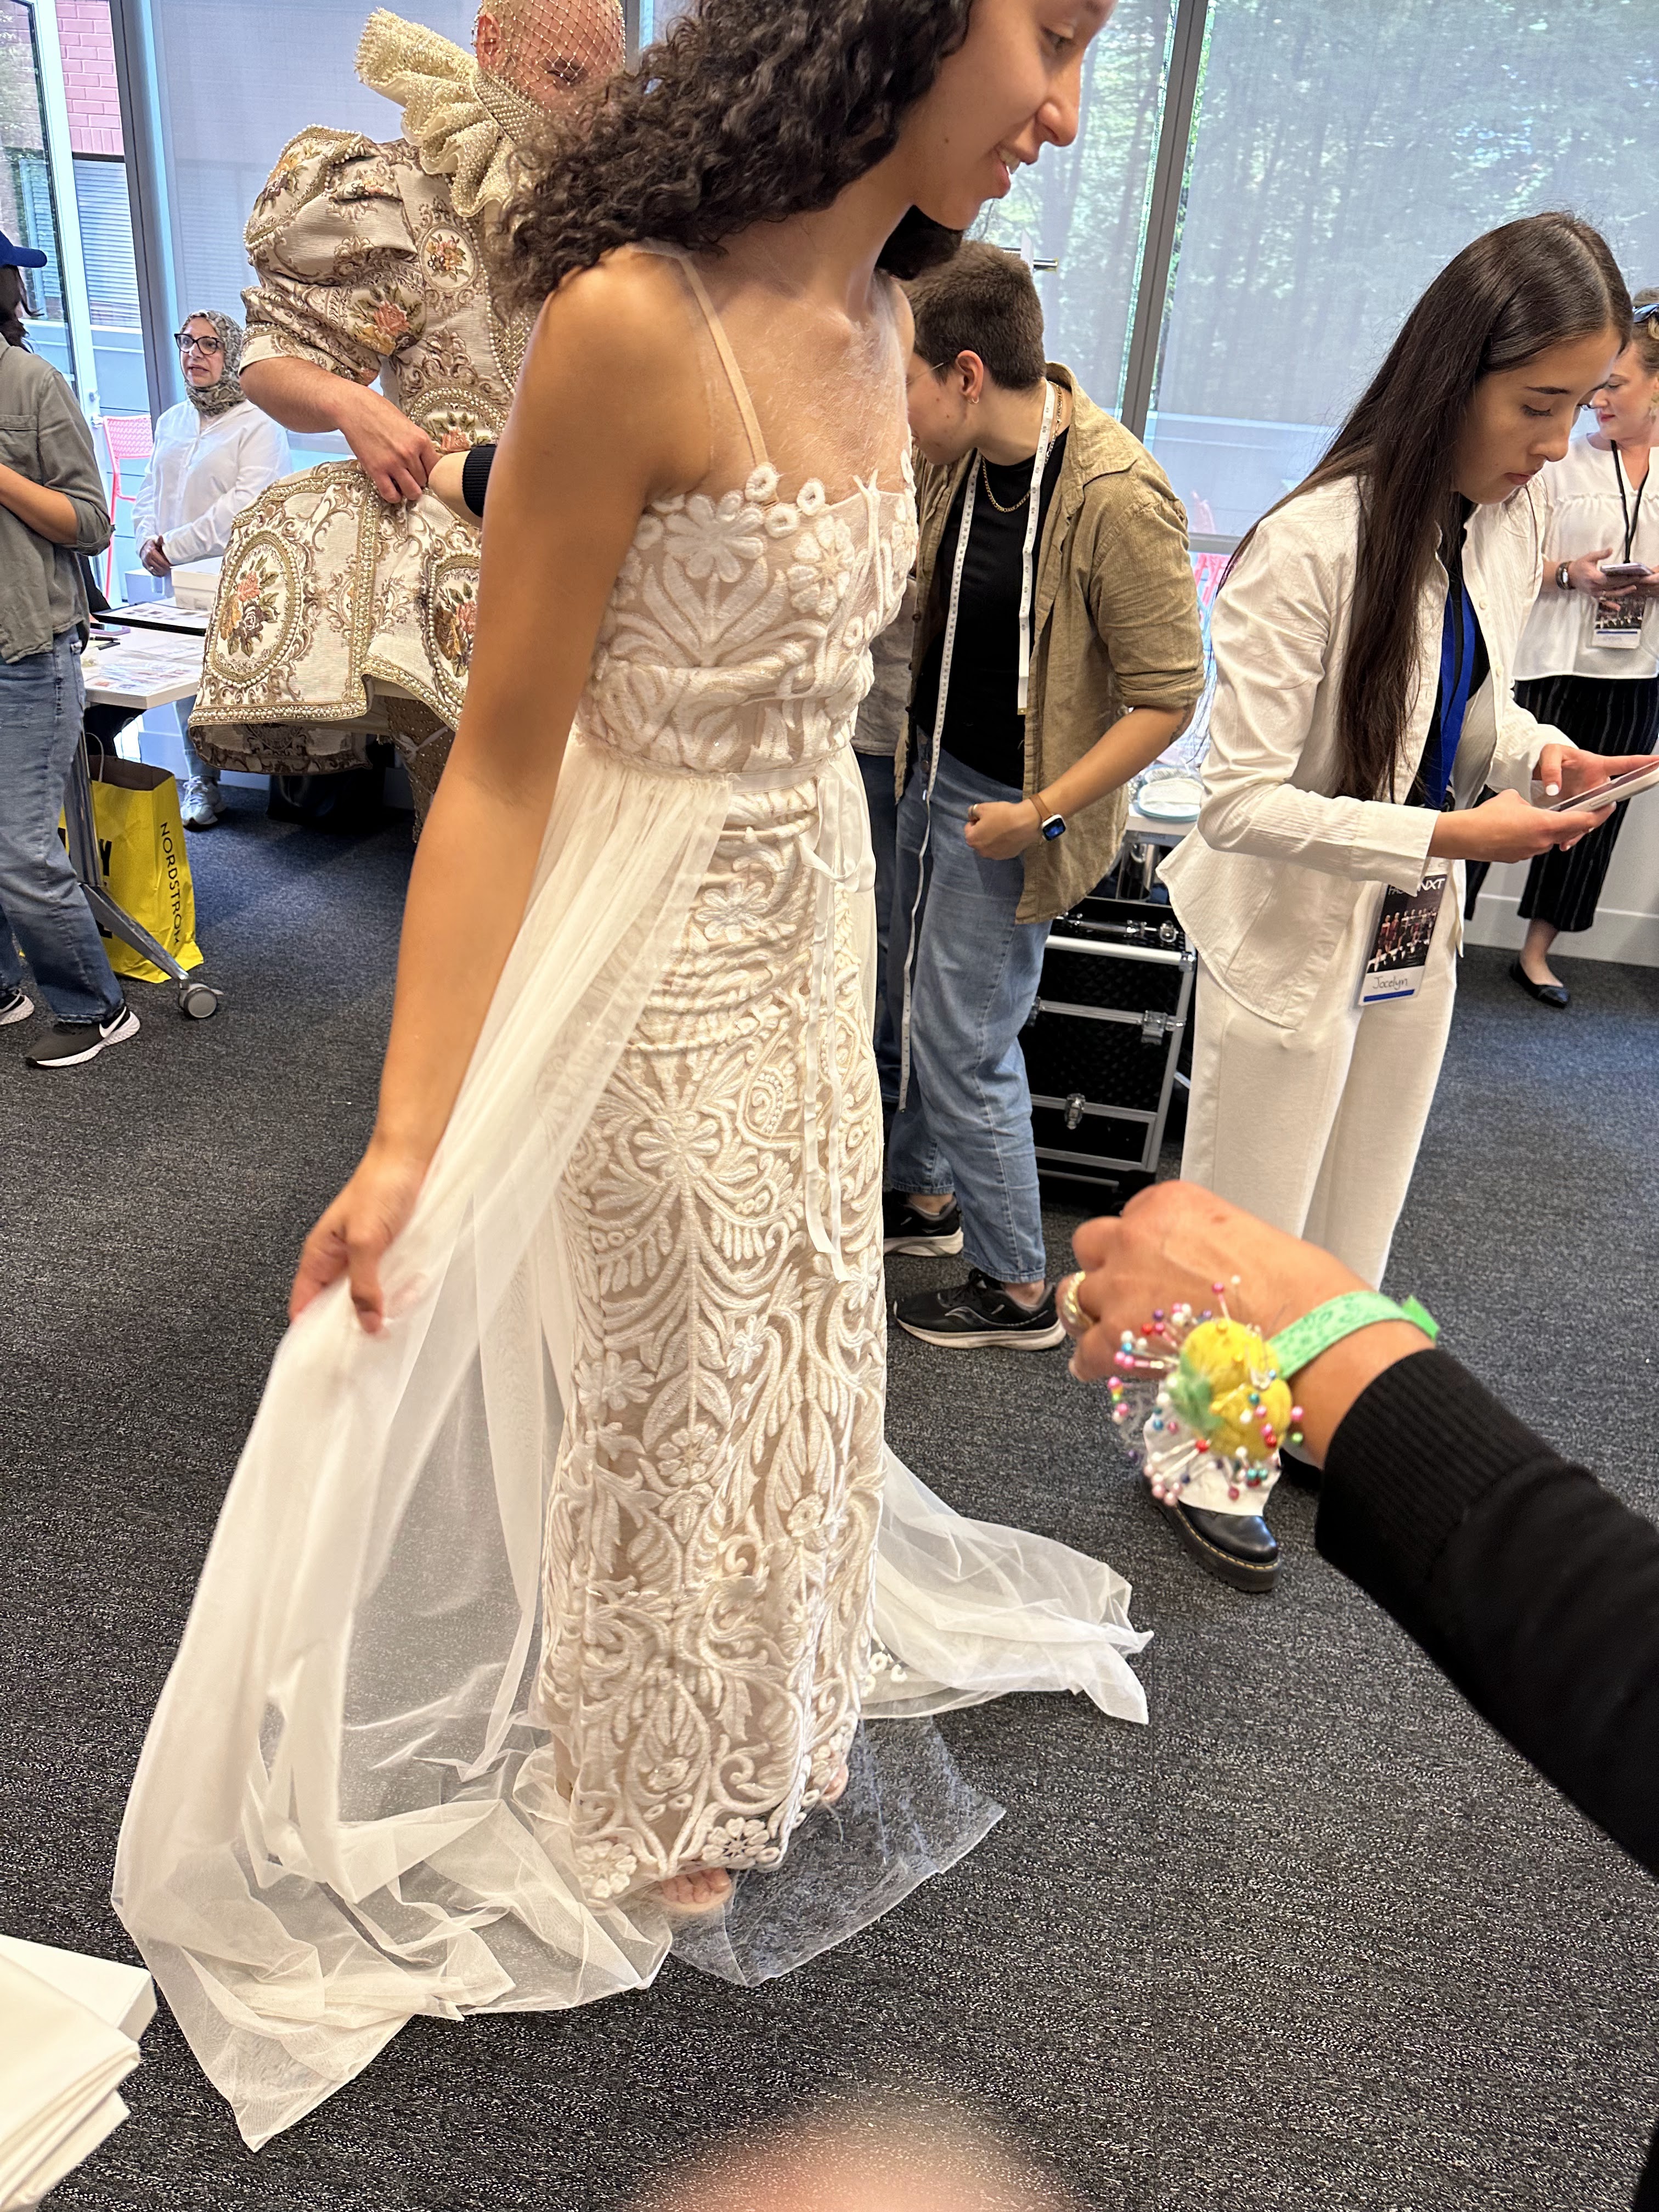
Part of the reason for the procrastination on this dress is I had to take extra care to cut out the fabric, perfectly aligning the motif design of the gorgeous sequin embellished delicate lace mesh:

I hade to also add extra panels of the material in order to have the motif go all the way to the bottom of the dress which I sewed on by hand. Then, I made an under dress and lining in a flesh tone that was strapless, so boning and hidden structure were key to keeping it looking refined. The zipper was last and the most annoying part of this dress. It all turned out super pretty, but ugh, a LOT of work! Again, could have been a LOT better in my opinion, but I got it done and managed to squeeze it on to the model Grace at the fitting:
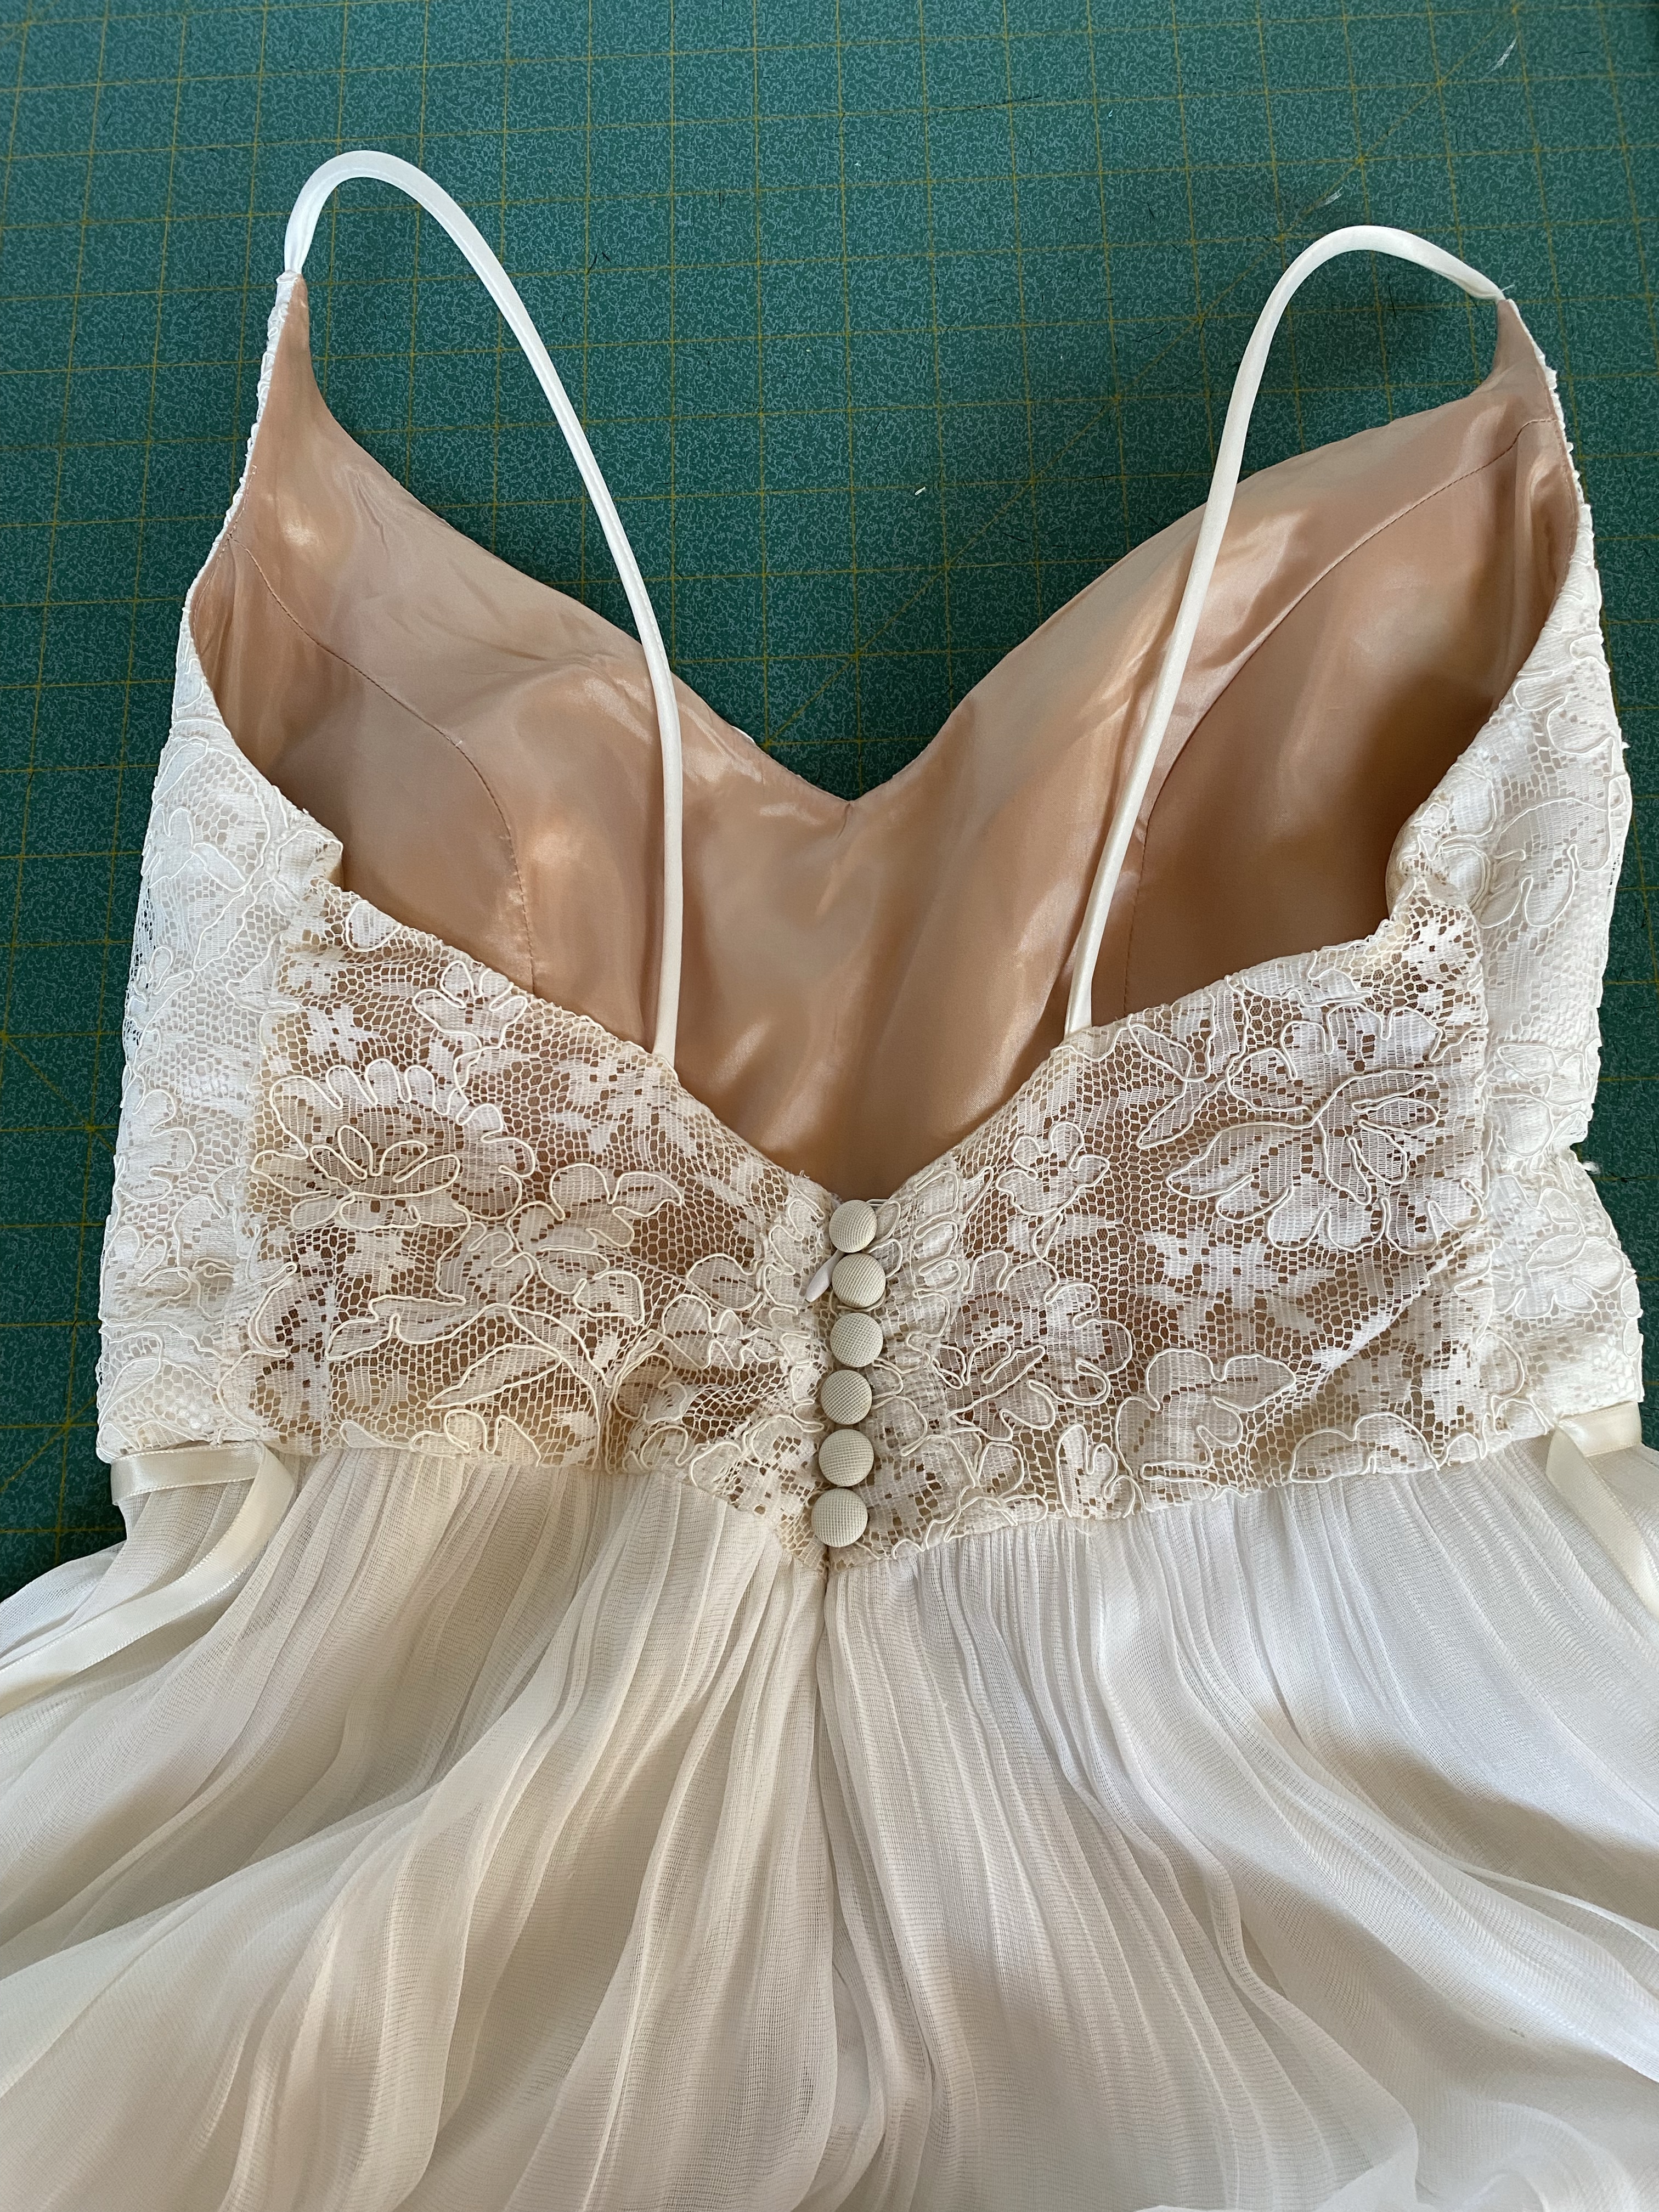
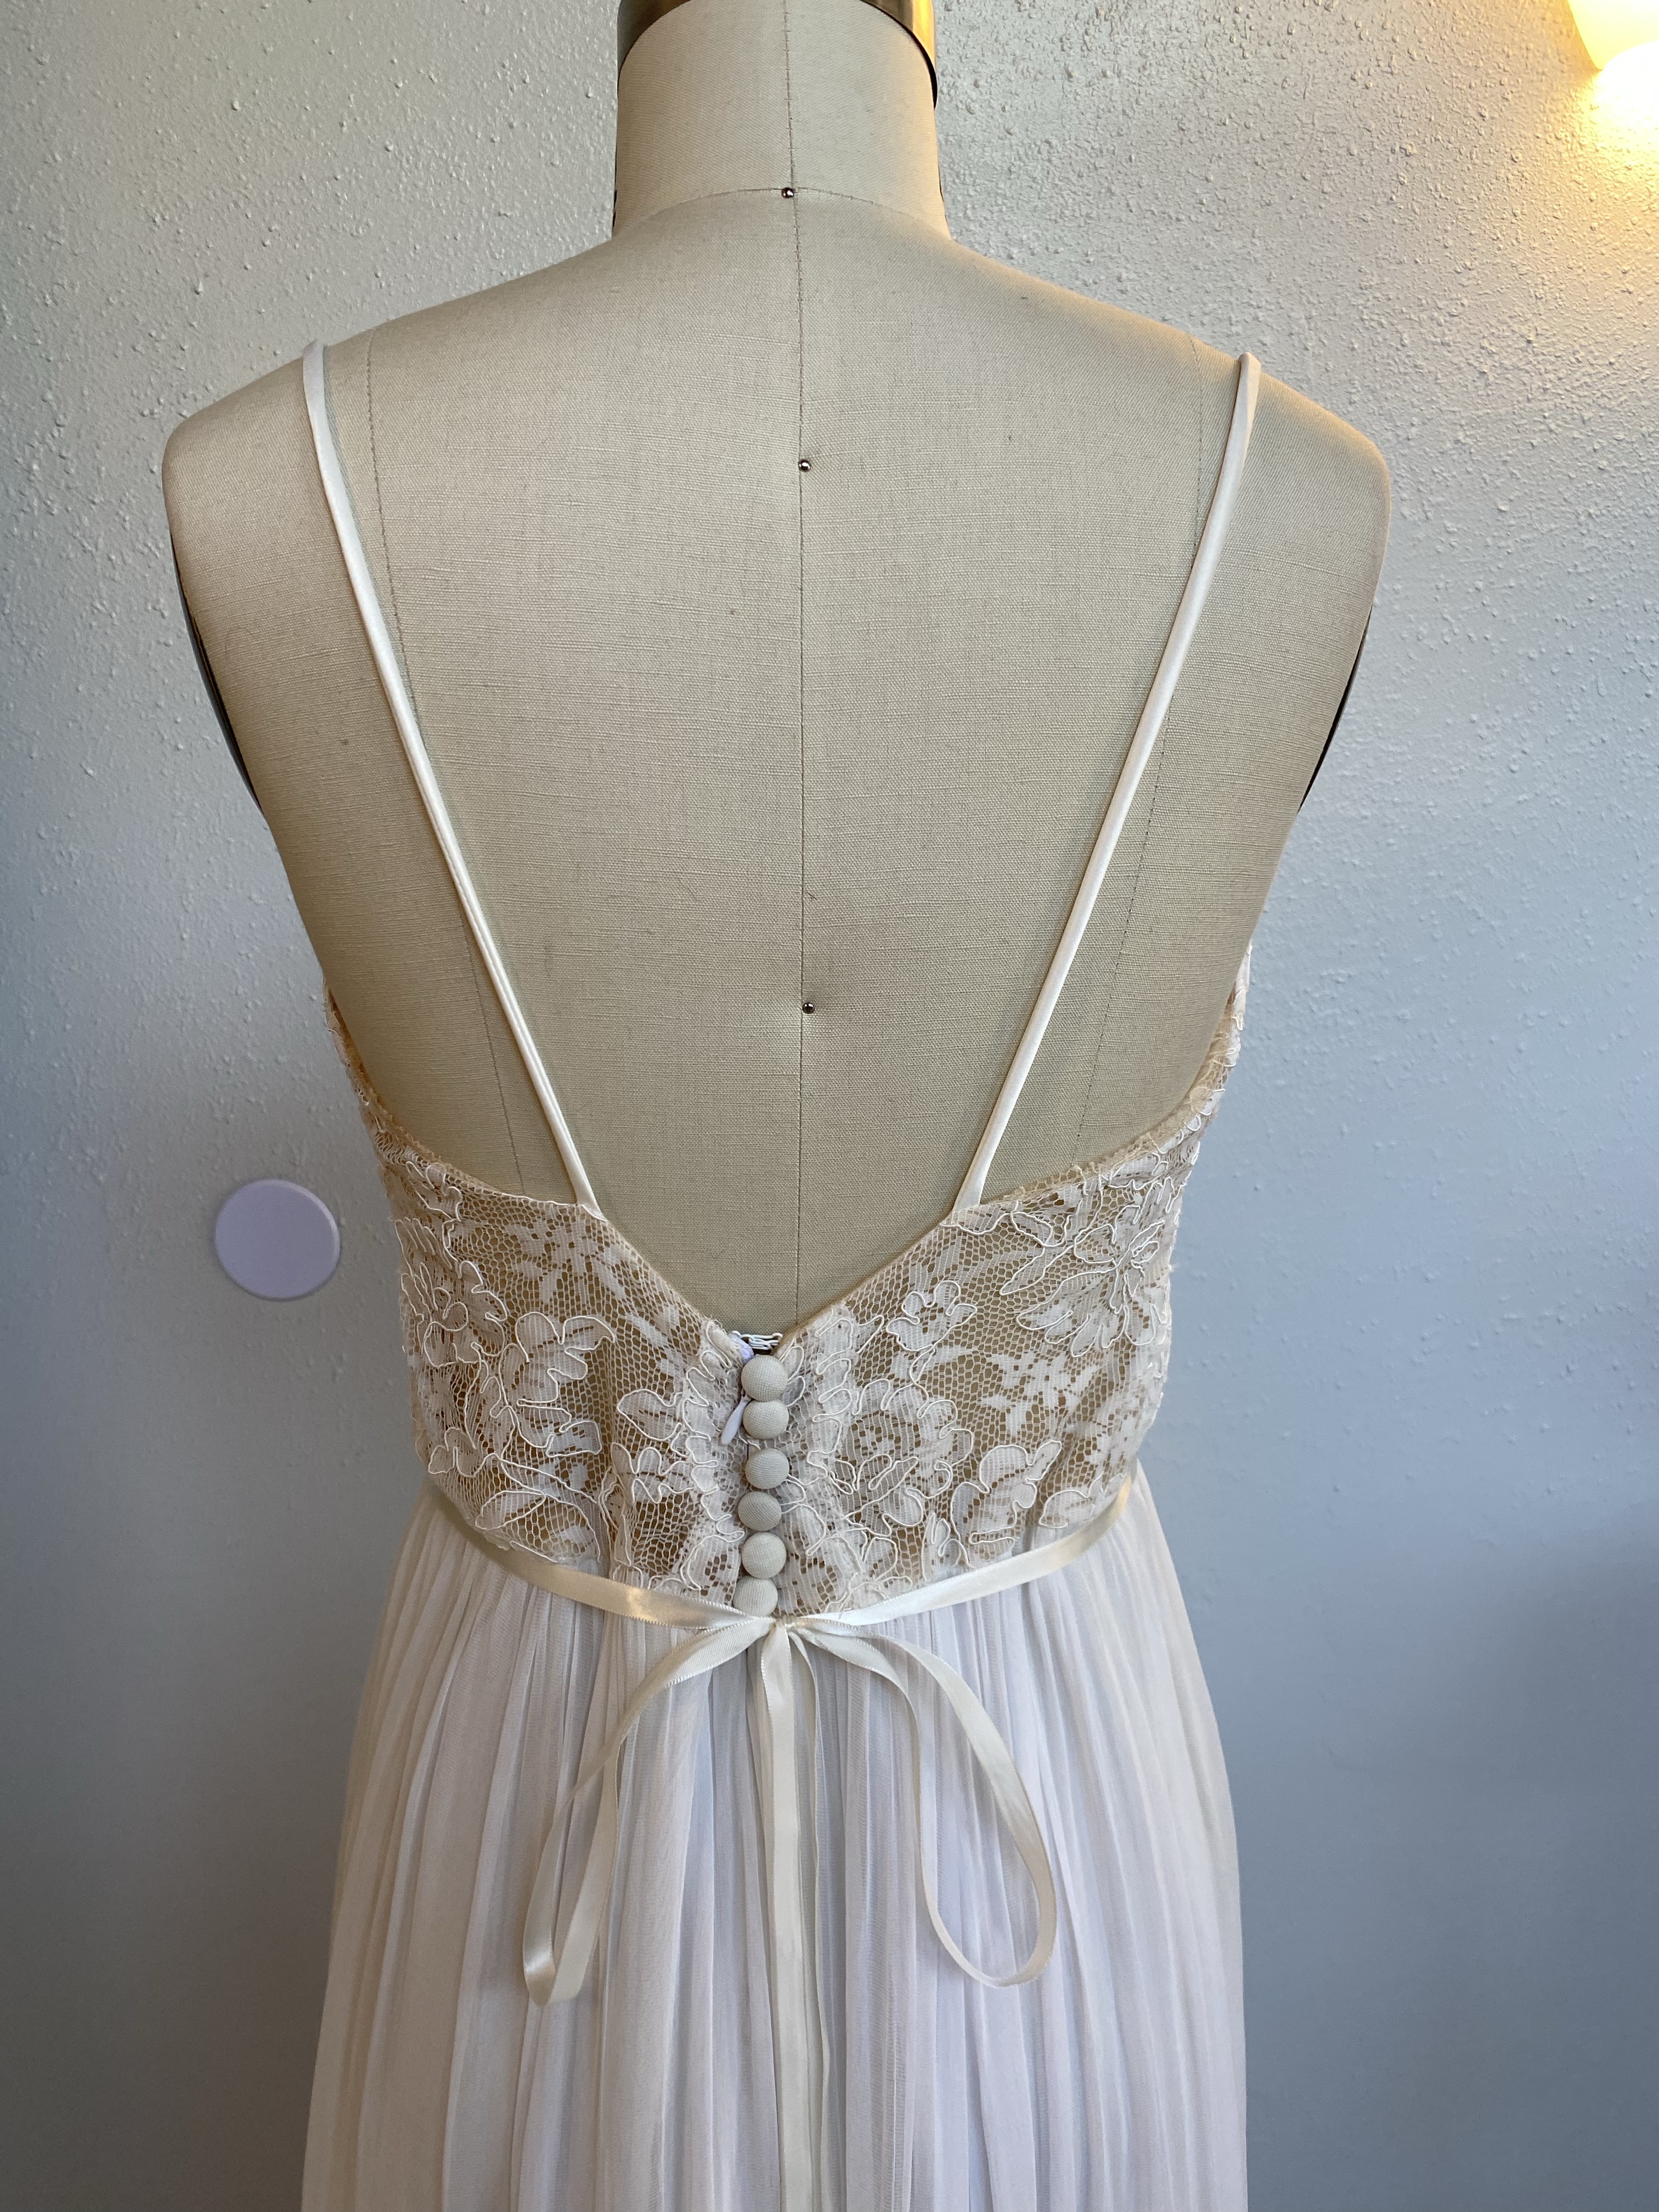
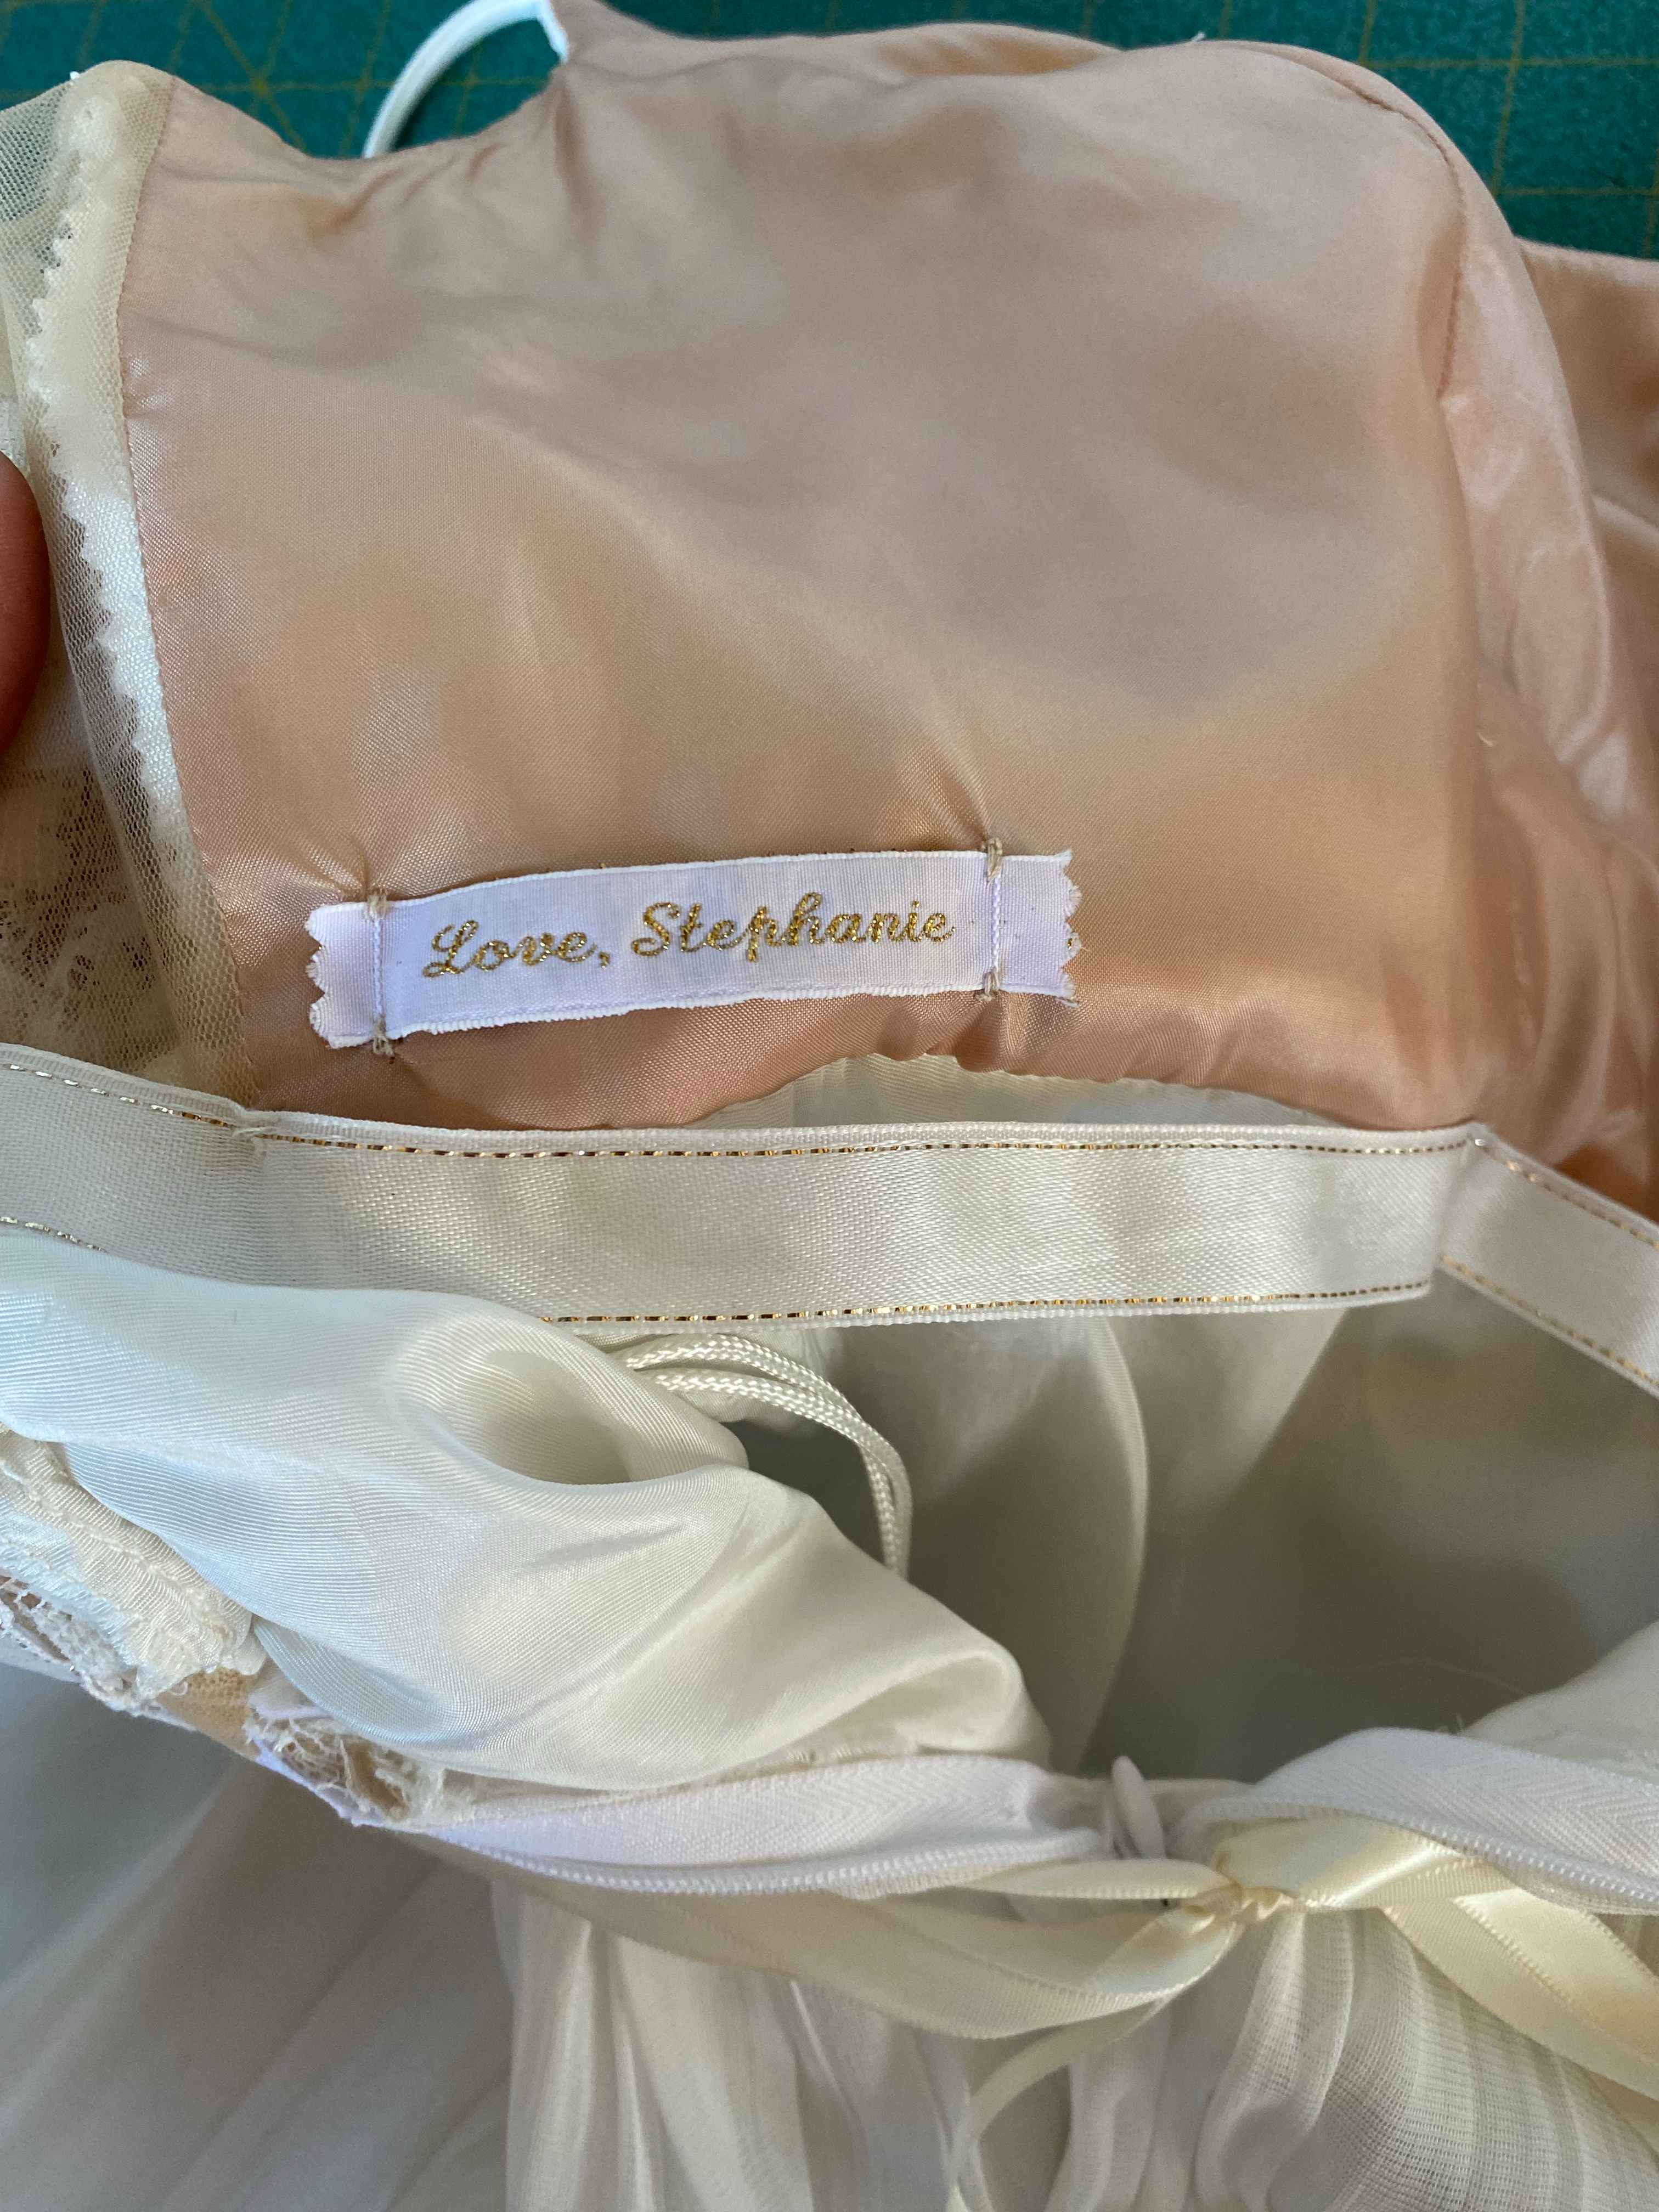
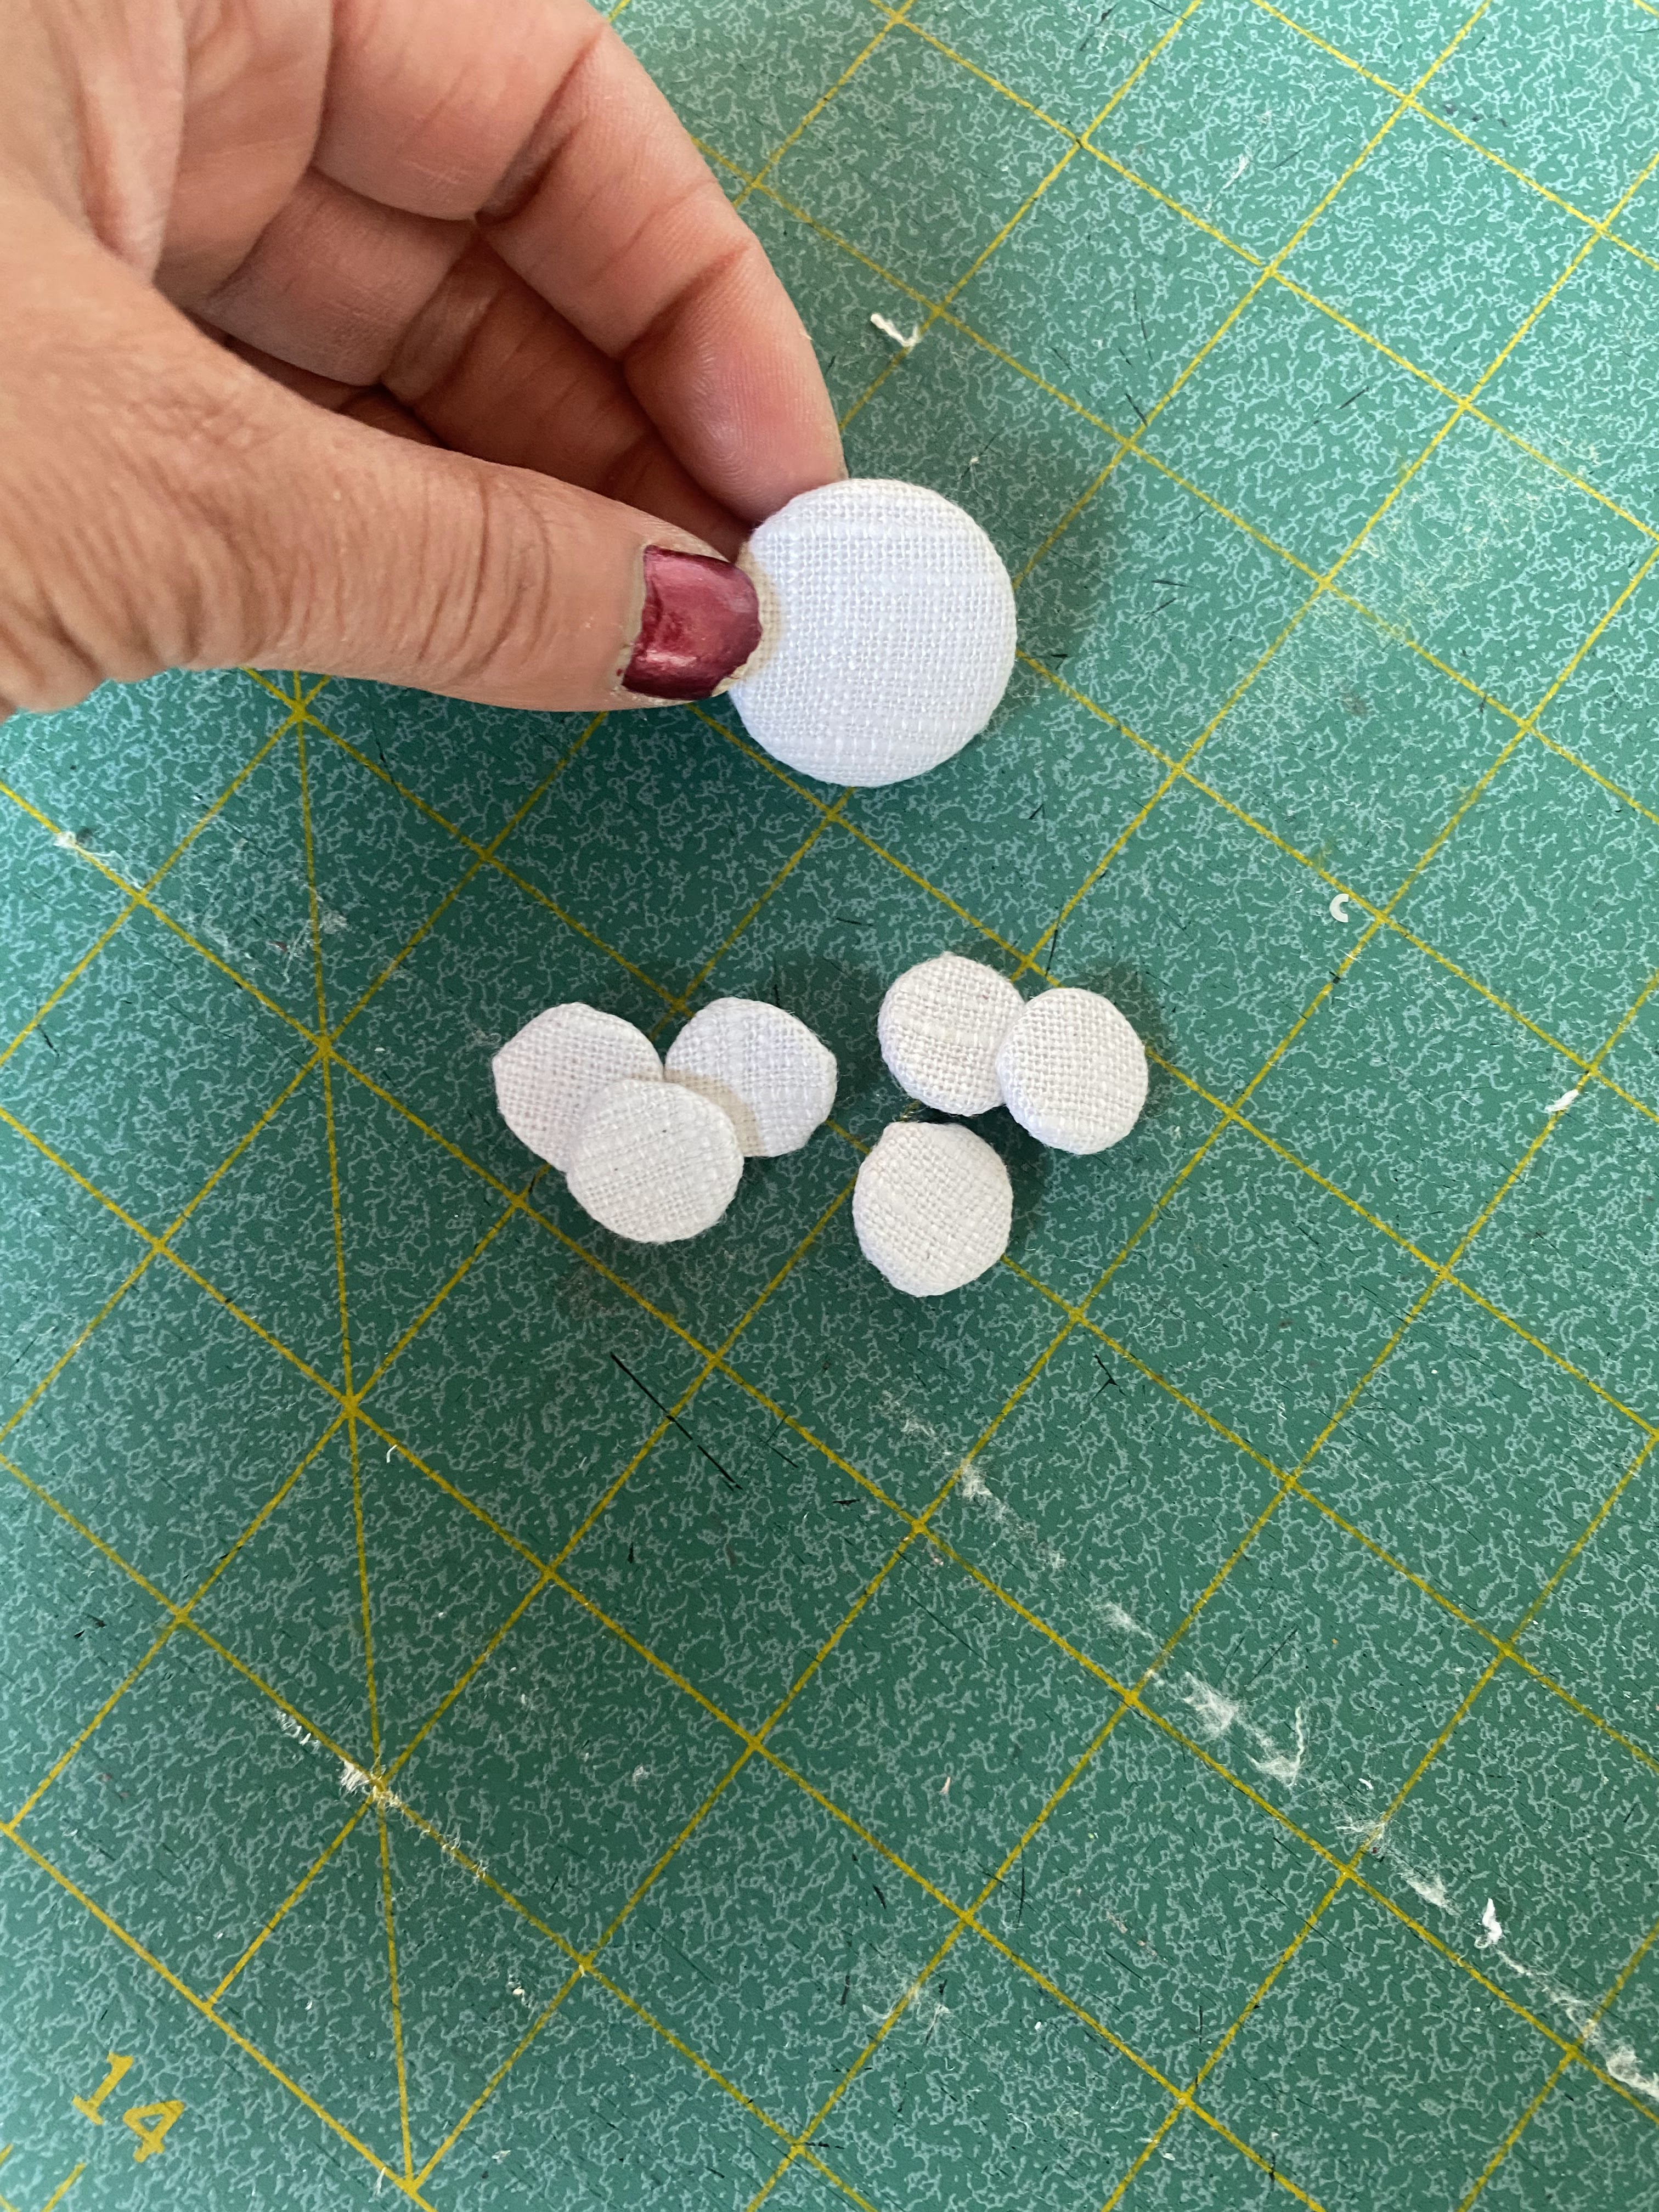
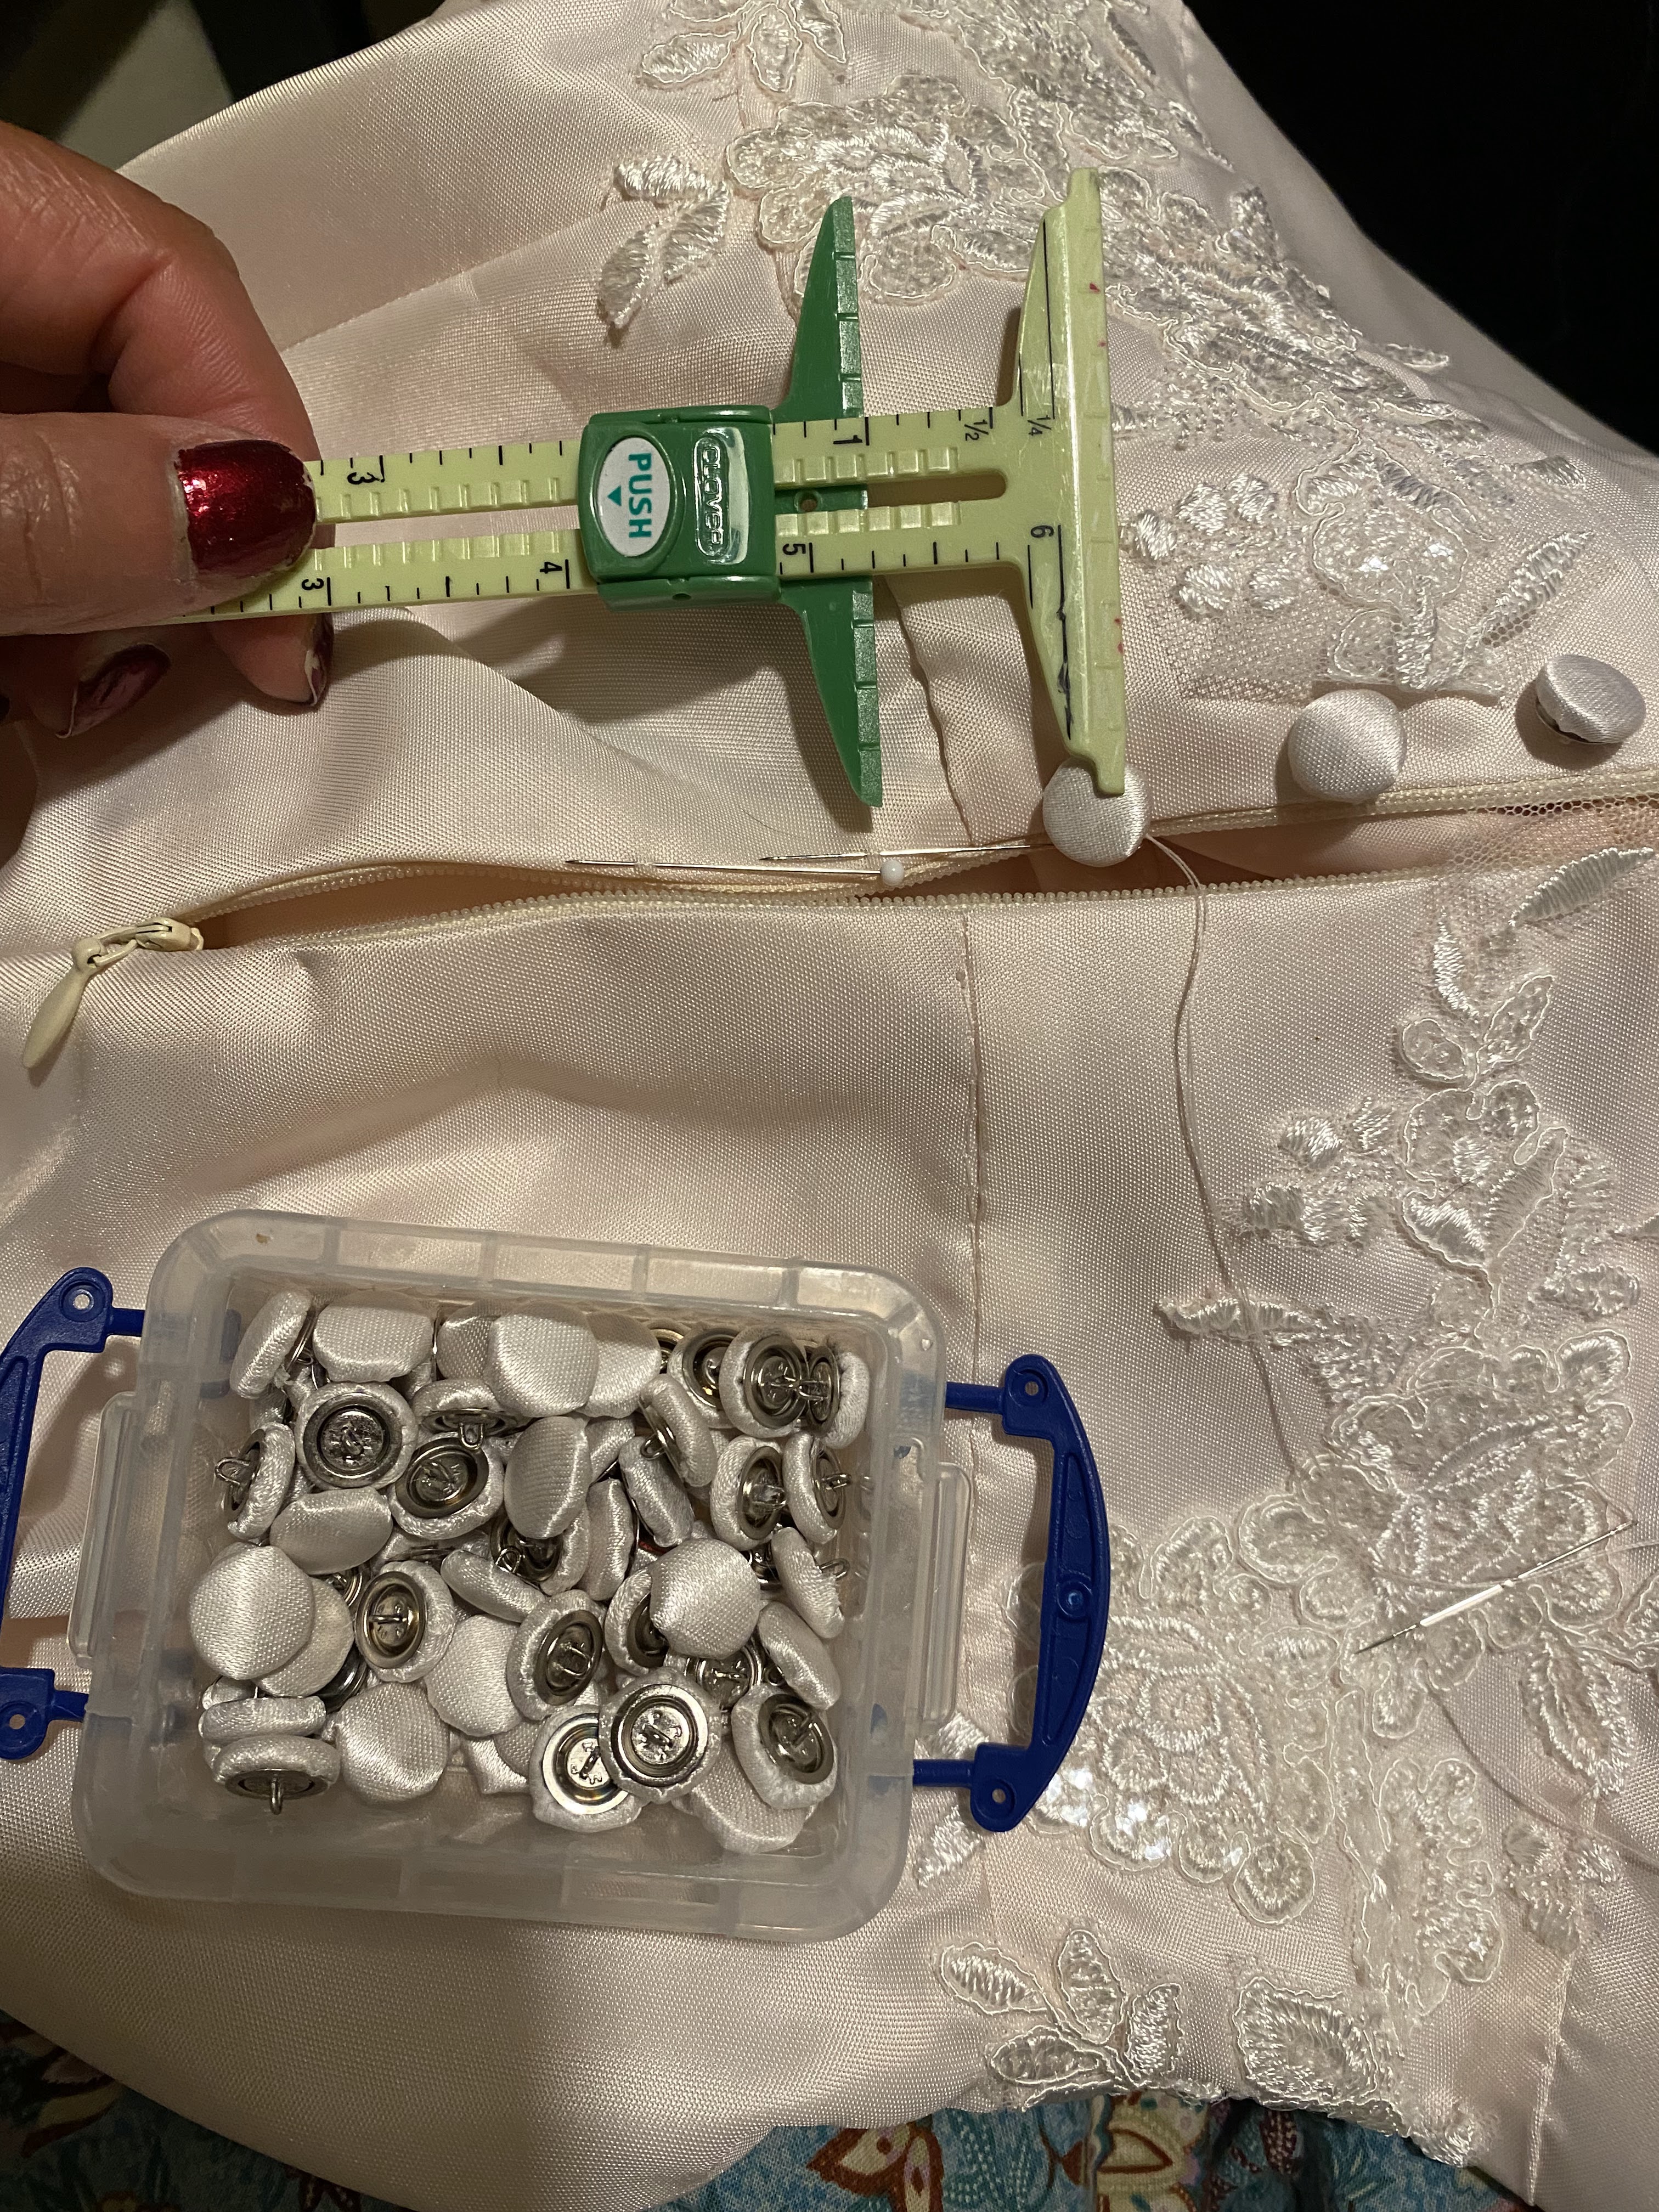
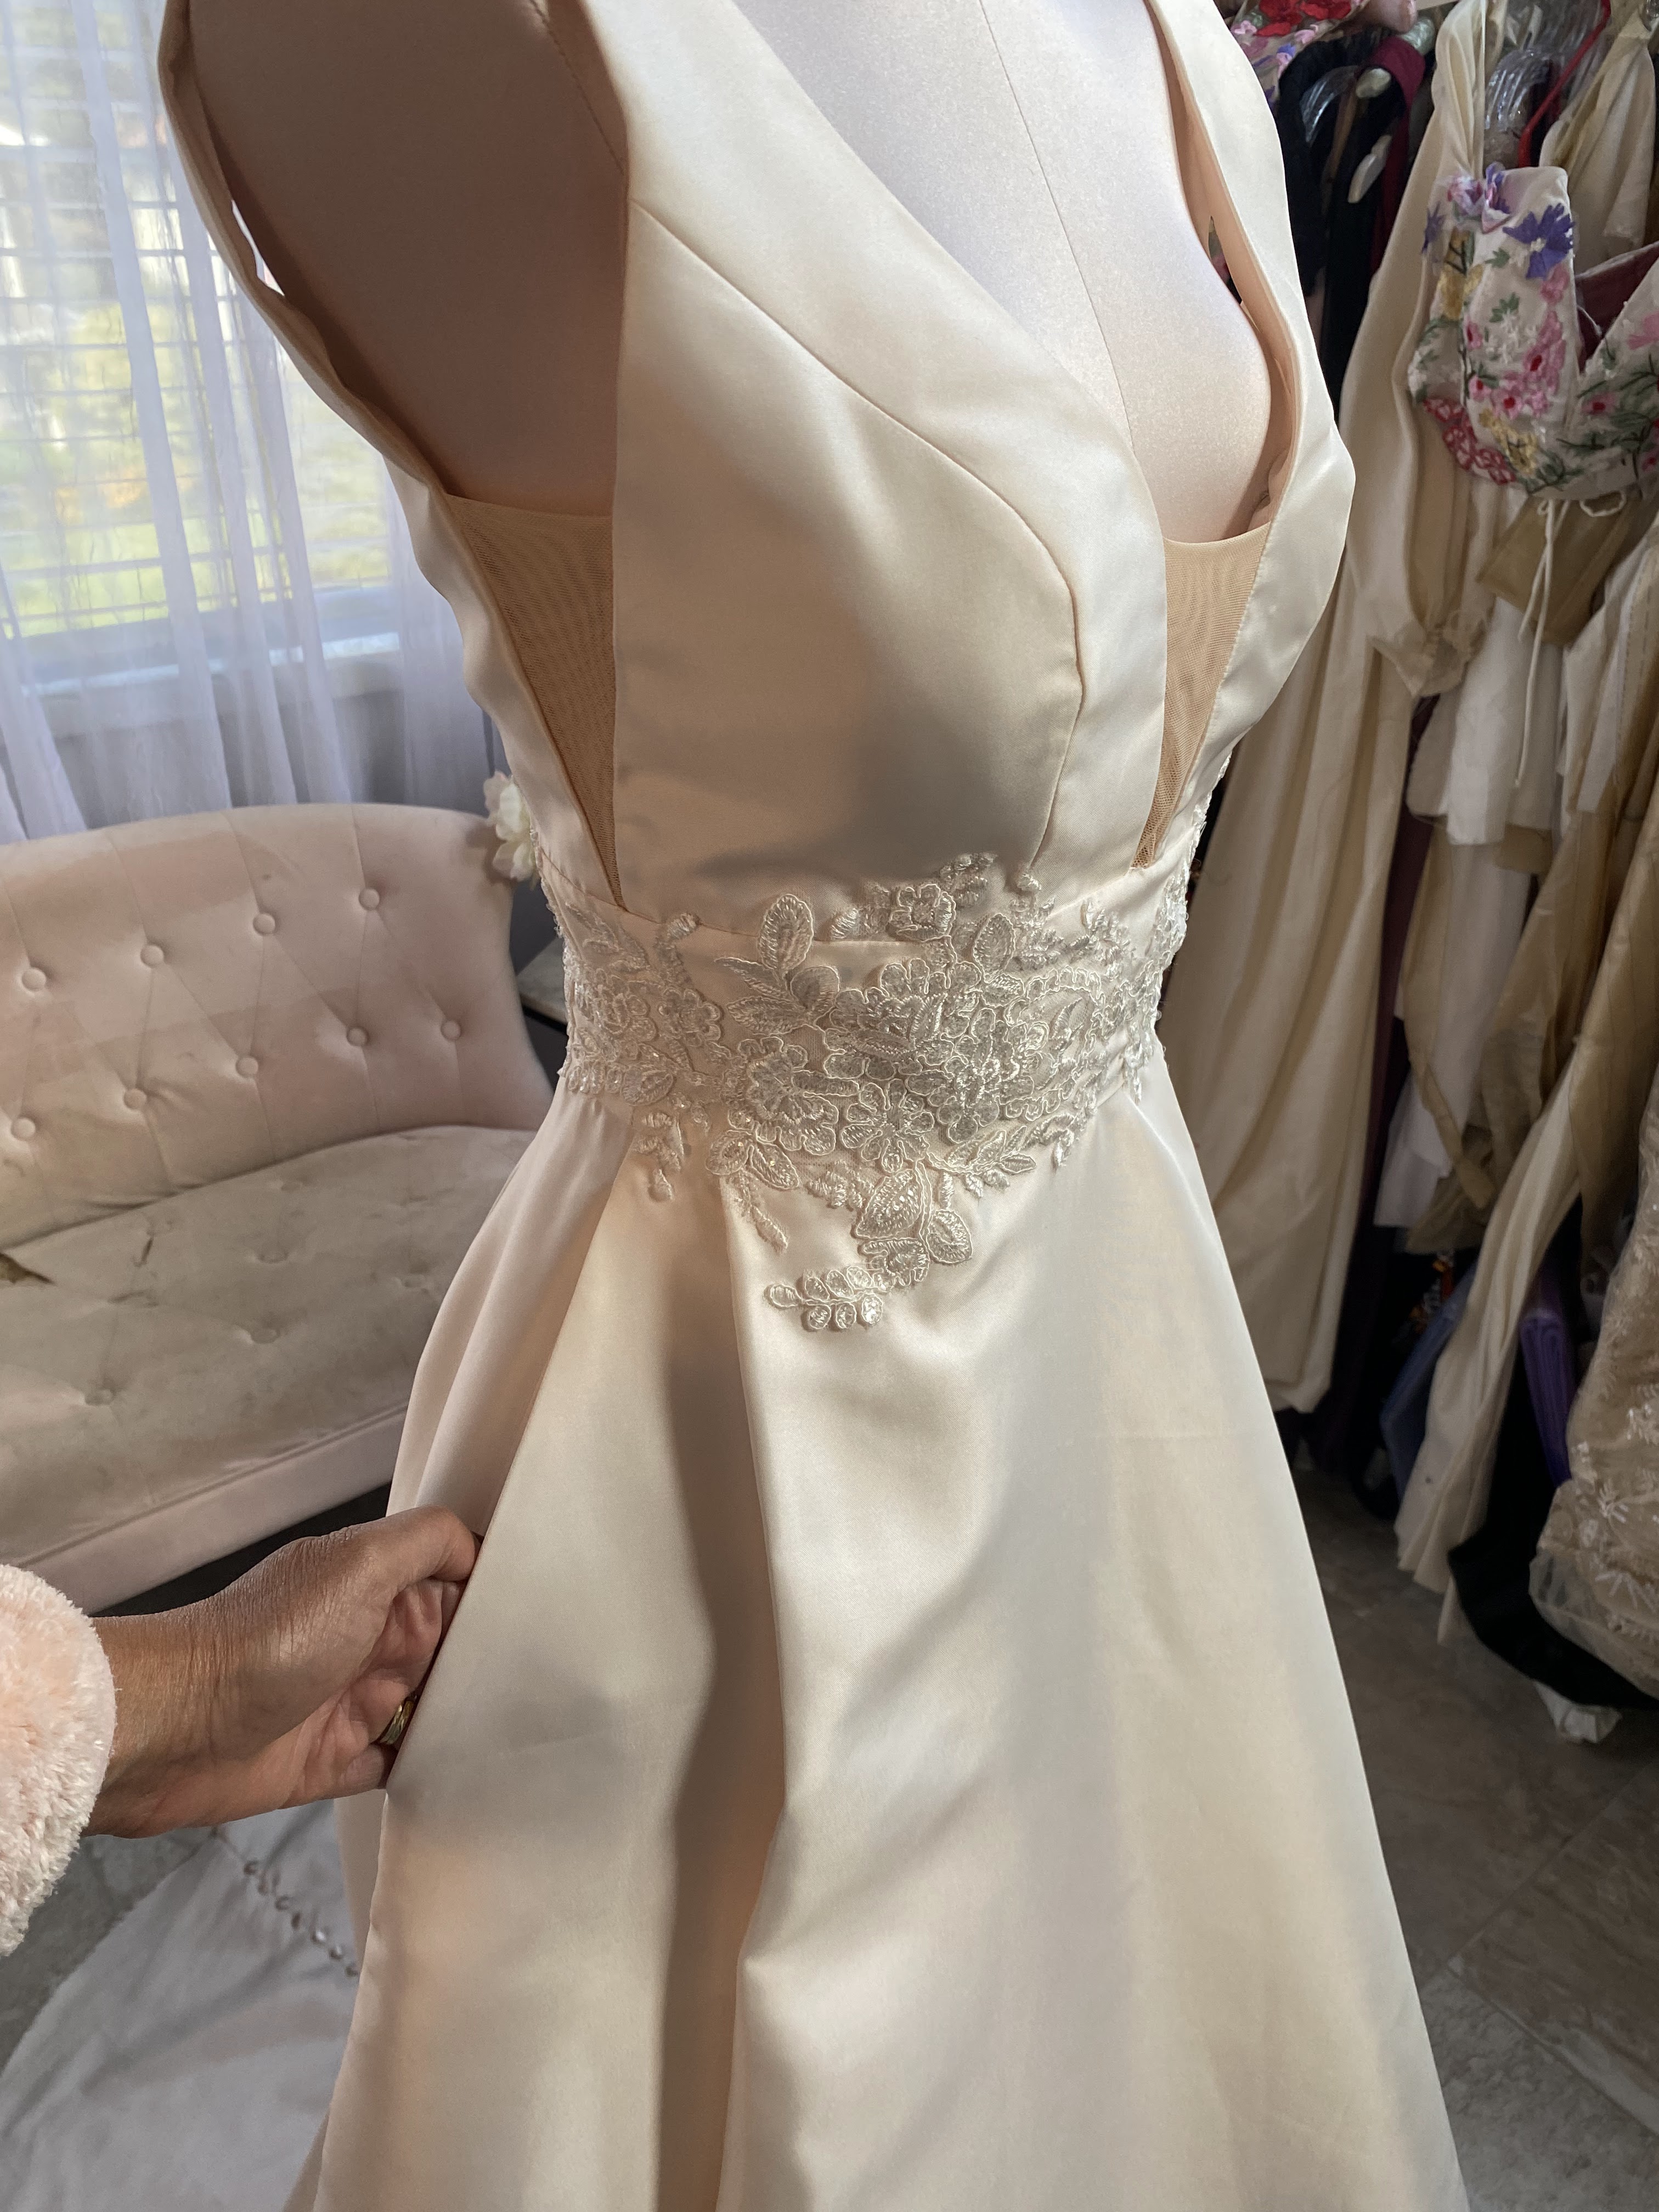
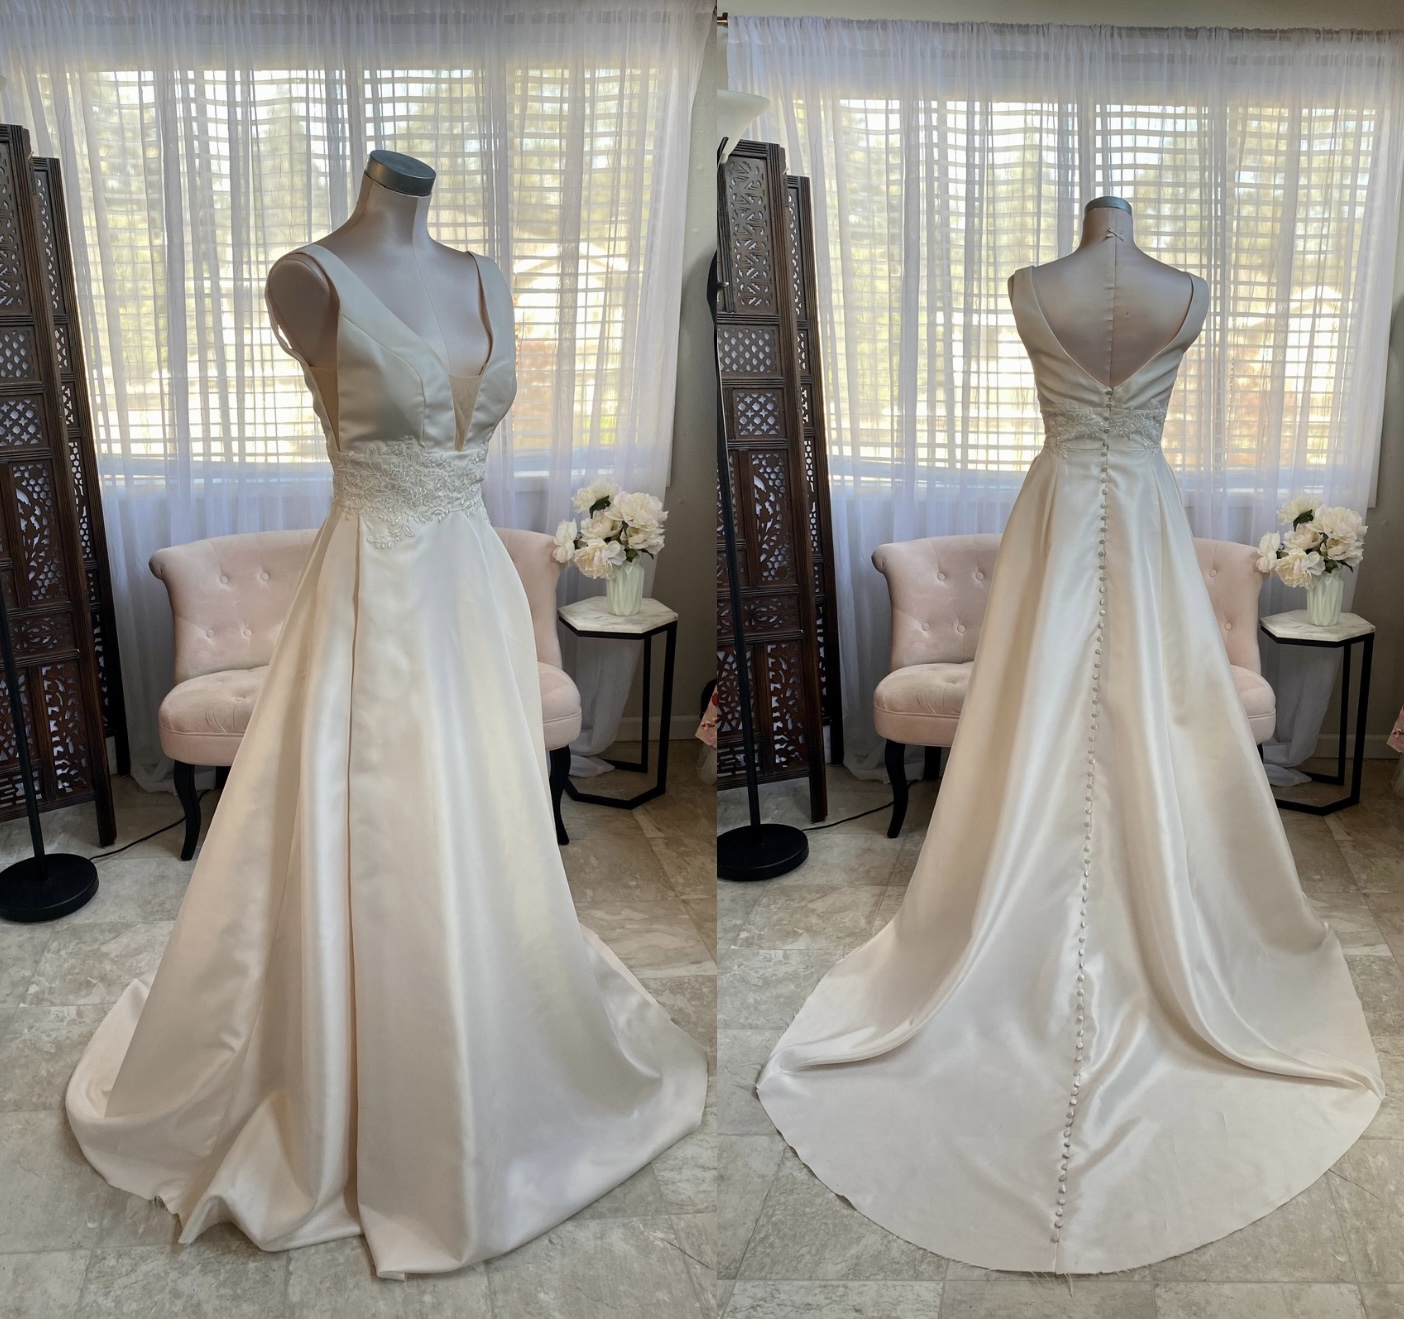
I couldn’t have a bridal collection without the big finale look, so I added a dress to my line up with another ballgown in a very pale peach toned satin. I used a wonderful pattern from Studio of Art Patterns which I found on Etsy. It featured a mesh insert bodice, wide waistband, a gorgeous open slit in the skirt, pockets and a train. I also opted to add little covered buttons, 72 of them to be exact (thank you Robbyn for making all of those little suckers!), all the way down the center back of the gown.
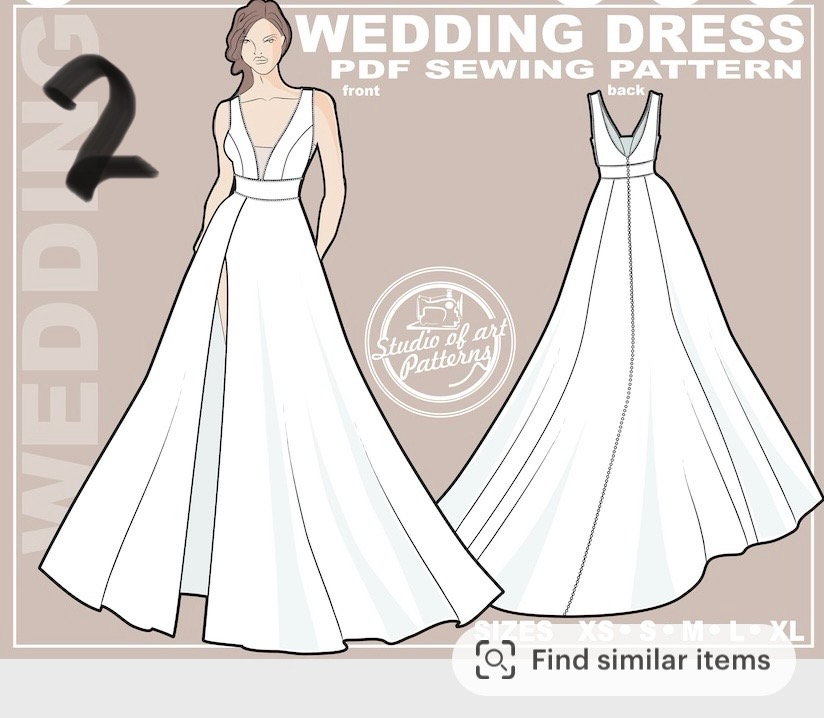
This pattern, although gorgeous, was a bear to sew. It’s one for advanced sewists who are experienced with dressmaking and can figure out construction steps without a lot of guidance or direction. The instructions were minimal and the pattern pieces are enormous, so just handling it and keeping the pieces marked and in order are of utmost importance and added to the pain in the assery of it.
As much of a major pain in the ass this gown was to sew, I did really enjoy the process, I learned a few new things, and she turned out quite beautifully. She really is so elegant and dreamy! She reminded my intern Robbyn of delicious wedding cake frosting which I can totally relate to (yumm, cake!)
OK, well that wraps up the 9 looks I had walk the runway for my Floral Garden Bride collection! I wanted to share and document my thought process for each look, so this was a long post. It took me a while to collect my thoughts, organize the photos and write this all down, therefore more than a month after the show has passed and I am still not finished!
In Part 2 of this post, I’ll share more about the finishing touches and the day of the runway, so look out for that coming in the near future.
Thanks for reading!