Category: Sewing Patterns

  • Studio of Art Patterns: A Discovery of Greatness

    Studio of Art Patterns: A Discovery of Greatness

    I first discovered Studio of Art Patterns in early 2024 when I was asked to create 2 bridesmaids dresses with a quick turnaround through a referral from a wedding planner. I was delighted to have the gig and got started right away finding a pattern to create the 2 special occasion dresses having the same skirt style with different bodices using a lovely sage green silk charmeuse as the client requested.

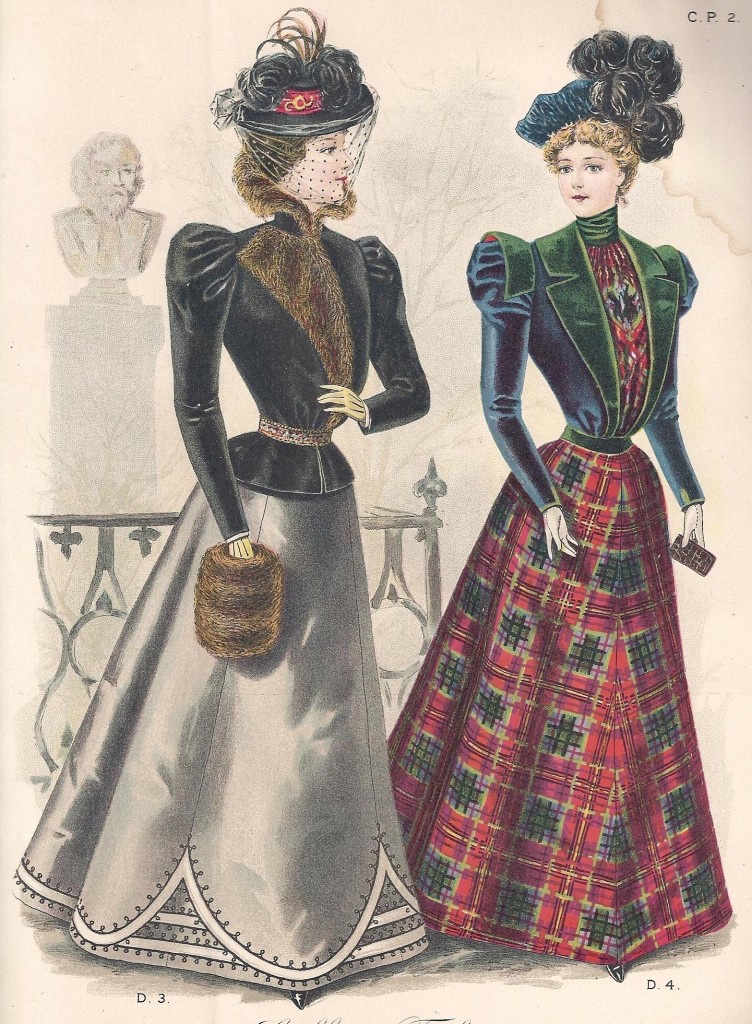
    I love to spend time looking at all kinds of sewing patterns, especially patterns that have the potential to turn out a beautiful result that looks like it came from a fancy boutique or bespoke design house. I like to collect these type of patterns, even if I won’t use them right away, or ever, just so that I can learn about how to construct and sew the details that make them unique or create those hidden details of a garment that are not immediately apparent.

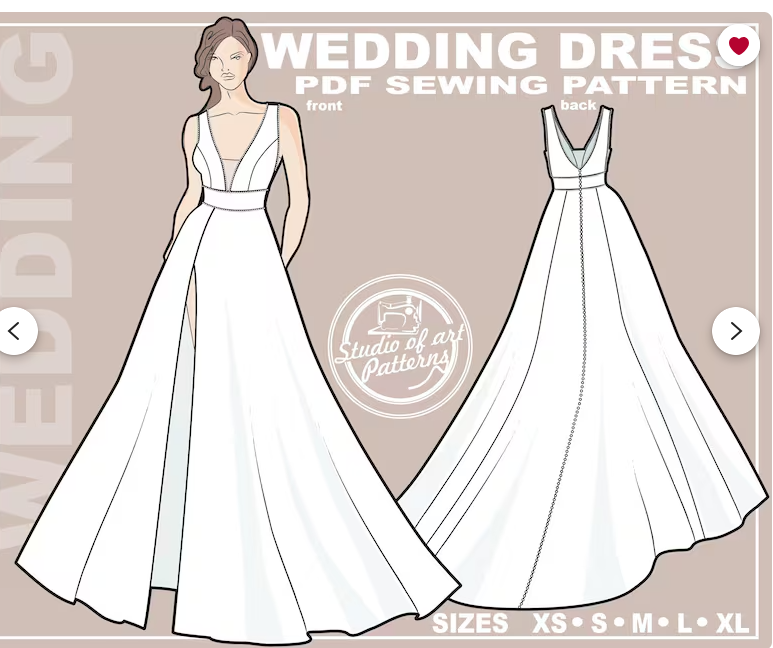
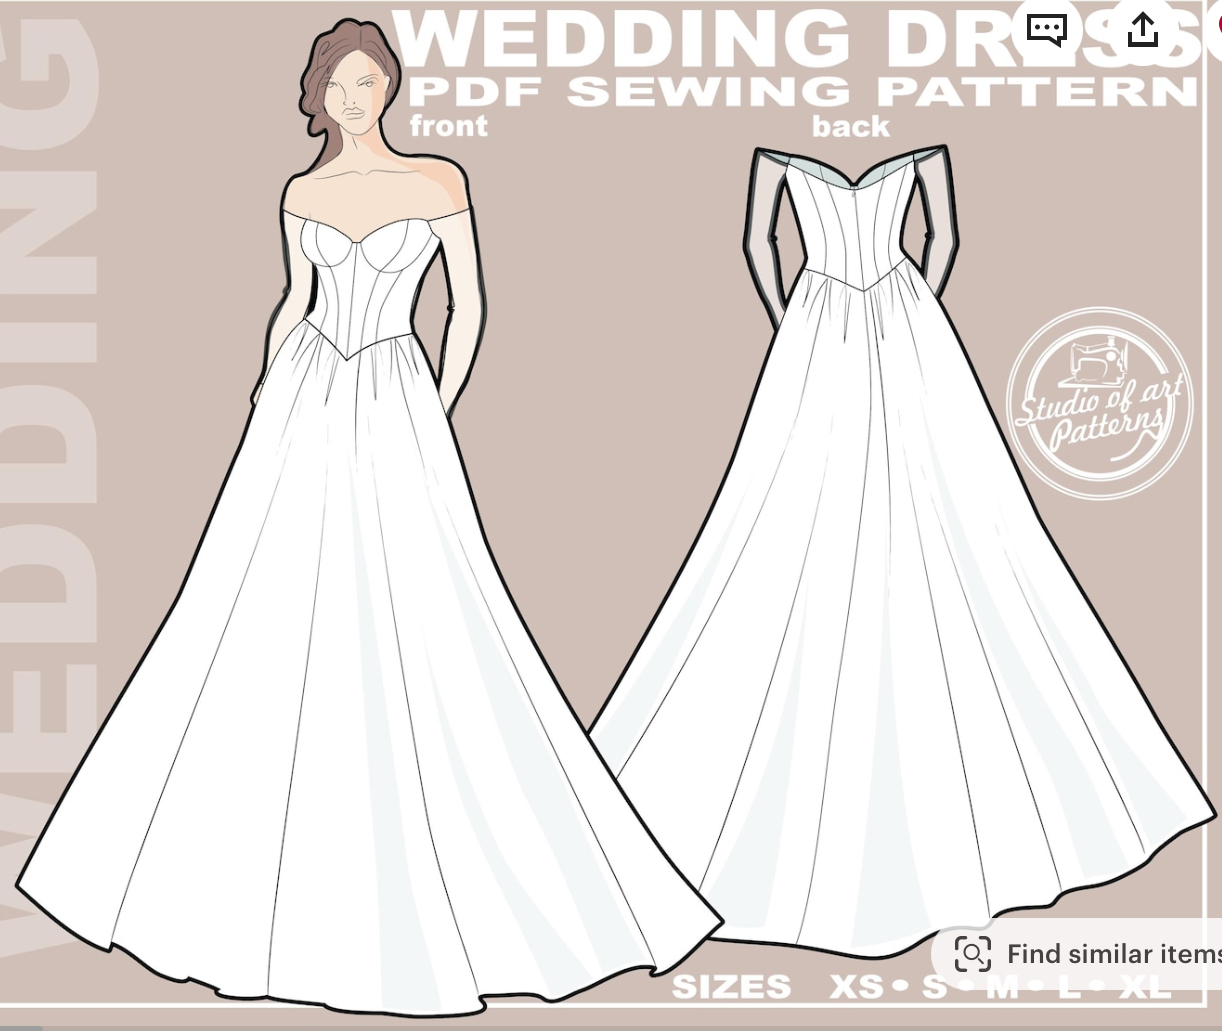
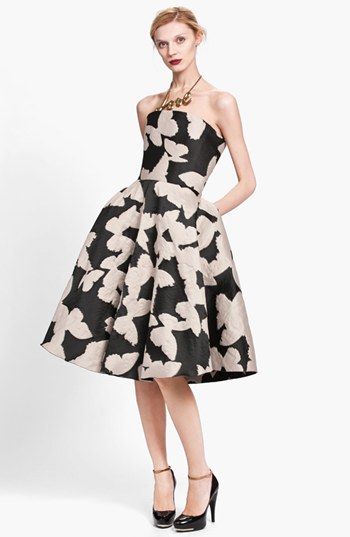
    After searching through my own pattern collection of formal dresses, as well as through the usual avenues of obtaining commercial patterns, searching on Etsy I came across this new-to-me pattern company, Studio of Art Patterns. They had a very good selection of formal dress designs to choose from with details and features not found in other commercial patterns for sale. The patterns didn’t have much detail to the Etsy description or the other pertinent information readily available, such as fabric yardage needed to create the design, unless, as I discovered, you purchase and download the pattern. They have, however, added a really cool feature to the pattern images of an AI generated video clip of the dress as it is worn on the runway. Amazing!

    AI generated clip of one of the gown designs. SOLD!!!!

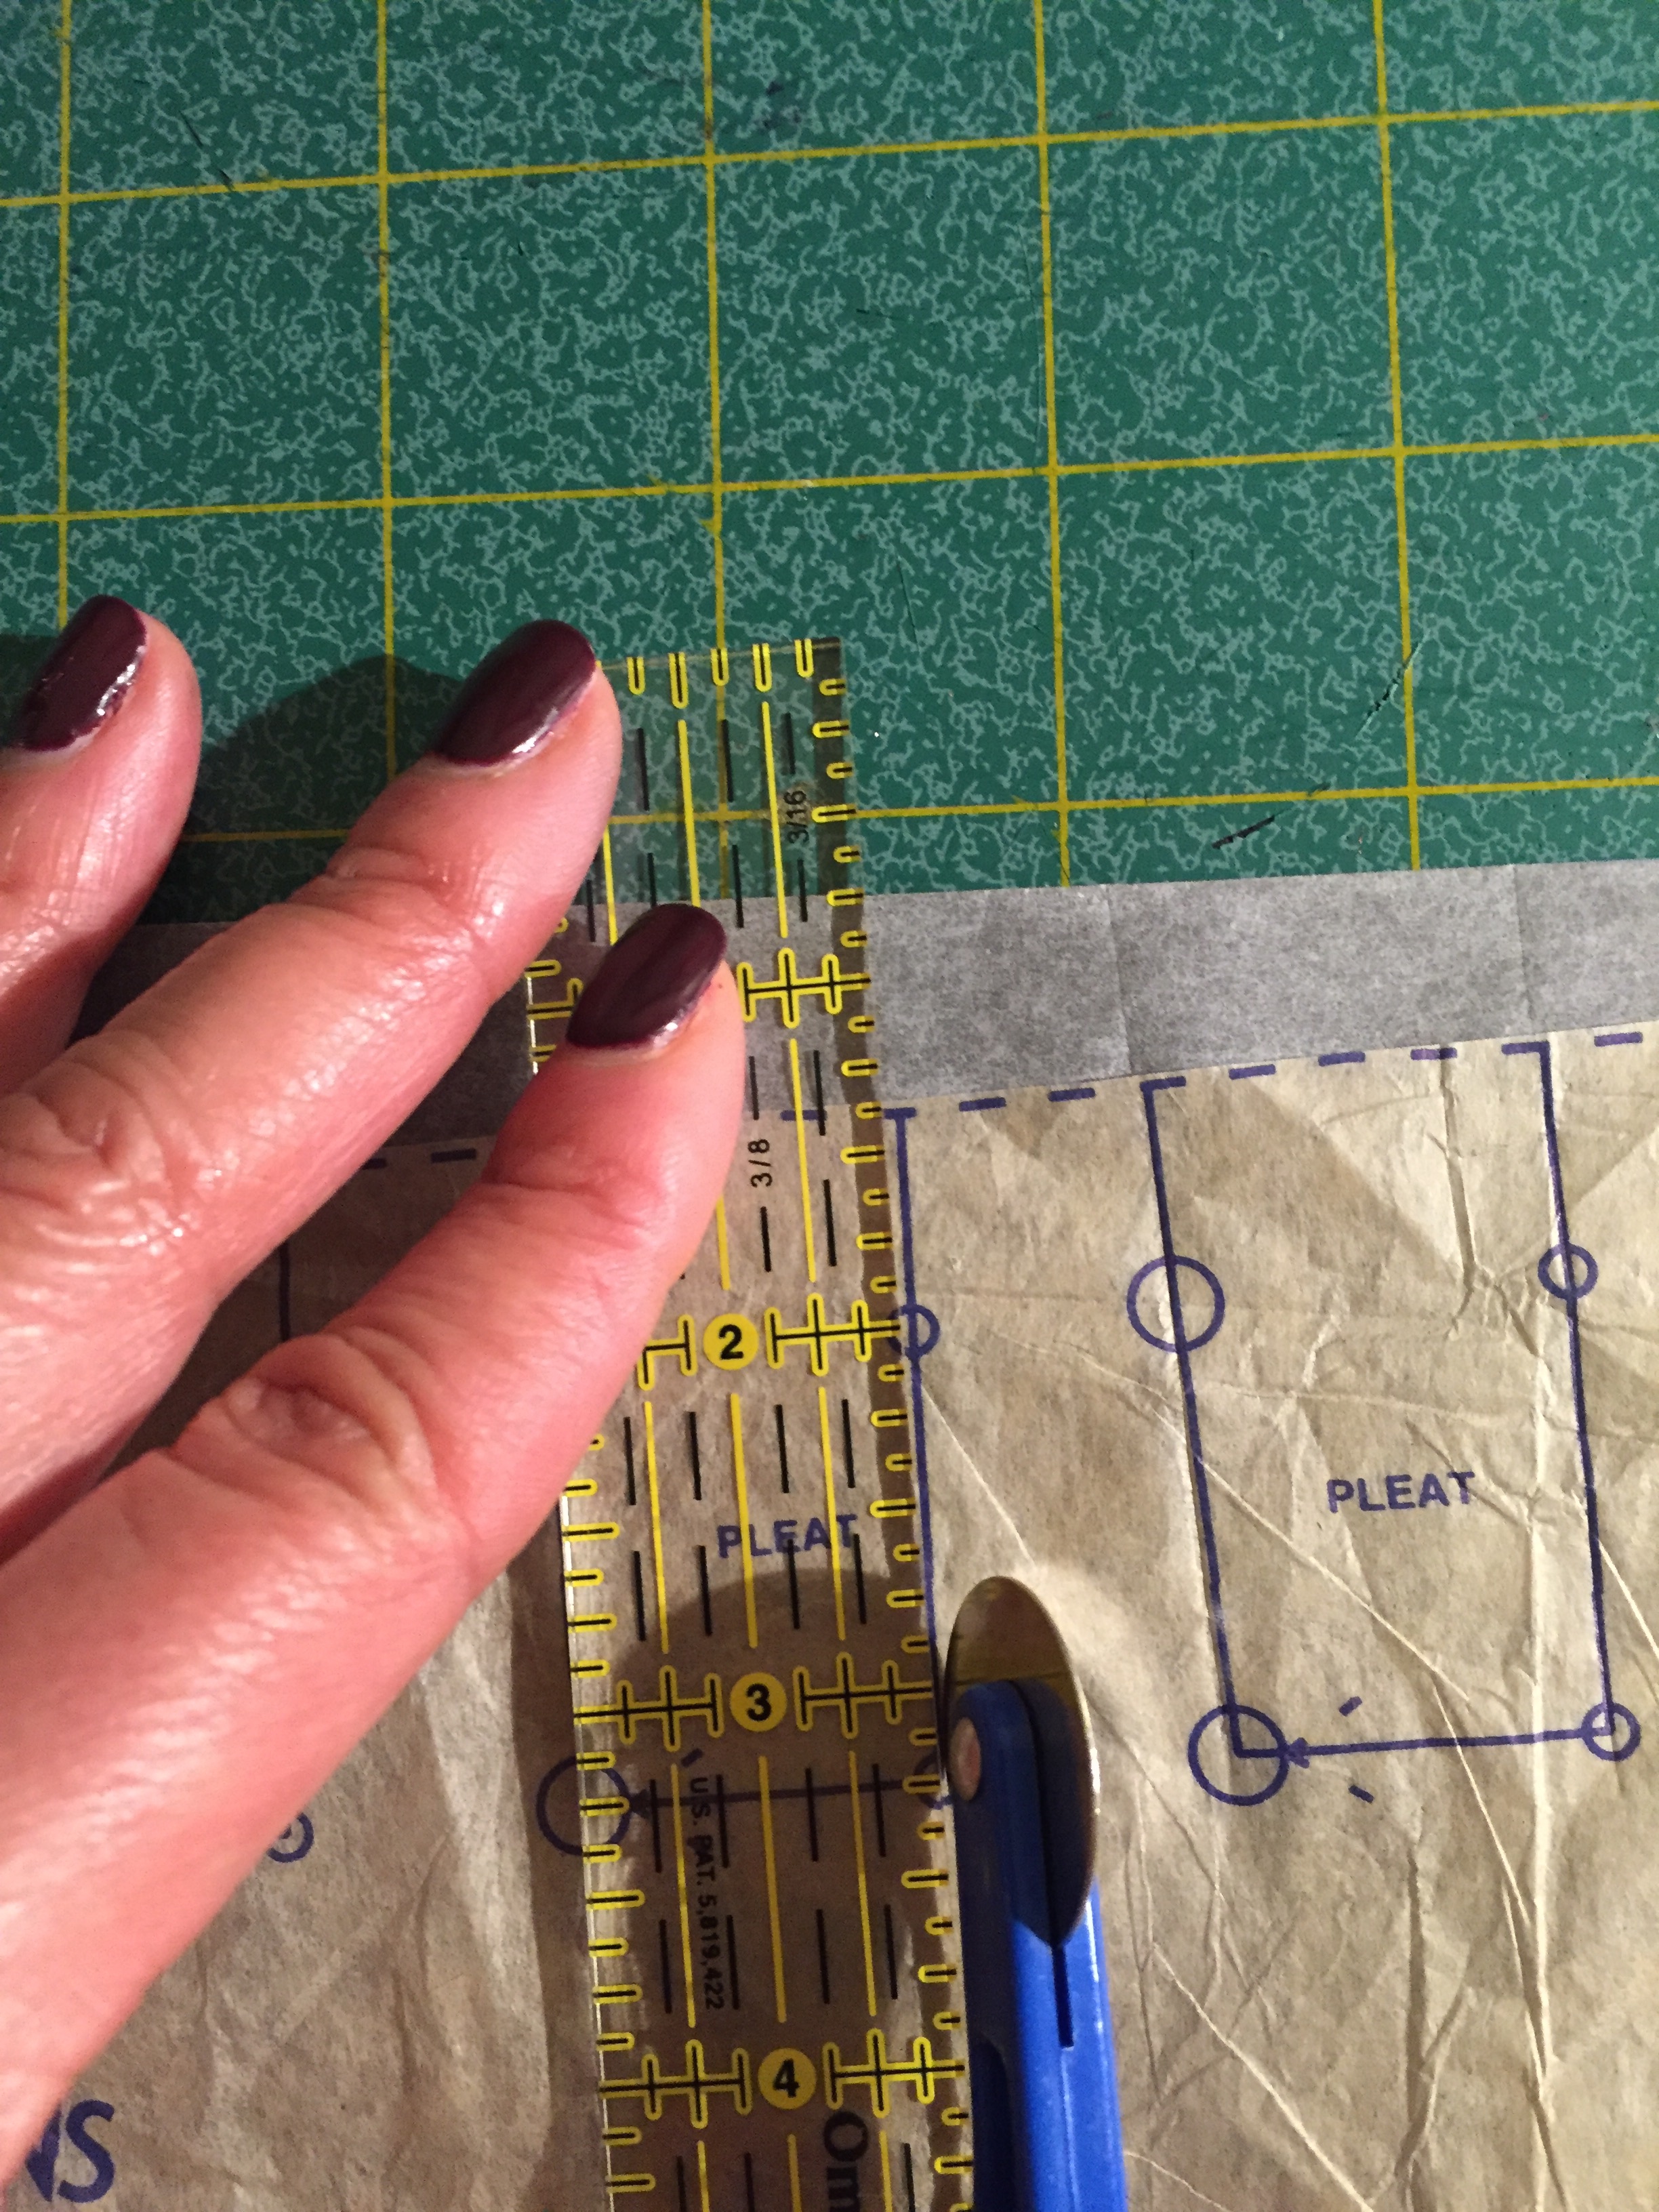
    Once a pattern is purchased, they send you the PDF pattern and instructions to download and print at home or a copy shop. They include multiple size files and all of the information needed to construct the garment including a detailed size chart, suggested fabrics types including any interfacing, lining or stabilizing fabric yardage and notions needed, pattern cutting layout, and sewing instructions, and a few photos of a finished garment made from the pattern. The sewing instructions are quite sparse, somewhat confusing, and assume that you have a good amount of prior dressmaking experience and ability to construct a dress. In addition, the sewing terms and language are not always clear, there are no photos or illustrations of the construction process, just the step-by step words themselves, so you are somewhat on your own for figuring out the difficult parts, therefore these patterns are not for the beginner sewist by any means. However if you have any questions or need help with the sewing process, they are readily available to help and respond right away which is great.

    Studio of Art Patterns, found only on Etsy at https://www.etsy.com/shop/StudioOfArtPatterns, is a small, woman-owned company that creates sewing patterns for the experienced sewist. As I’d love to support and promote this small, yet growing, business, and wanted to know more about them, I reached out to the shop owner, Anastasia, for more information about the company and she gladly replied with this to say:

    Studio of Art Patterns – Our Story

    Studio of Art Patterns has been creating and sharing sewing patterns on the Etsy platform since 2021, and our shop is only beginning to gain momentum. In this short time, we have published 281 modern patterns, including 125 wedding dress patterns, each offered in five sizes. Even an experienced professional sewist can appreciate the tremendous amount of work our small team has accomplished in such a limited period.
    Our team is made up of three passionate specialists:
    • Anastasia – graphic designer, assistant, and shop owner
    • Angelika – designer
    • Julia – customer service and marketing specialist
    Every day, we continue improving our products, but our main goal remains the same: to expand our collection with fresh, high-quality sewing patterns that have no analogues online. Our team carefully selects the most elegant and desirable garment designs and transforms them into detailed, professional patterns to help our customers create stylish and beautifully crafted pieces.
    At the moment, our patterns are available exclusively on Etsy. However, we are actively growing and working on launching our own website in the near future.


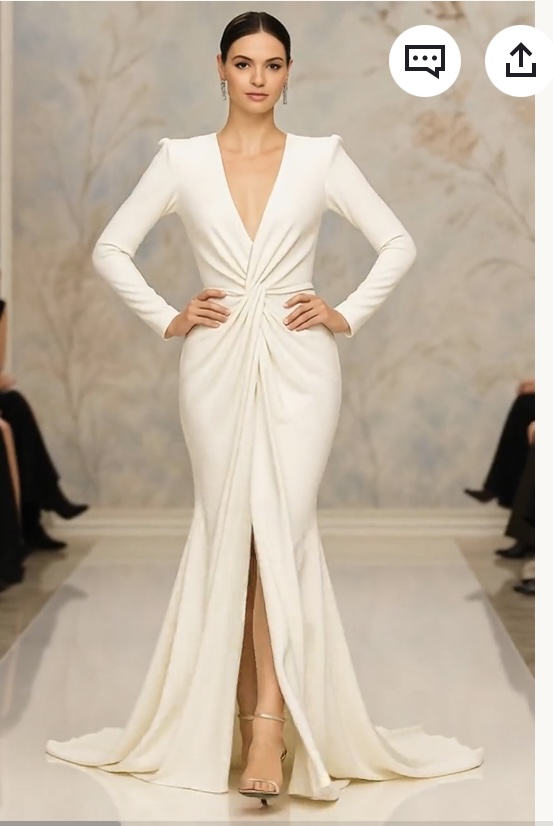
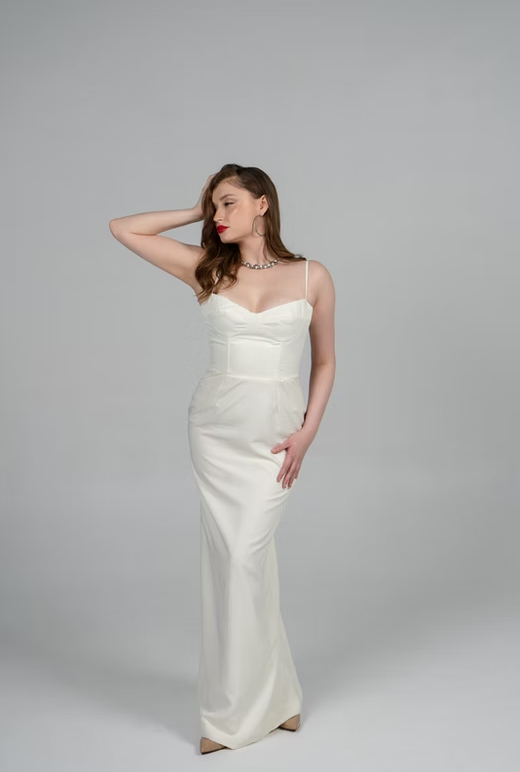
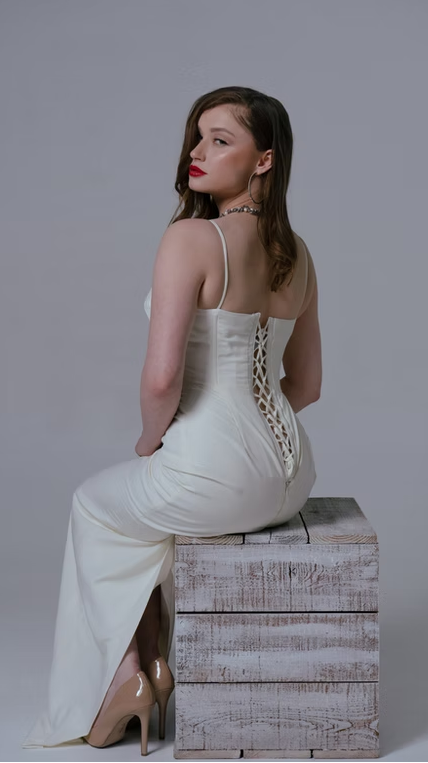
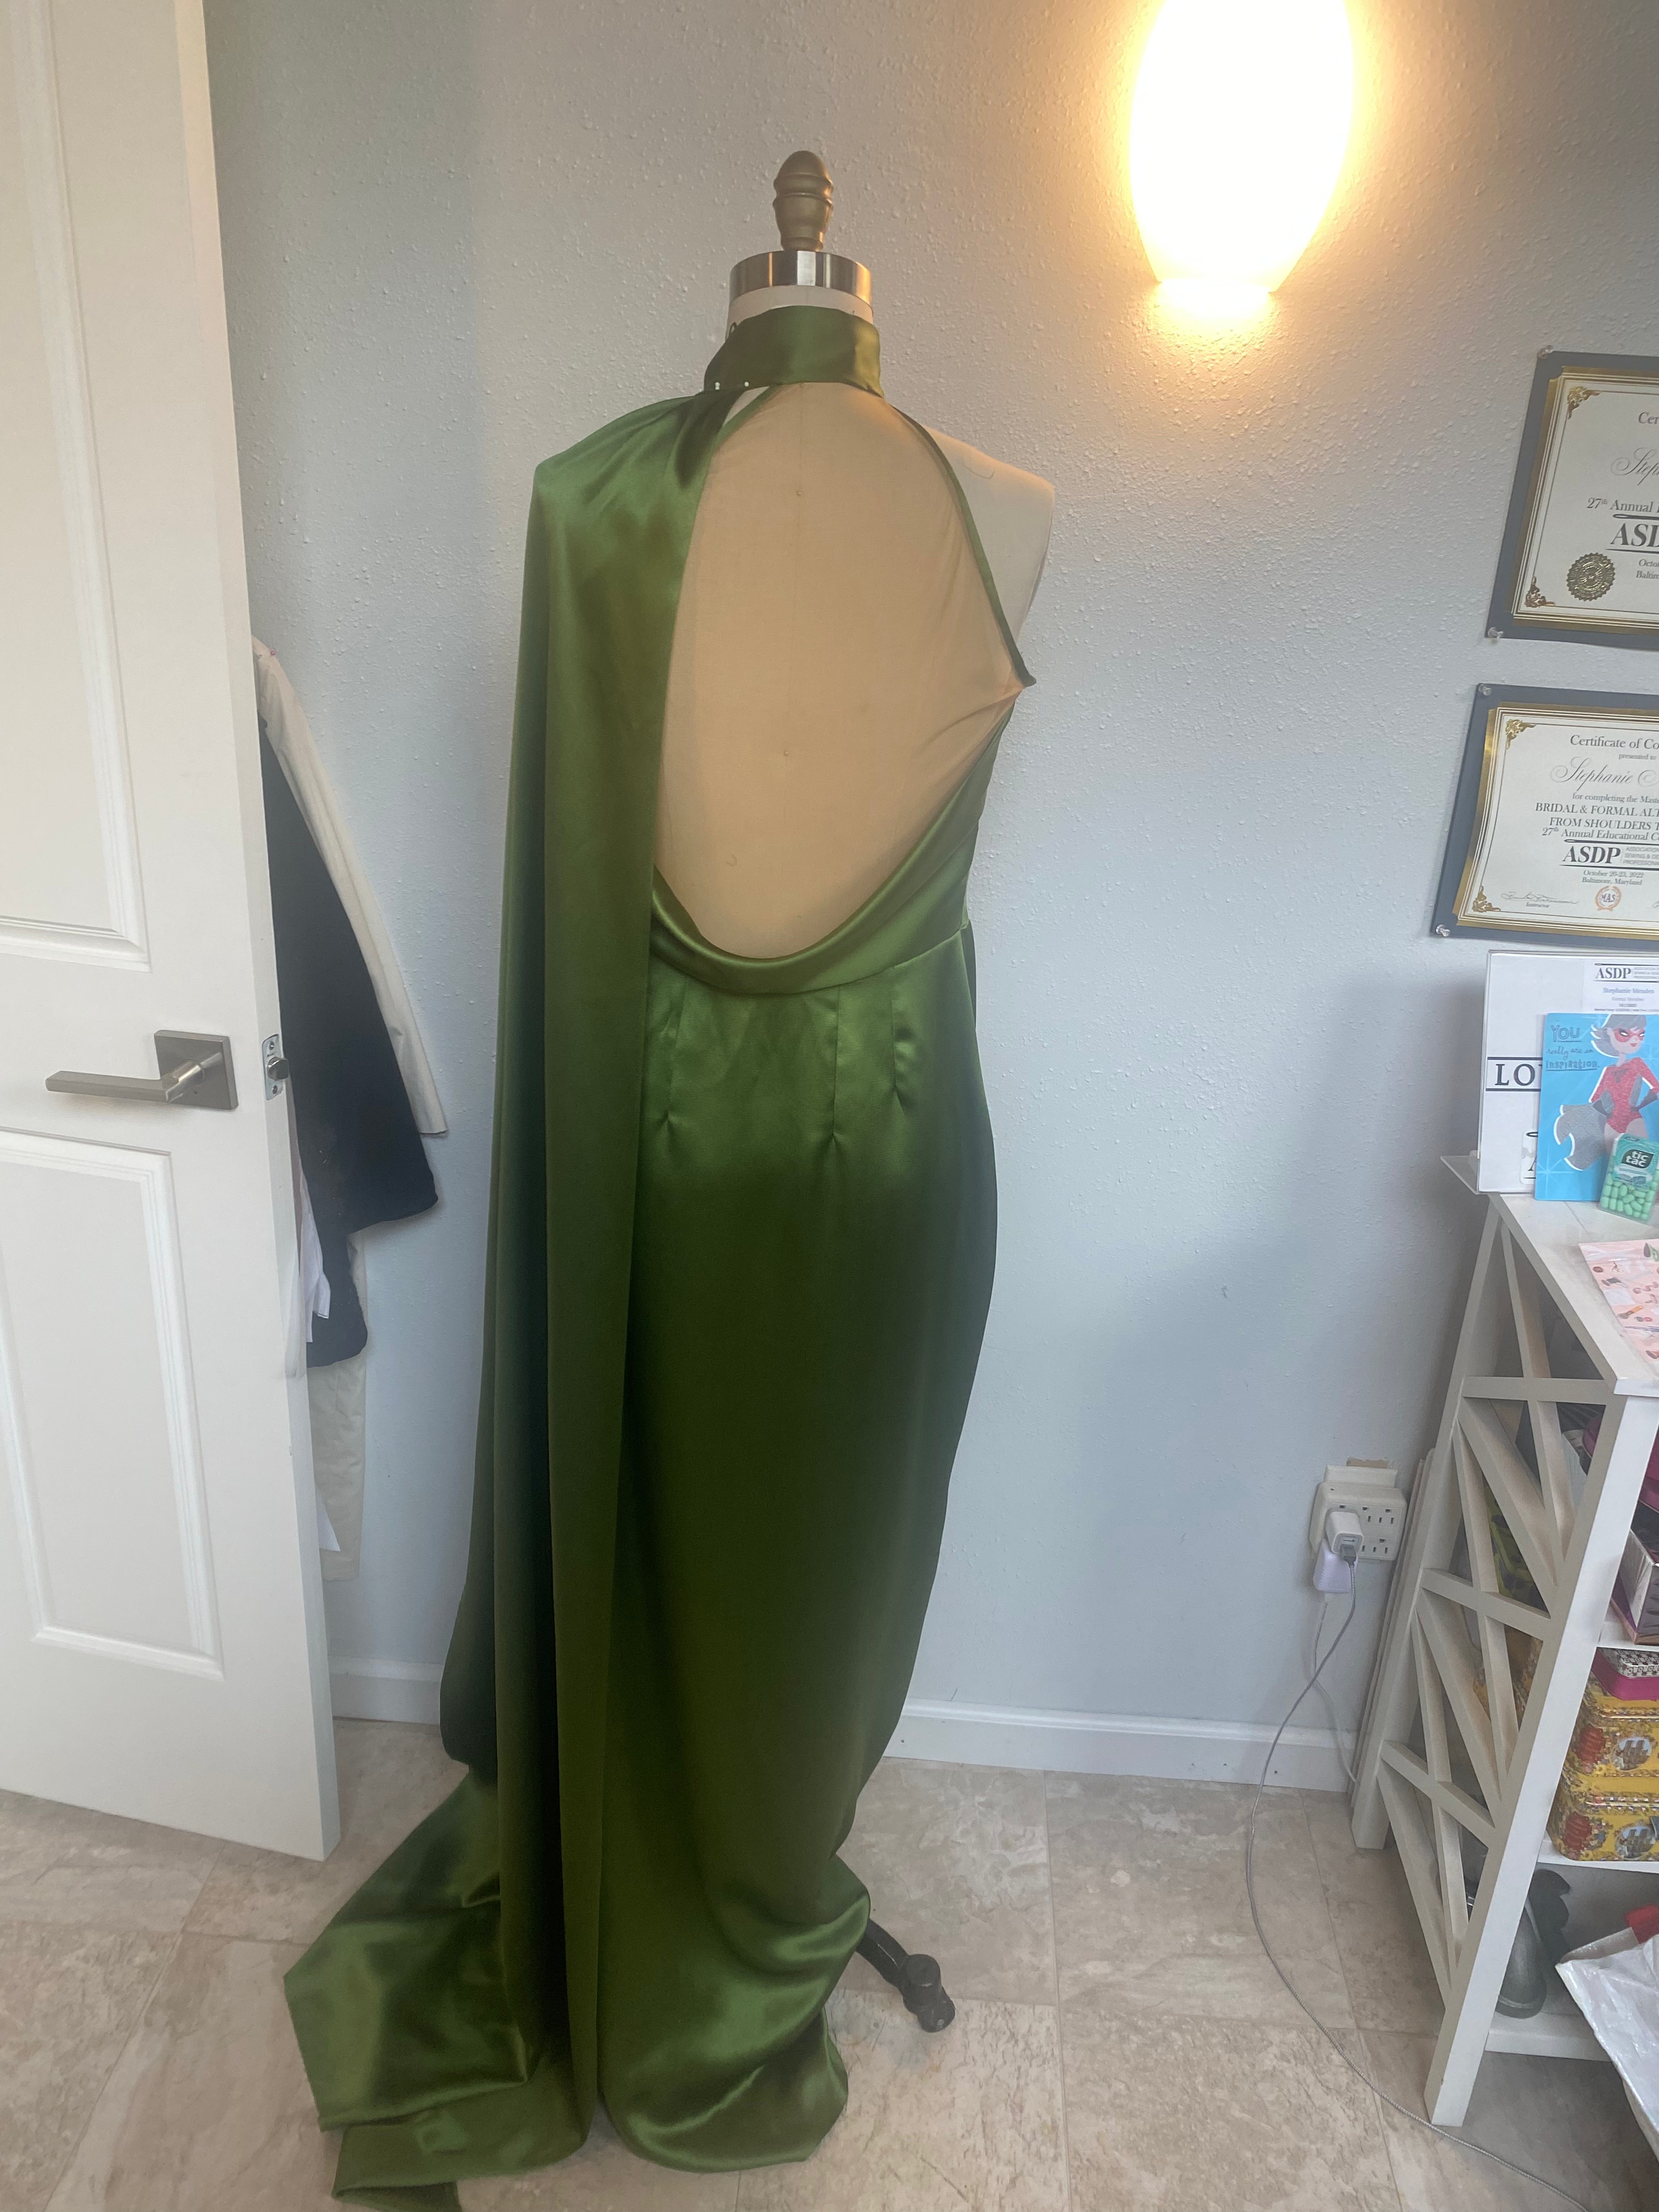
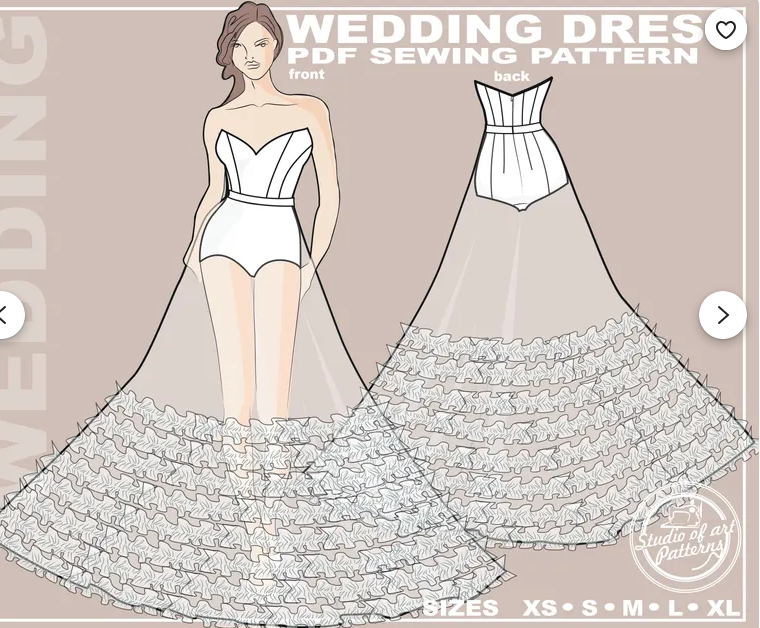
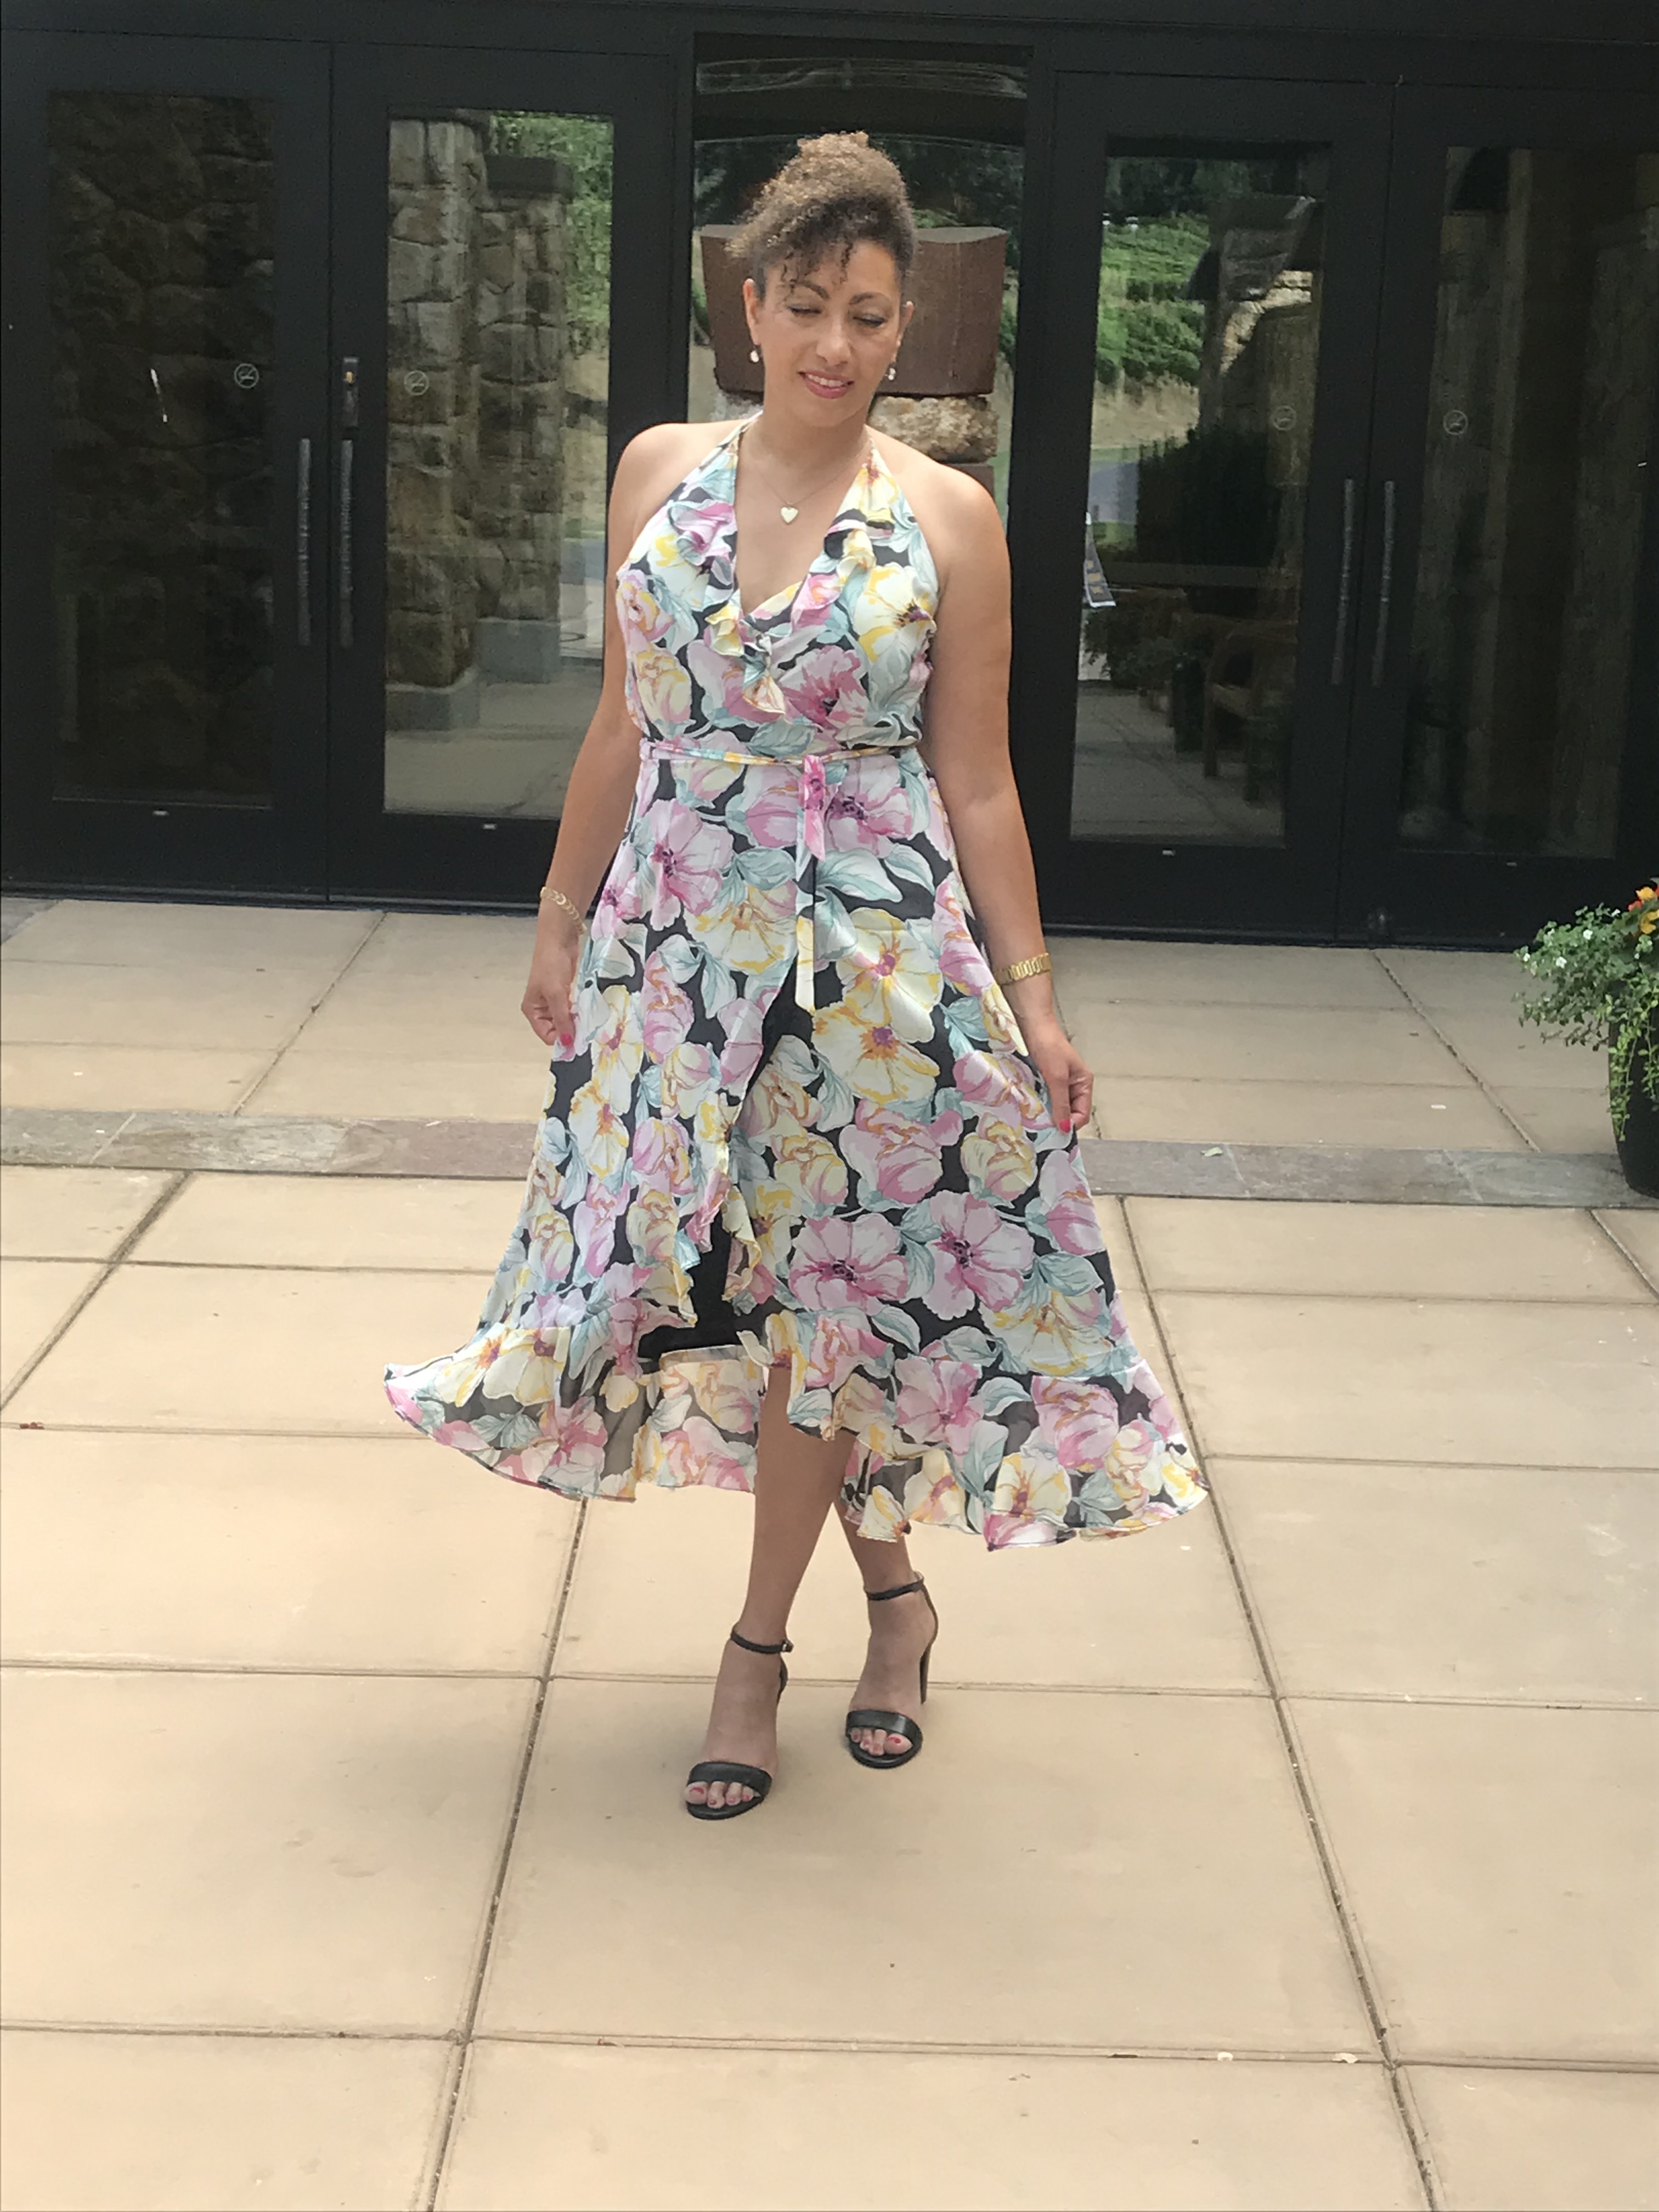
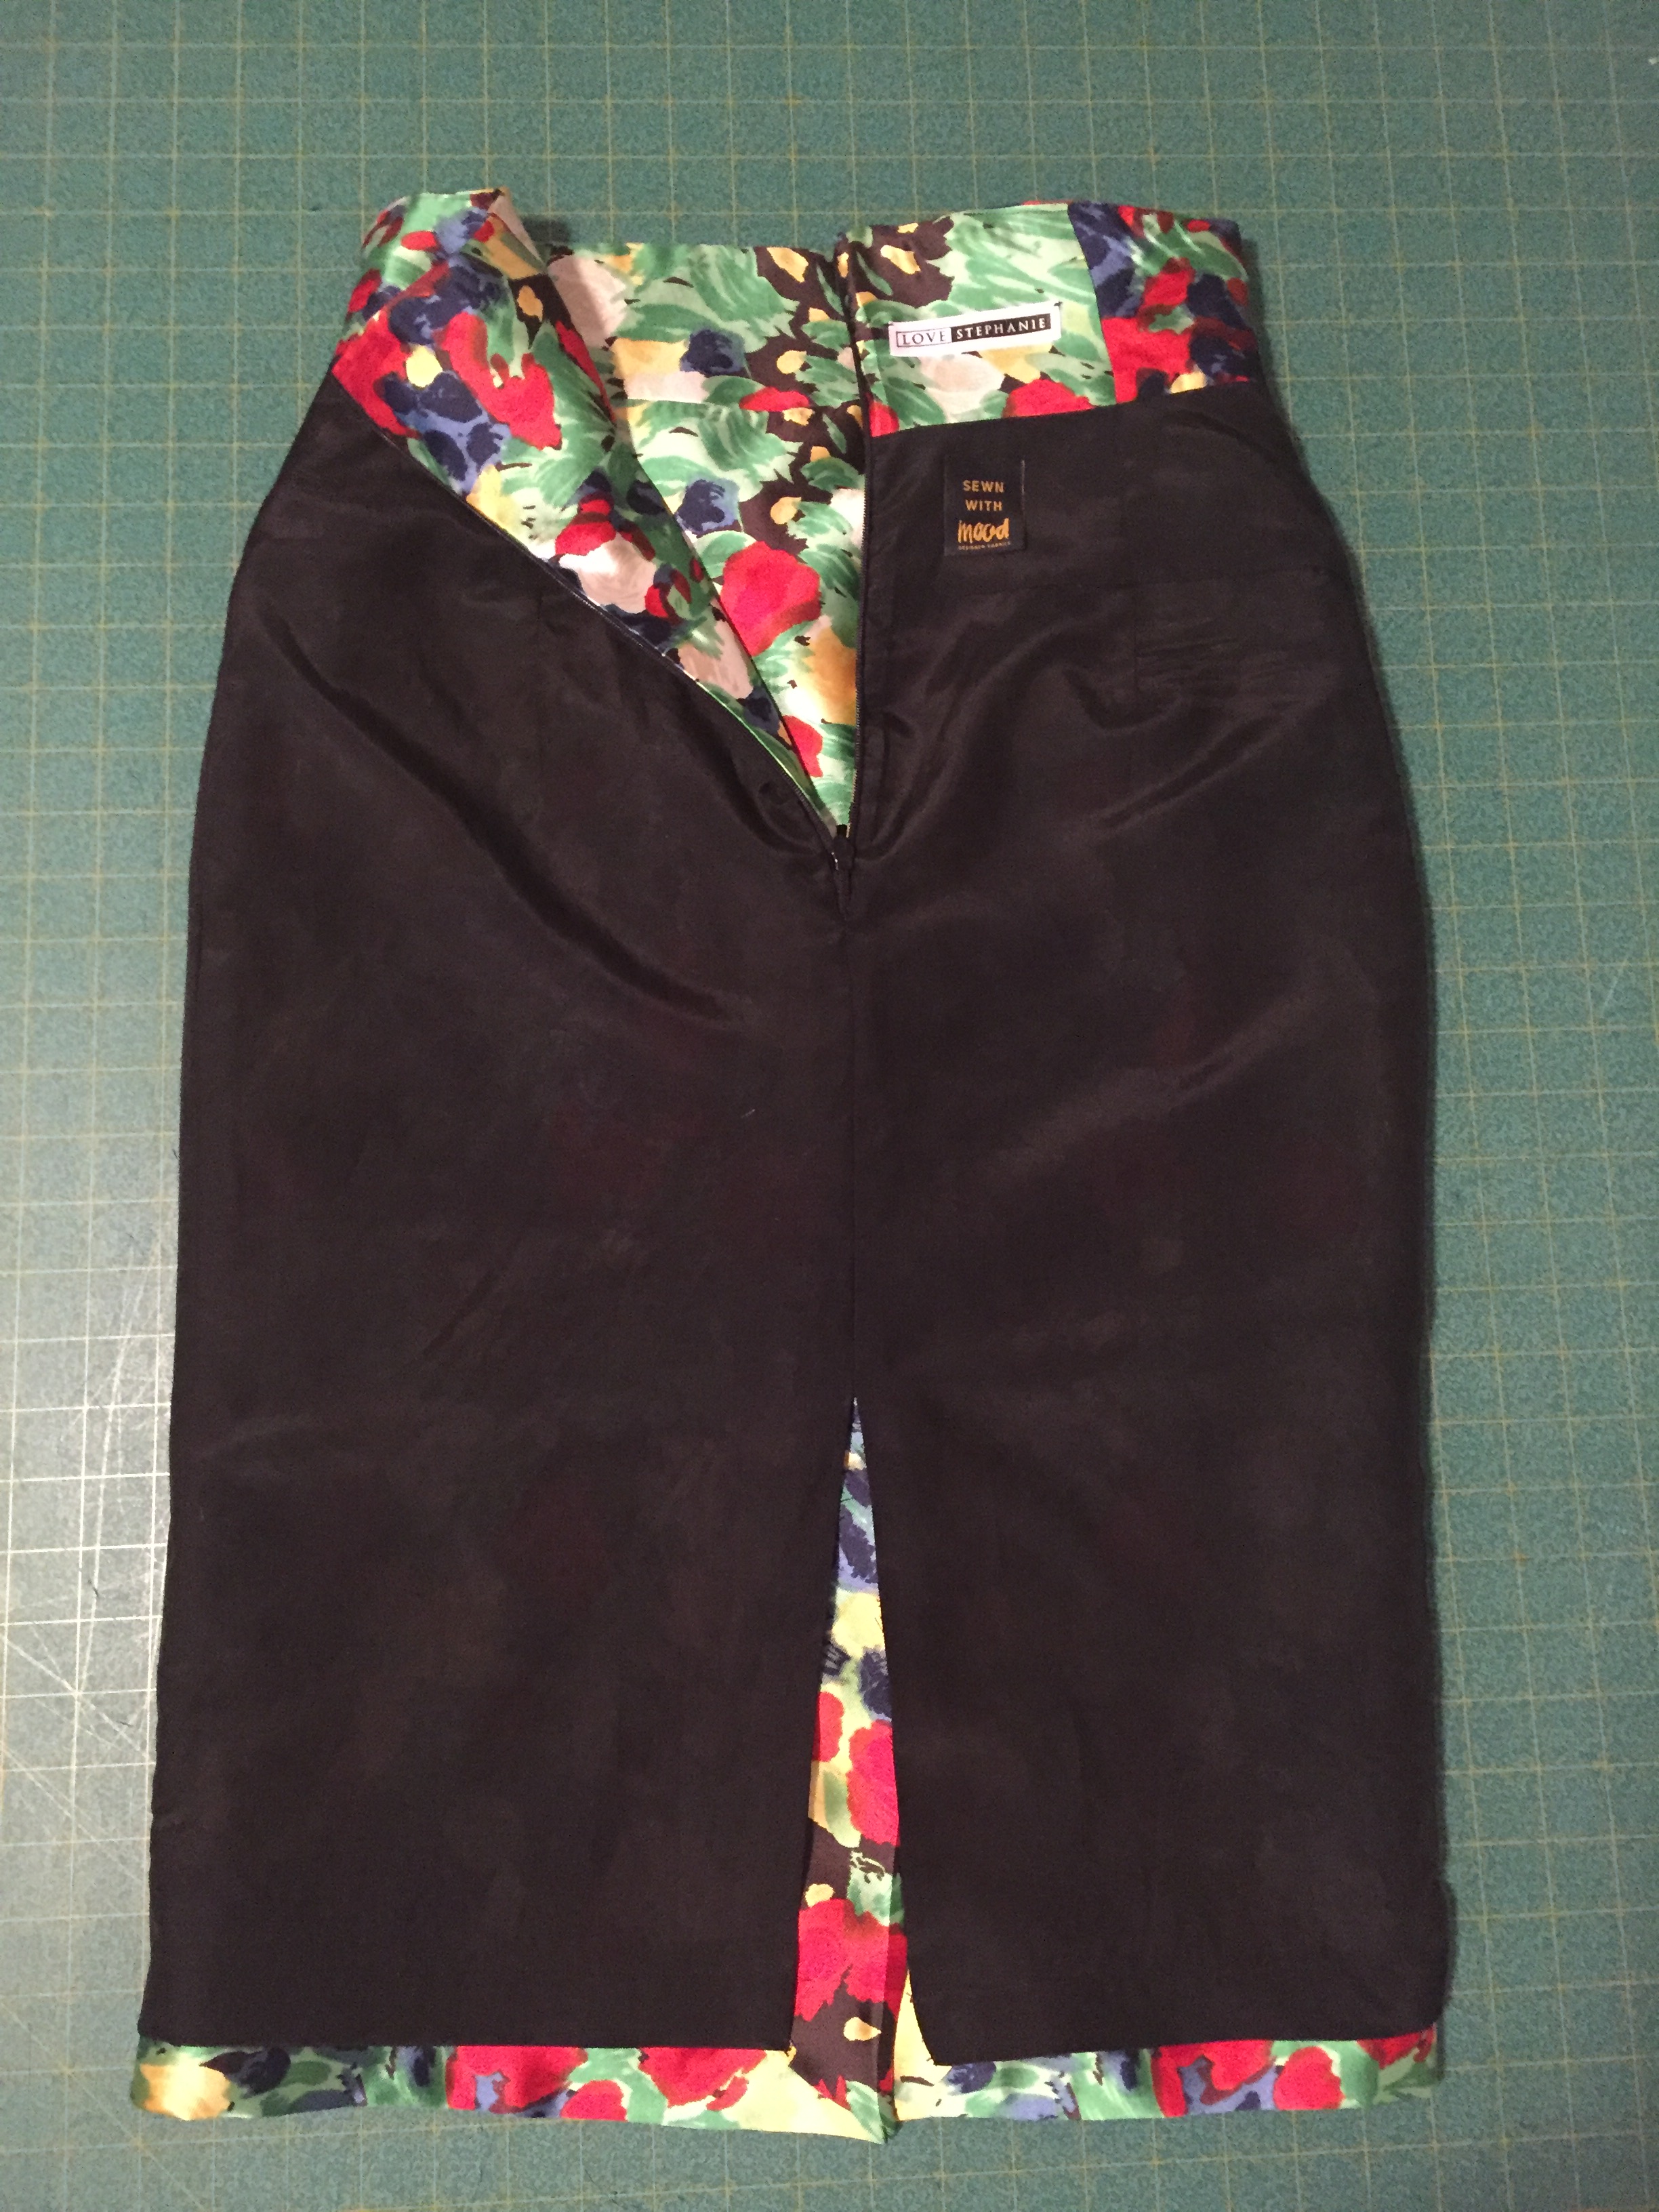
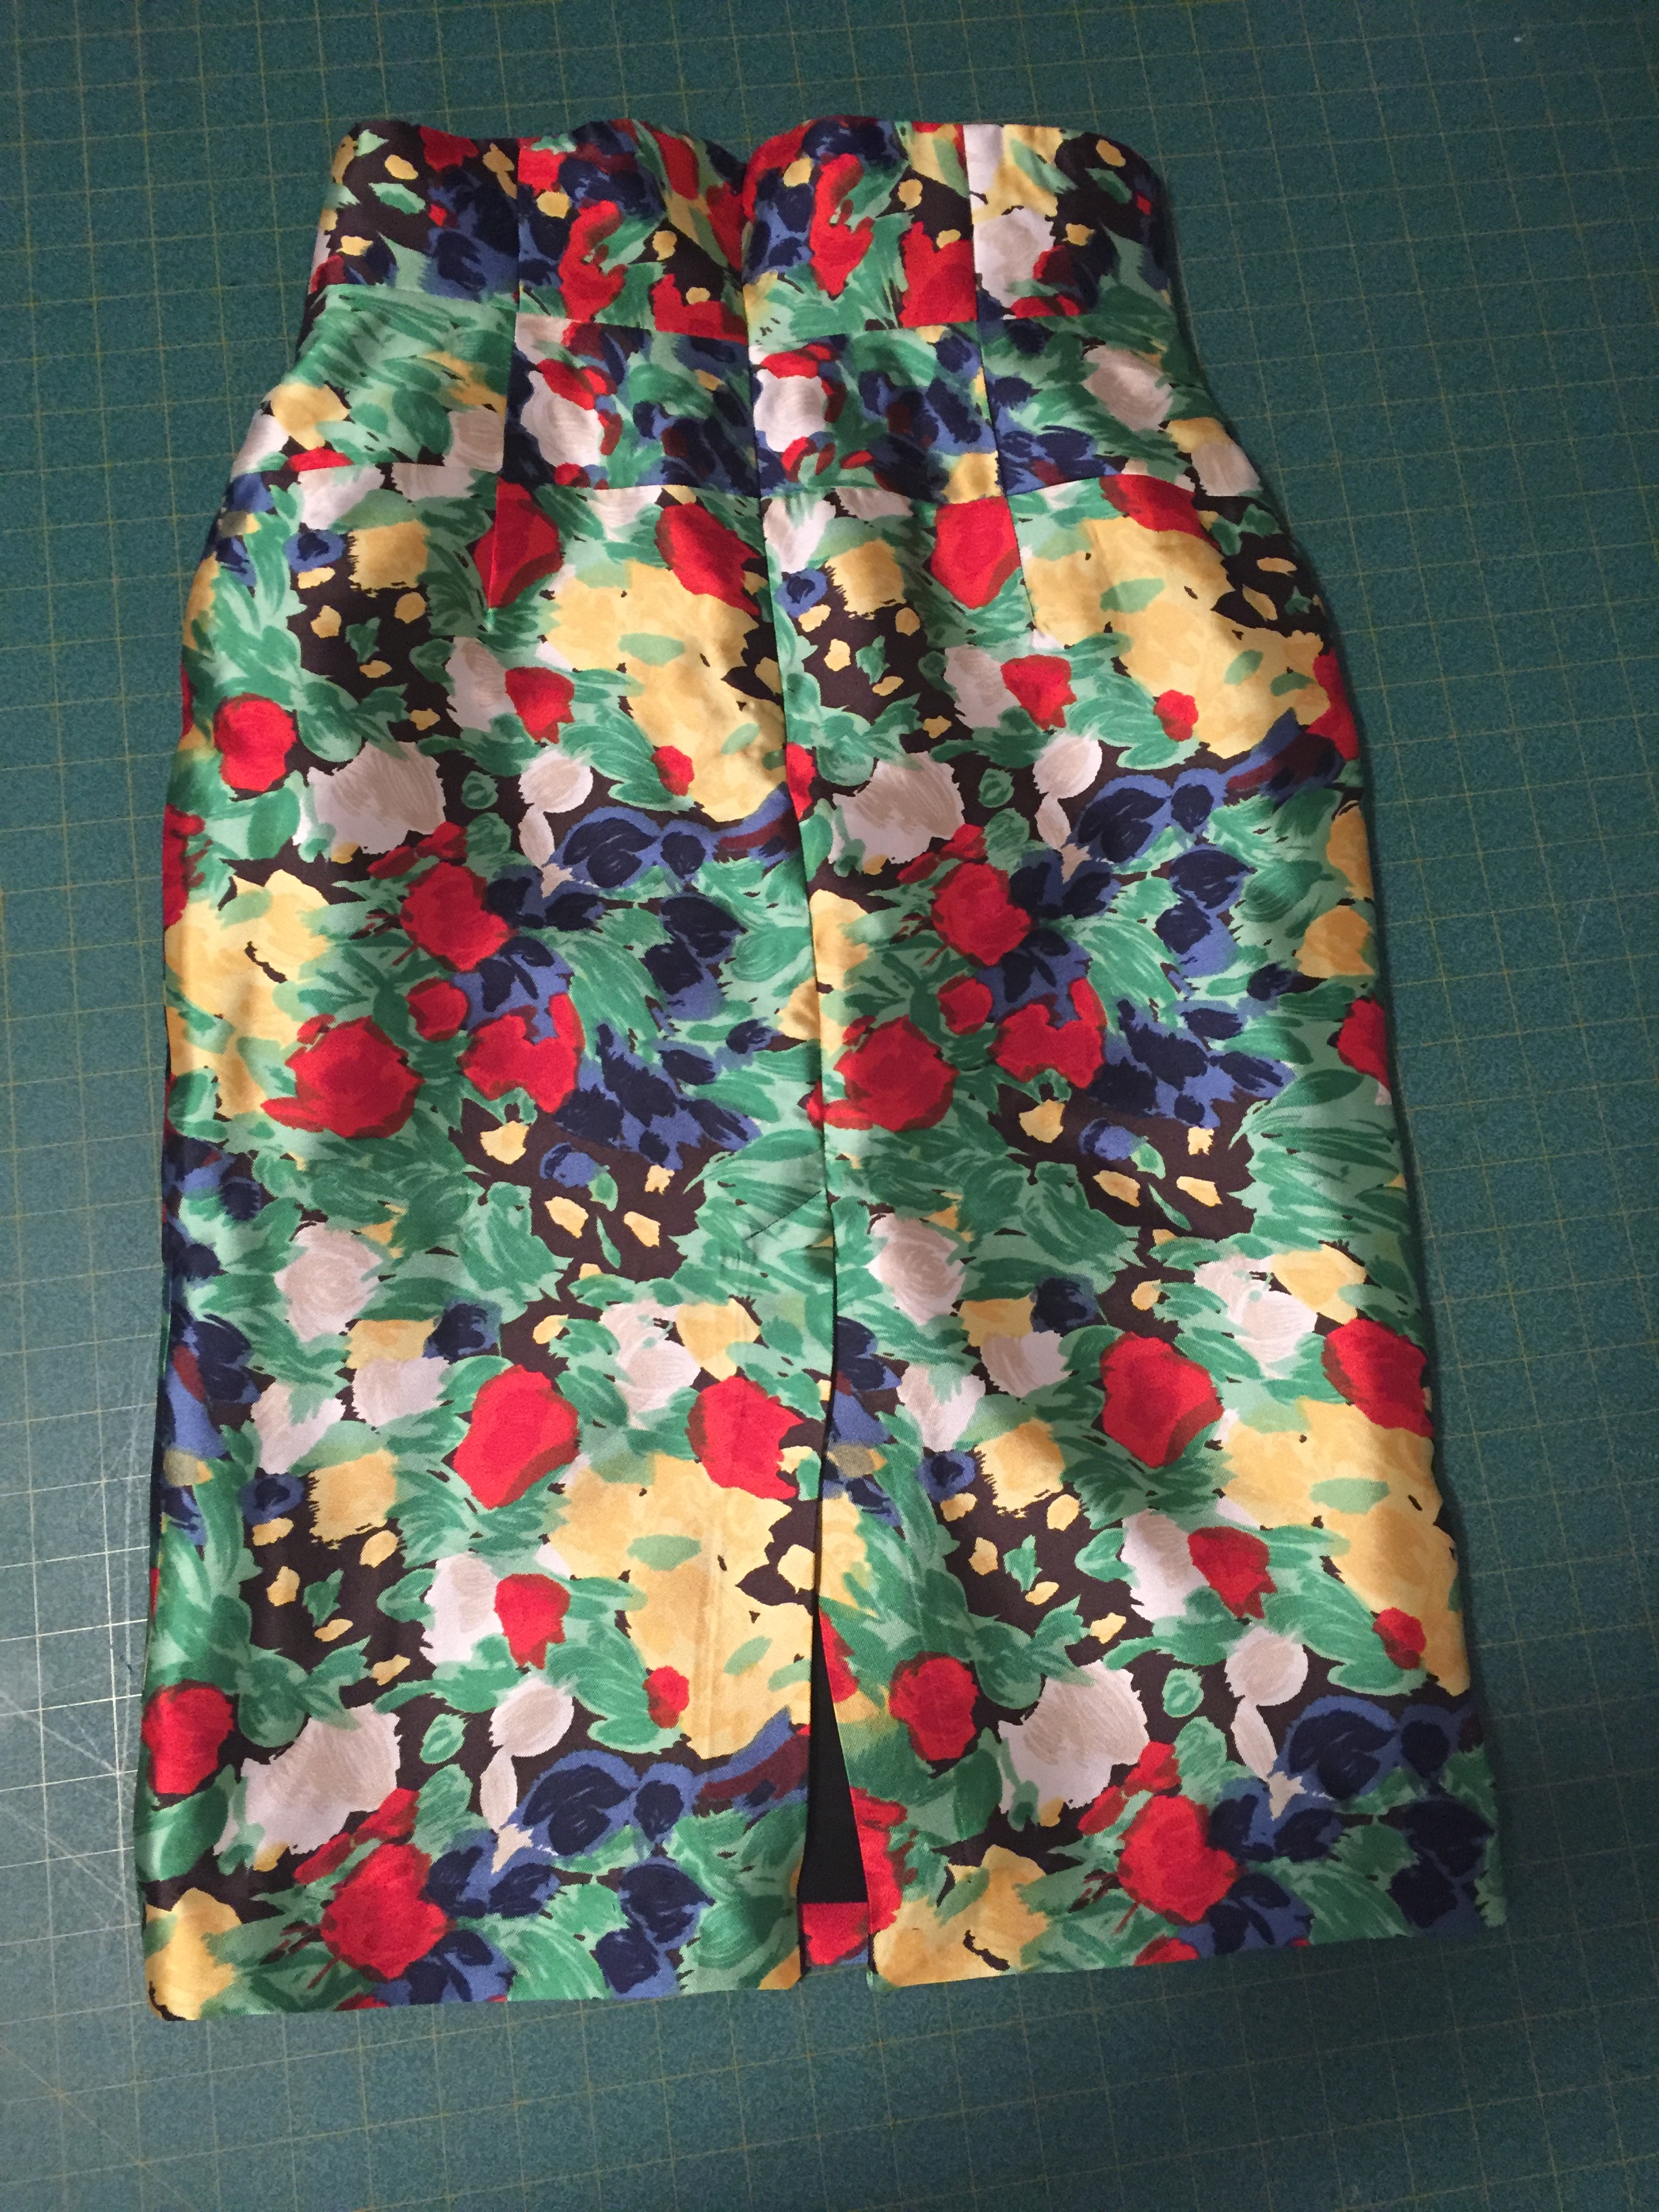
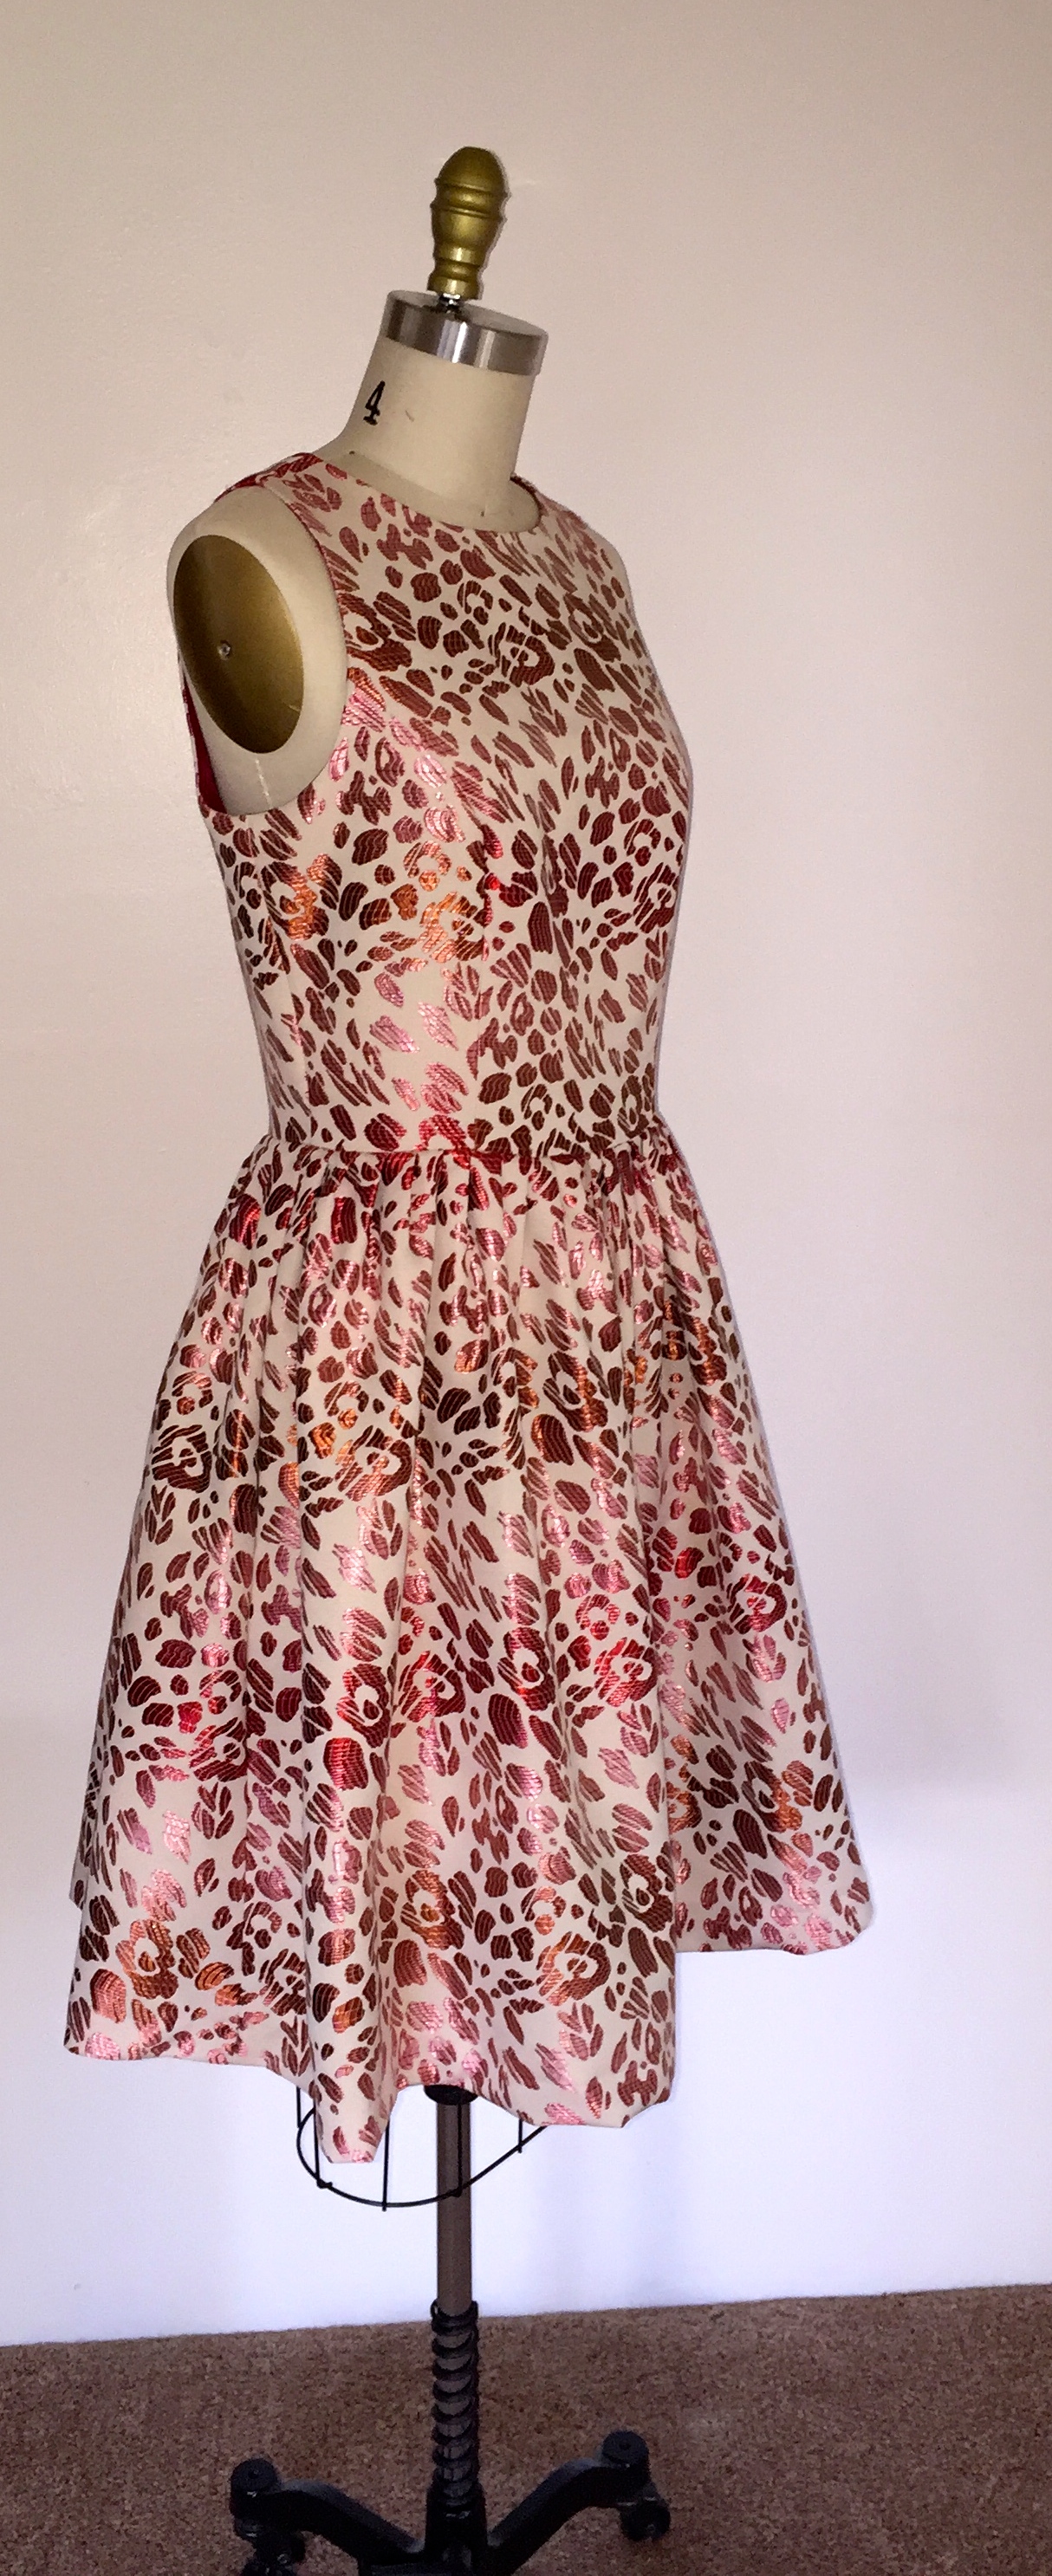
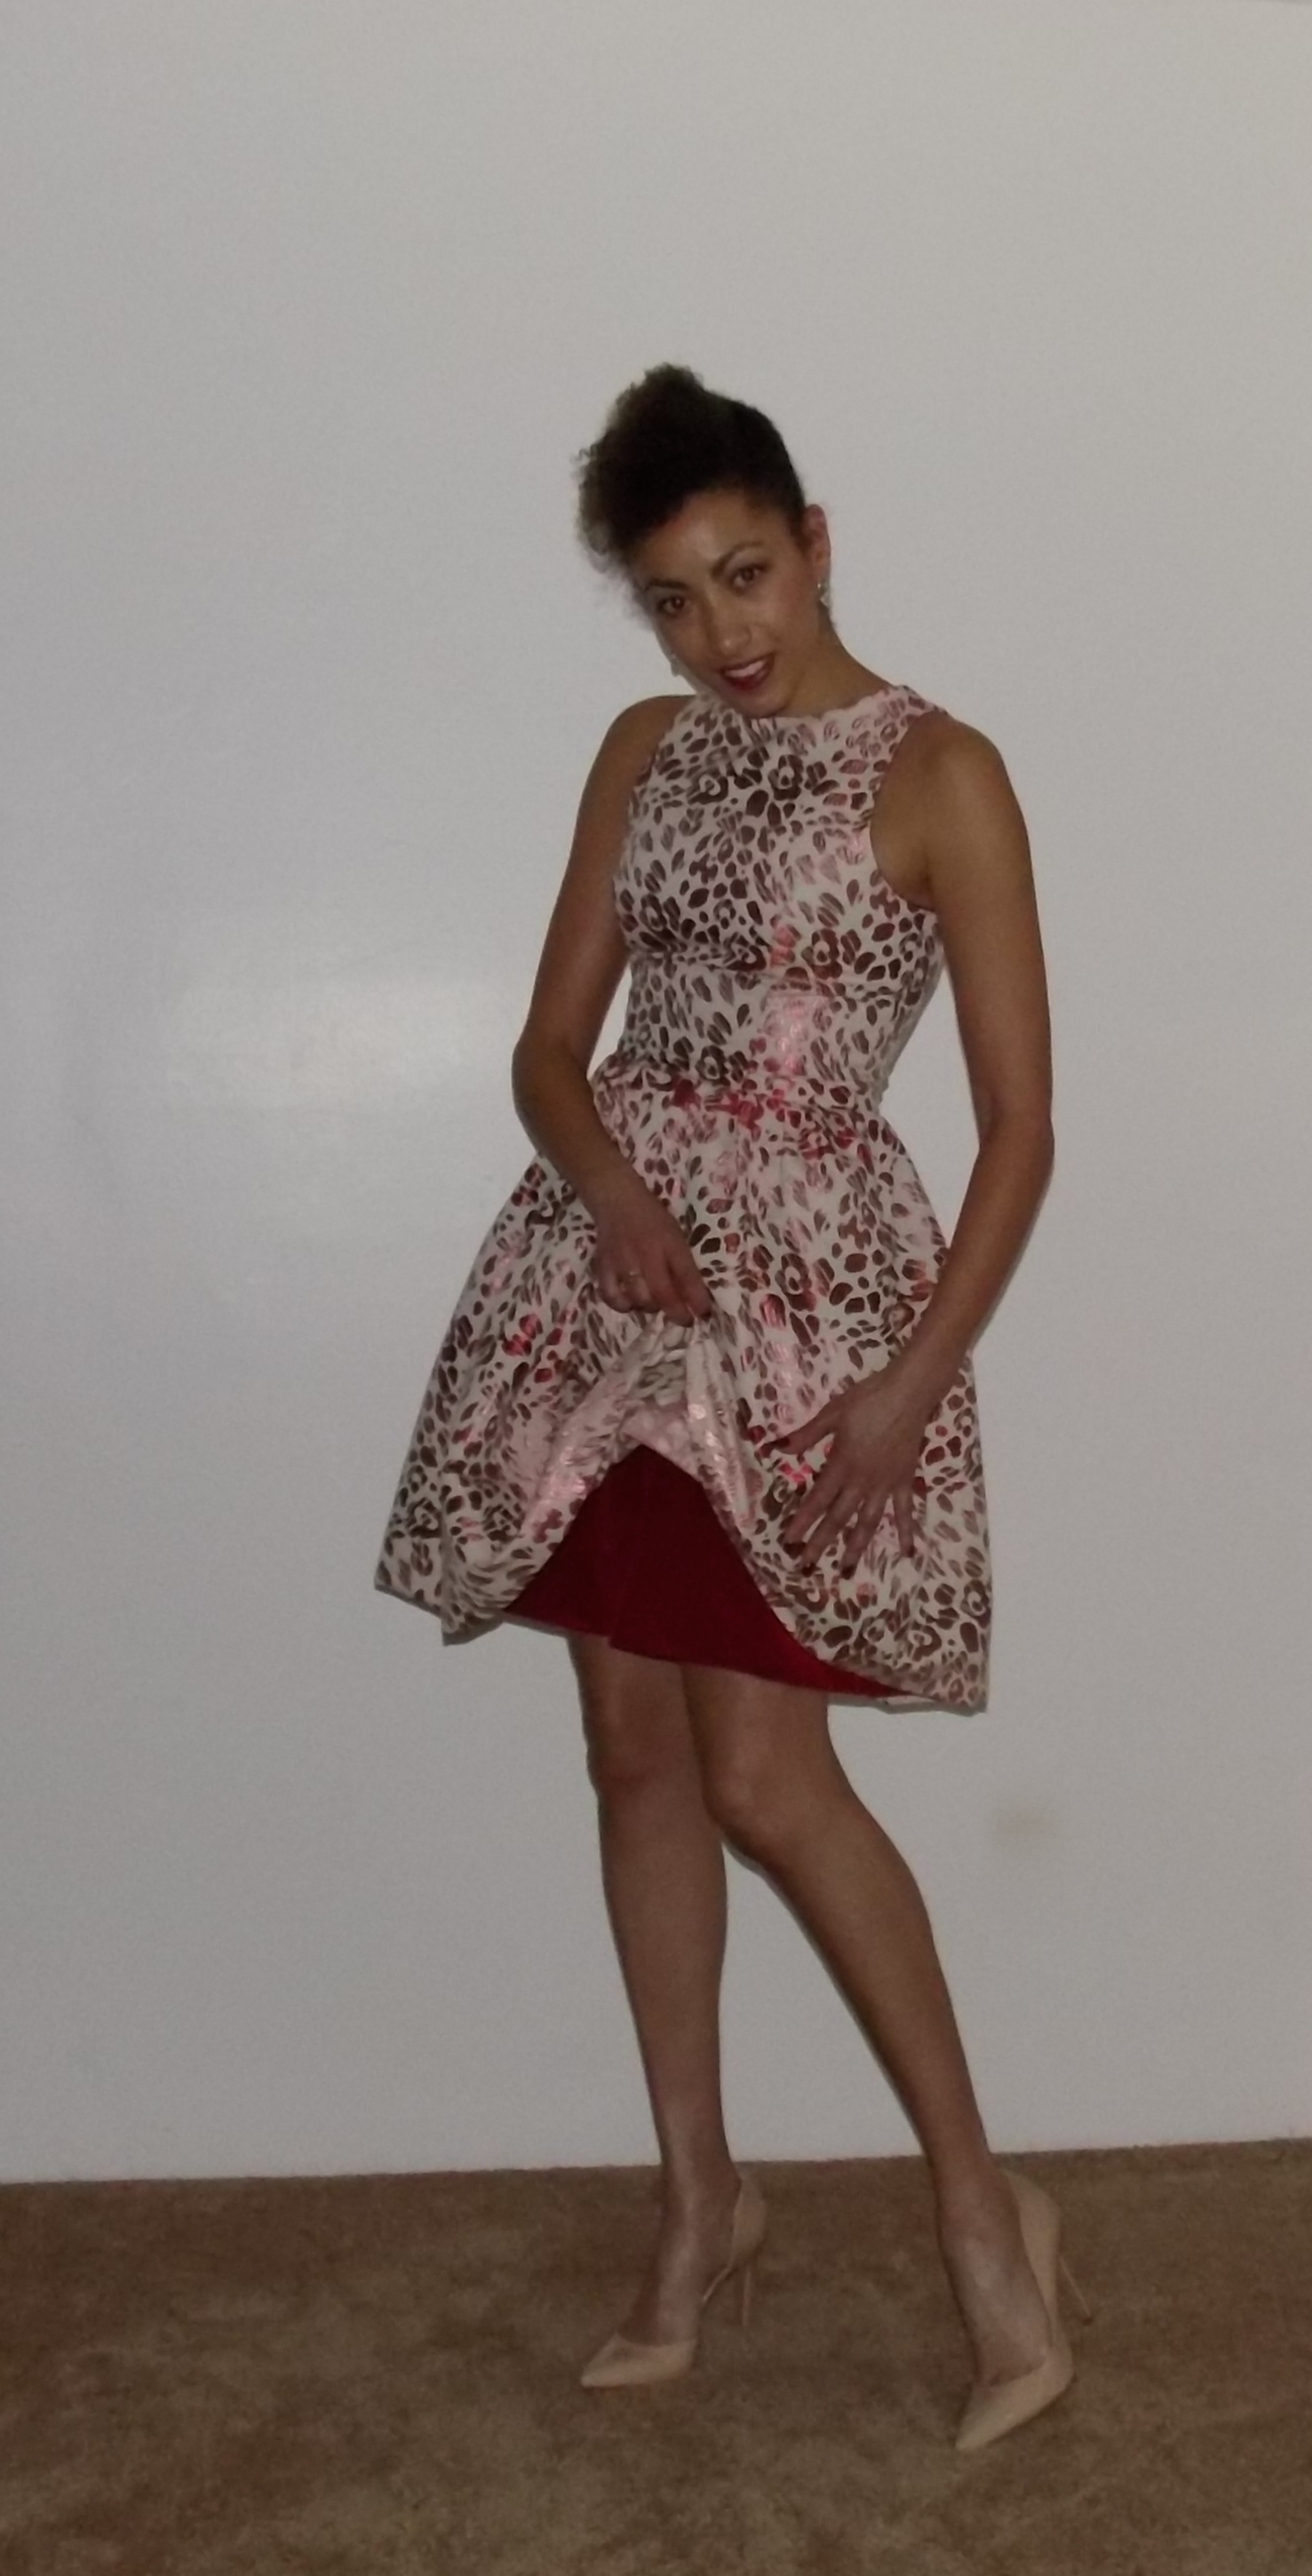
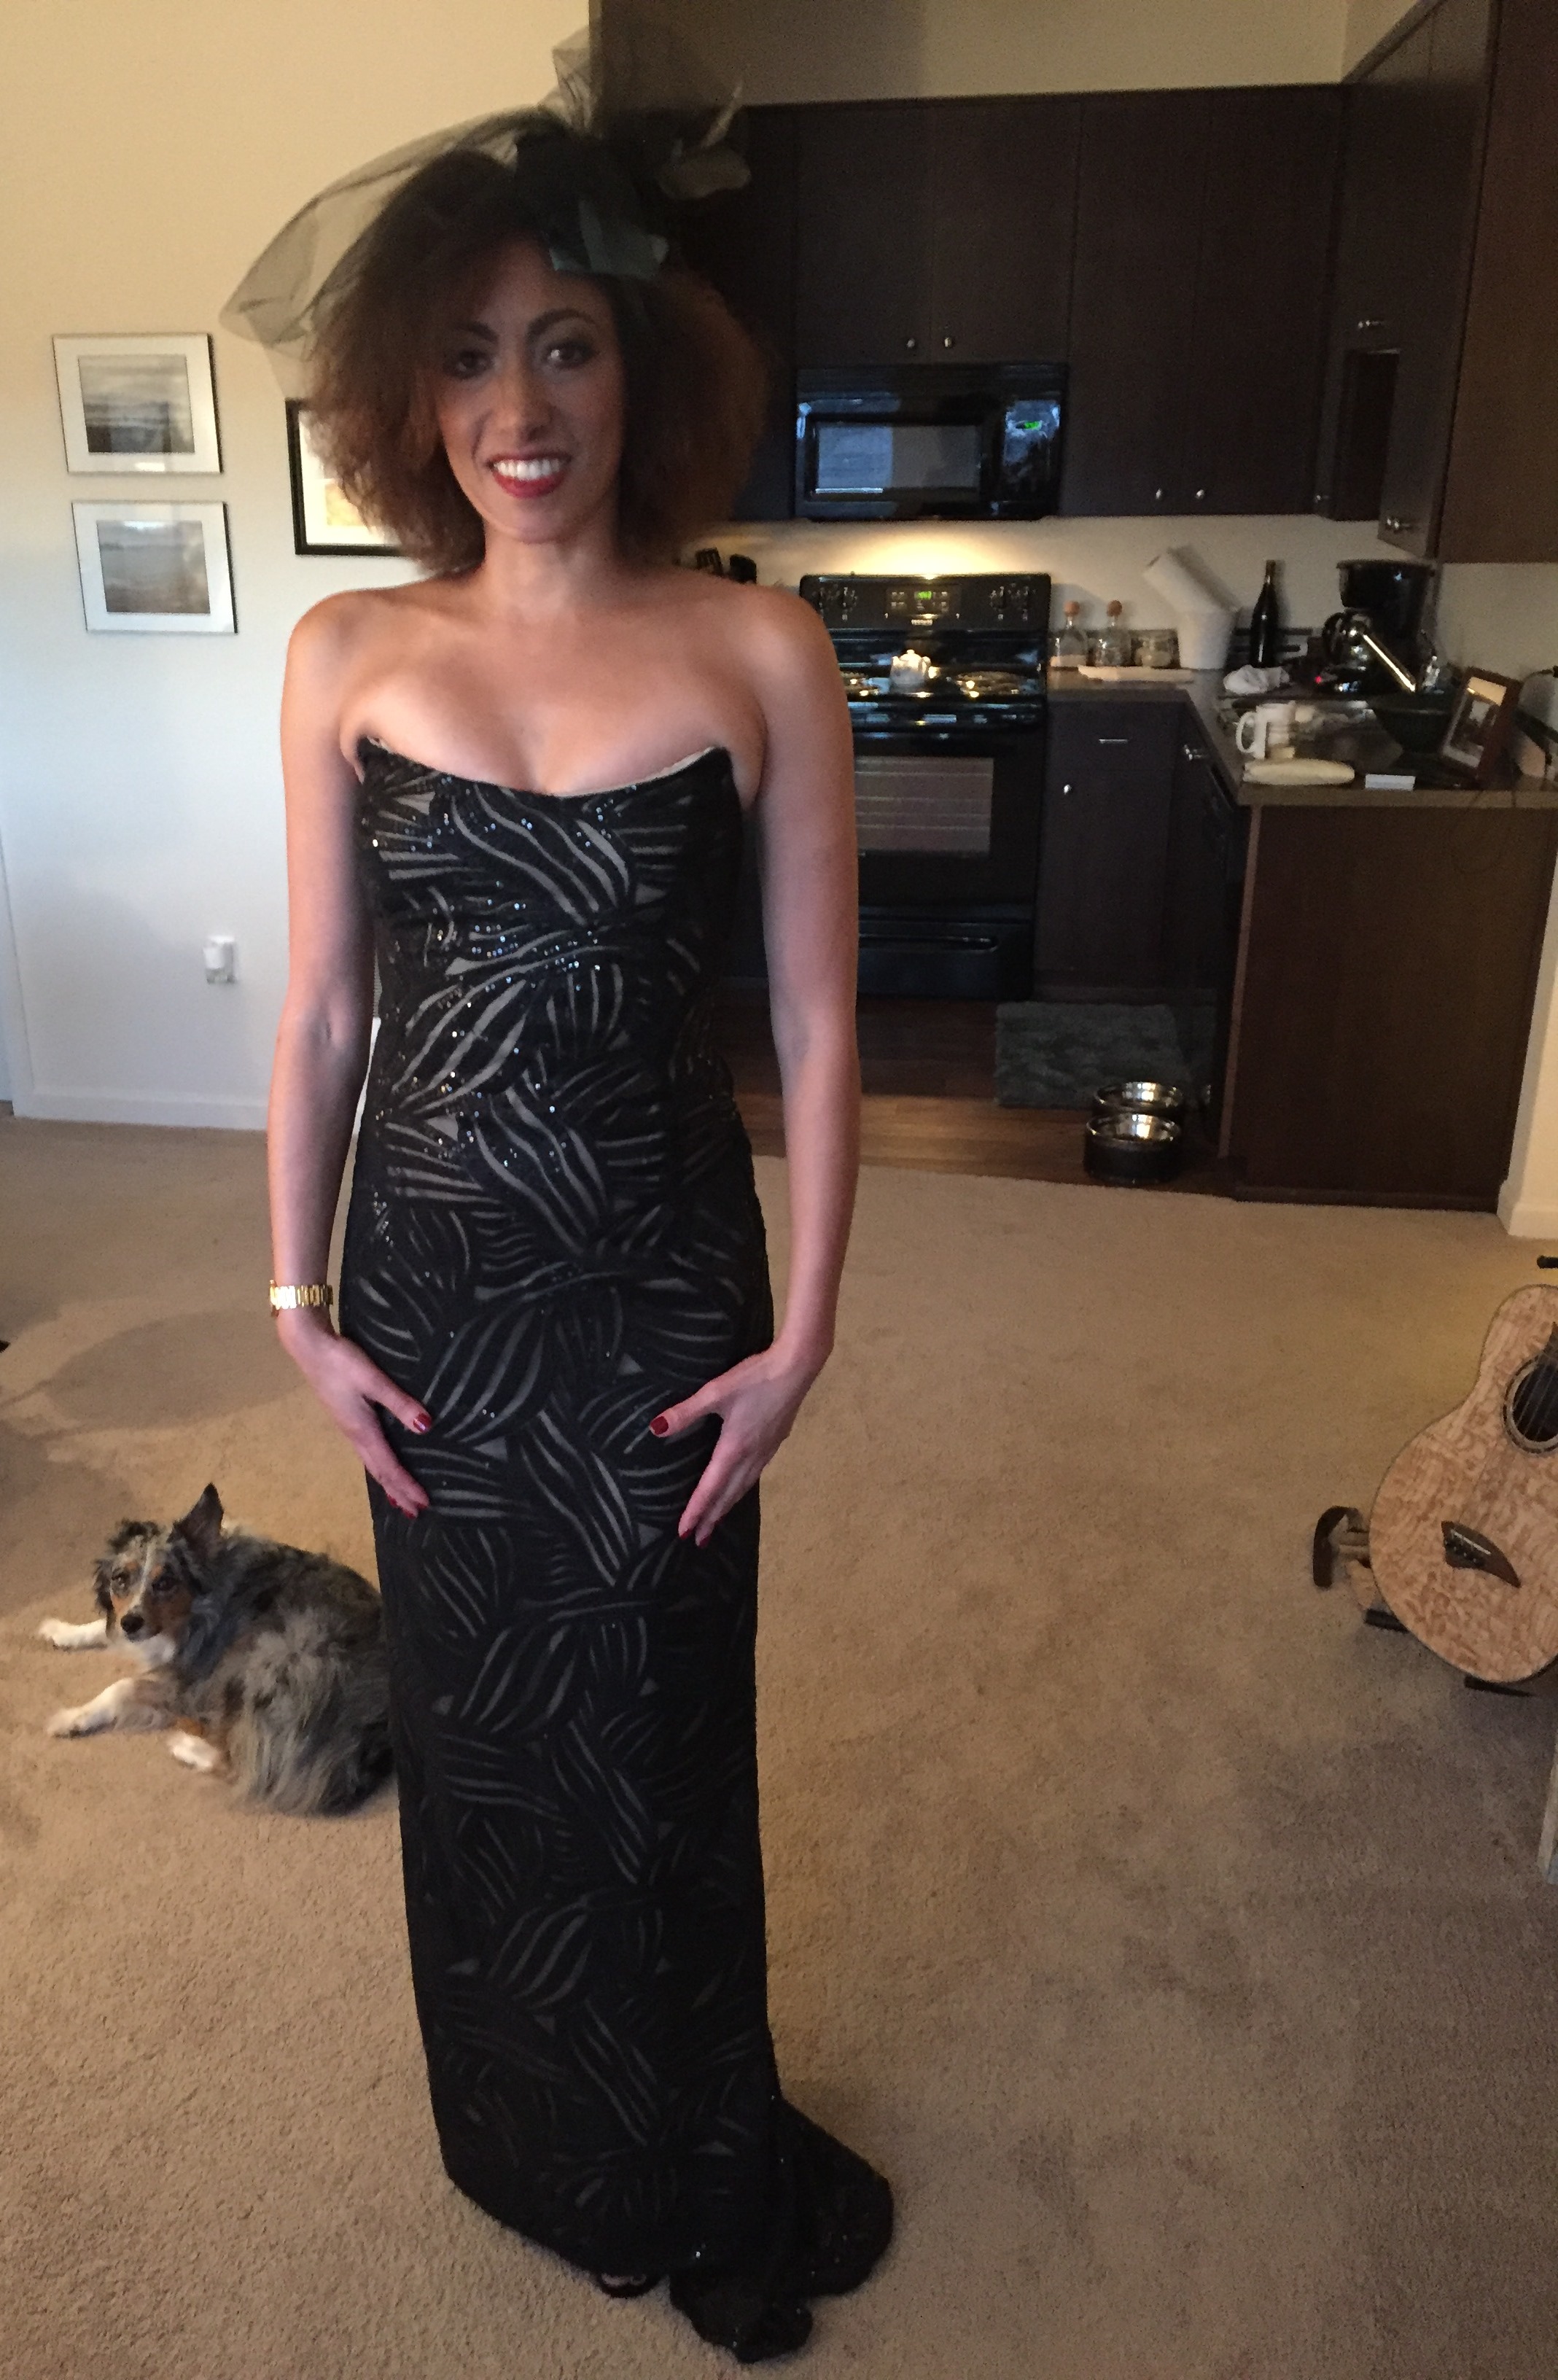
    Going back to the bridesmaid dresses, we decided on this pattern, mostly for the draped skirt, and I would make the bodice in two different styles to attach to the same skirt for the ladies:

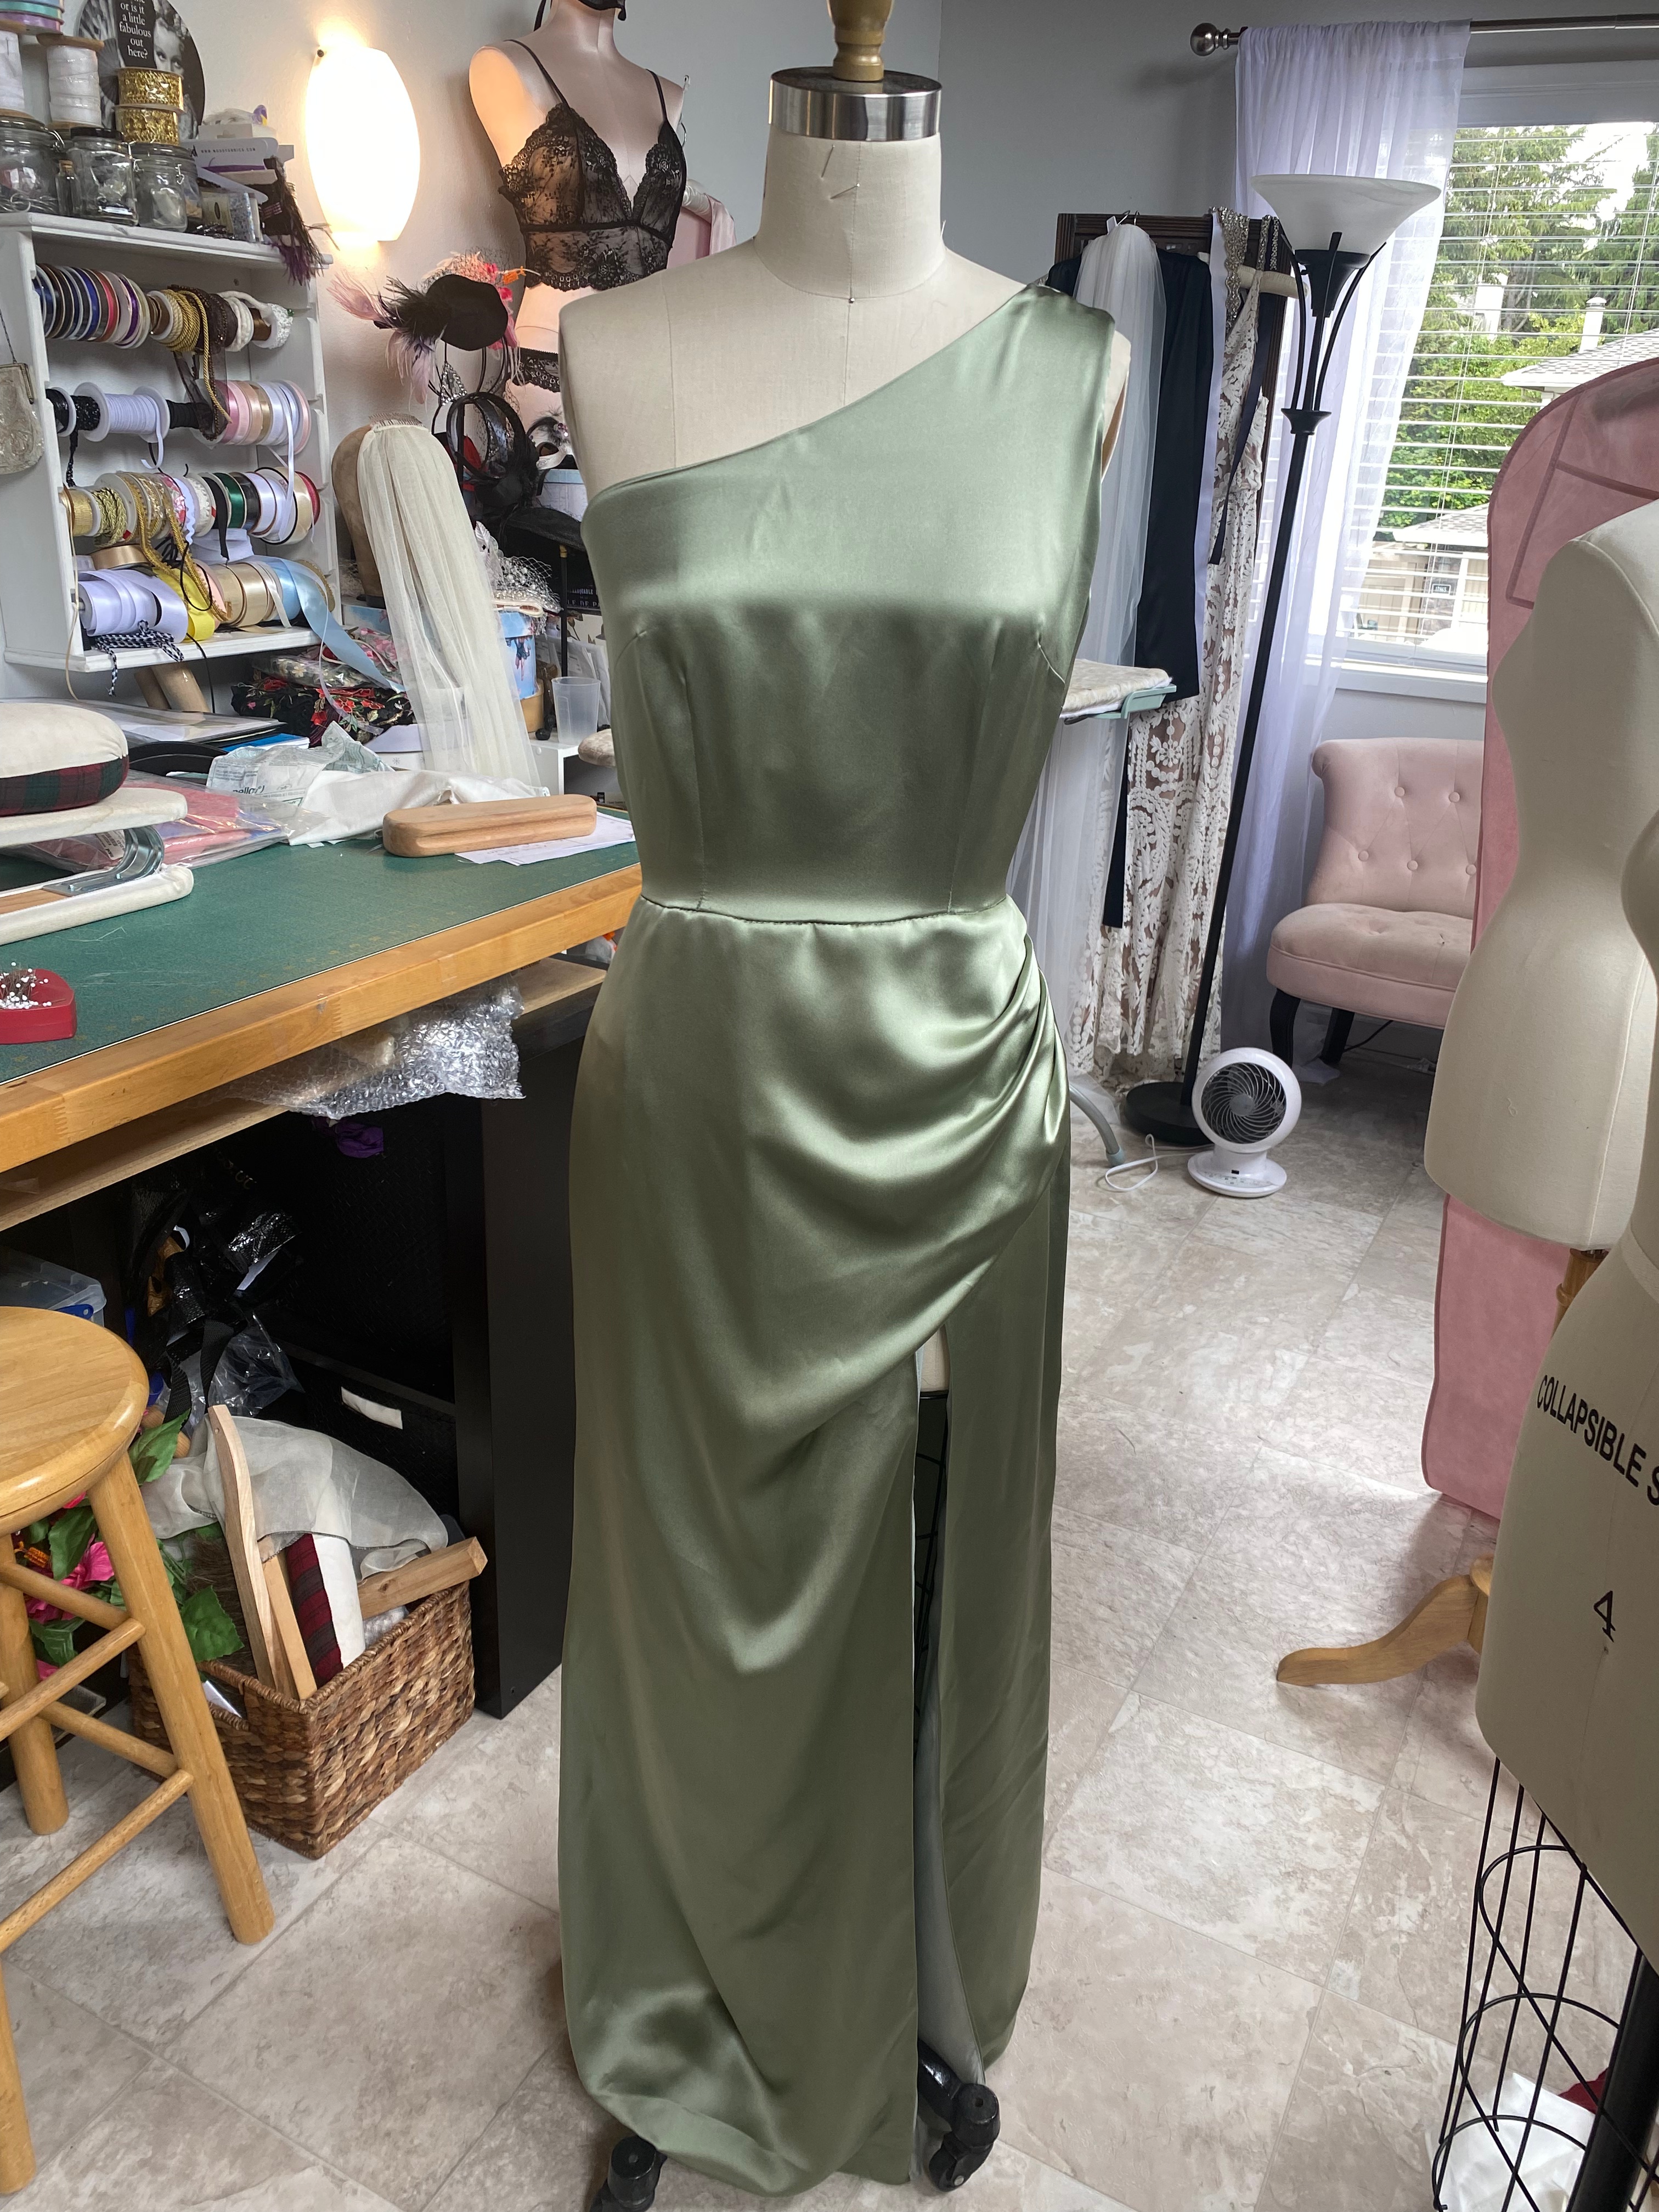
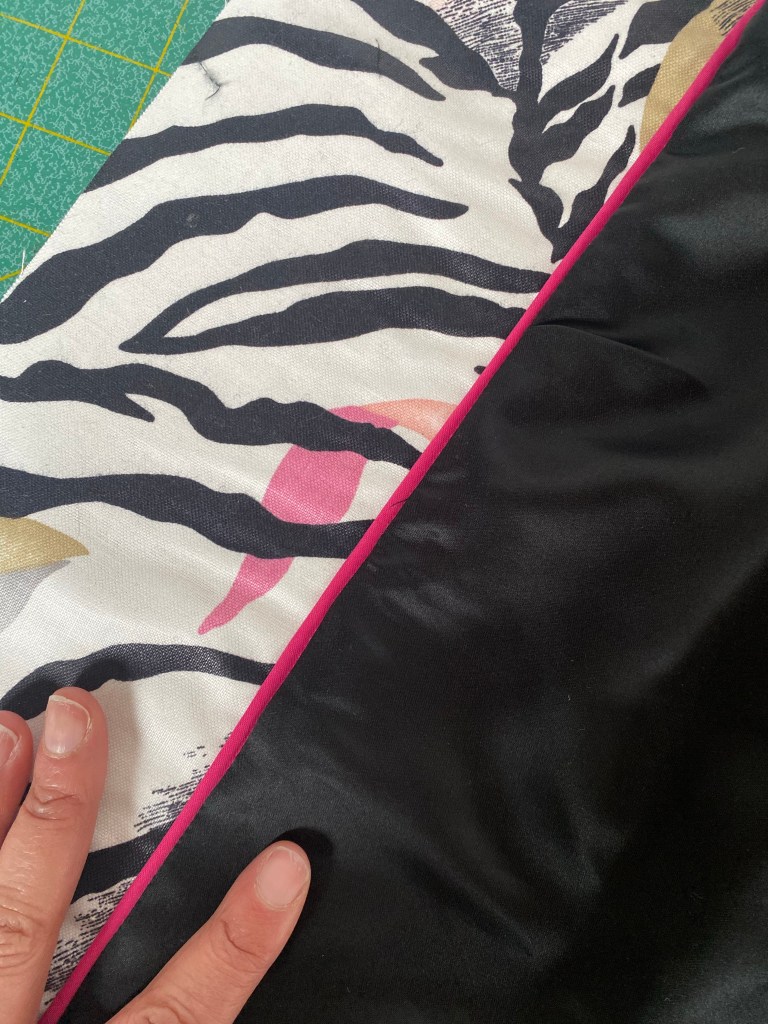
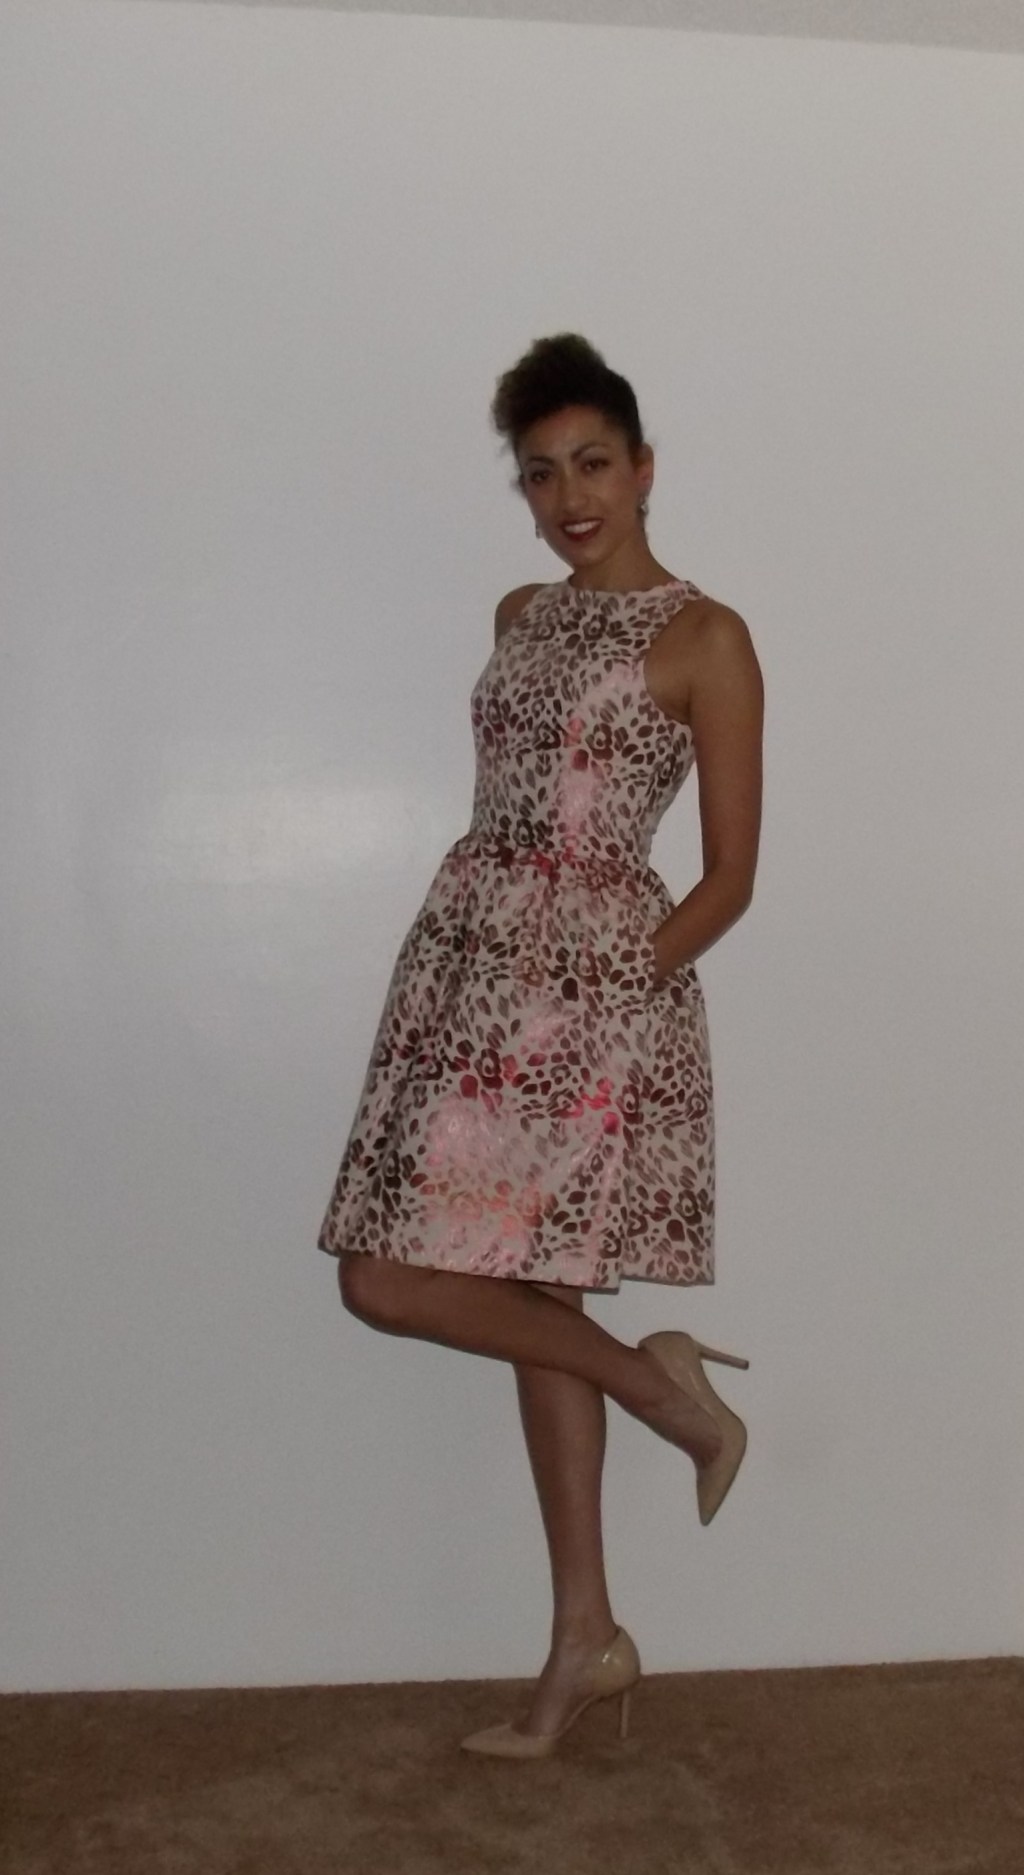
    The dresses turned out satisfactory with the short time frame to complete and the fussy nature if the fabric, so I won’t go into much detail about it, but I wanted to share my moment of discovery of this amazing pattern company that led me here!

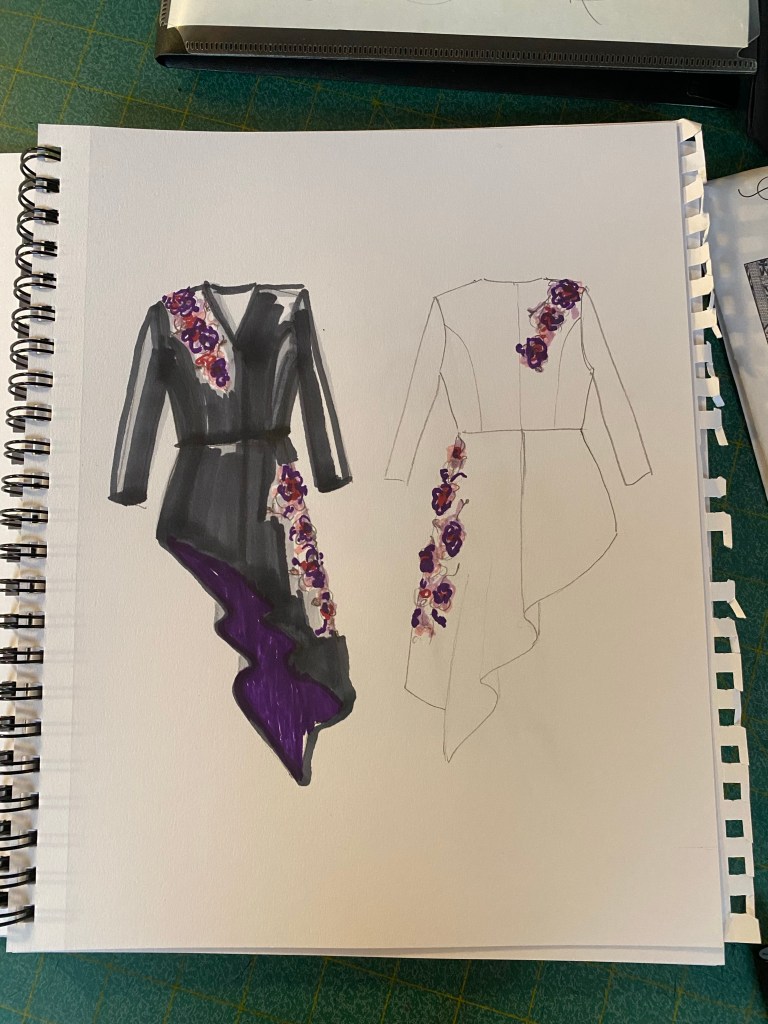
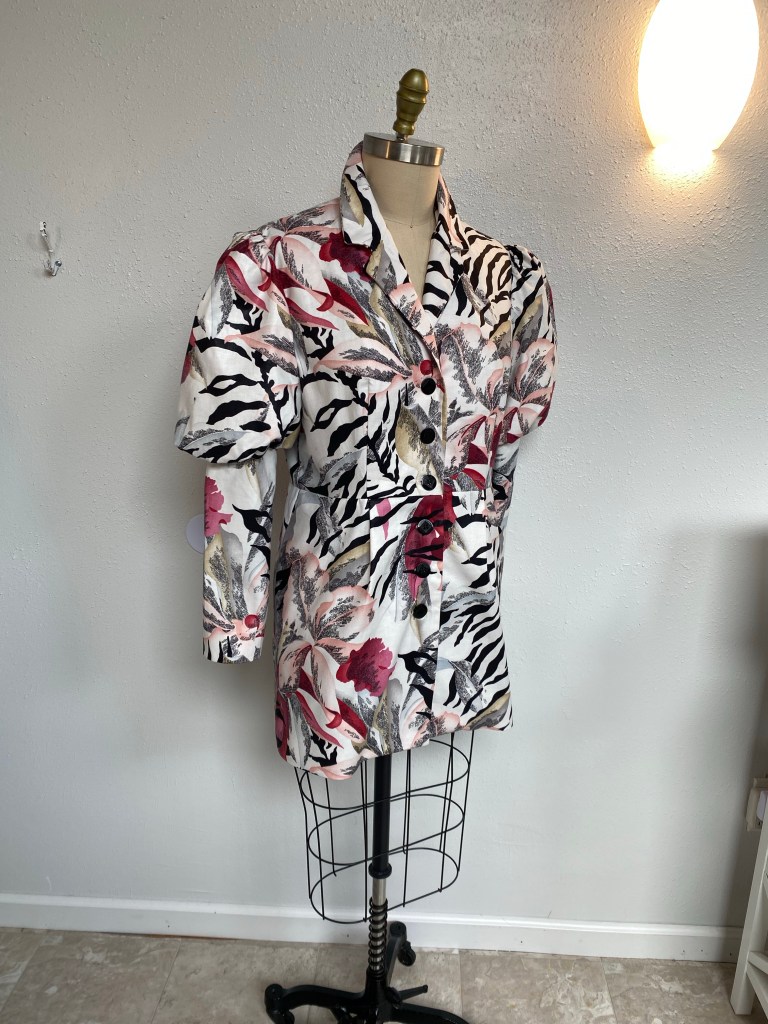
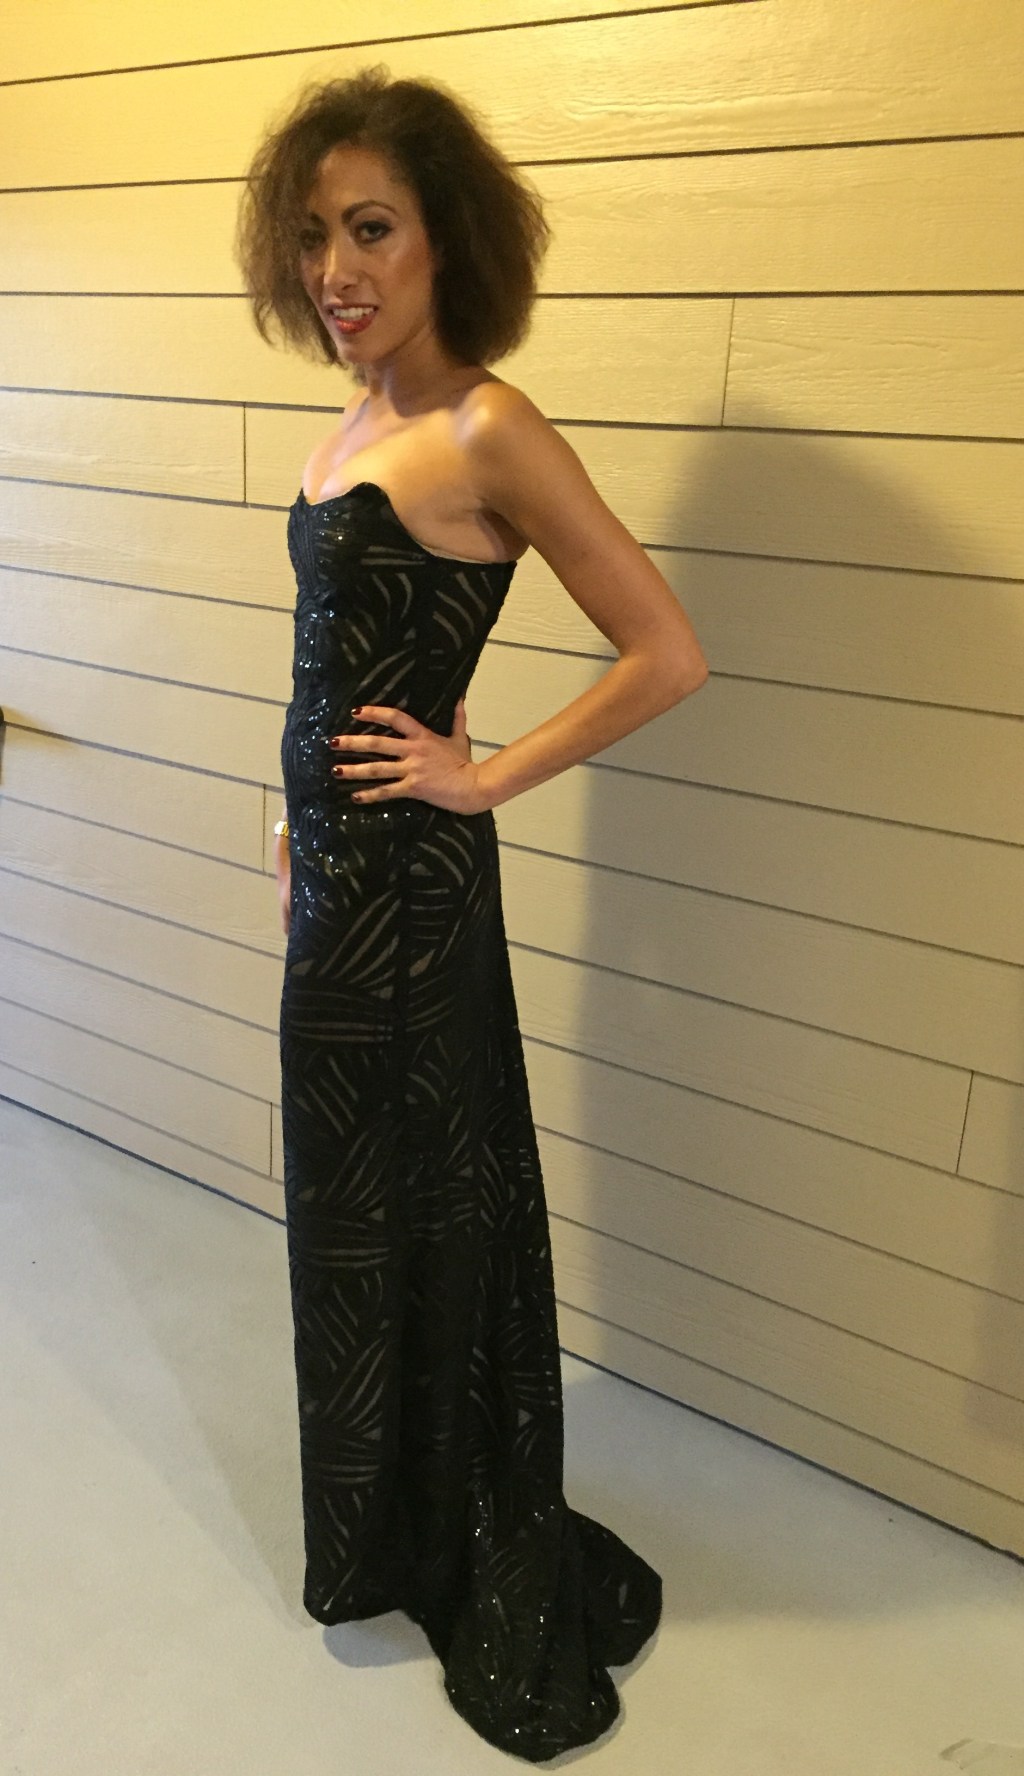
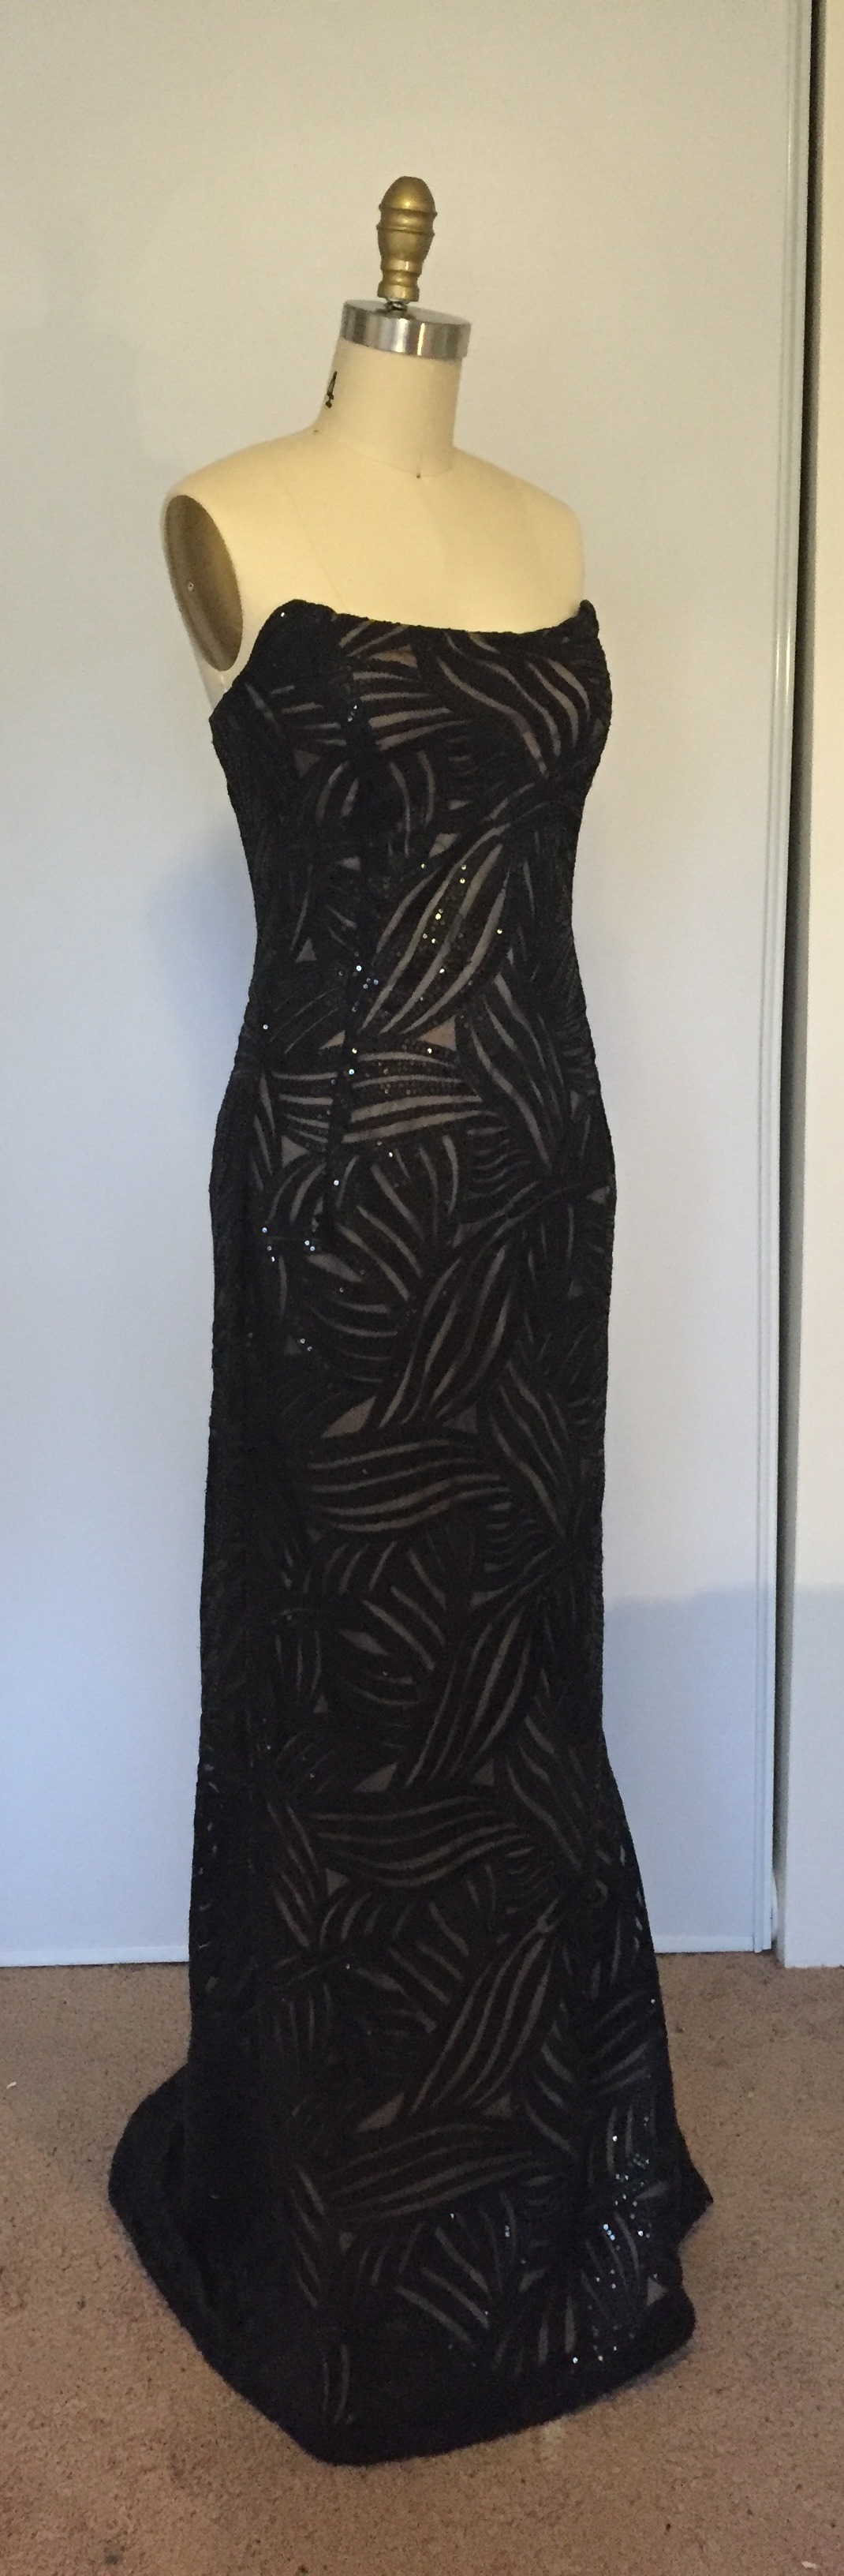
    After completing the silk bridesmaid dresses, I went on to purchase and make several more Studio of Art patterns from their Wedding Dress category of designs. I will share the patterns and the creations I made from them, mostly making them just because I wanted to make them and show off the new skills I learned from constructing them:

    Corset Bodice Slim Skirt Gown

    Plunging neckline gown with skirt overlap opening.
    Made in a soft peach satin, I love how this gown turned out! The skirt side opening, the mesh side insets in the bodice, and it has pockets!

    Corset bodice with off shoulder puffy sleeve
    I made my version eliminating the corset and bra cup seams to keep the integrity of the toile print of the fabric. I also eliminated the bottom part of the sleeve and lengthened the skirt.

    Draped halter neck bodice gown with shoulder drape and low draped back
    Made in a stunning green silk satin
    The open back with drape was difficult to do, but turned out really well
    Modeled here by the gorgeous Christine Lewy at my runway show at FashionXT 2025 in Portland, OR

    I added sleeves, lowered the back and added a little lower back bar to support the low back for this black wedding gown for a client.

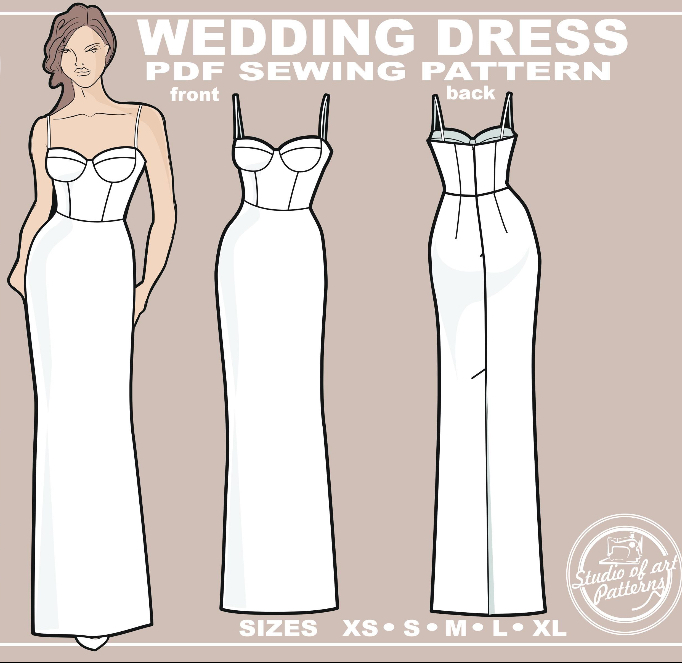
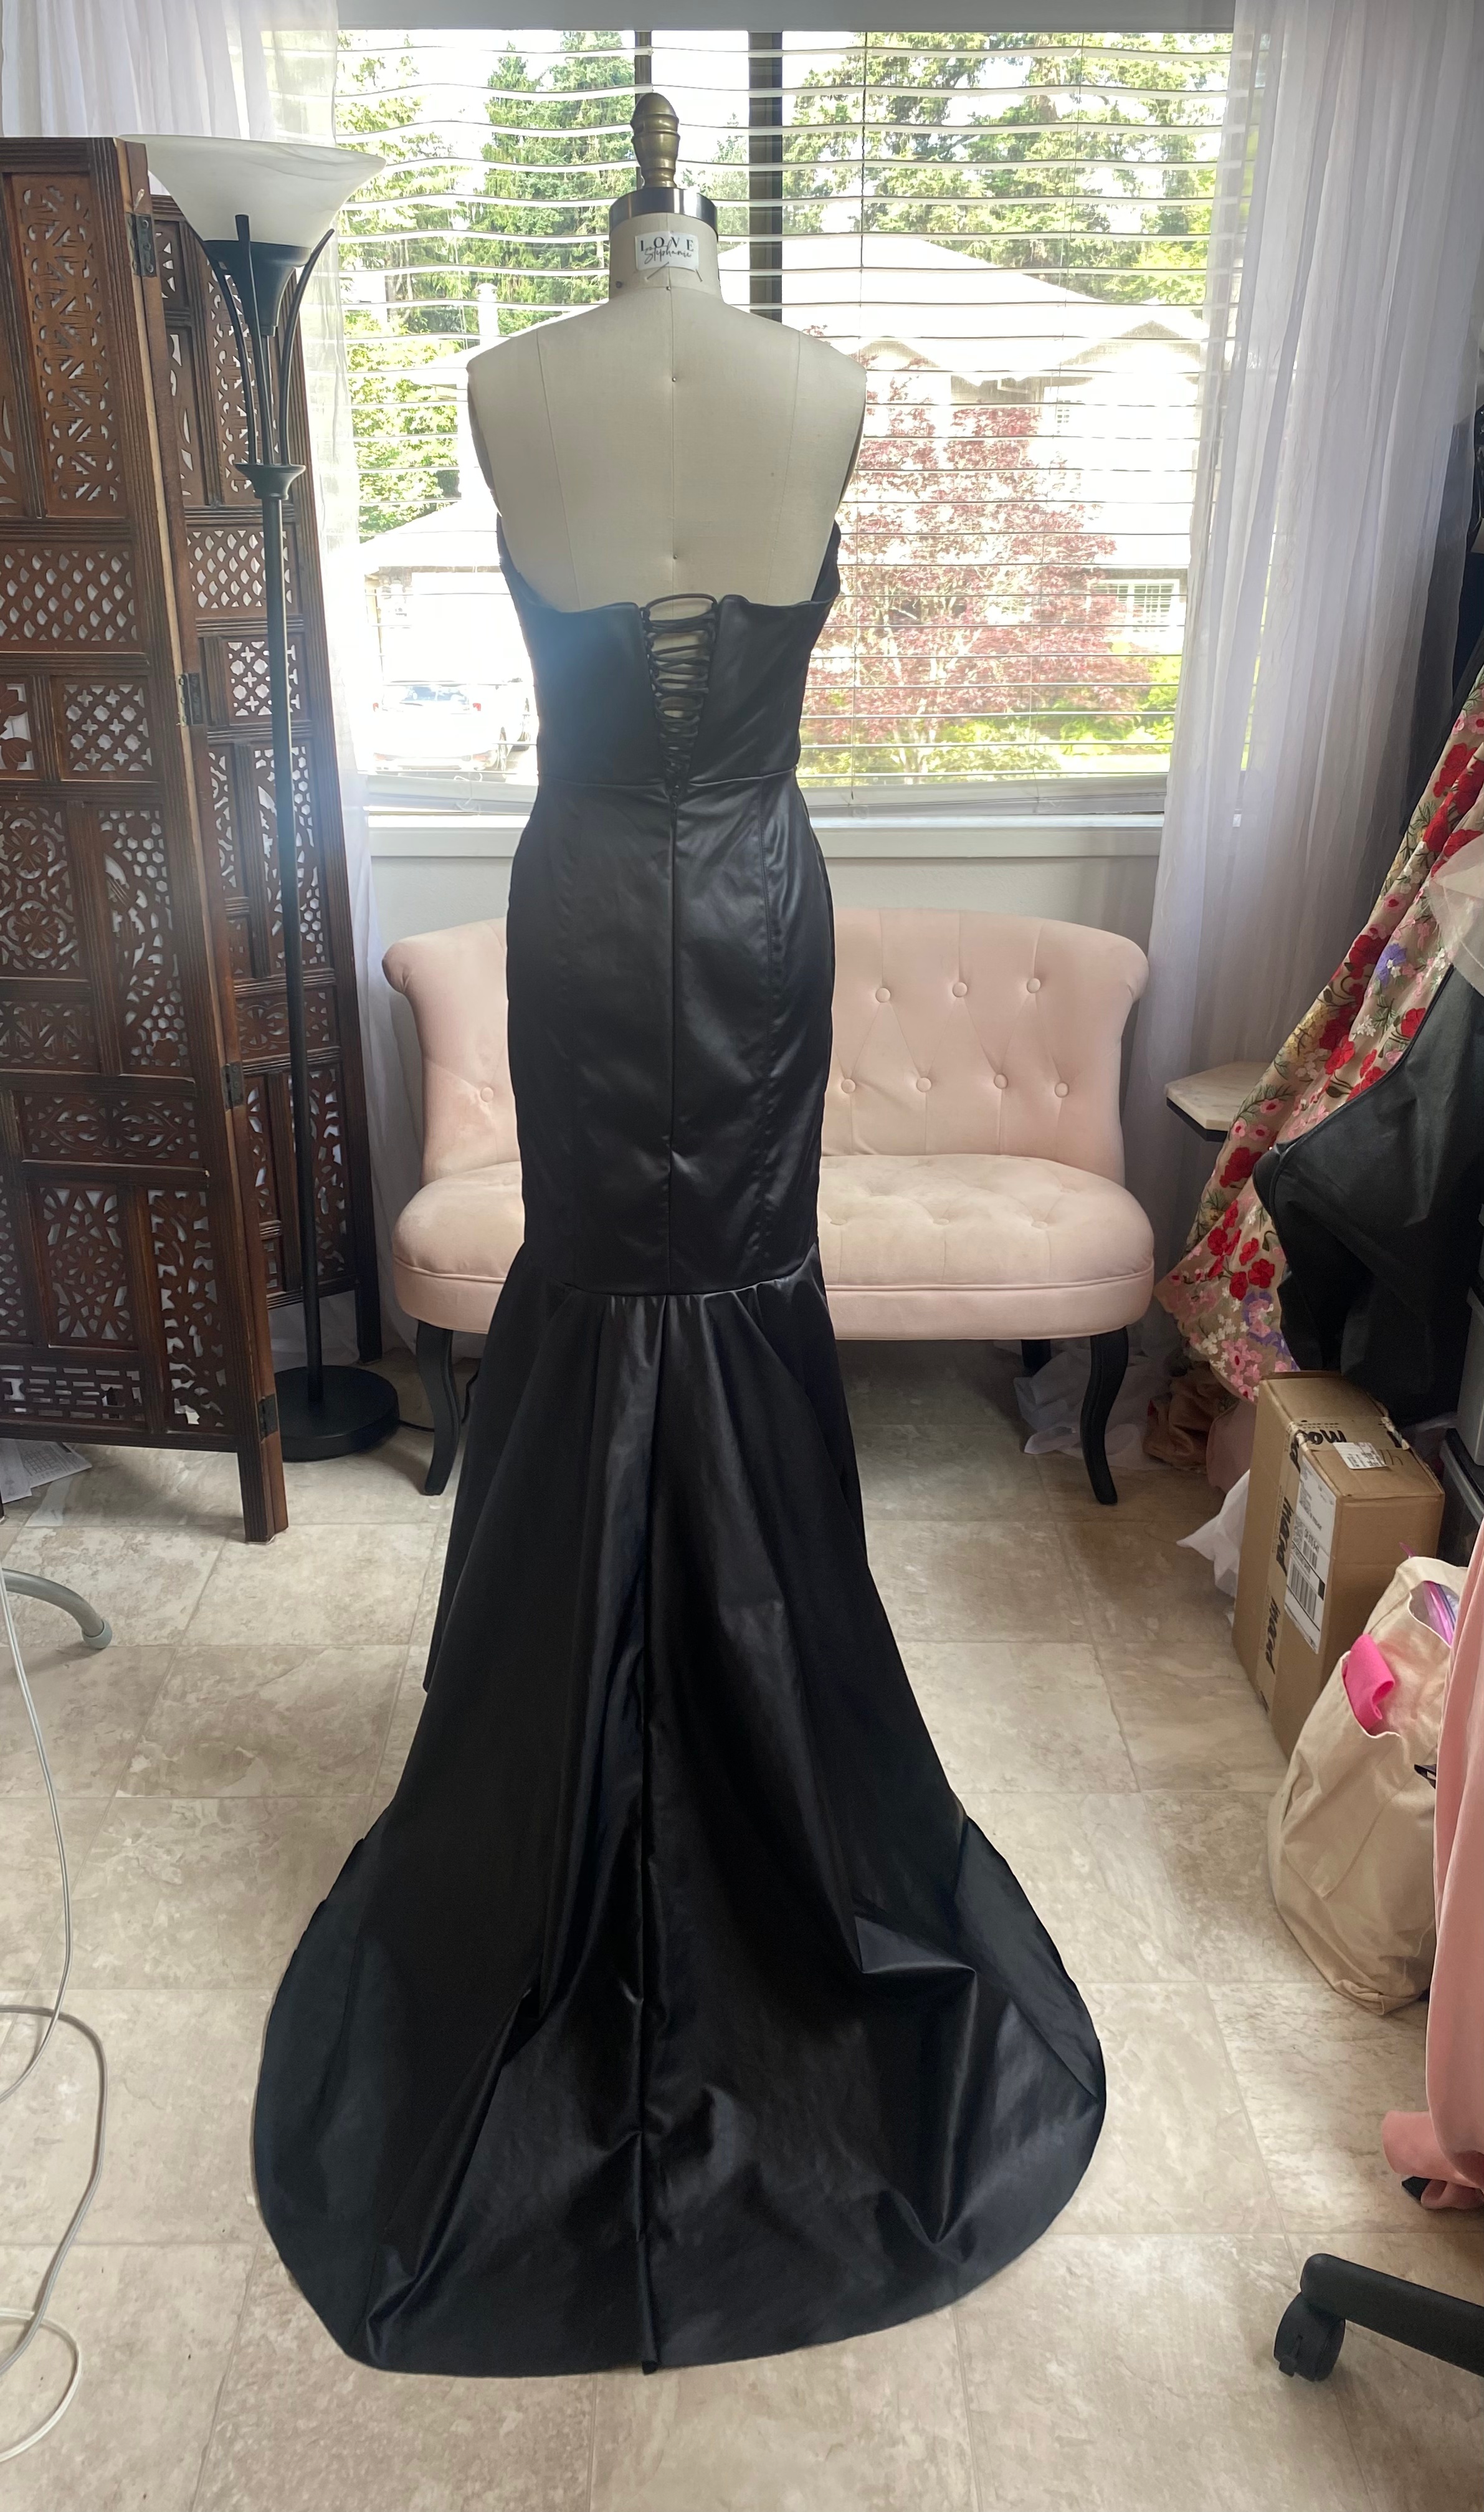
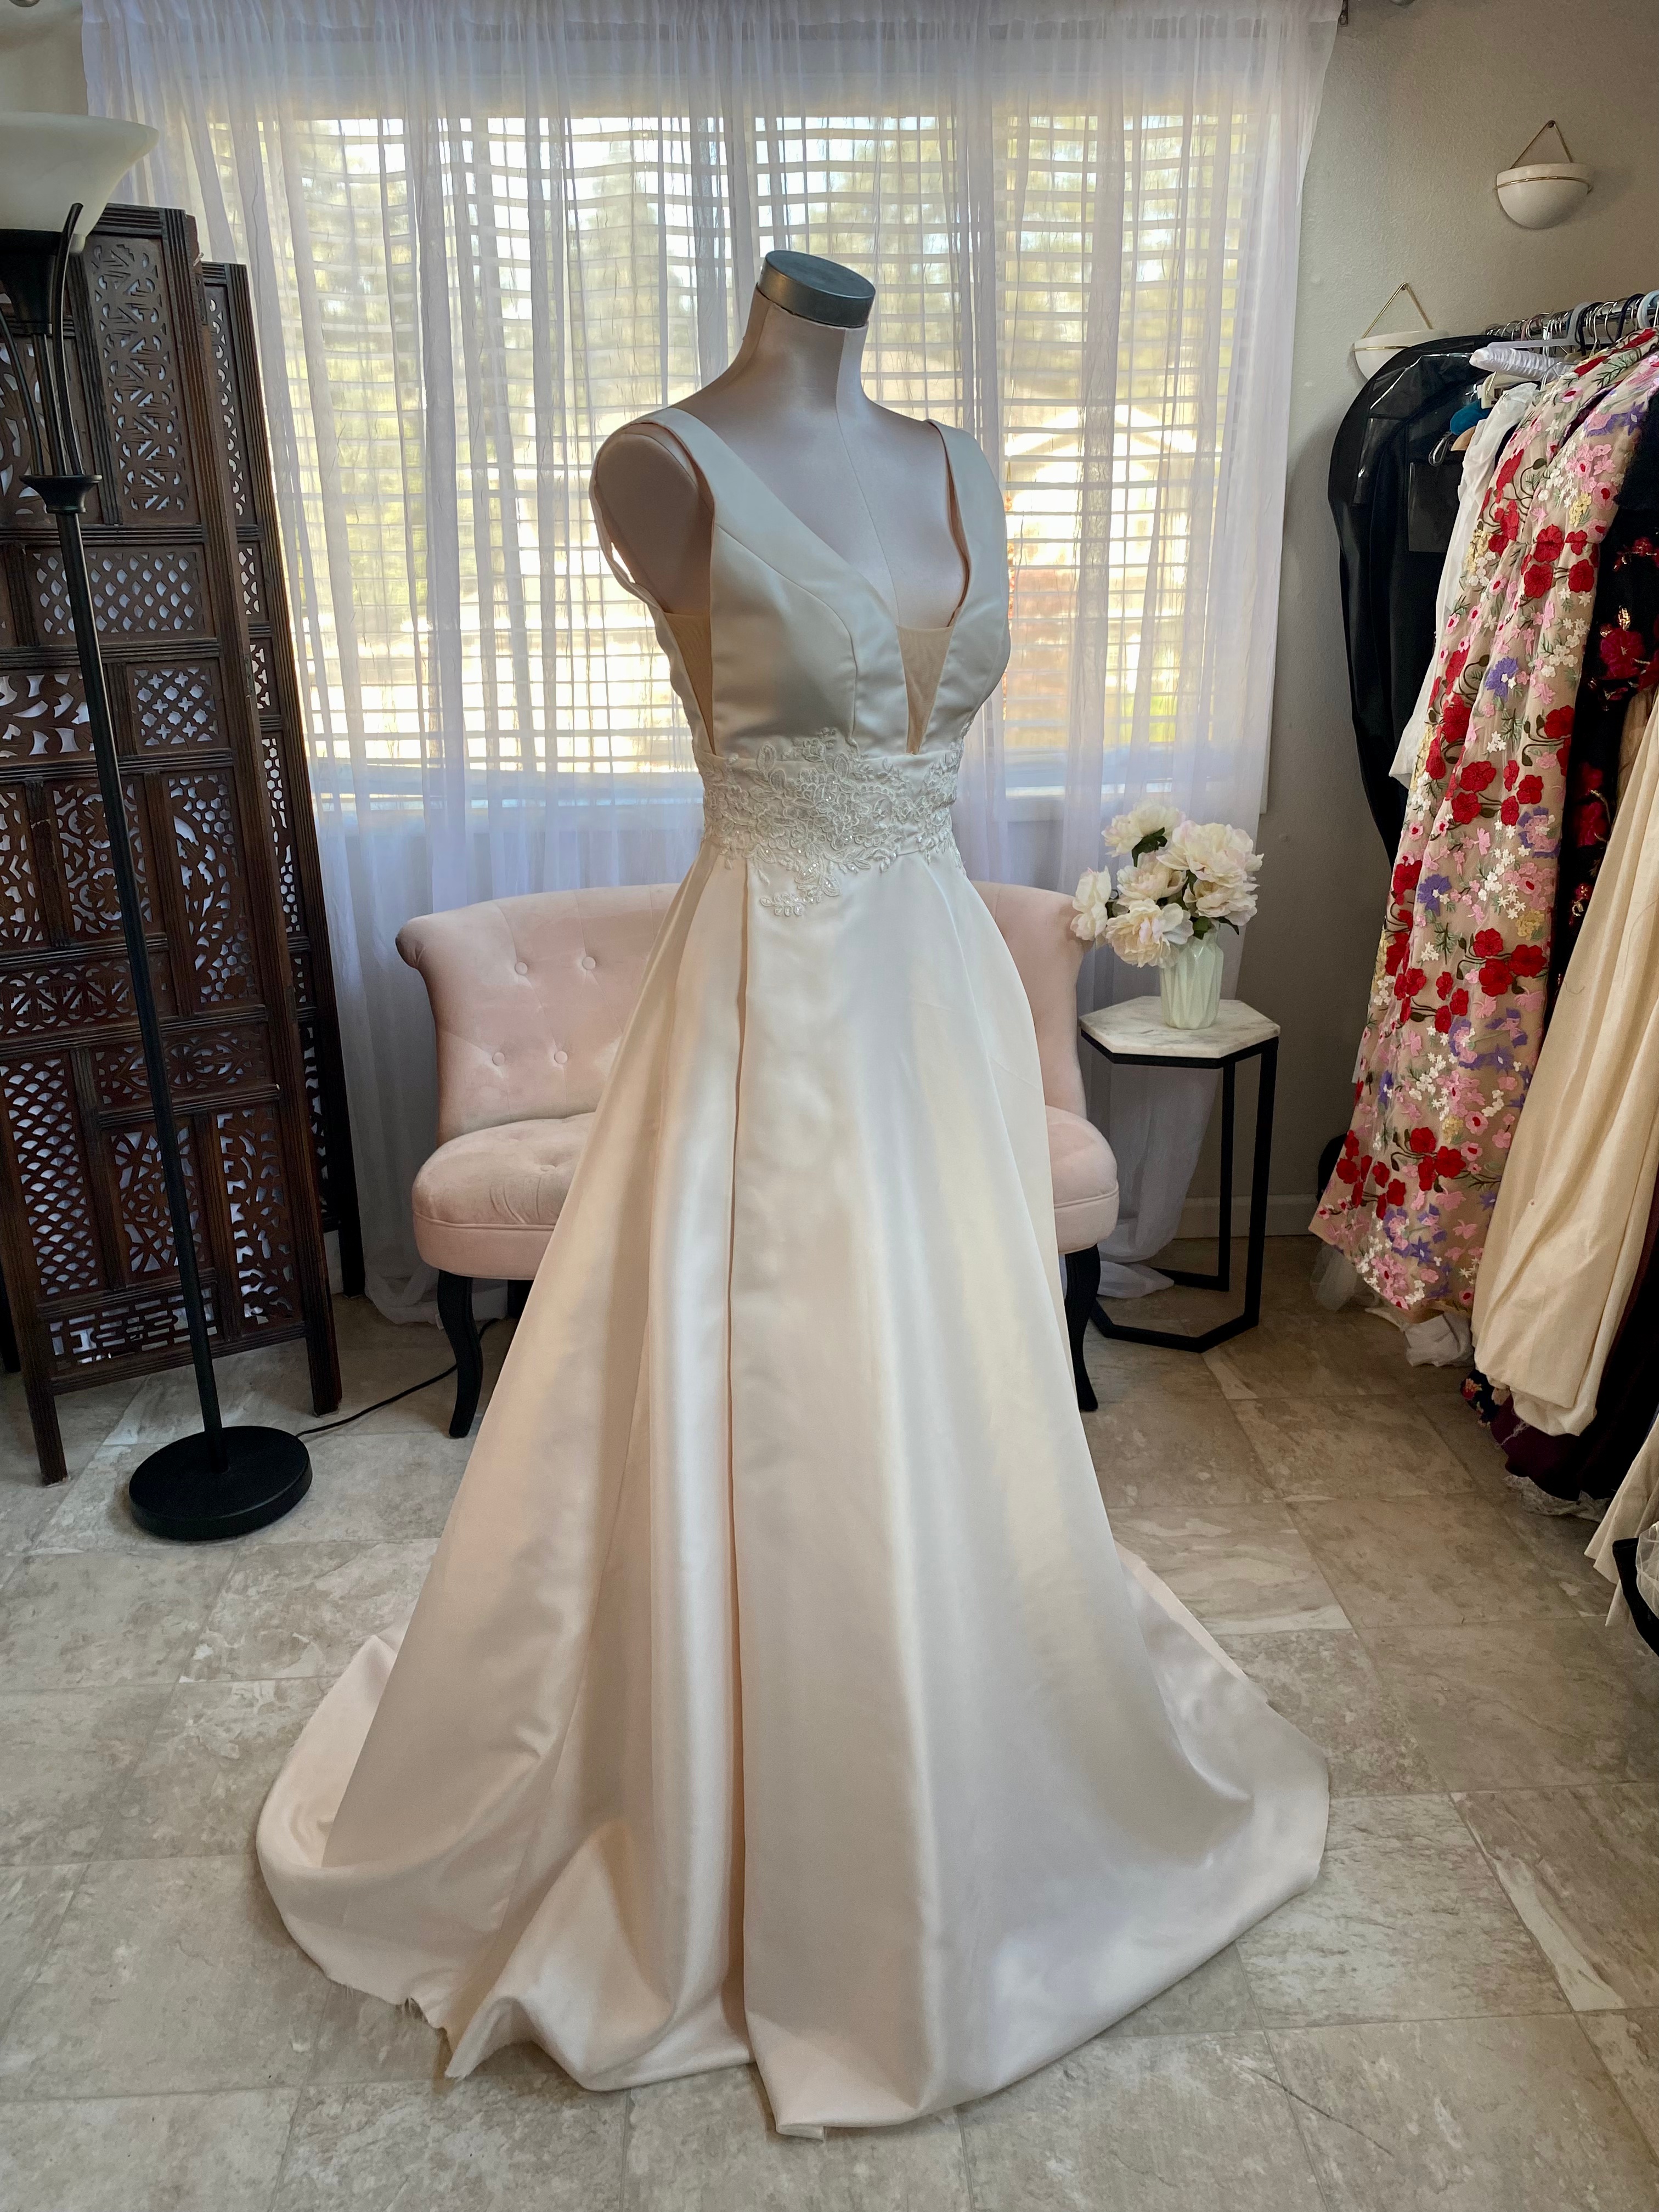
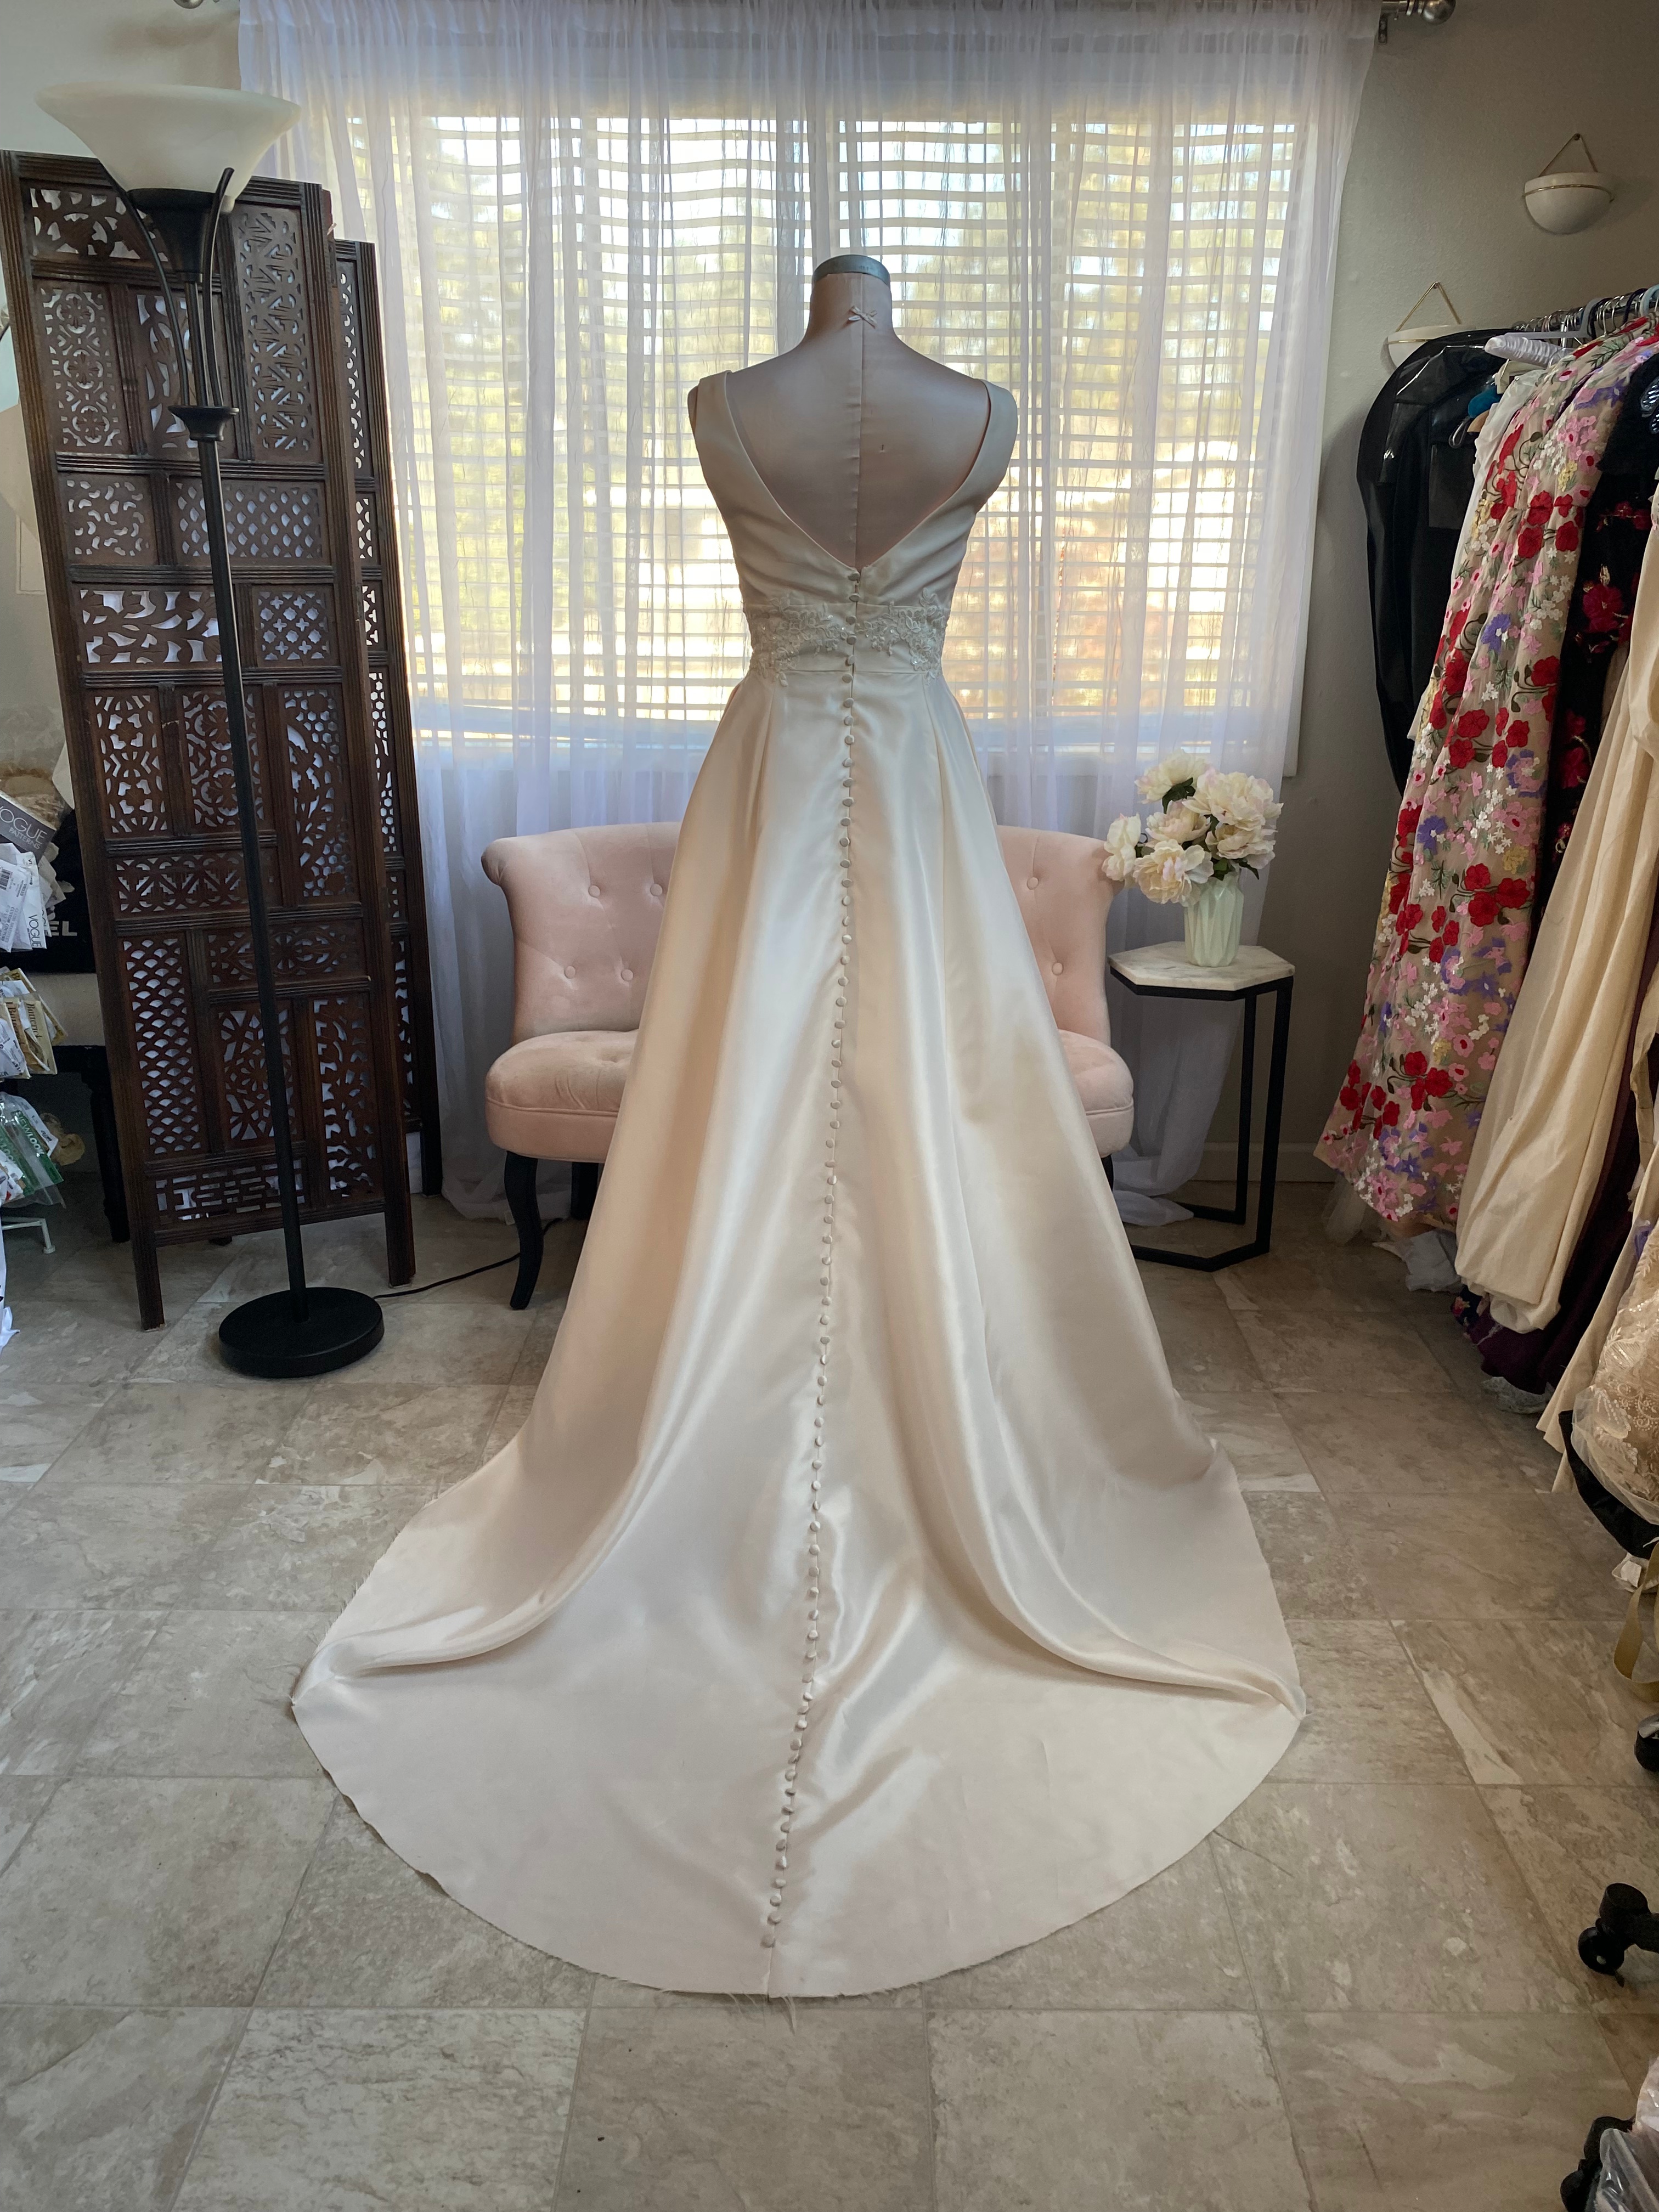
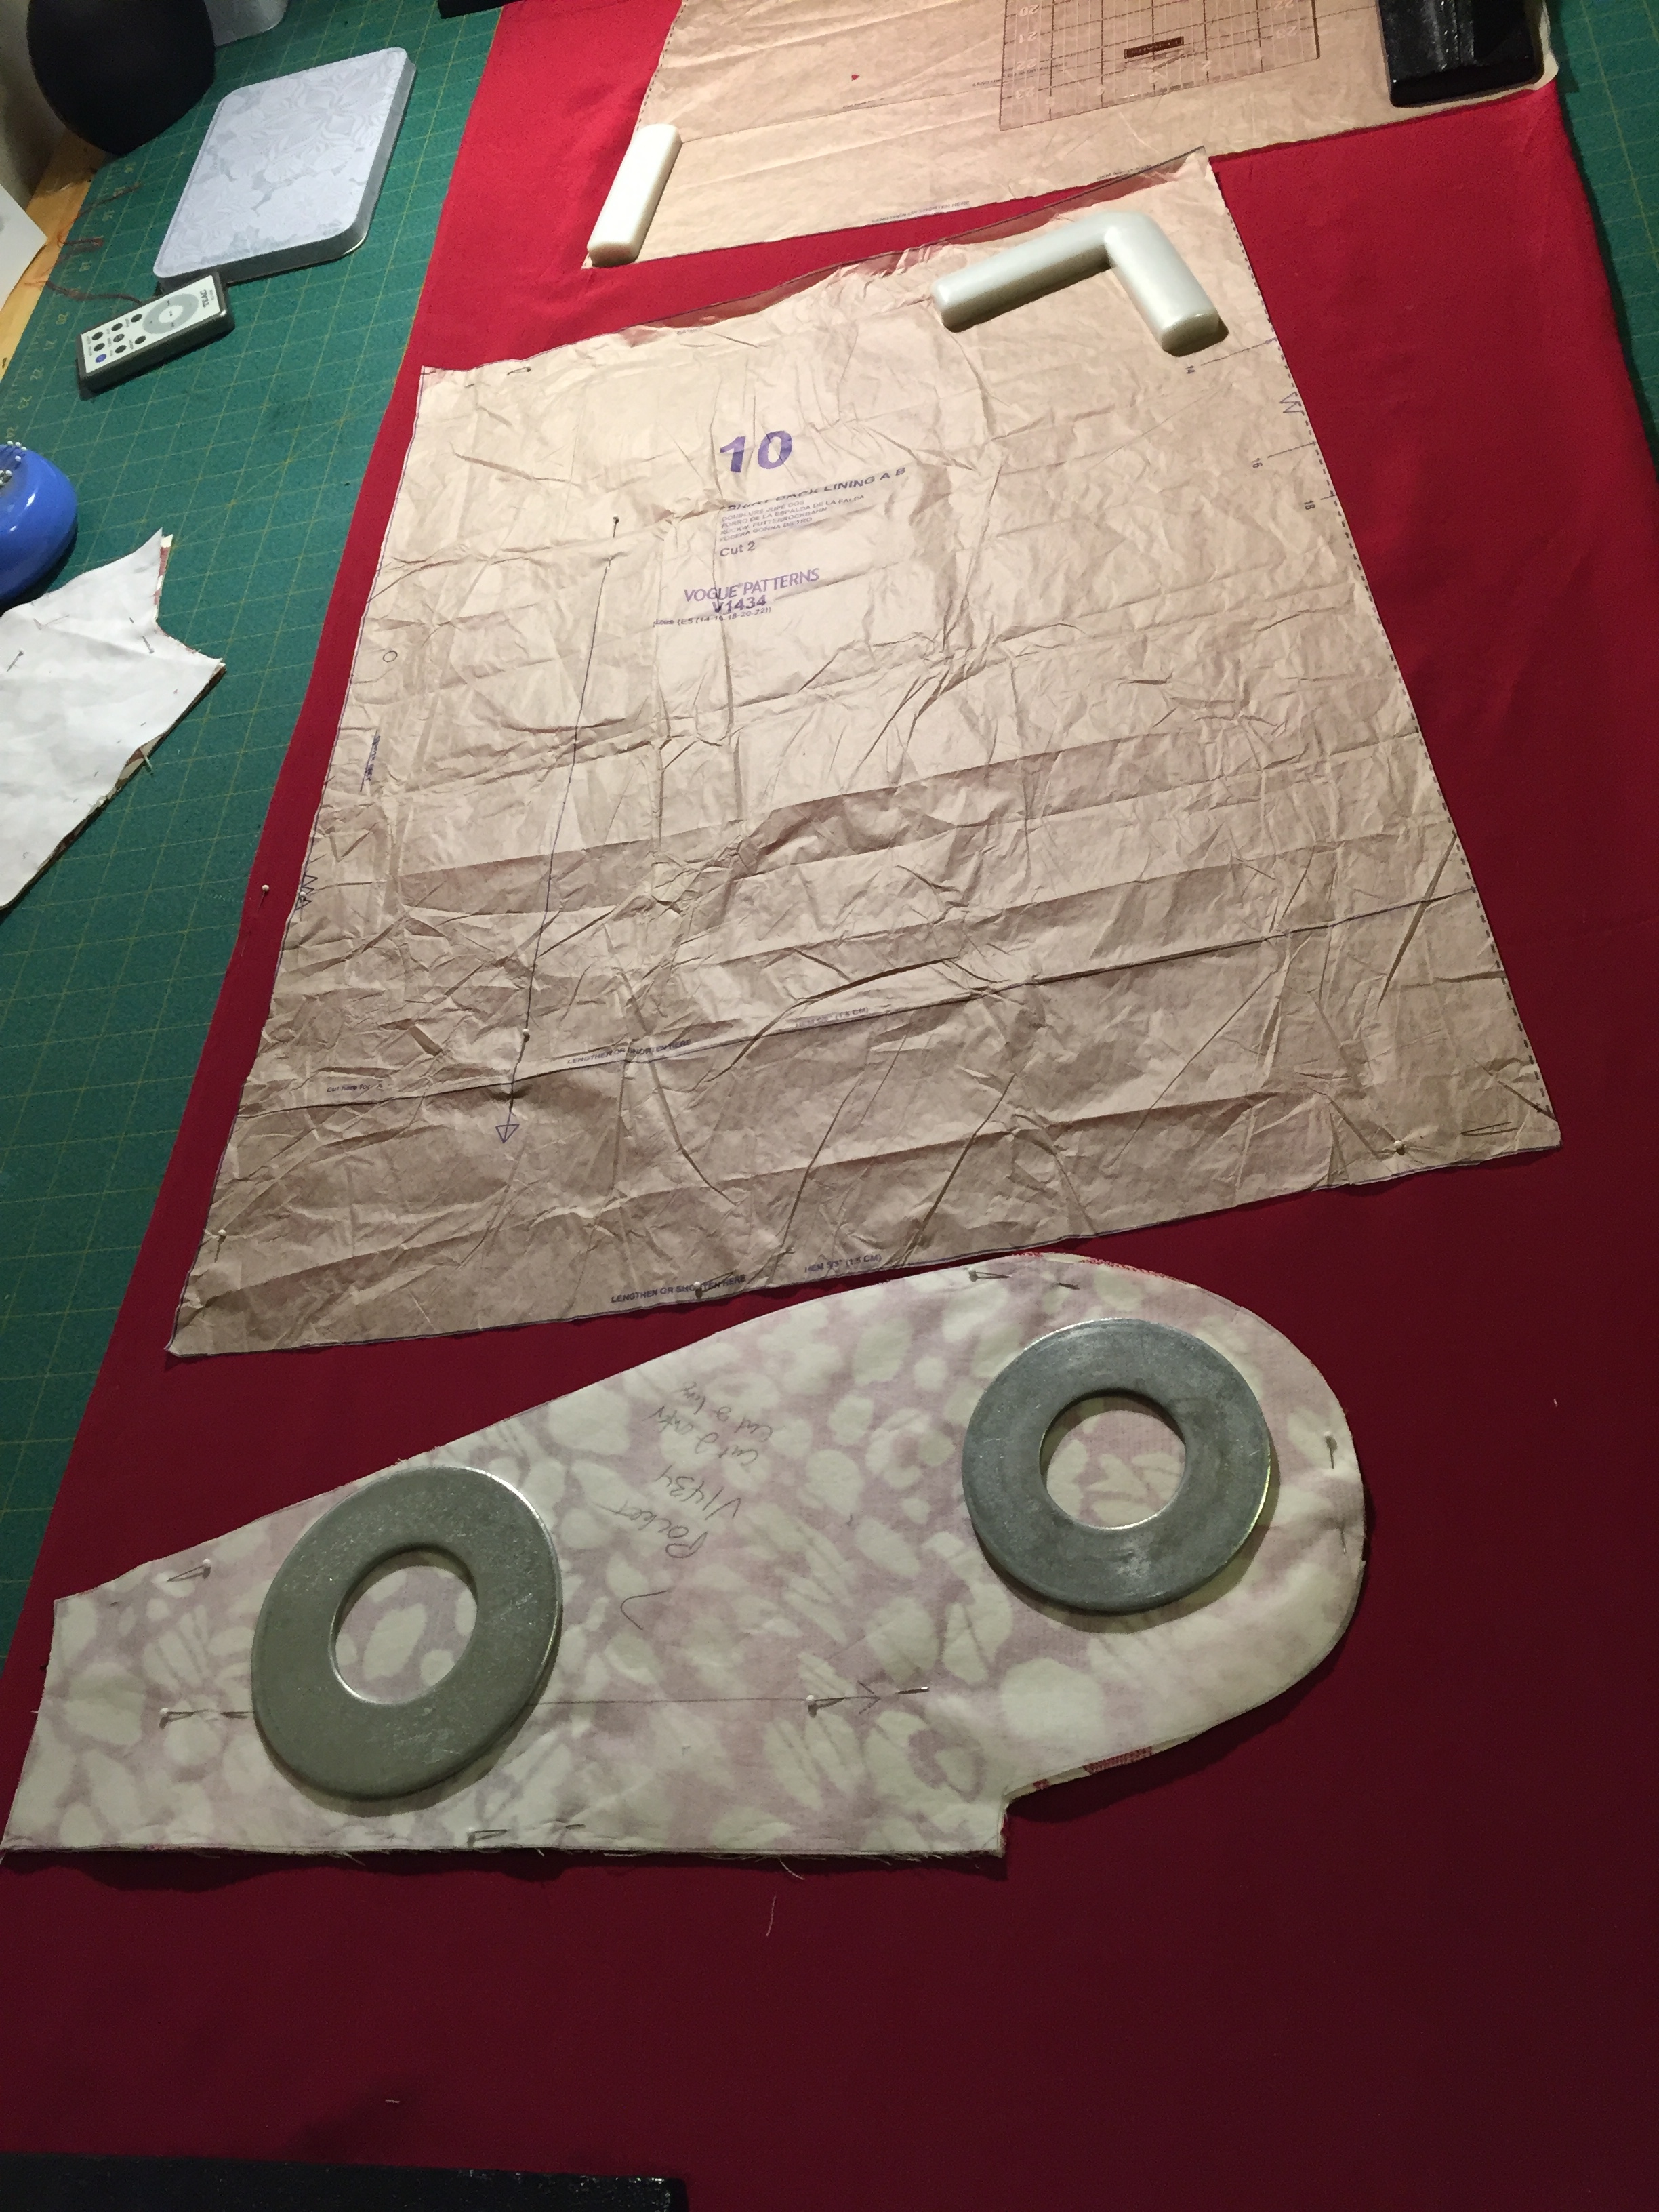
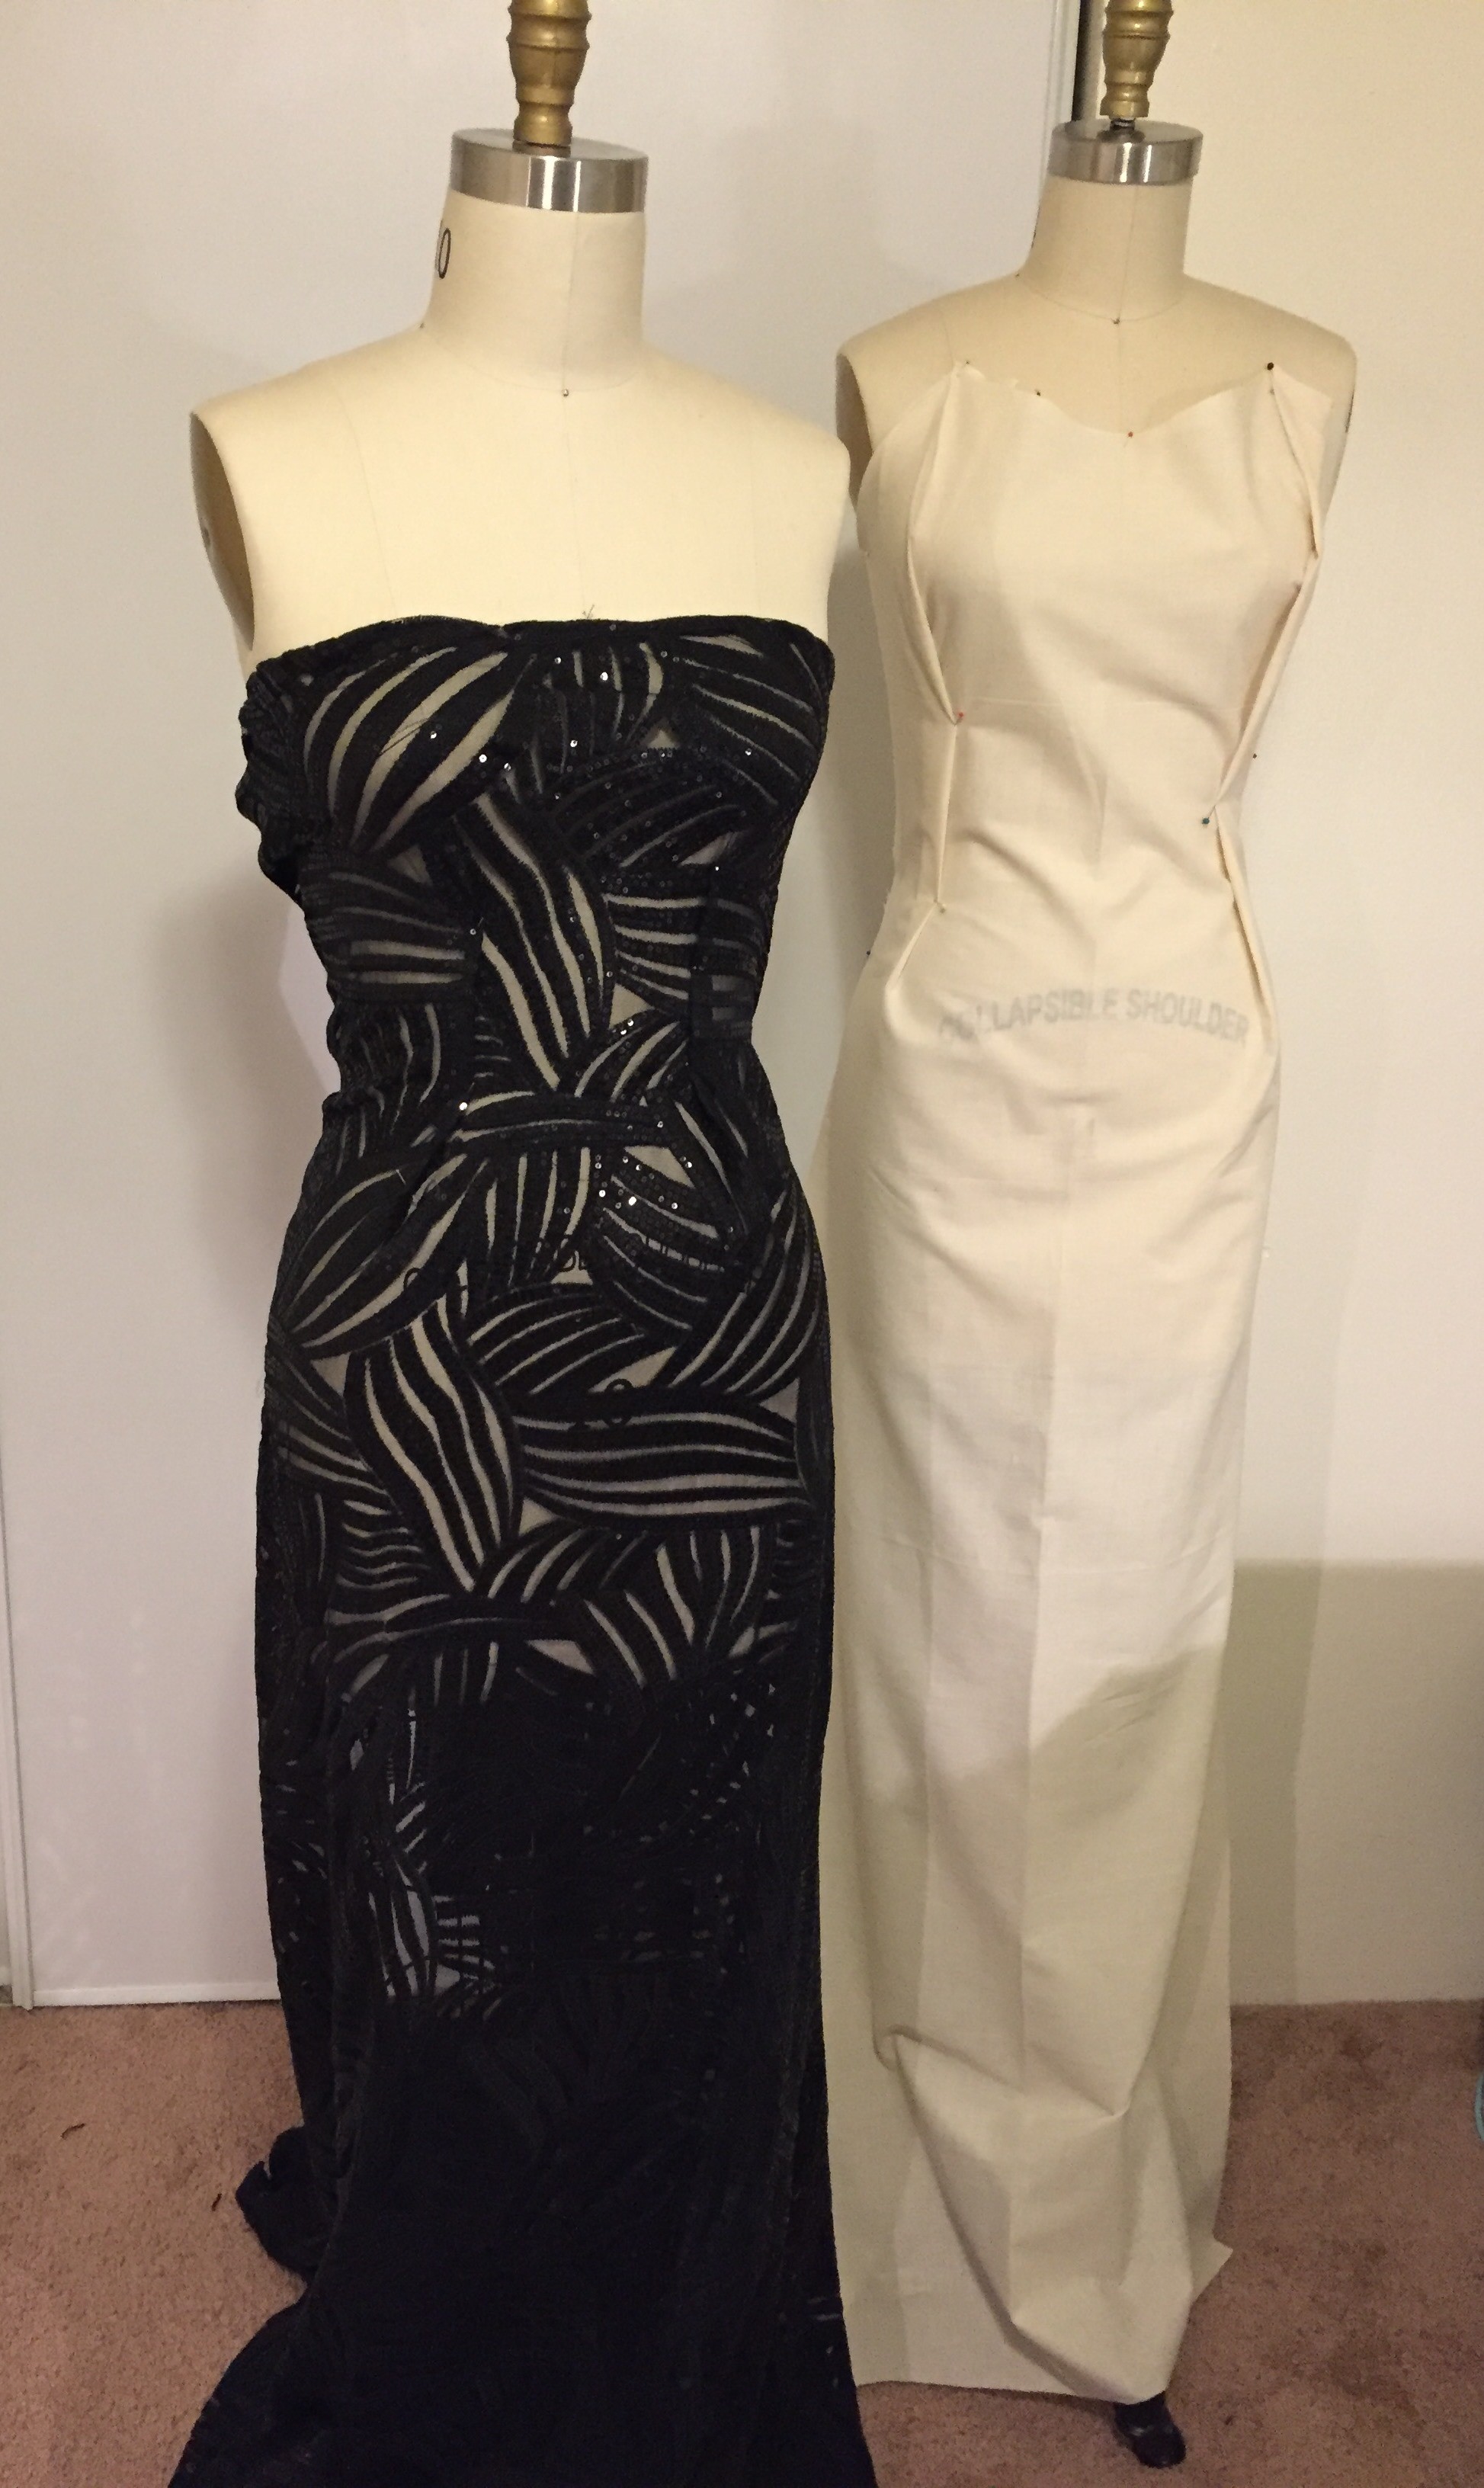
    I have since went on to purchase several more Studio of Art patterns with the intention of studying the pattern details, mixing and matching the details, and making them up as I get the opportunity. Some I got for a certain detail or technique that I’d like to learn how to do, some I like the entire dress and would make it as is. I have a few already in the works as I get the chance to print out the HUGE pattern pieces and cut them out, purchase the fabrics (each one takes lots of fabric!) and decide on the pattern adjustments I would like to make in order to make them with somewhat of a unique twist, if I can.

    Here is my collection of Studio of Art patterns that I have become obsessed with, but have yet to make:

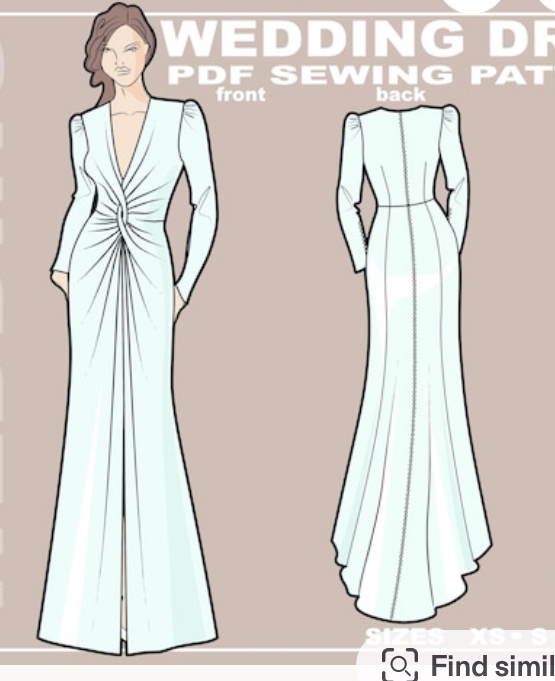
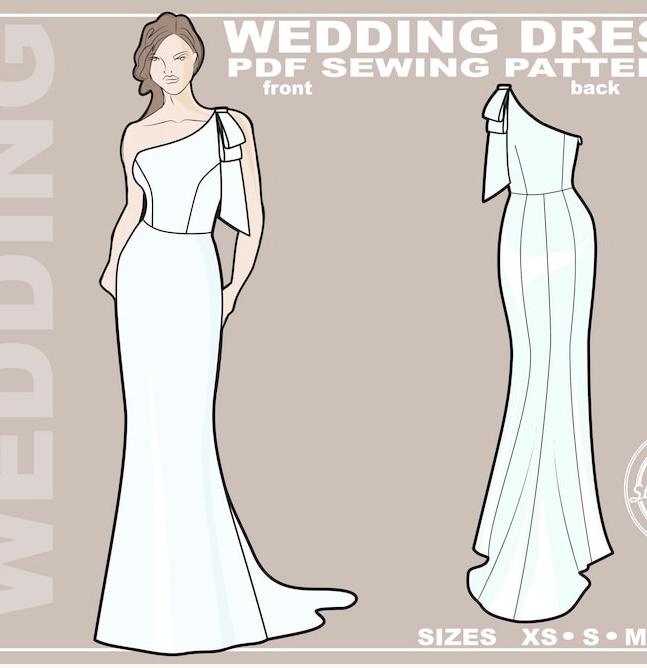
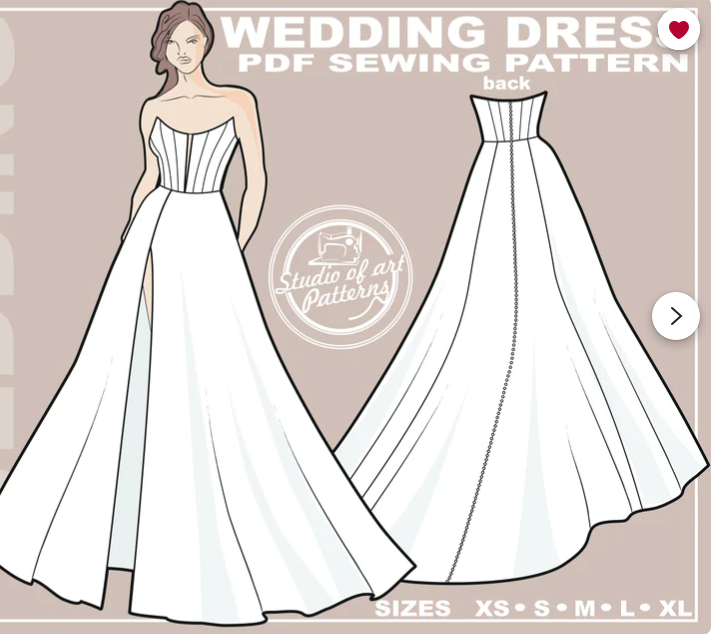
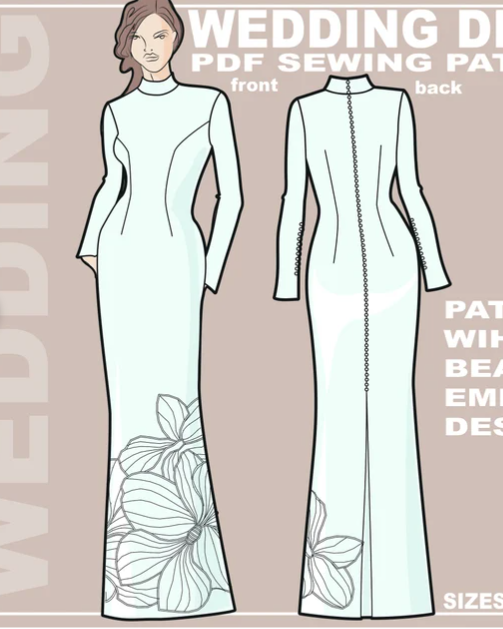
    These are just a few of the patterns that Studio of Art patterns offer in their gallery of designs. They also offer more casual looks, athletic and kids patterns, so if you are curious or looking for something different to sew, definitely check them out!

    Time to go sew a fabulous Studio of Art pattern and make another dream dress come true!

    Au Revoir!

  • Abstract Wearable Art

    Abstract Wearable Art

    My dear friend told me about an event that was going on in Portland that she bought a ticket for and thought I might be interested in joining her. The event was a combination fashion show, art exhibit and promotion of new happenings in the city. It was hosted in a former retail space in Pioneer Place mall , a once booming luxury mall that had been hit hard since the riots of 2020 and was loosing traffic, but is showing a renewed interest with some high end shops and new use of some of the otherwise unoccupied spaces. A new art gallery has opened in one such space in the mall, Gallery Go Go, which features local artists, hosted the event and invited other fashion, makeup and performance artists, and most notably, the amazing botanical artist, Francois Weeks. All of the amazing makeup art was done by a talented team at Event Cosmetics.

    Of course, I was thrilled to hear of such a show and immediately purchased a ticket to join in the fun and also to support some local talent. Plus I got to hang out with a wonderful, fun and beautiful friend who also shared a passion for fashion and culture as I do.

    I began to plan what I wanted to wear to this event as I just LOVE fashion shows and events that involve socializing, seeing amazing artists work, and dressing up!

    Since the event was happening in early March, I thought it would be wise to make a statement coat or jacket of sorts so that I wouldn’t have to worry about what I was going to wear as outerwear over my outfit. I felt it was a great idea to make a unique jacket and embellish it with floral and botanical inspired embroidery, beading and appliqués, and line the asymmetric peplum with a complimentary pop of color. I gathered up my pattern ideas, materials and ordered some lovely appliqués from Etsy and began to work on it.

    Some sketches of my idea
    An appliqué and beads that could work on the jacket
    Or these 3-D rose appliques
    Another gorgeous appliqué I purchased

    If you know me at all, you know that I tend to have TOO many ideas swimming around in my head and only occasionally take the idea to a finished project. Well you guessed it, the idea was a great one, I started on it, but time just began to run out and I knew that I couldn’t finish it in time to wear to the show. Argh!

    So, I tabled plan A and moved on to plan B.

    I have plenty of lovely fabric in my stash, fabrics that are already embellished or printed and only need a blank slate to make them come alive. Enter the idea to make a great jacket using a pattern that I have always wanted to make and some great fabric I’ve been saving for such an occasion!

    I got to work cutting out this McCalls pattern #M7879 that I had in my collection, choosing the view with the interesting leg ‘o mutton sleeve and longer hem so that I could be warm and stylish, but not too hot if it were to be hot at the event:

    McCalls 7879 pattern cover
    The line drawings for the pattern. I made view C

    If you happen to be interested where I got the Leg ‘o Mutton description of that style of puffed sleeve, it is actually a style of sleeve that has been around since the 1800’s and is to resemble the leg of a lamb.

    https://thepragmaticcostumer.wordpress.com/tag/leg-o-mutton-sleeves/
    https://genealogylady.net/2015/07/12/fashion-moments-leg-o-mutton-sleeves/

    Did you know I also am a huge fashion history nerd? You heard it here, Folks! Love it.

    On to the project!

    I had this interesting floral and abstract printed cotton blend fabric that had a Scotch-guard surface treatment, perfect for a light outerwear piece, or a home decor project. It has some abstract floral print and black zebra-type stripes on a bright white background. I had purchased enough yardage of it with the intent to use to make it into a rain jacket, so it was just right.

    It didn’t take too long to make up the jacket, between other client projects and teaching sewing classes, about two weeks on and off in total. Even though the jacket is fully lined and making the sleeve like that was new to me, I managed to stay up late some nights and power through it.

    I tell you, with having my own sewing business, operated out of my lovely and inspiring home, I have more time, mental space and ability to do special, last minute projects like this and that makes me so, sew happy! I have all my tools, machines, notions, thread, buttons, fabrics, patterns, trims, beads; essentially all of the things I need to make most any garment at my fingertips. No need to even leave the house! Such a dream come true.

    A pop of color using bias piping trim, inserted to the inside of the jacket between the lining and the facing. A little design feature I love to add to jackets and coats whenever I can.
    The jacket lining installed and getting close to being finished. I had this silk/spandex blend fabric in black on hand in my fabric stash. I love using silk to line better garments. It’s so luxe and slippy!

    Alas, I finished the jacket just in time to take a few photos of it, put it on with the rest of my outfit, do my makeup and hair, and head out the door to meet my friend for dinner before the show.

    She’s finished!
    I’m ready to go and excited to wear my new creation!
    I wore my new jacket over a black cashmere turtleneck and faux leather leggings with some Sorel booties. Perfection!
    #sewingismysuperpower

    The show was amazing and so fun to see such wonderful creations by talented artists featured on bodies of beautiful people. The featured artist Francois Weeks created spectacular live botanical displays and wearable works of floral art. Check out some of the photos I took from my seat at the show and afterwards. Click on the photos to see some of the detail work that will blow your mind! Amazing and SO inspirational!

    At the Gallery Go Go pre-show

    I was so mesmerized by the amazing arial artist, I only got this one photo of her, about to approach the arial hoop, at the very beginning of doing her magic during the show:

    The arial artist, a mesmerizing show!

    Even the music from the featured DJ’s was super sweet! We also got a great goodie bag that included some lip balm from Event Cosmetics that I have been loving, an amazing perfume sample, and some other great little treats to enjoy!

    We had an amazing night out, seeing such talent and inspiration to be creative, and just fun to hang out with some cool people of Portland! I was perfectly comfortable and felt great in my jacket and the outfit I put together with it. I got tons of compliments on my jacket, before and after the show, as well as from my social media posts following that night. The icing on the cake happened when McCalls Pattern Company contacted me through my Instagram post, asking if they could feature my jacket on their page. WOW!!!

    My Form of Art: Fashion

  • Fringe Benefits

    Fringe Benefits

    I’ve been thinking about making a kimono like this for a long time. I’ve made a couple of them for myself in the past, had some lovely material on hand that was perfect for this style, and have a current client that I am making a manly version for as well, so the time was right to just go for it.

    My fringe velvet kimono

    Many of my ideas stem from images I find down some rabbit hole also known as Pinterest. I have a few pins to share, but these are just a few to spare you the boredom (and to save you some of your own Pinterest time suck):

    Velvet Kimono with Fringe
    Another Velvet Kimono with Fringe
    Catch my drift?
    My kind of outfit

    So, with this amazing silk burnout velvet that I had purchased from Mood Fabrics on hand all I needed was some fringe for the hem and binding for the edges.

    I really like Simplicity patterns for straightforward and uncomplicated patterns like this one Simplicity 1108, one of their Easy-to-Sew patterns. https://www.simplicity.com/simplicity-storefront-catalog/patterns/brands/simplicity/simplicity-pattern-1108-misses-kimonos-in-different-styles/

    Using a simple pattern like this one it didn’t take long and was truly easy to sew. I used view D and added trim and wide binding to the sleeves:

    Simplicity 1108 pattern

    The most difficult bit for this little number was the fabric. The velvet wants to shift and dodge around while sewing, and the fact that it was silk also made it tricky and delicate to manage. Sewing on the binding was the pits as the two slippy materials did not want to behave and it just shifted all over the place.

    Then there came applying the fringe and many inappropriate swear words were used. Ugh. I had to sew it on carefully by hand as my sewing machine refused to cooperate or participate in that nonsense.

    Now I can appreciate why these kinds of little tops are so expensive. Yes they are simple garments, but MAN, all of the above factors really take a toll on one’s patience! Plus that fringe was not cheap, much less that fabric.

    Well, as usual, the time and effort paid off and I now have a lovely and special top I can just slip on over a nice tee and jeans, or my leggings and I’m ready!

  • Floral Silk Girly Dress

    Floral Silk Girly Dress

    Whenever I have been invited to an occasion, the first thing I think of is “what am I going to wear?”. The next thing I think of is “what can I sew for myself to wear” as I love to make clothing and I love wearing things that are unique and nobody else has in their closet. From there, I pull up my pattern stash archive, pay a visit to my fabric stash (or the fabric store if I really don’t have the appropriate fabric to work with) and get started planning and sewing my outfit.

    For this occasion, I was invited to a wedding of a lovely bridal alterations client who had become a friend over our many dress fittings and consultations of her beautiful wedding gown. The major part of her dress that I altered was her complicated and intricate bustle of her train that I she dreamed up and I created for her. Originally, as I fiddled and fussed to get her train bustled just right at one of her fittings, I said to her “I’ll just hide in the bushes at your wedding venue, you give me the signal when you are ready, and I’ll sneak out and help you bustle, then disappear back into the bushes and let you be on your way to the reception”. She would have none of that and insisted that I attend the wedding as her guest, and enjoy the entire ceremony plus be ready to bustle…DEAL!

    So, being the alteration seamstress of honor at this wedding, I just had to have something special and handmade to wear! Not having all the time in the world to be sewing for myself with the very busy post-Covid wedding season upon us and other alterations and custom sewing client projects literally piling up in my sewing studio, I decided to make a dress that I have made before (a huge time and energy saver!) and use fabric that I had in my stash from Mill End Store in Portland, OR.

    I pulled out this lovely pattern from Butterick that I had already cut out and made fit alterations to the pattern for a dress that I made a couple of years ago:

    Butterick 6554 pattern

    I made view C, the halter neck, ruffled and flounce dress that wraps and ties to the side.

    This time around, I decided to fully line the dress (instead of using the bodice facing from the pattern), meaning I cut out the entire dress, the bodice and the skirt pieces, less the flounces, in both the outer, floral silk georgette fabric and the silk lining that I also had in my fabric stash. Cutting silk, especially sheer, floaty slippery silk, is NOT easy if you’ve ever tried. It slips all over the place and misbehaves in as many ways as it can, just to drive you nuts and practically give up before you even started. But, since it was SO pretty and soft, I did my best to battle it and tackle it into submission, knowing in the end it was going to be incredible and worth it all.

    The silk draped so innocently on my dress form
    Anchored down and ready to cut!

    So the sewing begins!

    Making a tiny hem to the ruffled edge

    It all went pretty well and the fact that I had made it before, I knew what to expect from the pattern instructions.

    The most difficult and time consuming part was making the narrow hem on the long outside edge of the flounce that would be attached at the bottom of the skirt. Check out this pattern piece that is over 110 inches long. Yikes!

    After tackling that beast, the dress was nearly done and I could start to see the light at the end of the tunnel.

    Having a major deadline to hit, and other clients banging down my door and begging me to help them with their last-minute bridal requests, I finished up my dress and just got ‘er done.

    One last thing I added to the dress was lightweight foam bra cups sewn into the bodice lining as that sheer stuff certainly wasn’t going to hide my bits. Thank goodness I had some on hand in my supply stash and I was able to swiftly hand sew them into my dress, no problem! Confidence boosters for boobs-horray!

    Bra cups sewn in saved any wardrobe malfunctions!

    I just have to share the insides of the dress with the lovely silk lining!

    Here I cheated and used my serger to attach the waist of the bodice to the skirt and hide the raw edges.
    The skirt lining that ends just above the flounce

    So off we went to the wedding, leaving enough time to stop at one of our favorite spots in the wine country of the Willamette Valley in Oregon, The Allison Inn and Spa, to snap some photos and have a glass of champagne and a light cheese plate before the wedding. Perfect!

    Let’s go up there, that’s where the champagne is served!
    The lovely snack we shared over a glass of wine and champagne!
    Watch that breeze!

    As much as I enjoy the entire process of making a new dress, it feels so good to be done with this one, wear it to a fun wedding (and not have to hide in the bushes!) and hang it up on my wardrobe for another occasion.

    Until next time, cheers!

  • Red is The Color of Love

    Red is The Color of Love

    It’s been far too long since I have posted anything here on my beloved blog, so I thought it was time to update and refresh with a quick post. What better way to do that with a bright and exciting project that I made for myself for our first wedding anniversary!

    So, here she is:

    Red maxi dress with flutter sleeve and sash

    I cut out and sewed this dress in three days during time after work hours and the weekend before our dinner date, so it was a bit of a rush job. Due to lack of time and general dressmaking laziness, I didn’t make a mock-up, I just went by my body measurements, comparing to the pattern measurements, and a mini tissue fitting (essentially holding the pattern tissue up to myself and eyeballing what I needed to adjust). I added 4 inches to the skirt length knowing I wanted it to be long enough to wear with heels and for it to be floor length. I may add more length next time so it really touches the ground. I also fully lined it (the pattern instructs to just line the bodice) and made French seams for the skirt side seams.

    I just love how this dress turned out! It was so comfortable to just slip into, strap on some heels, a pretty necklace and earrings, a dab of Miss Dior perfume at my neck, and DONE!

    Yes, I realize that I match my front door.

    I used this Simplicity 8832 sewing pattern, view C, for this dress. I just love the simplicity of this pattern (ha, haa, meant to do that) and the lines of the dress design:

    Line drawings of Simplicity 8832 pattern

    What I am NOT so crazy about is how they styled the pattern cover. I think they could have chose a different fabric, or had multiple versions made up in different fabrics, to show off the designs of this pattern:

    Simplicity 8832 Sewing Pattern Cover

    I hope that I am not coming off as a snob. My apologies if I am offending anyone, but I just looks a tad, I don’t know, “old lady shower curtain” to me in this particular fabric:

    Don’t get me wrong, I love a beautiful floral fabric for a light and airy dress such as this, but I was going for a look more like this:

    Dark green floral dress

    Or even this:

    Gorgeous burgundy velvet dress

    I suppose I can chalk this one up as a wearable test dress and can plan to make it again in a more luxe fabric for the next time. That is part of the beauty of knowing how to sew and make your own clothes. You get to be the designer and create your own vision! I just love that about sewing and it brings me a great deal of joy and satisfaction.

    Meanwhile, happy first anniversary to my loving, cutie-pie husband! It’s been a wonderful first year and I look forward to many, many more!

    Back to the drawing board and up to the sewing room as I have a few exciting new client projects that I am working on. Yay!!!

  • Floral Print High-Waist Pencil Skirt

    Floral Print High-Waist Pencil Skirt

    It’s fashion show time again here in the great city of Portland, Oregon, and that means time to bust out the best wardrobe to wear! For the occasion, I finally got around to make up this pencil skirt that I have been wanting to sew for some time now:


    Burda7124a
    Cheers to my new skirt!


    The fabric is the showcase for this project. It’s silk twill from the late designer Oscar de la Renta that I purchased from Mood Fabrics online. I’ve had this beautiful (and spendy) fabric in my stash for two years, and was overdue for it’s time to be made into something wonderful.

    OdlR_floral_silk_twill
    Oscar de la Renta Silk Twill


    I have been saving some pins on my skirt inspiration board on Pinterest in hopes to make up a simple, yet wonderful, pencil skirt in a floral fabric:


    Burda Pattern 7124 was my choice to make up this skirt as I love the slim fit and the high waist of view B:

    burda-7124
    Burda Pattern 7124


    The pattern was a little bit of a challenge to read and interpret the instructions, as well as keep all the pattern pieces of the waistband and waist yoke of the fashion fabric, the lining, and the interfacing straight, marked and in order, but other than that, it was a fairly easy pattern to work with. I added two inches to the hem while cutting it out in order for the finished length to hit just below my knee.

    Here is my pattern all laid out on the silk (after making up a muslin mock-up of course) and ready to cut:

    Burda7124f
    Pattern layout moments before cutting


    I chose this pattern also because of the nice walking slit and the full lining. I felt that this skirt in this special fabric deserved those features!

    I used some black silk habotai that I had in my leftover scraps from another project to line the skirt and that worked out beautifully.

    Burda7124e
    Hand sewing the interior facing and lining to the zipper

    I really love the finished result of this skirt and will wear it a lot.

    Burda7124d
    Interior of the skirt

    Burda7124c
    love how the back yoke pieces create the high waist

    Burda7124b
    Front of the skirt


    I have about a yard of fabric left over from this project, and may make up a matching top at some point to make this into a two-piece dress outfit. Or, if somebody comes along and would like me to make them a custom skirt or dress from the remaining yardage, let’s talk!

    Cheers!


  • Ikat Print Pleated Skirt

    Ikat Print Pleated Skirt

    It’s been HOT here in Portland, in the 90’s the past few days, and I’ve been only wanting to wear dresses and skirts to try to beat the heat.

    IMG_3782

    On my sewing to-do list have been fun, lightweight and easy to wear skirts. As an inspiration,  I’ve seen cute printed a-line or pleated skirts that are fast and easy to sew, and even easier to wear. Here are some of my inspirations:

    I had some nice black and white Ikat printed medium weight cotton fabric in my stash,

    IMG_3753


    plus black Bemberg rayon lining material which I usually have on hand or left over from another project, so I decided to make up a cute little pleated skirt for myself using New Look 6873 pattern which I have had forever in my pattern stash:

    6873
    New Look 6873 pattern illustrations

    Well, the pattern sizing turned out to be pretty terrible and I spent most of my time fitting, ripping out stitches, and re-sewing this skirt. It was HUGE! I followed the size chart and cut the size that matched closest to my measurements. I had to take out about 2 inches at each side seam of the skirt and the waistband in order for the skirt to even come close to fitting my waist. It was almost as if I had forgotten to sew a couple of pleats it was so big!

    After fitting it and re-sewing, the skirt took about twice as long as it could have to make. Plus, I added a lining to this using the pattern pieces of view C, the A line skirt with no pleats. so that added some additional time, but totally worth it.

    All said and done, I probably won’t sew this pattern again. I really should be drafting my own patterns at this point anyway. I thought it would be a time saver to use a commercial pattern where the pattern work was done for me, but that was not the case here.

    Oh well, now I have a cute little skirt in a great print and I am happy!

    IMG_3789


    IMG_3785.jpg
    IMG_3788.jpg


    Stay cool!


  • Animal Print Brocade Holiday Party Dress

    Animal Print Brocade Holiday Party Dress

    I love this dress! I thought it would be too poofy and make me look bigger than I would like to look, but after wearing it, I was OK with the poof.


    V1434 in animal print brocade
    Vogue Pattern 1434 by Isaac Mizrahi in animal print brocade


    I used Vogue 1434 to make this dress. It’s a Vogue Patterns American Designer pattern designed by Isaac Mizrahi:

    V1434 Pattern Cover
    V1434 by Isaac Mizrahi Pattern Cover

    V1434 Line Drawings
    V1434 Pattern Envelope Back and Line Drawings

    I cut out this dress in a size 14, making a fitting muslin of the bodice first, which took some minor tweaking at the shoulders and bust princess seams, but the fit was pretty great overall. I cut it from a beautiful Italian animal print cotton blend brocade in metallic cream, rose and peach shades from Oscar de la Renta I ordered from Moodfabrics.com:

    Oscar de la Renta Cream/Wint/Rose/Peach Animal Italian Cotton Blended Brocade Fabric
    Oscar de la Renta Cream/Wint/Rose/Peach Animal Italian Cotton Blended Brocade Fabric

    Pattern Cutting the Brocade
    Pattern Cutting the Brocade

    I had a nice red silk crepe de chine fabric in my stash that was just barely enough yardage to fully line the dress:

    cranberry red silk crepe de chine for the lining
    cranberry red silk crepe de chine for the lining

    The dress was fairly easy to construct with a basic princess seam sleeveless bodice and full pleated skirt and deep pockets, lined by the same pattern pieces for the bodice and different patterned pieces for a gathered skirt lining.

    The most time consuming part was making the pleats.

    I traced the pleat placement using the handy pleating guide included in the pattern pieces:

    Pleat Guide Pattern Piece
    Pleat Guide Pattern Piece

    IMG_2090

    I found that this would have been helpful had all my pleat tracing work had actually shown up and stuck to the brocade fabric once it came time to sew them. Instead, I actually held the guide up to my fabric as I pinned each pleat in place, then carefully basted them down:


    Pinned and Sewing Pleats
    Pinned and Sewing Pleats

    This took the most time and attention, but it was worth the work!

    finished dress!
    finished dress!

    I love how the lining turned out, accept the fact that I didn’t take the time to make French seams on the skirt as the inside of the lining could show my mistake or if anyone looks at it throughly inside and out. Oh well, I might just pink the seam edges so they don’t fray.

    Mood Fabrics even sent a little label with the fabric that I sewed into my dress below my Love, Stephanie label. Oh, the little things make all the difference!

    Labels Pinned and ready to Hand Sew Into Lining of Bodice
    Labels Pinned and ready to Hand Sew Into Lining of Bodice


    Lining of Bodice with Labels
    Lining of Bodice with Labels

    this dress is fully lined in red silk crepe de chine
    this dress is fully lined in red silk crepe de chine

    This dress was a huge hit at the two little holiday parties I went to Saturday, and I plan to wear it to another party on Sunday! I even met a woman who wants to talk to me about making some custom dresses and apparel for her! Plus, friends of mine have been dying for me to make them something custom, and we have some really great project ideas in the works! So exciting!

    I was going for a dress inspired by these dresses I pinned on Pinterest:

    Eliza J dress at Nordstrom
    Eliza J dress at Nordstrom

    Lanvin Jaquard Dress
    Lanvin Jaquard Dress

    It is so very cool to be able to make my own clothes, and then wear them and “sell” my work to others!

    The Deep Pockets are Wonderful!
    The Deep Pockets are Wonderful!

    Love My New Dress!
    Love My New Dress!


    Merry Christmas, Happy Holidays and  and Happy New Year to ALL!!! MWAH!!

  • Sequin Mesh Strapless Gown

    Sequin Mesh Strapless Gown

    I finished this dress in the nick of time to wear out to the Portland Fashion and Style Awards held at the Portland Art Museum last night.

    black sequin gown from Vogue 2237
    black sequin gown from Vogue 2237

    I love simplicity of this style and the slight train on the back of this gown:

    Back of gown
    Back of gown

    Credit must be given to Vogue Patterns for putting out this designer pattern number 2237 from Badgley Micshka. This was a wonderful pattern to sew as it went together fairly simply and was a good learning experience.

    V2237 Badgley Mischka gown and bolero

    I traced off the pattern on to Swedish tracing paper and made adjustments to the length of the bodice and the skirt. After measuring the pattern and comparing them to my body measurements, accounting for an additional 3″ high heel, I found that I needed to add 2″ to the bodice and 5″ to the skirt portion of the pattern.

    I then cut out and sewed up a muslin of the gown as well as the corset for fitting. My lovely friend helped me pin this dress and make notes on the muslin where to take in and let out.

    I found this lovely sequin mesh polyester material at Fabric Depot in Portland, Oregon and thought it had the perfect drape and sparkle for this project.

    I got a flesh colored Ambiance lining that matched the color of my skin to line the dress so that it appeared to be see-thru when wearing:

    The sequin mesh material was perfect to sew with as it is very soft and the sequins are as well. I was able to sew it without having to remove the sequins from the seam allowances with saved a bundle of time.

    I love the scalloped and fringe-like selvedge of the material and was hoping to trim it off and incorporate it into  the dress either at the hem or the top edge, but I ran out of time to do this. I suppose I can go back and add it at another time, or use it for another project. It is just too pretty to toss out!

    Here is the muslin and sequin fabric draped on my dress forms:

    draped and muslin V2237
    sequin fabric draped and muslin pinned to dress forms

    The pattern design includes a corset-like under structure that holds up the strapless gown that is sewn into the lining. I added 3 additional boning channels to this at the front and under the bust for added support.

    I used a heavier weight muslin for the structure part of the corset and the same lining as the gown to line it. Turned out really great!

    I did have to make several fitting adjustments to the outer part of the dress as at first the muslin needed to be let out, but then in the sequin material, which does have a lot more “give” than muslin, I had to take it back in. I had to make fitting adjustments a couple of times actually, in order to get the nice tight fit that a strapless gown requires in order to stay up. Thanks to my part time job doing bridal and special occasion gown fittings and alterations at David’s Bridal, I have learned a great deal about fitting gowns and this knowledge came in quite handy!

    IMG_1857

    After many hours of fitting and sewing this dress (and leaving off some steps as time was up!), I really love the outcome of the gown and was excited to wear it to the big event! I may go back and make adjustments to the “peaks” of the bodice so that they are a little pointier and less rounded at the top, and the lining drove me nuts all night as it was coming up over the edge of the dress and showing! At least the lining is flesh colored and it was not as noticeable, but I still was not happy with that.

    After looking at photos, maybe the bodice was a little too tight as my boobs looked kind of squished. I guess I didn’t realize that I can fake a pretty good cleavage in this kind of dress! Cool!

    I was rushing to finish in time (as usual) and sewing on the hook and eye at the back when I was supposed to be on my way to my friend’s house to get ready, but we made it in perfect timing, so it was  all good in the end.

    V2237 lining and label

    V2237b
    black sequin gown from Vogue 2237

    V2237d
    Back of gown

    Very good actually!

    V2237a


    And here I am wearing a little hat designed by ElizaBeth Rohloff. She was nominated at the Portland Fashion and Style Awards for Best Accessory Designer, but sadly didn’t win (this time!). It was fun to wear!

    V2237 and hat

    Off to the event! Bye!


  • Printed Silk Tank Top

    Printed Silk Tank Top

    I felt the itch to sew up something quick and easy to wear, so I made up this little silk top using Simplicity 1253 pattern and some lovely Derek Lam printed silk/lycra fabric:

    Simplicity 1253 top in Derek Lam printed silk
    Simplicity 1253 top in Derek Lam printed silk

    Simplicity 1253 in Derek Lam designer silk
    Simplicity 1253 in Derek Lam designer silk

    This little top pattern took just a couple of days of on and off sewing time and under 2 yards of fabric. It features a pleated front, hi/low hem and a neck band.

    Front neck pleat detail
    Front neck pleat detail

    The neck band took a little time to sew on, as I chose to sew the inside enclosing seam by hand instead of the stitch in the ditch method that the pattern has you do. This method NEVER turns out well for me, so I just take out my needle, thread and thimble and get to work hand sewing:

    Slip stitching the inside of the neck band by hand
    Slip stitching the inside of the neck band by hand

    There is a little keyhole opening in the back with a loop and button closure which is a nice little feature:

    back of top with loop and button closure
    back of top with loop and button closure

    I like to layer these little silk tops under jackets and cardigans or on their own:

    My new top layered under a jacket
    My new top layered under a jacket

    I almost always have inspiration styles after which I try to model my sewing projects:

    Joie "Corette" printed silk tank $158
    Joie “Corette” printed silk tank $158

    Joie printed silk tank top
    Joie printed silk tank top